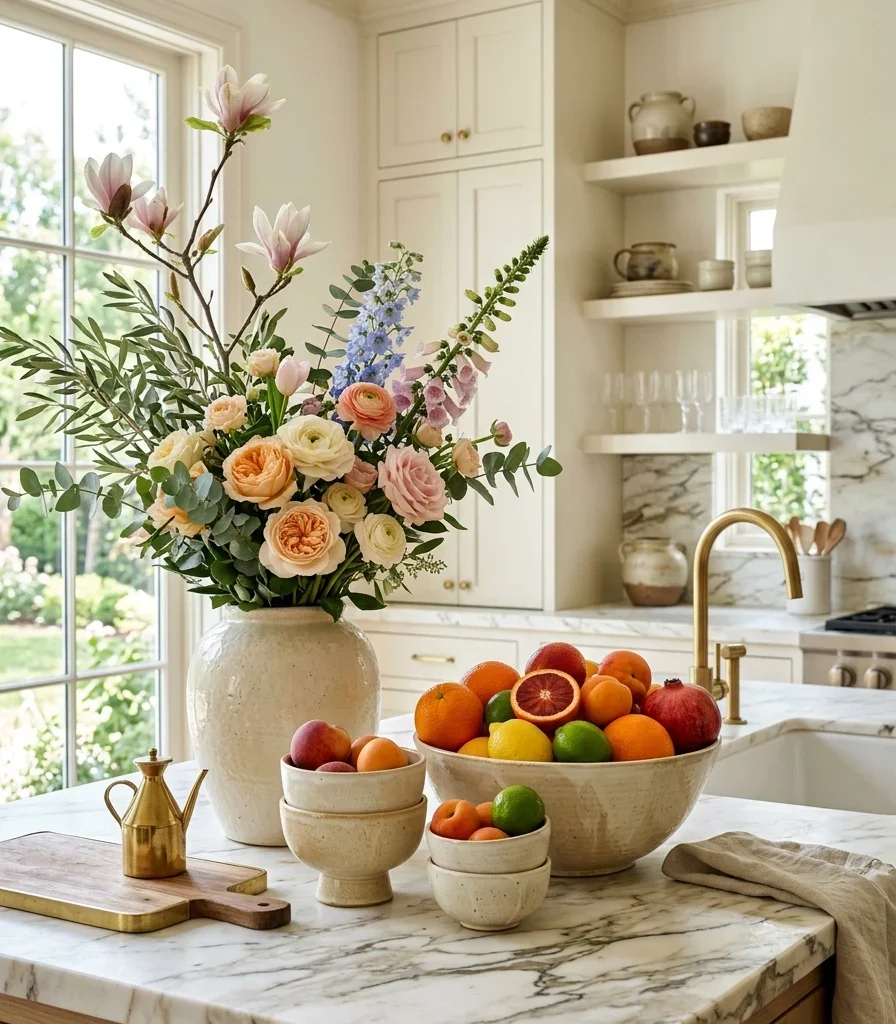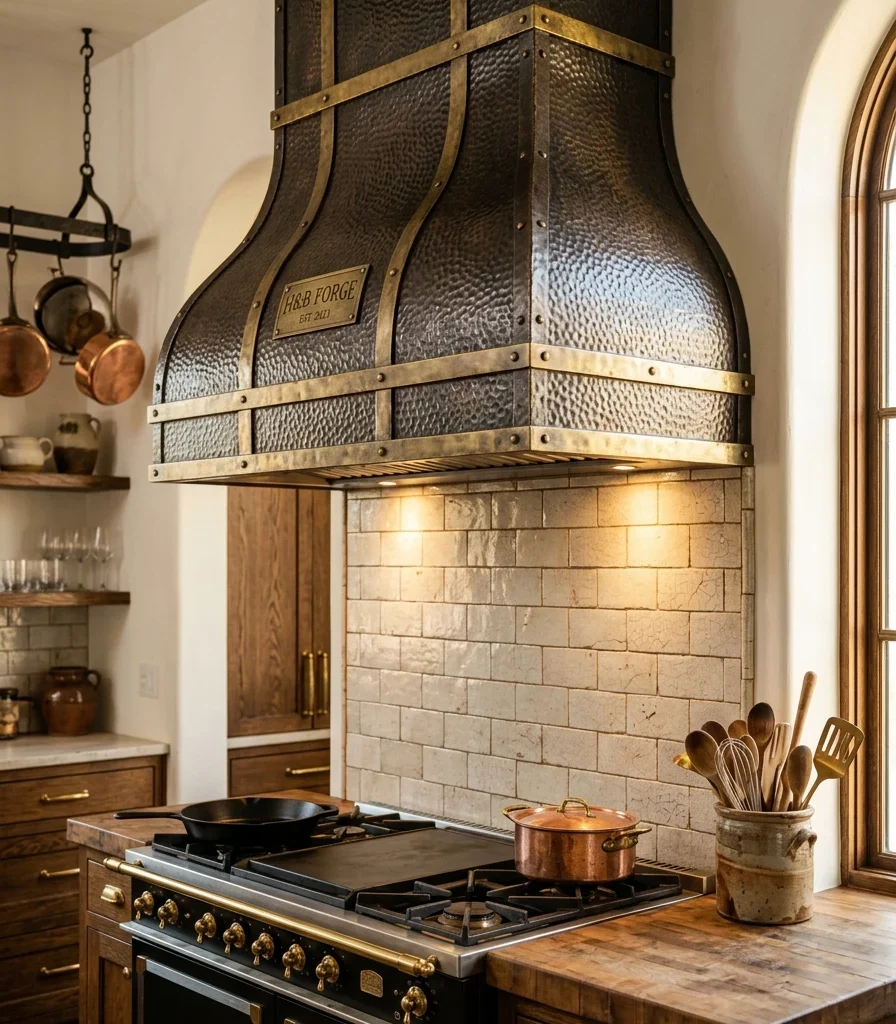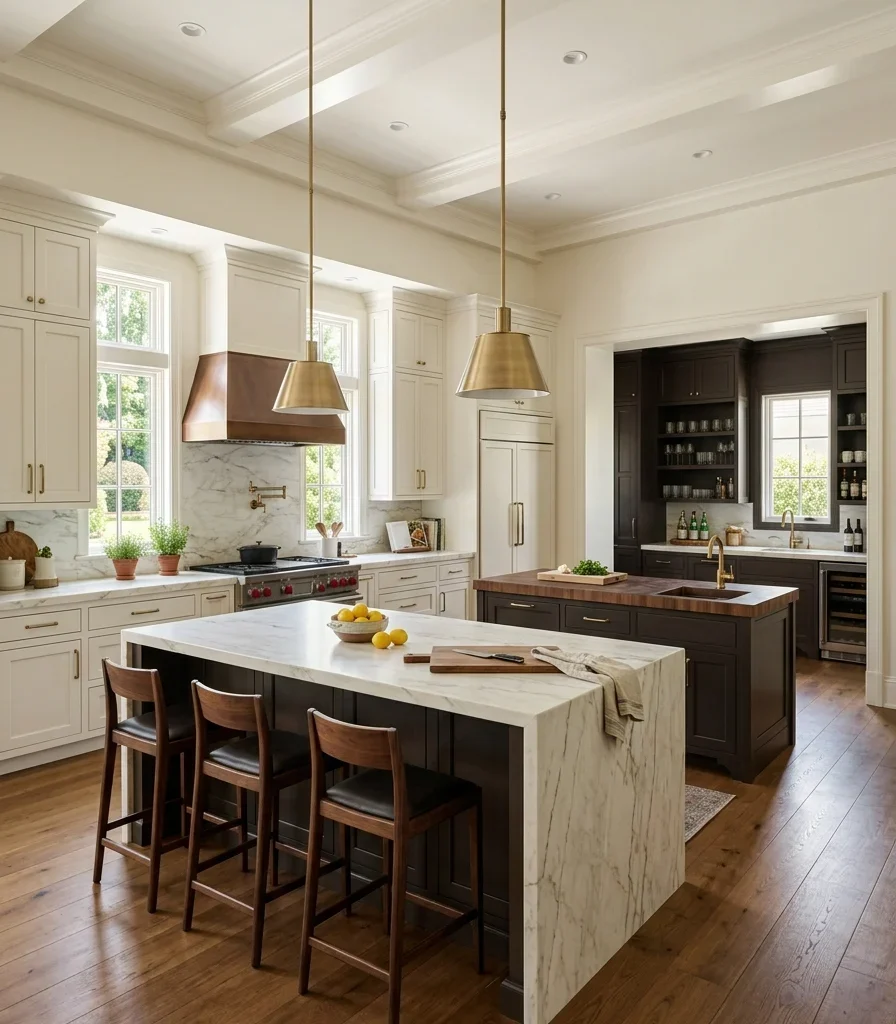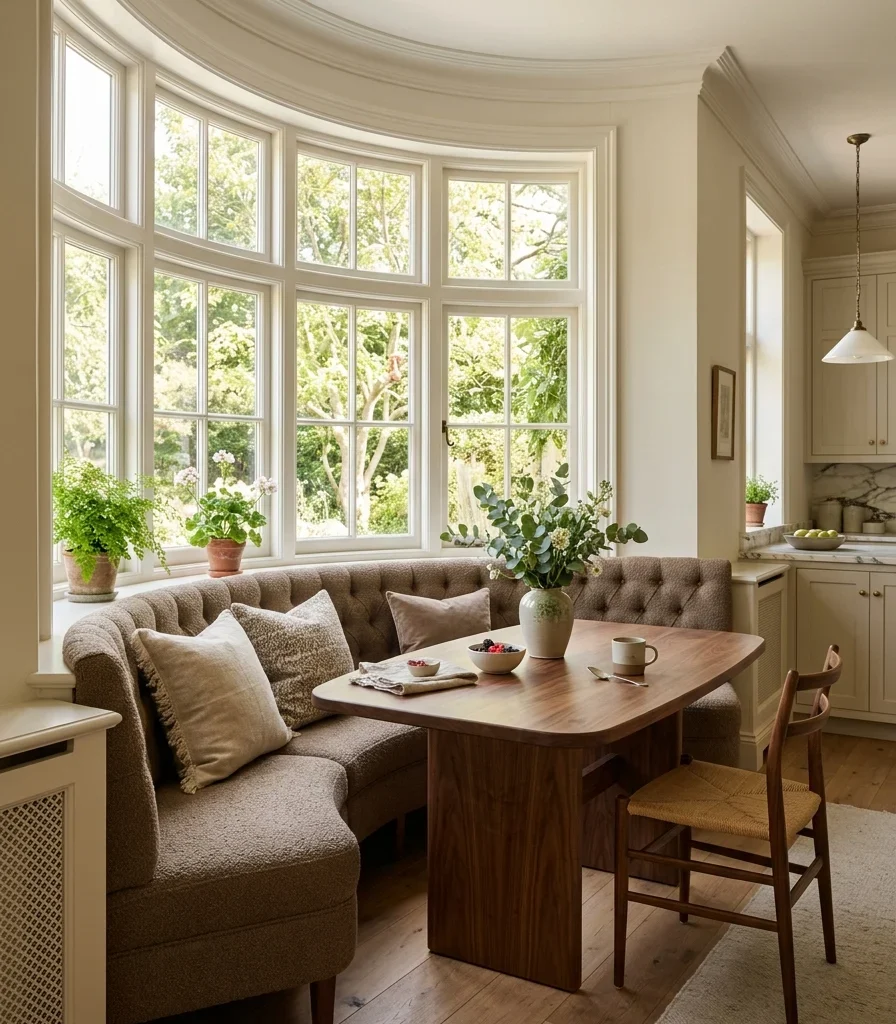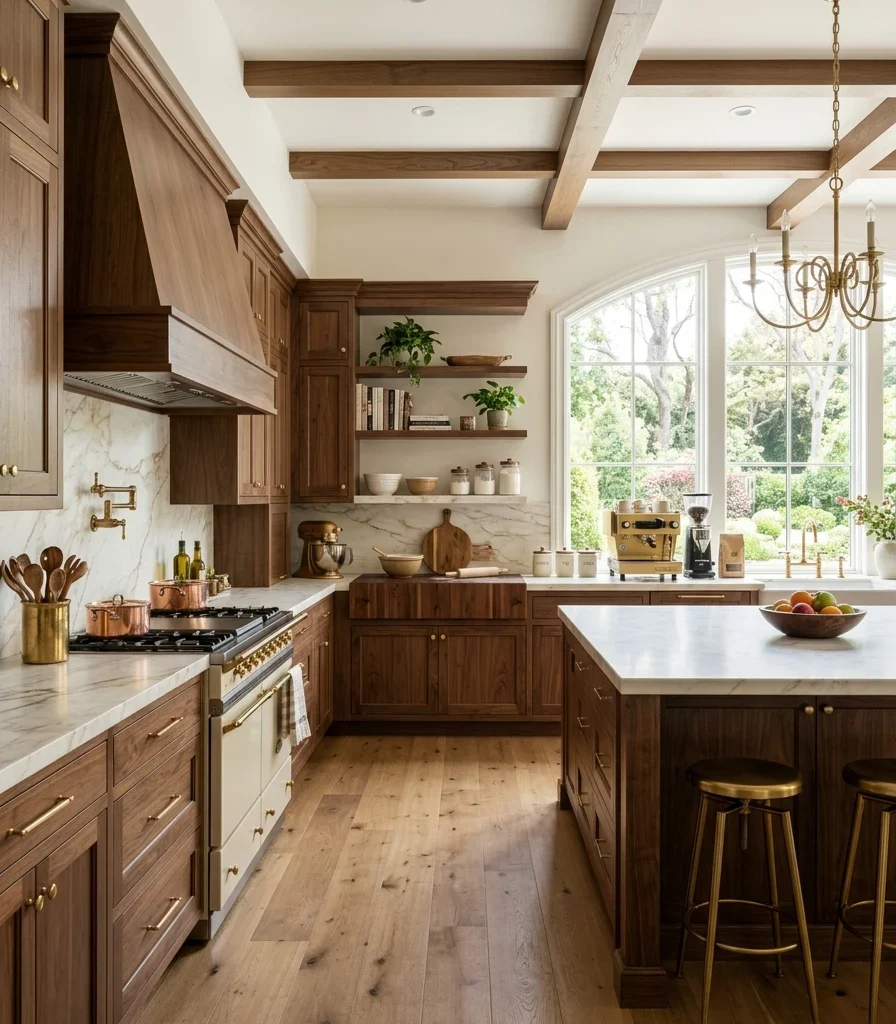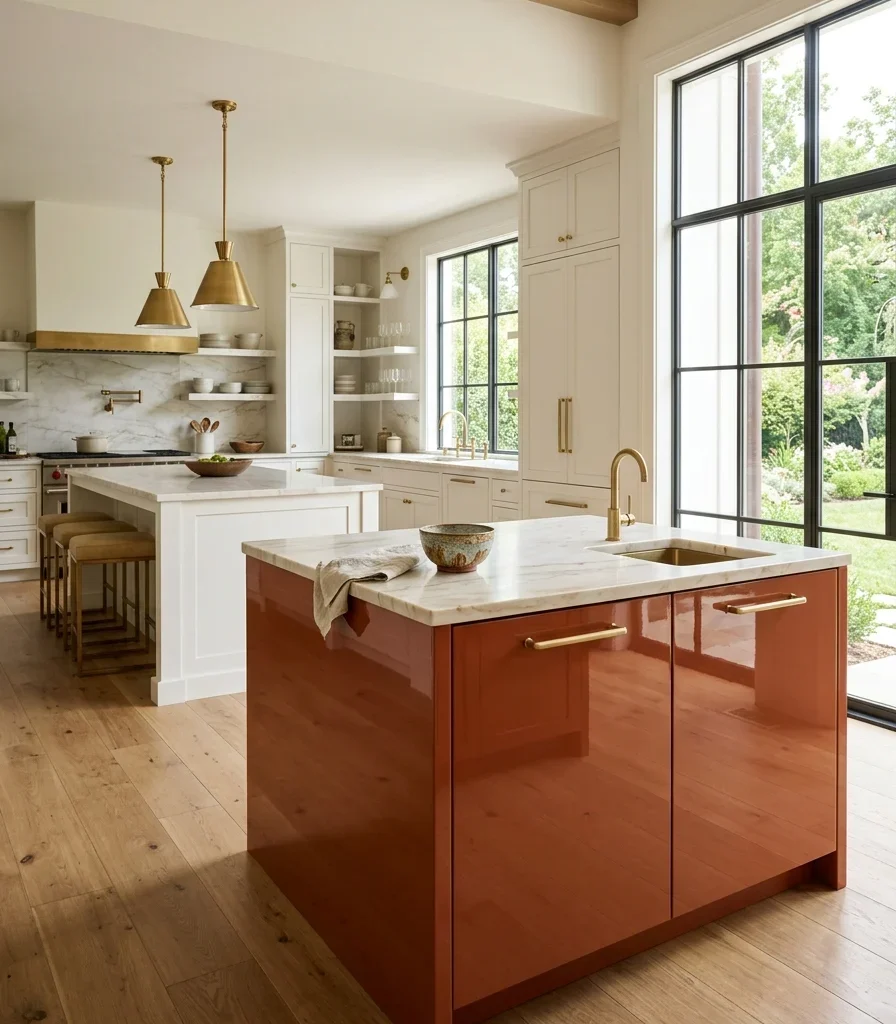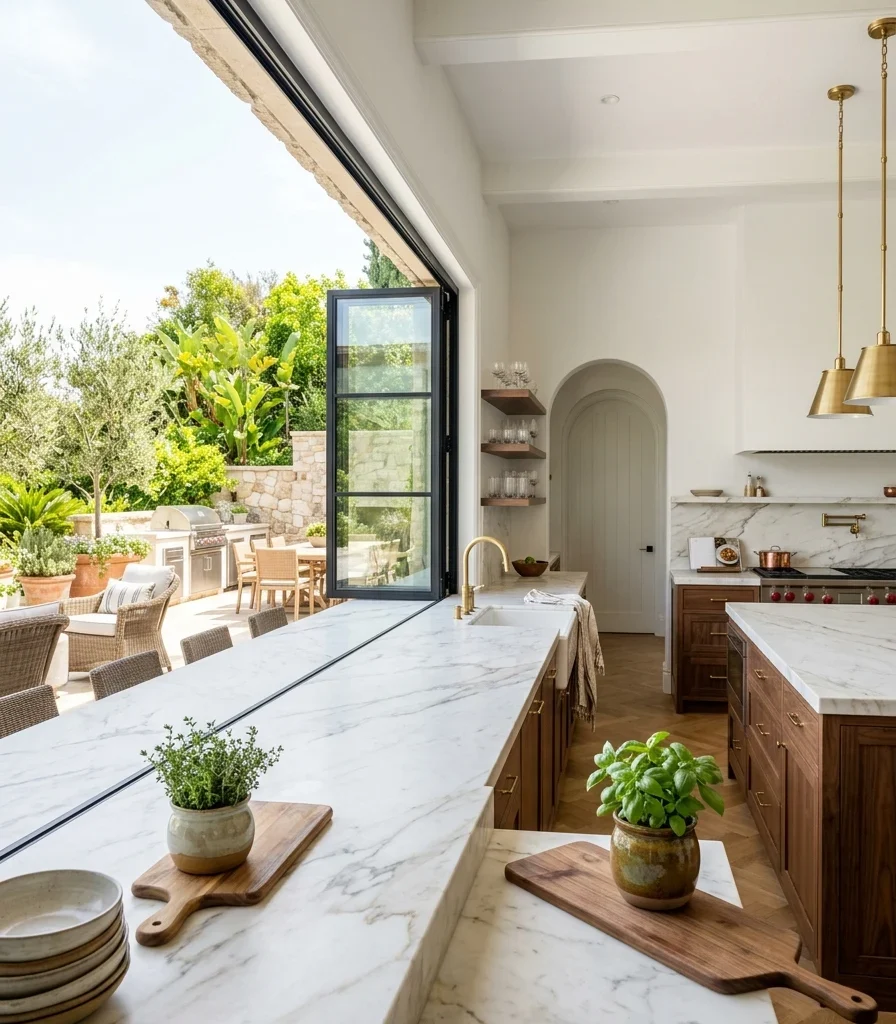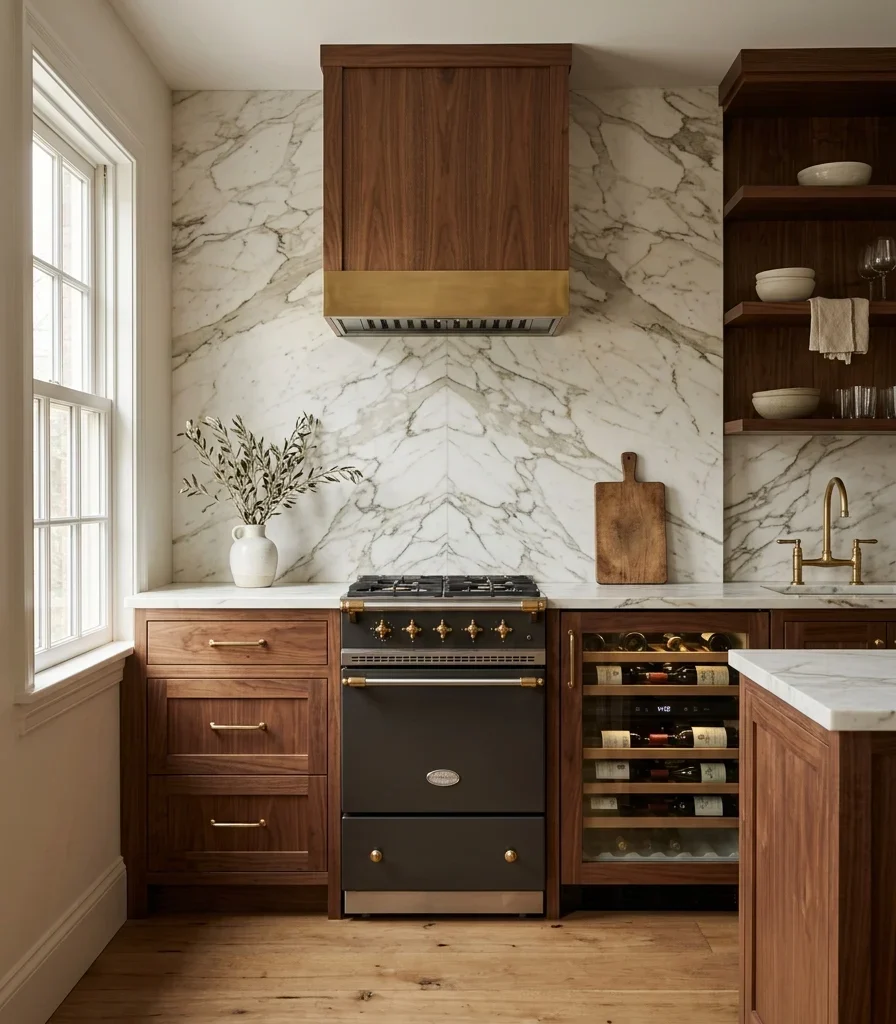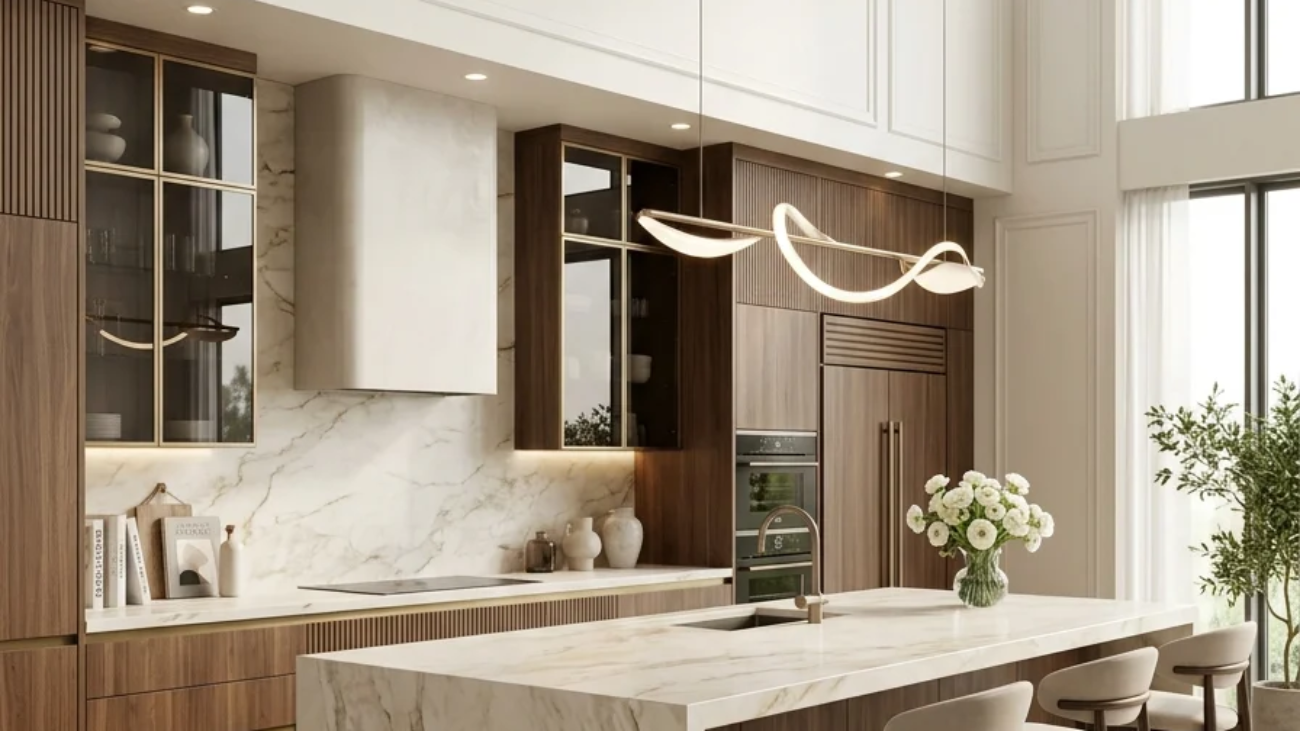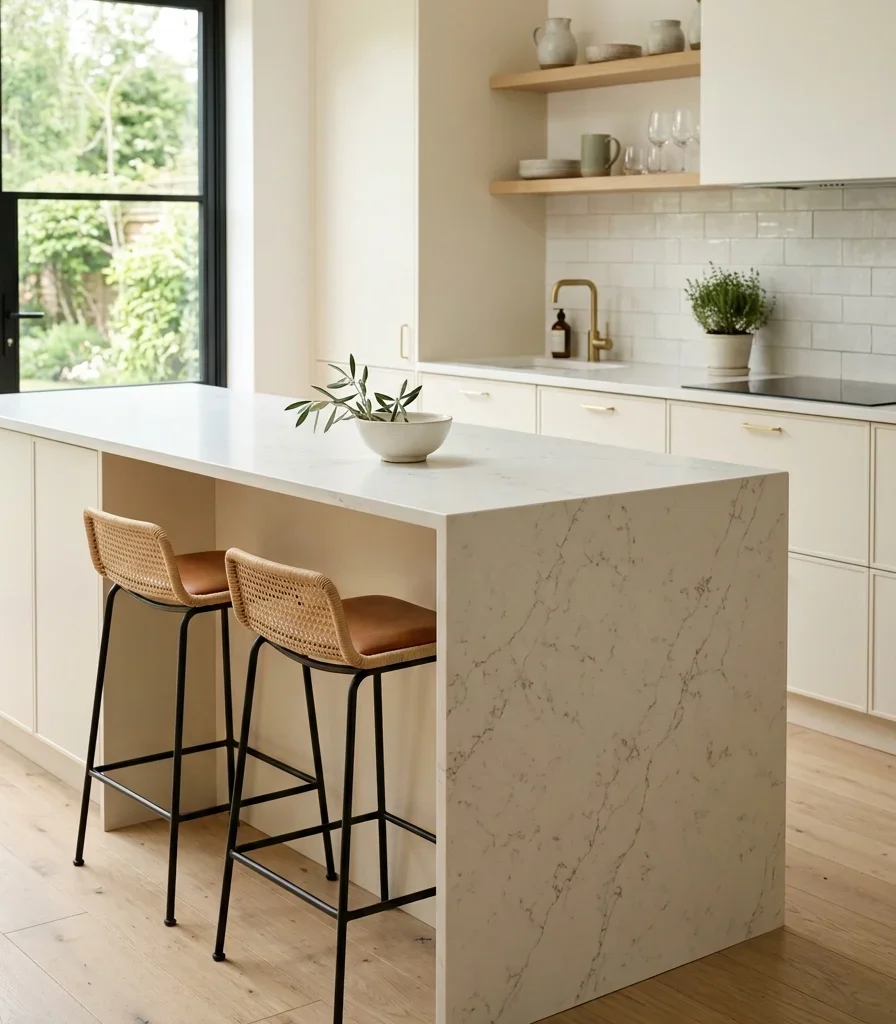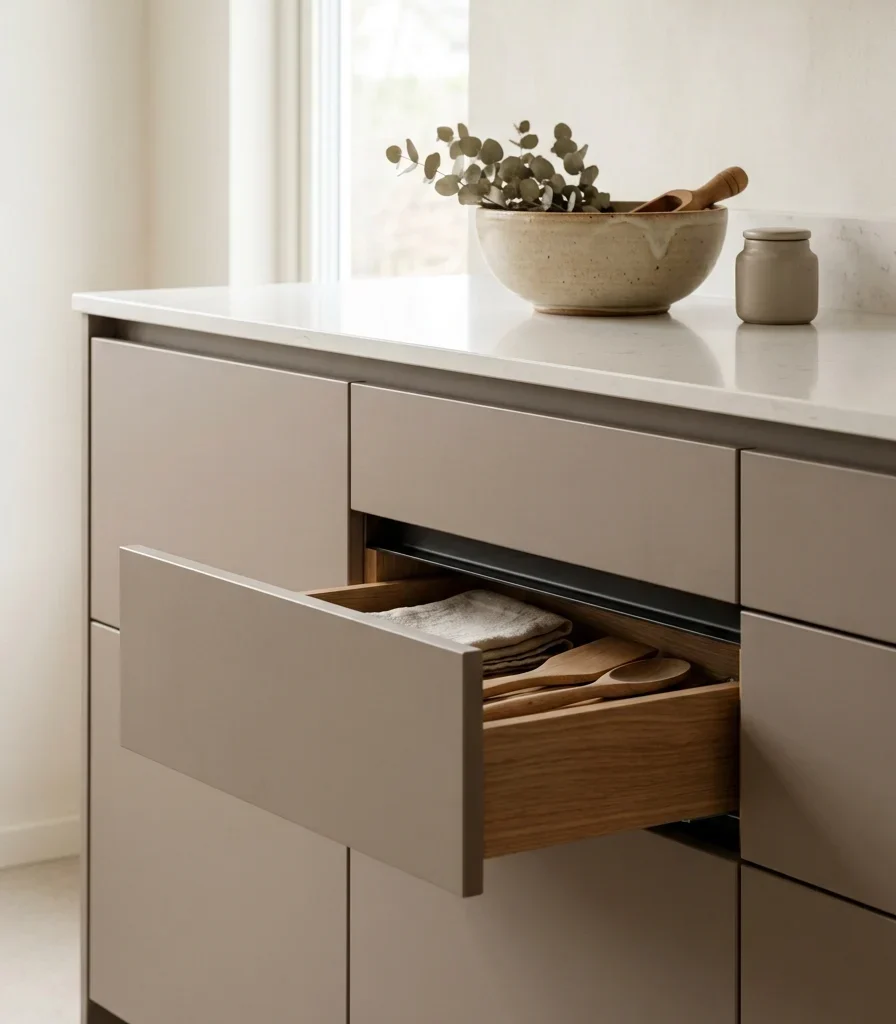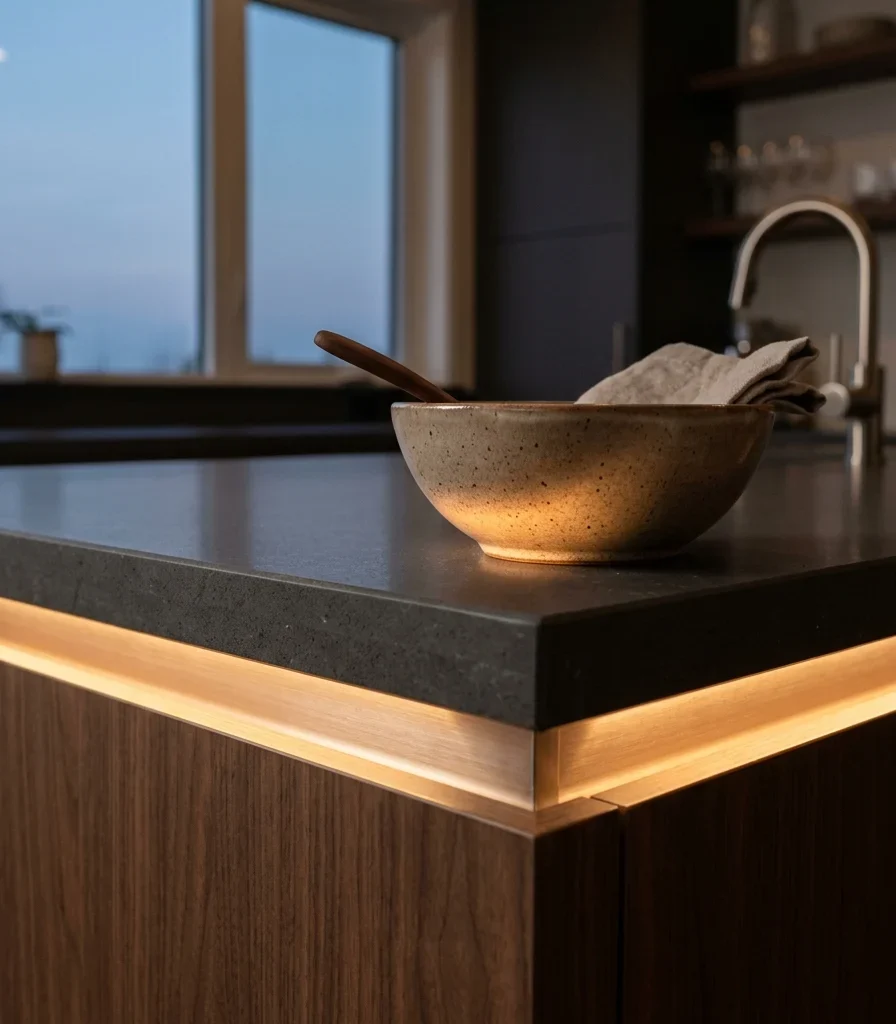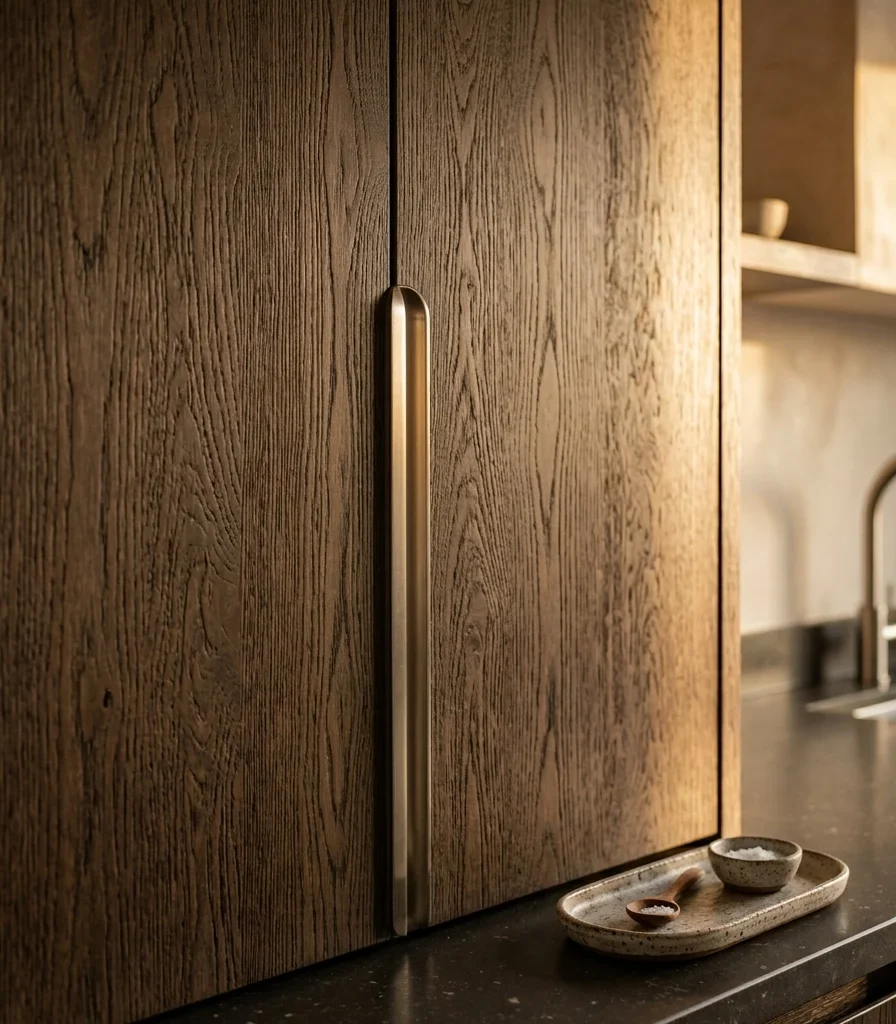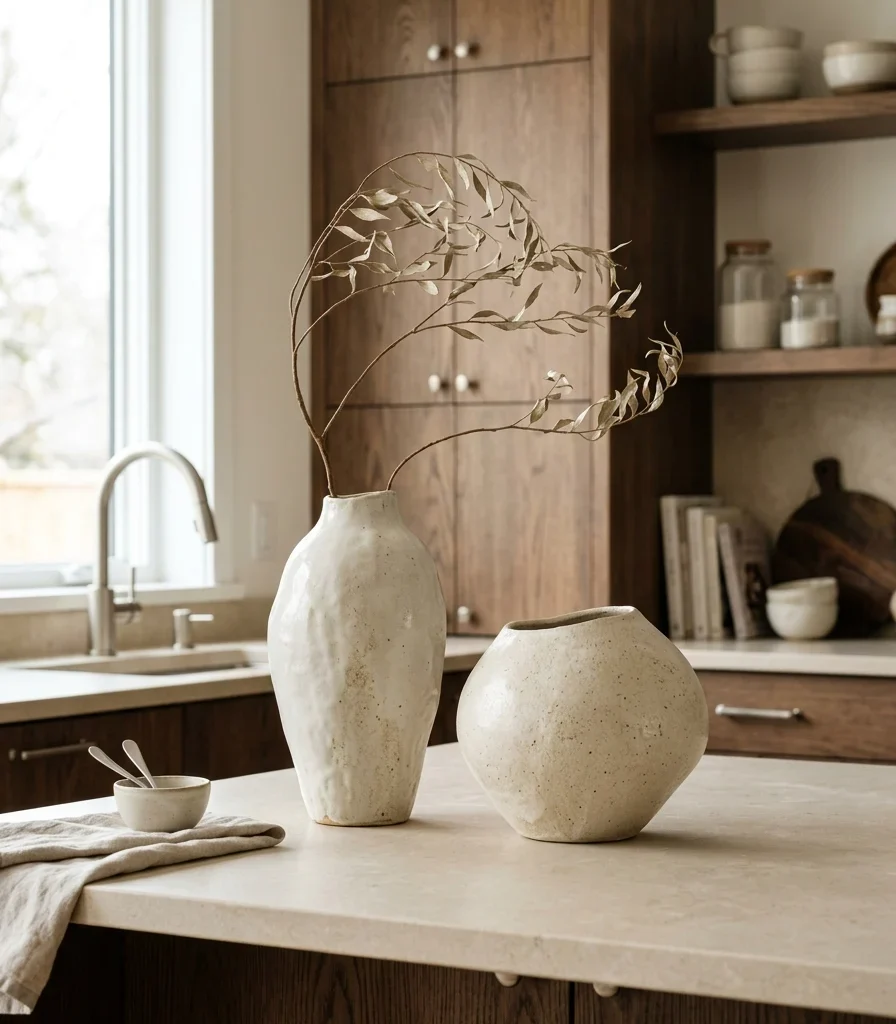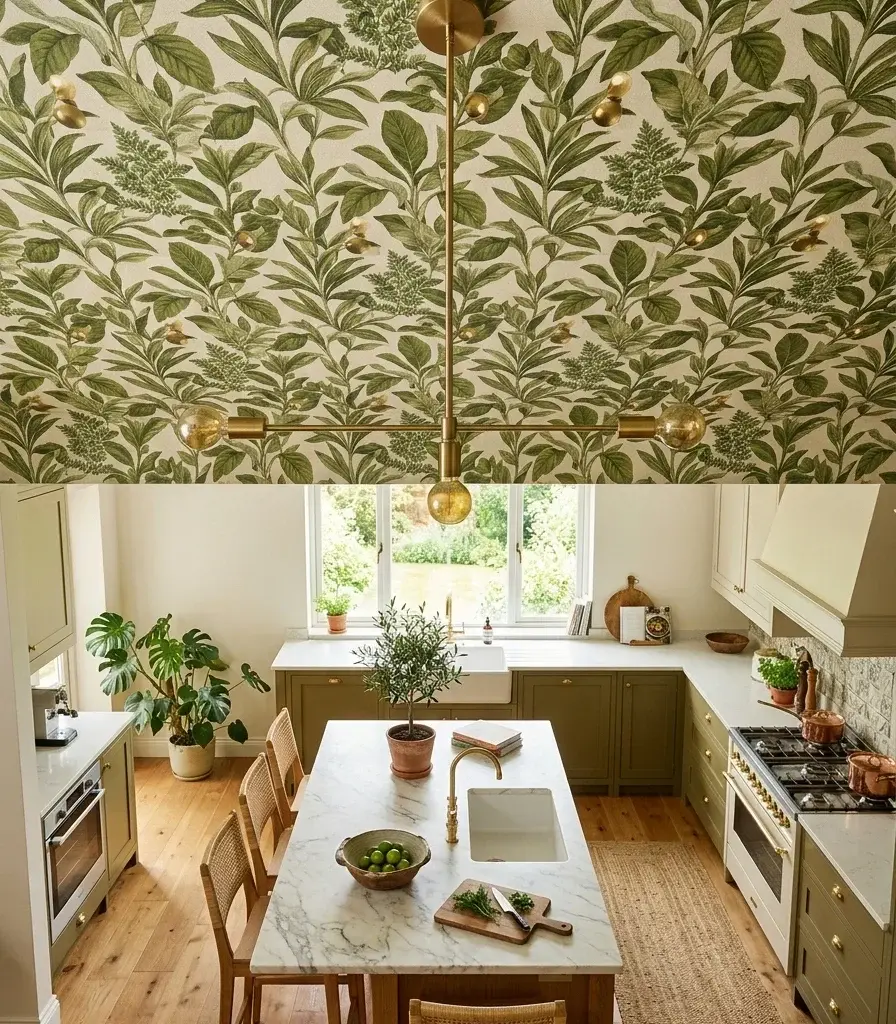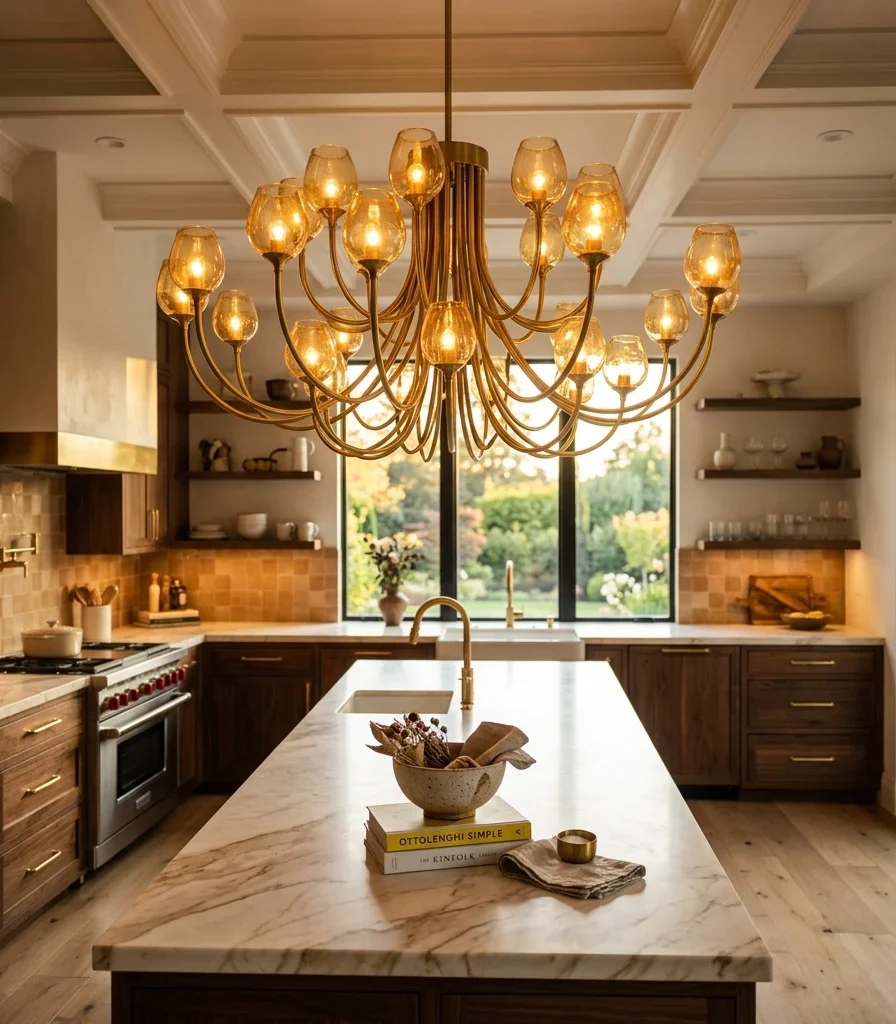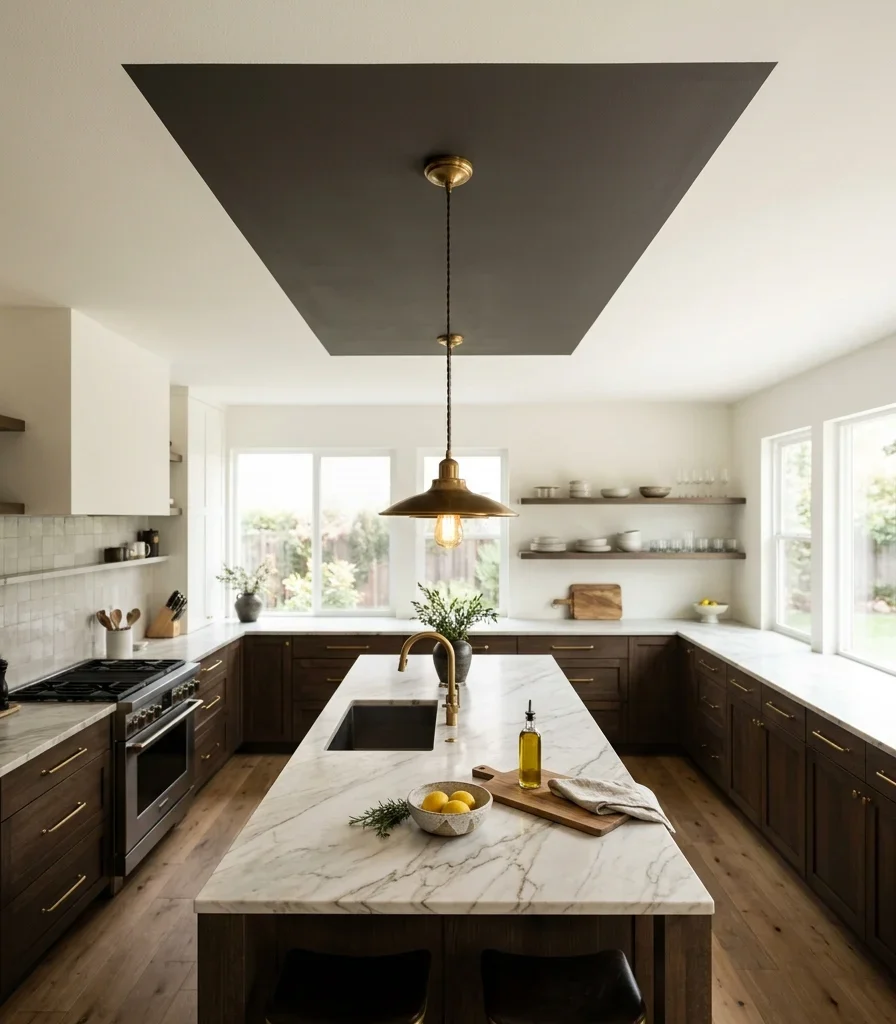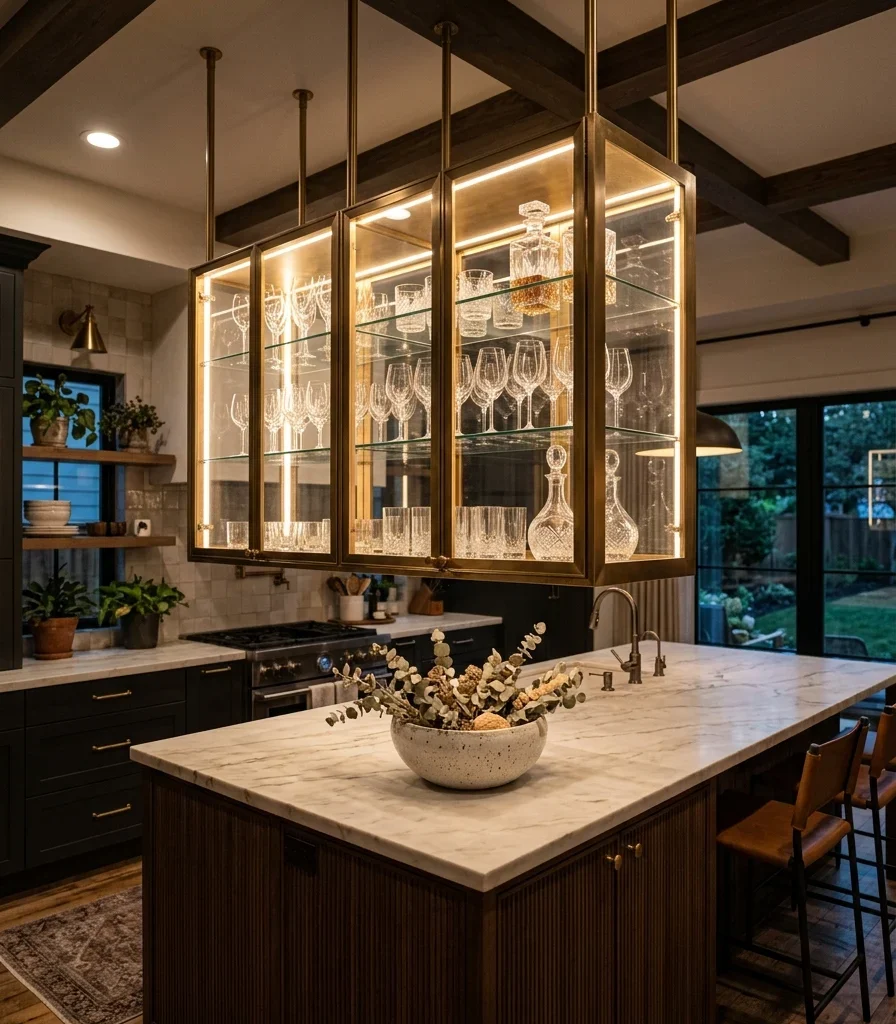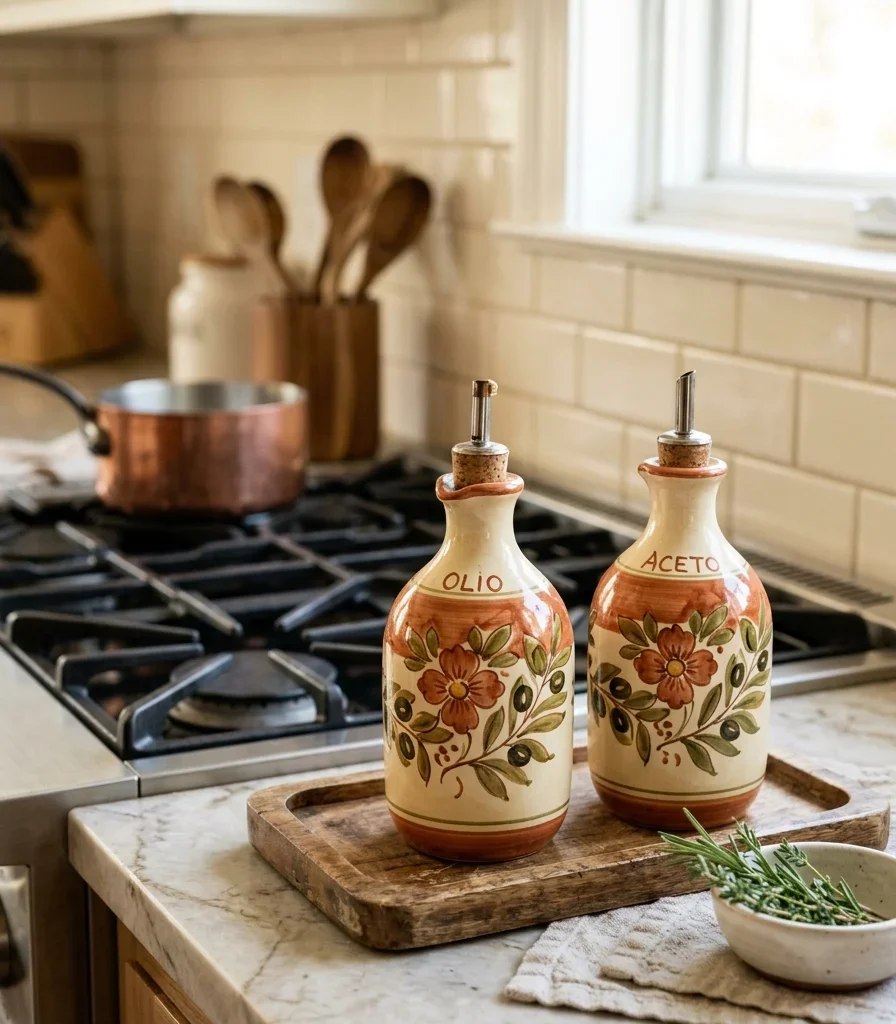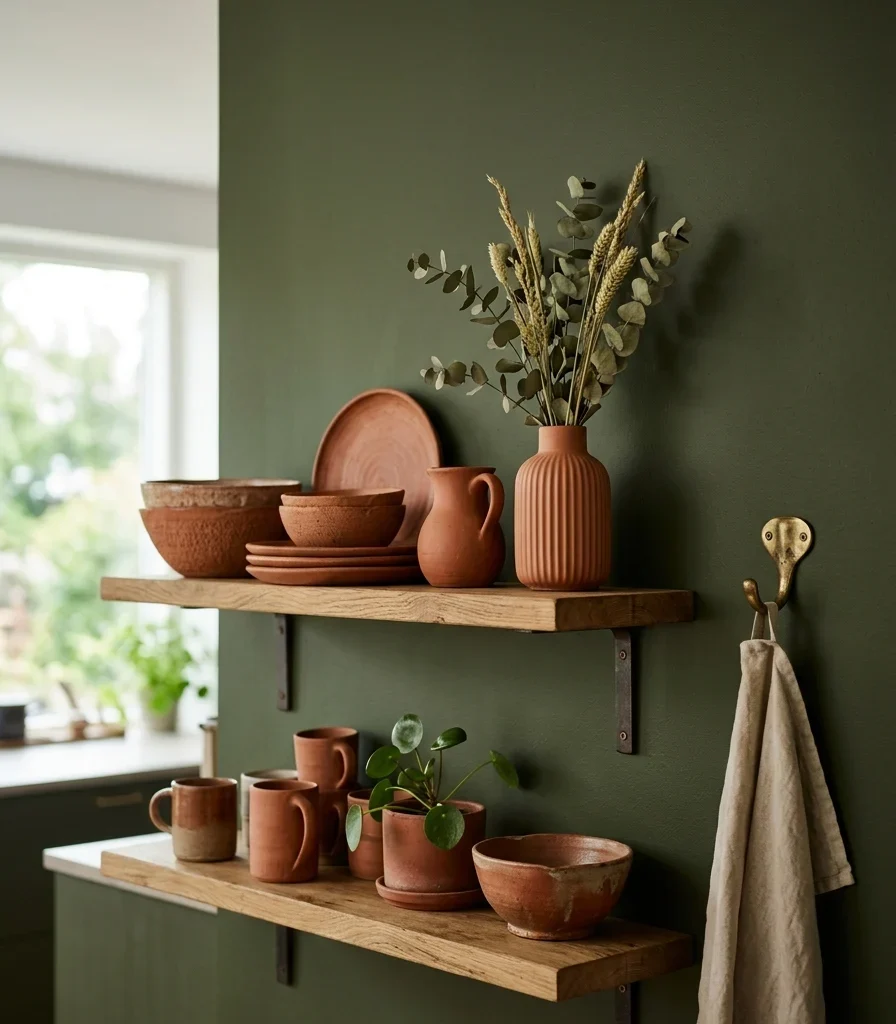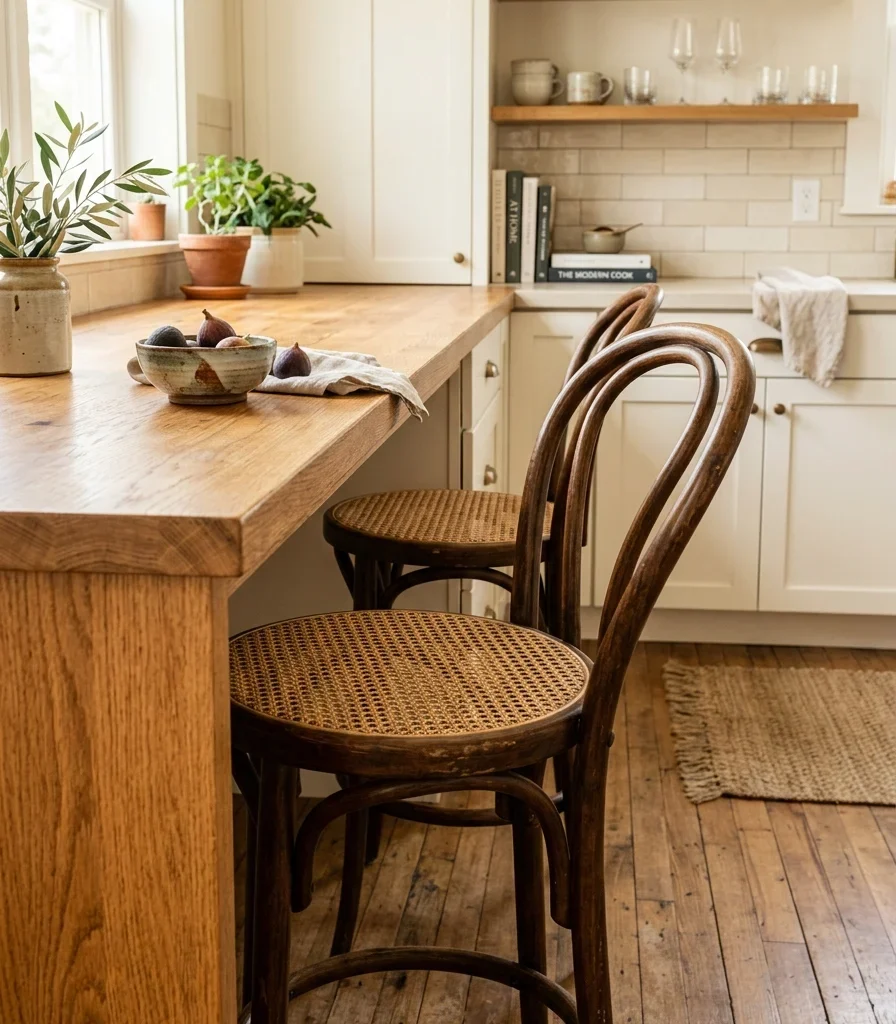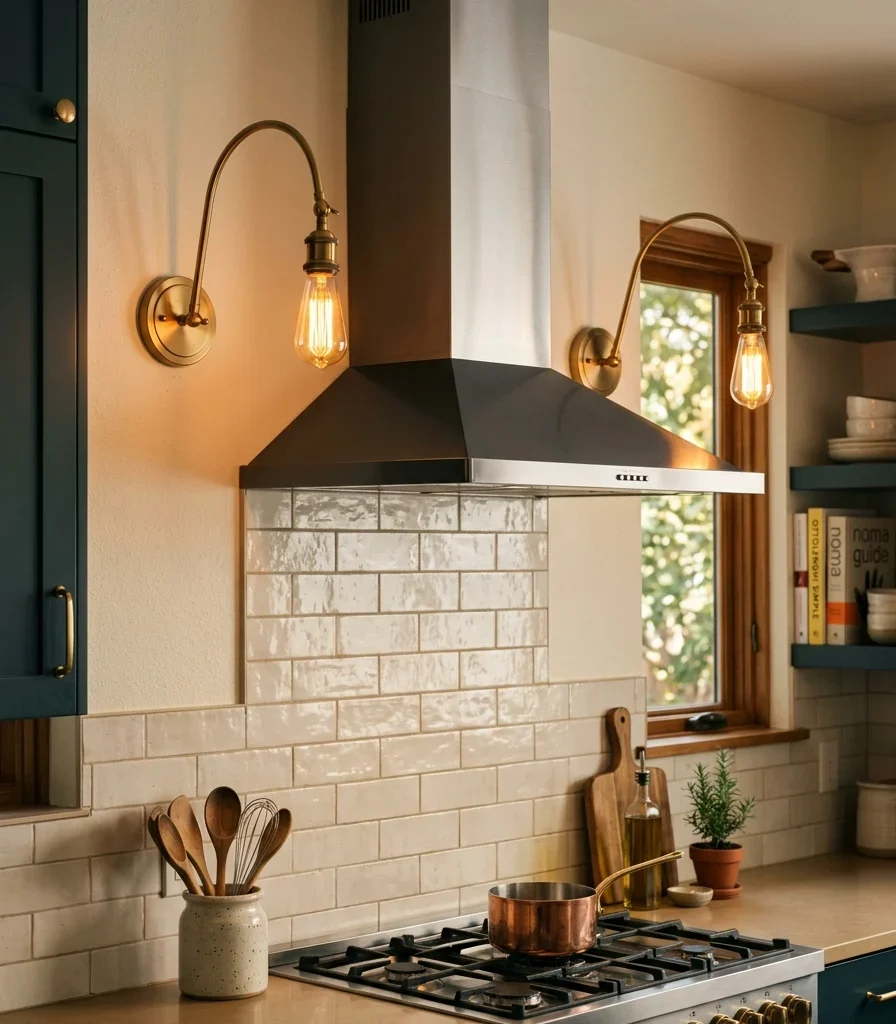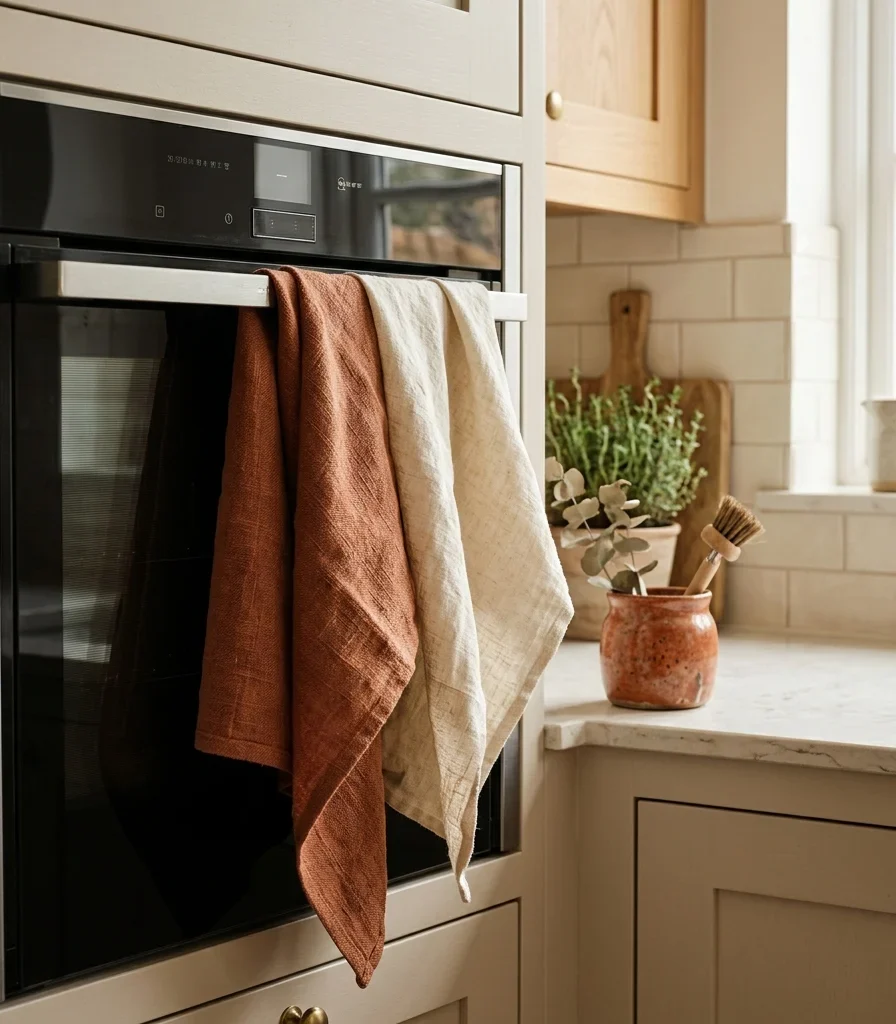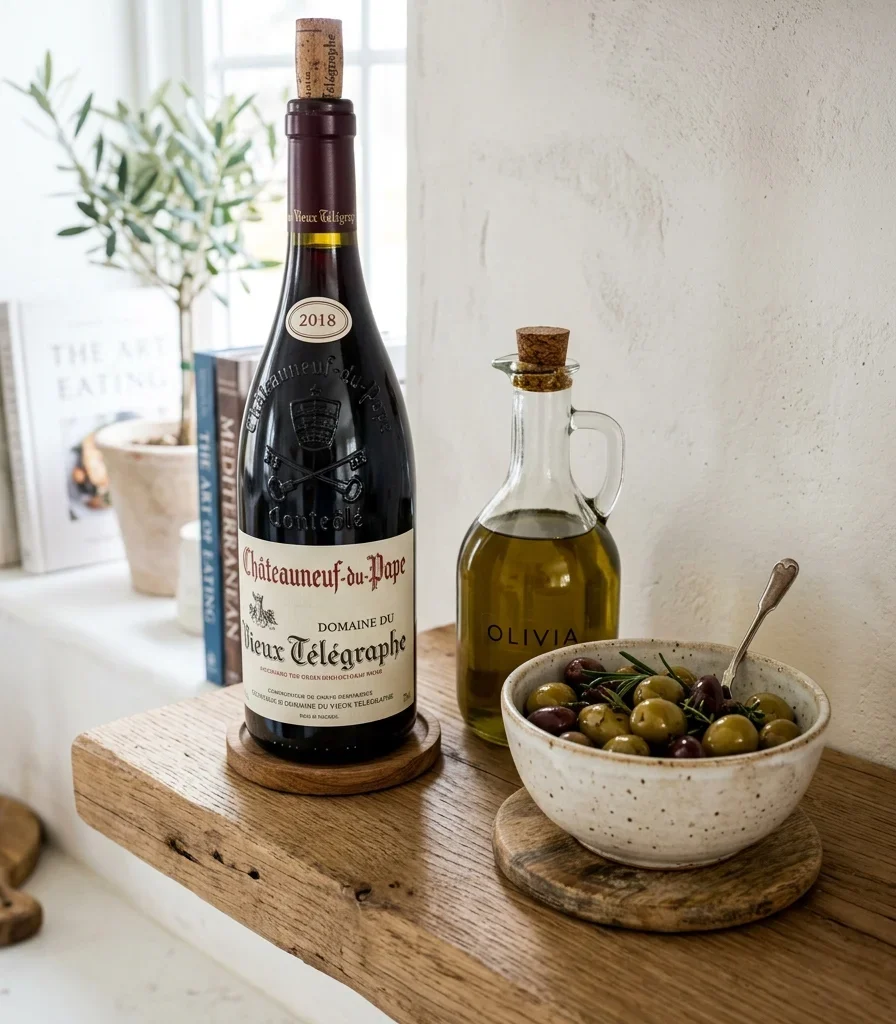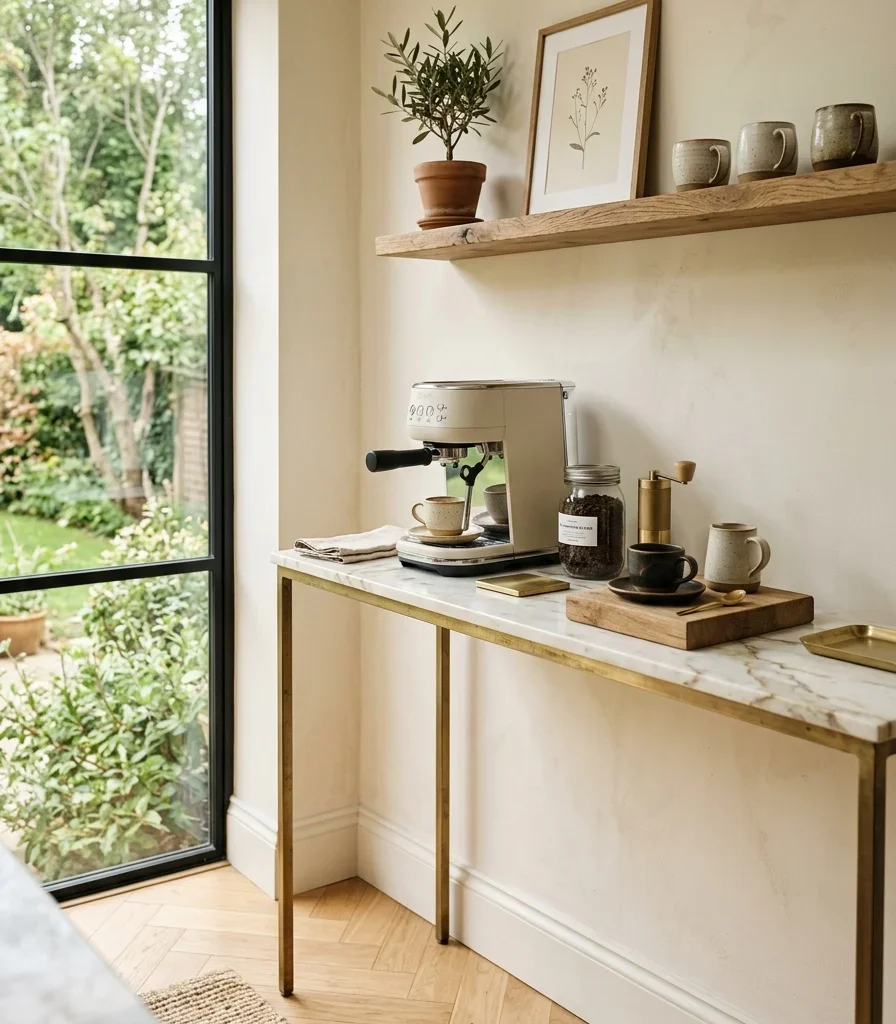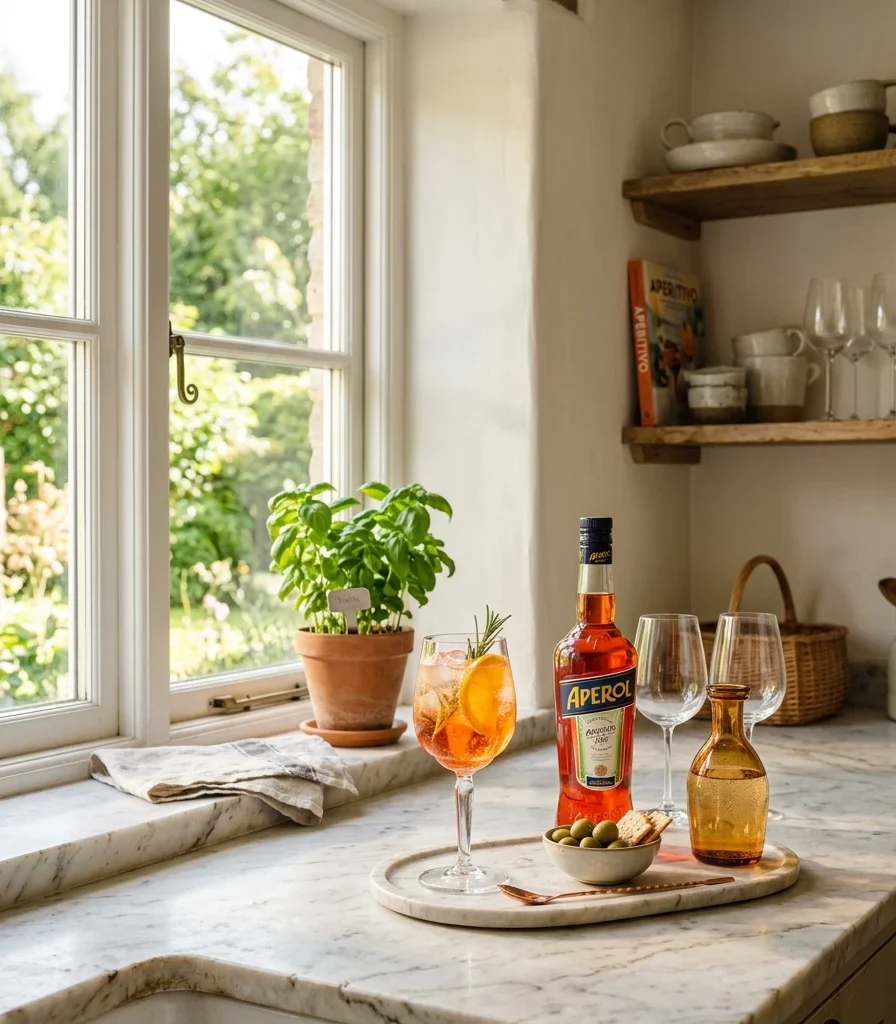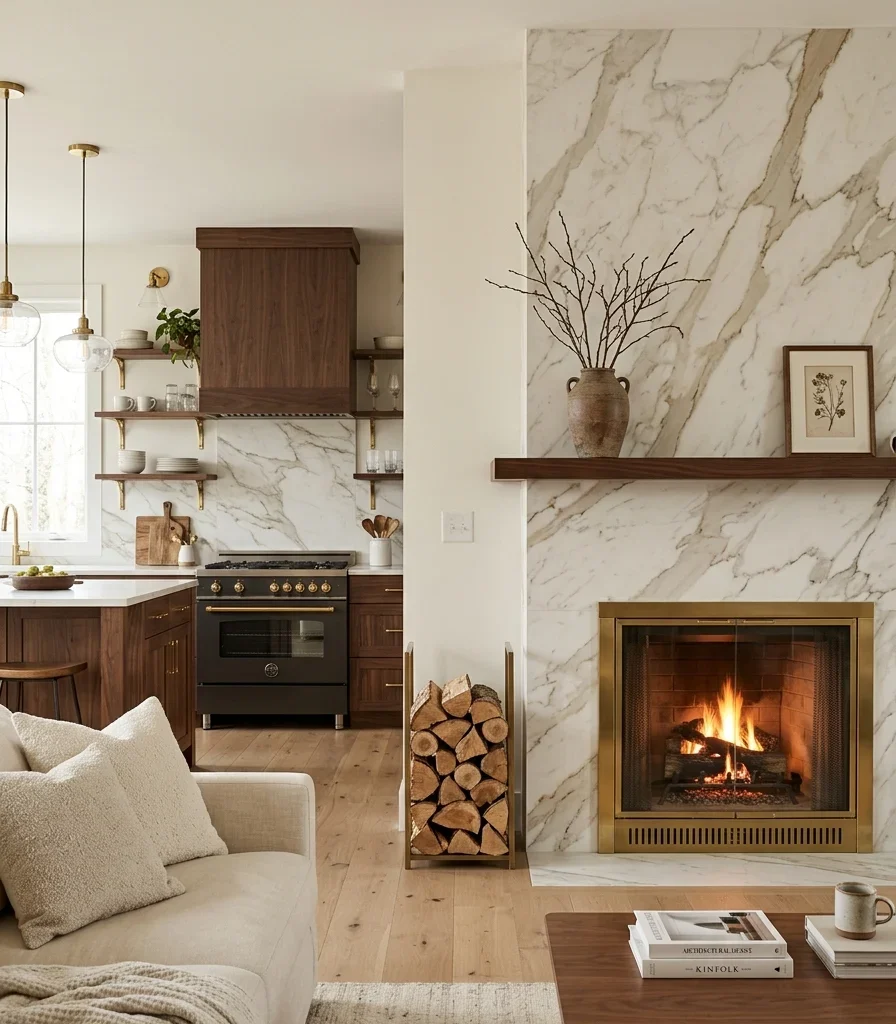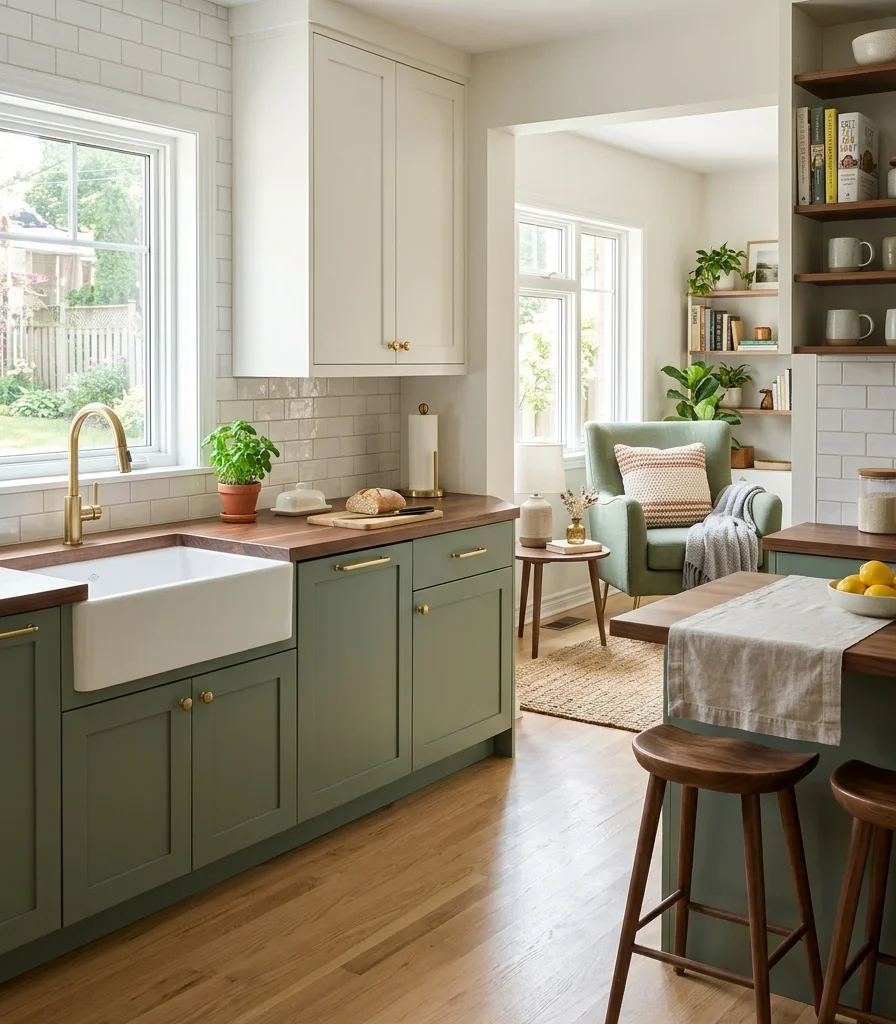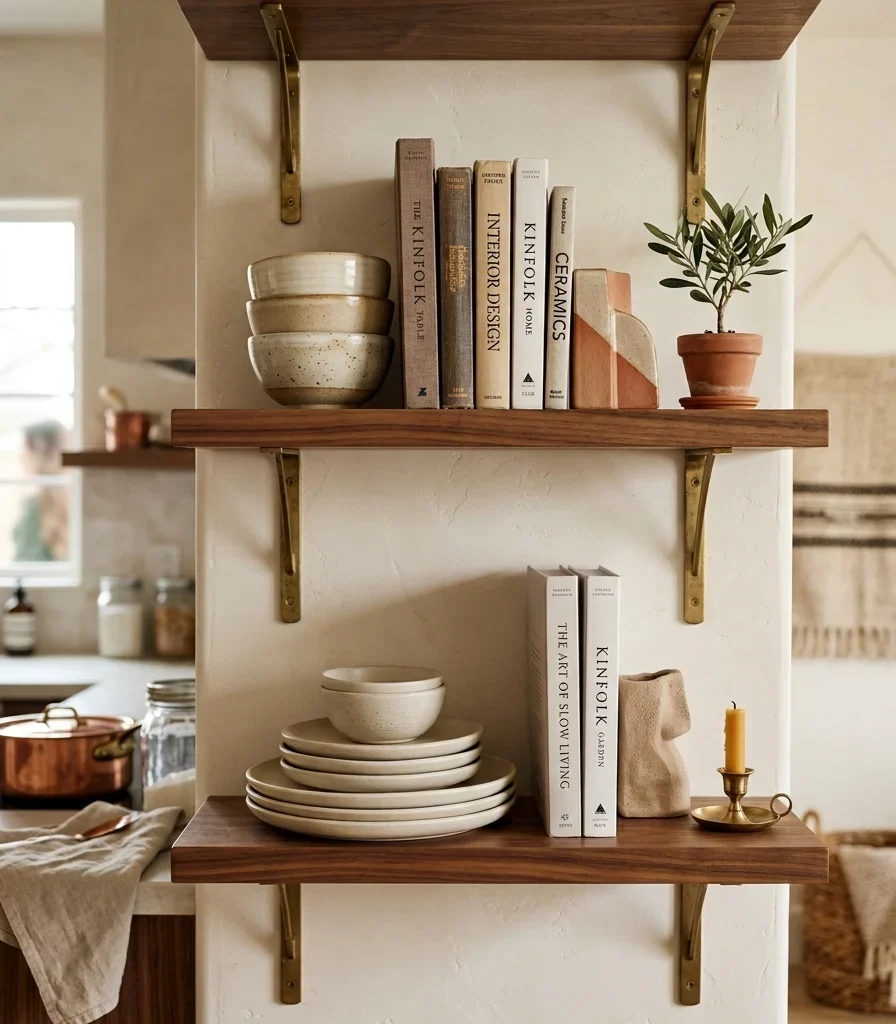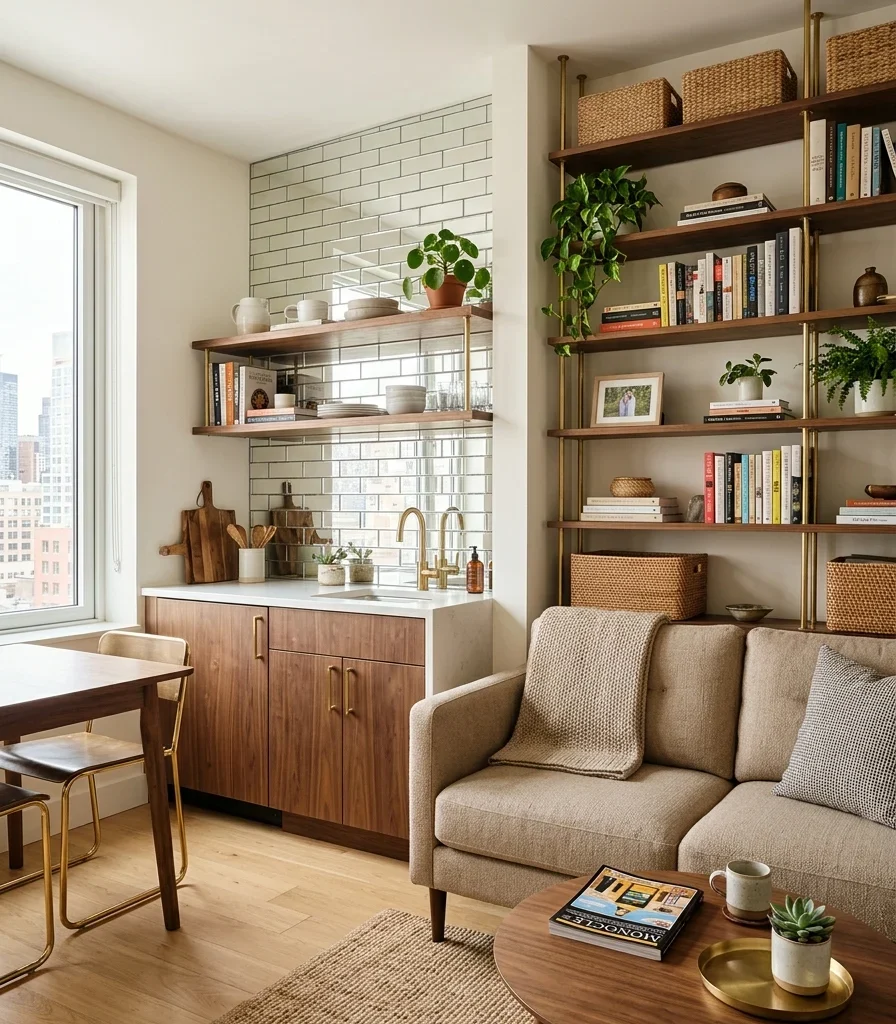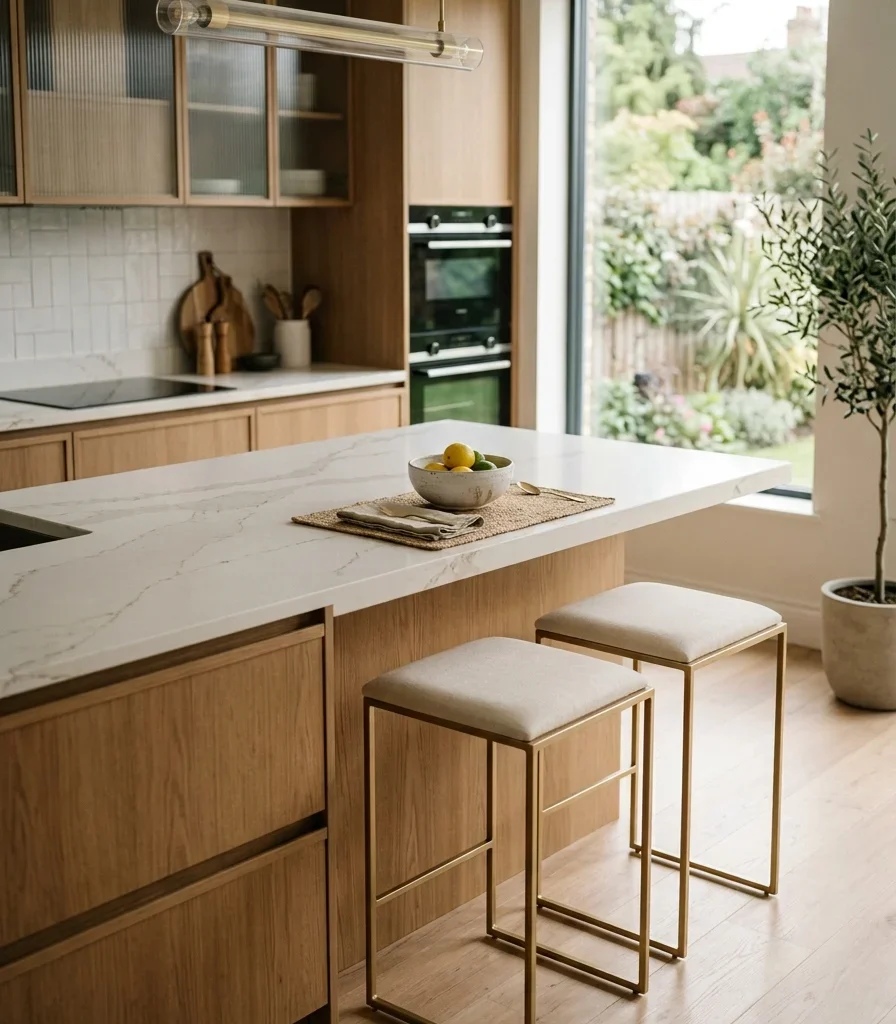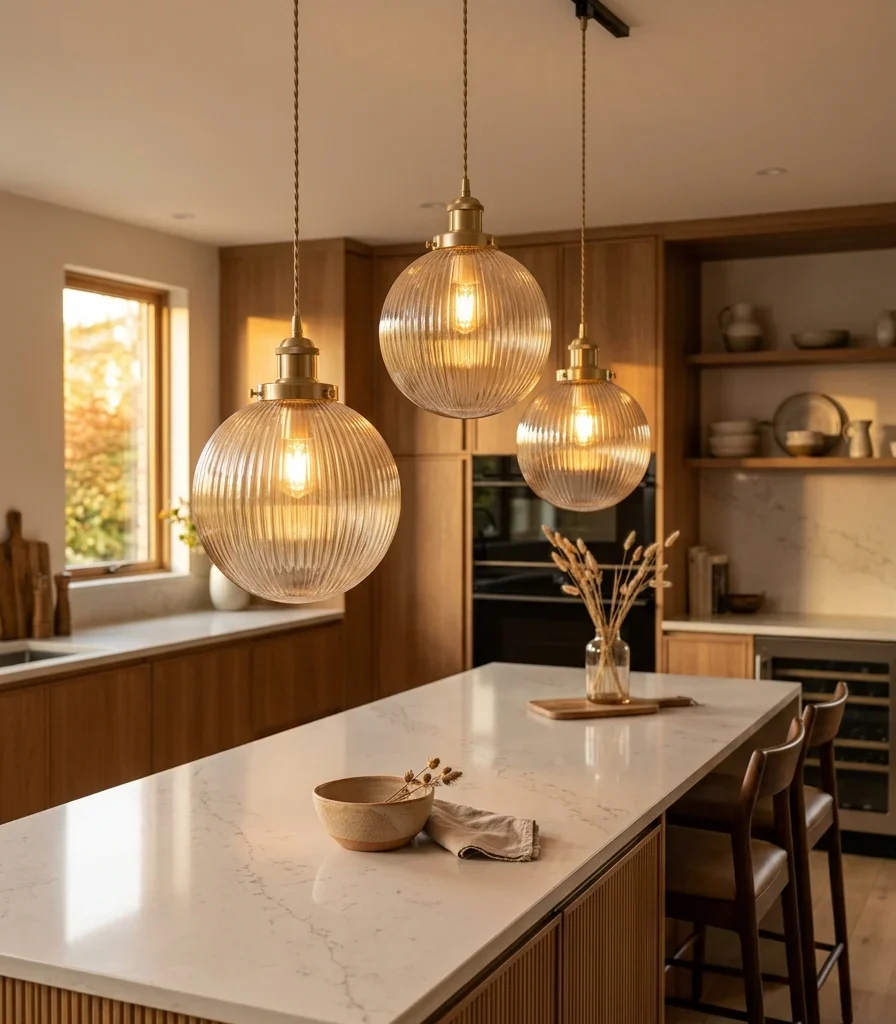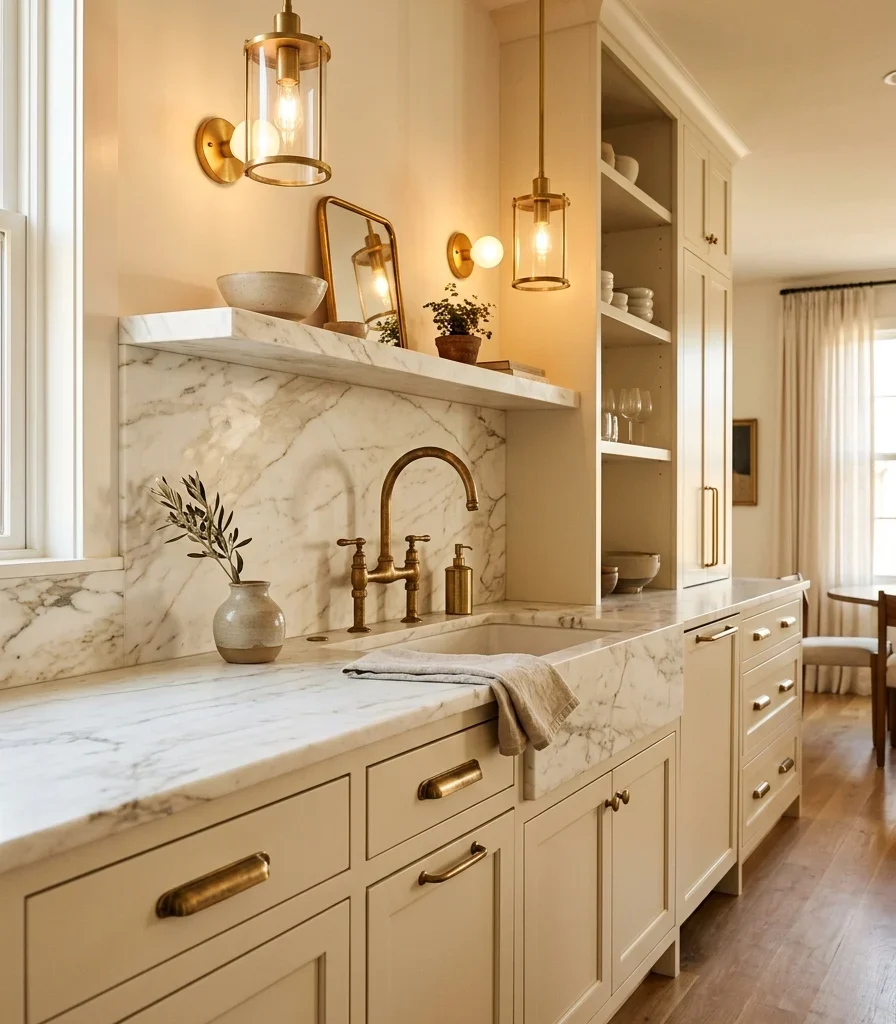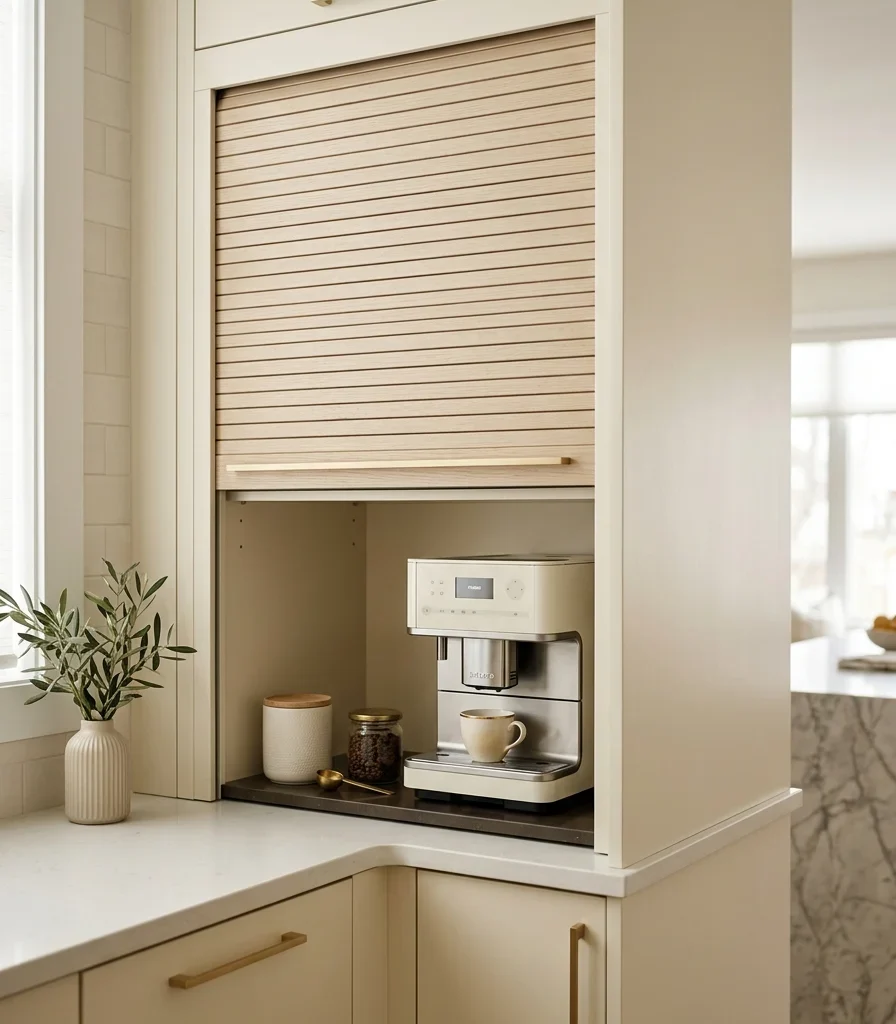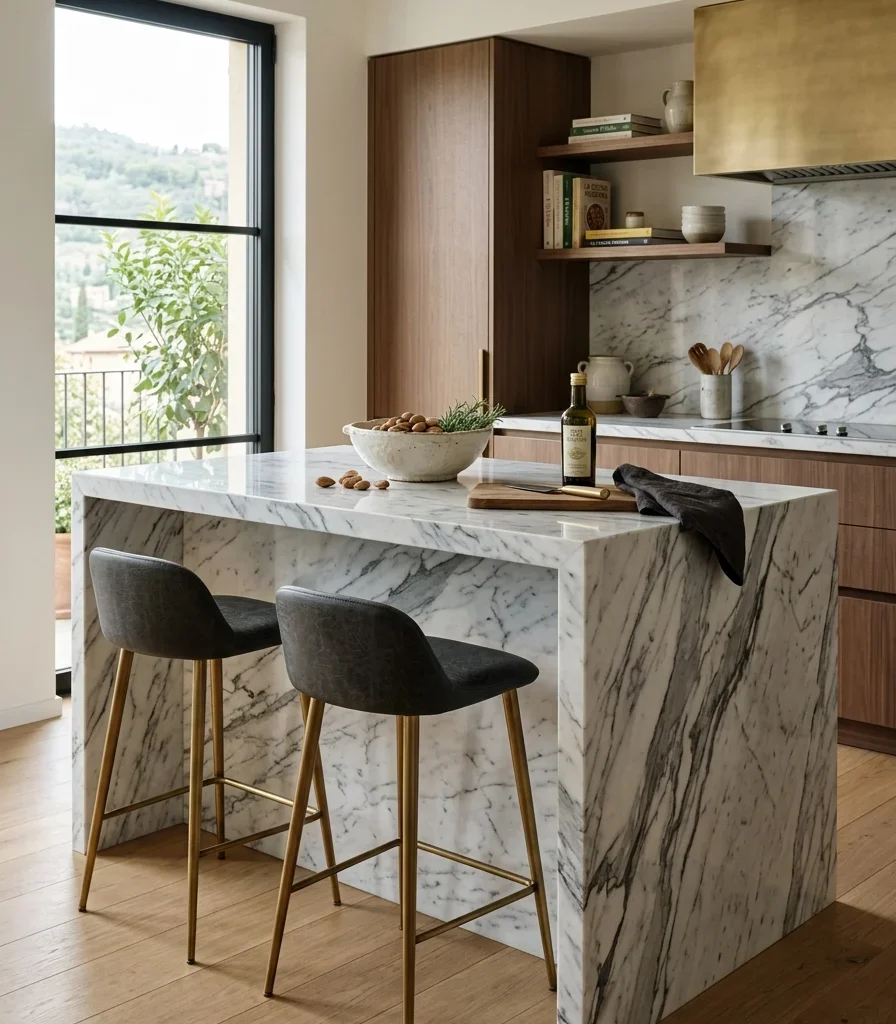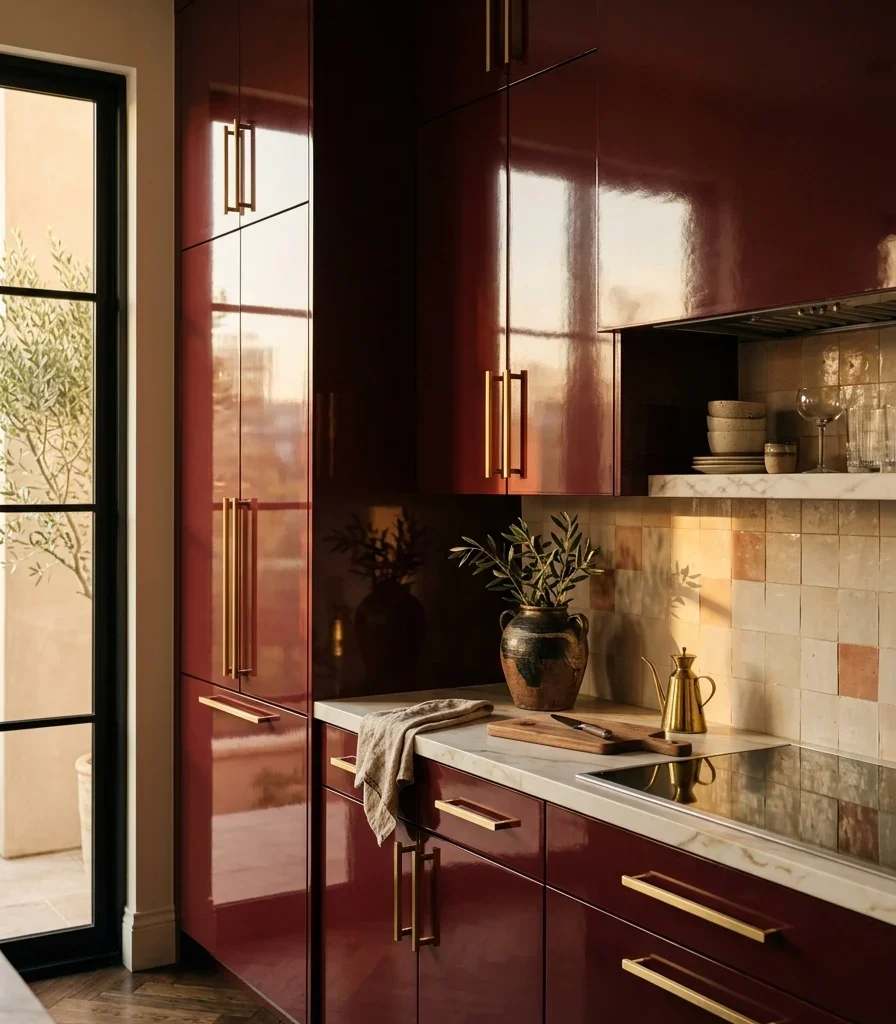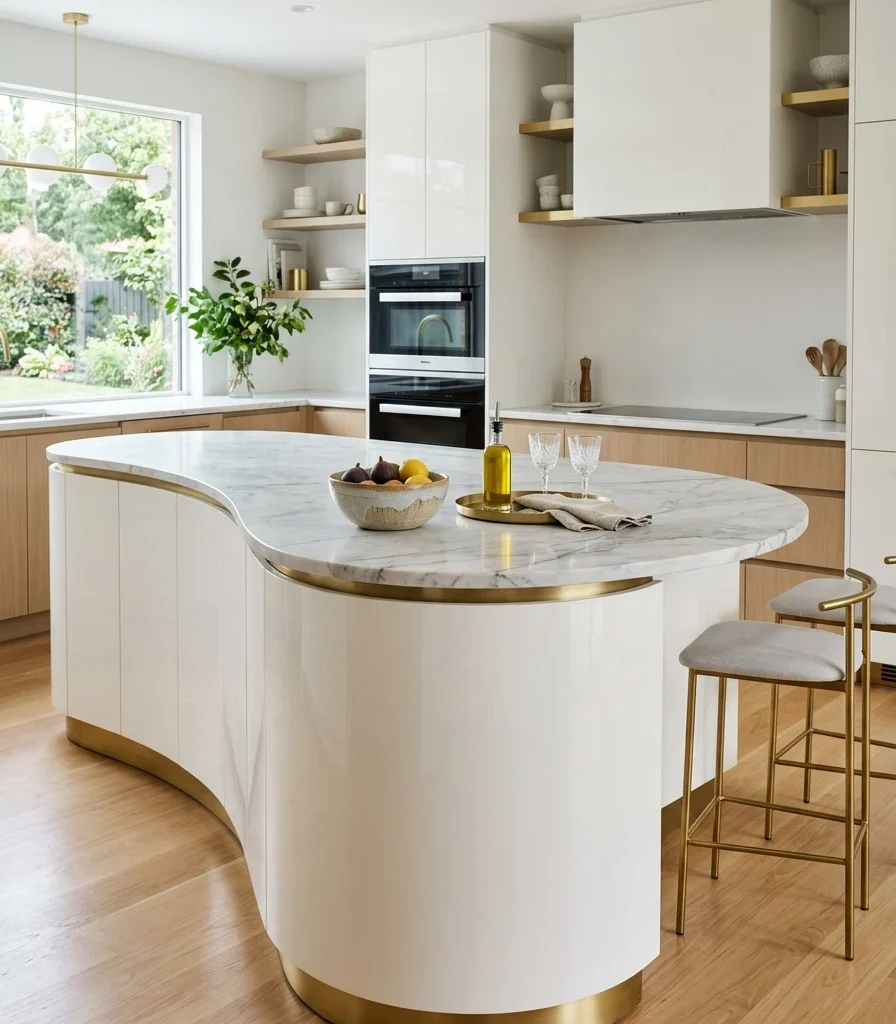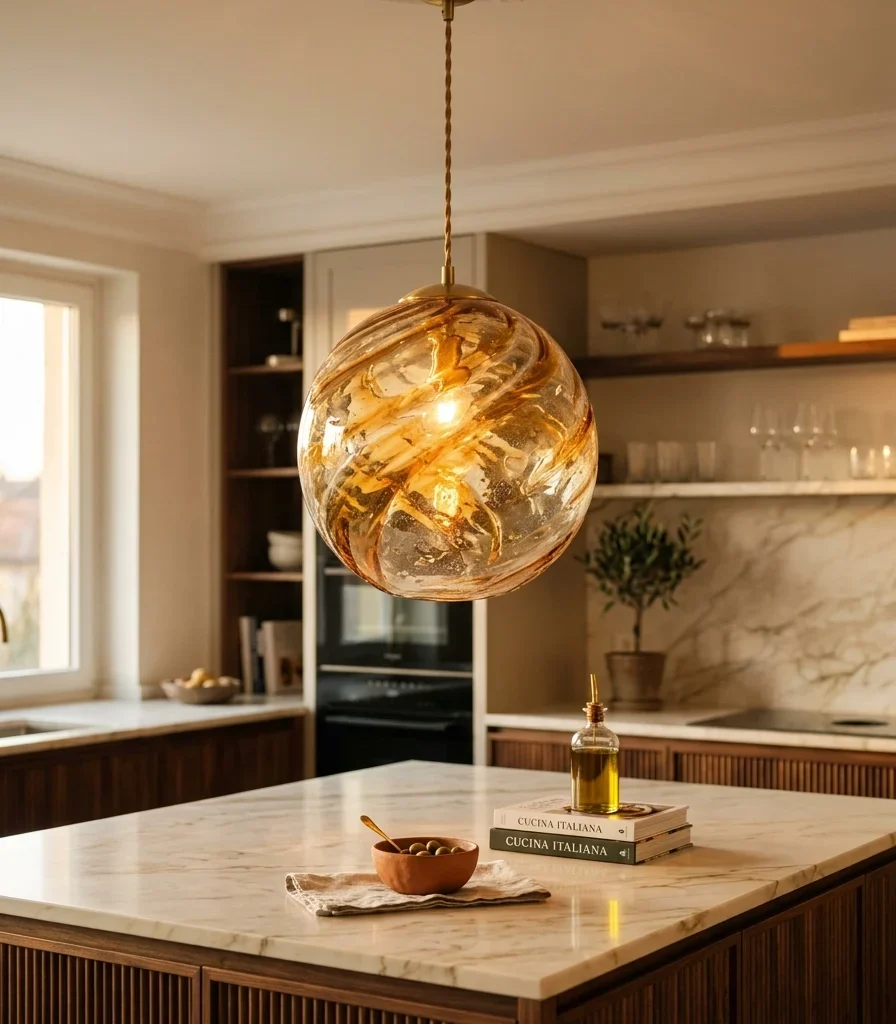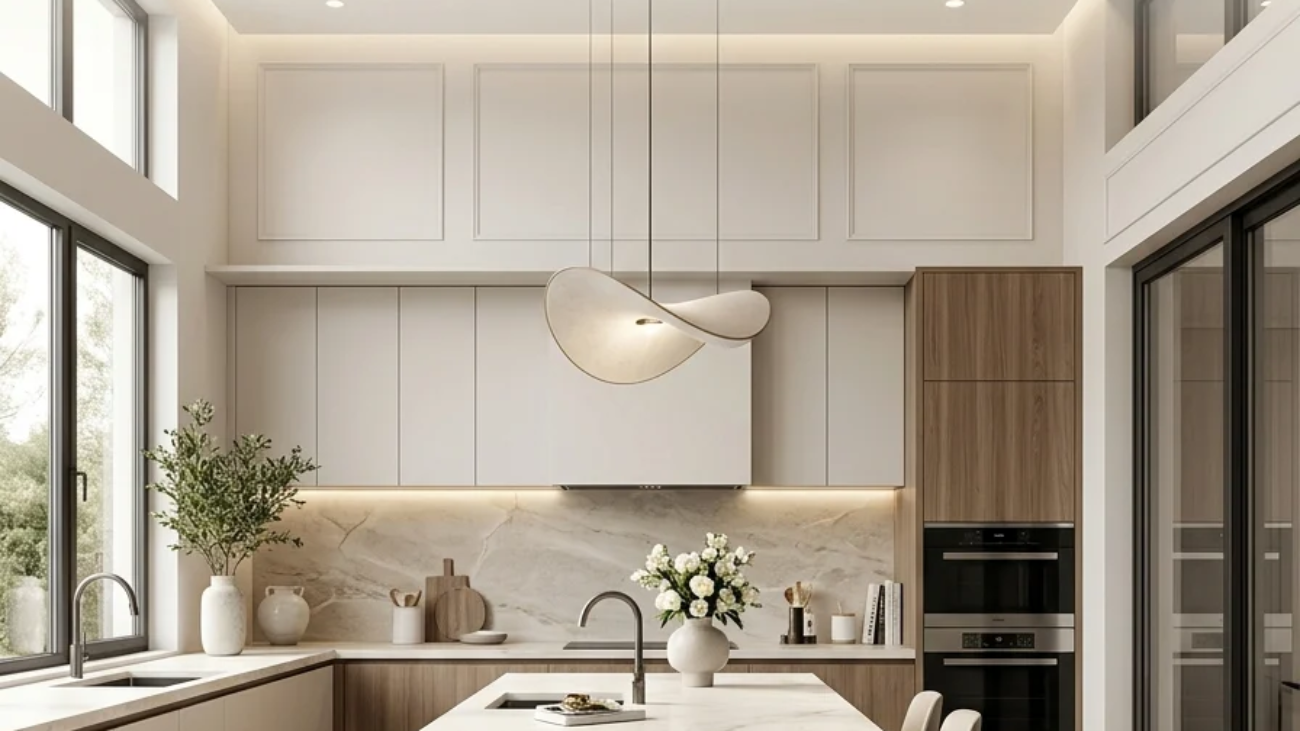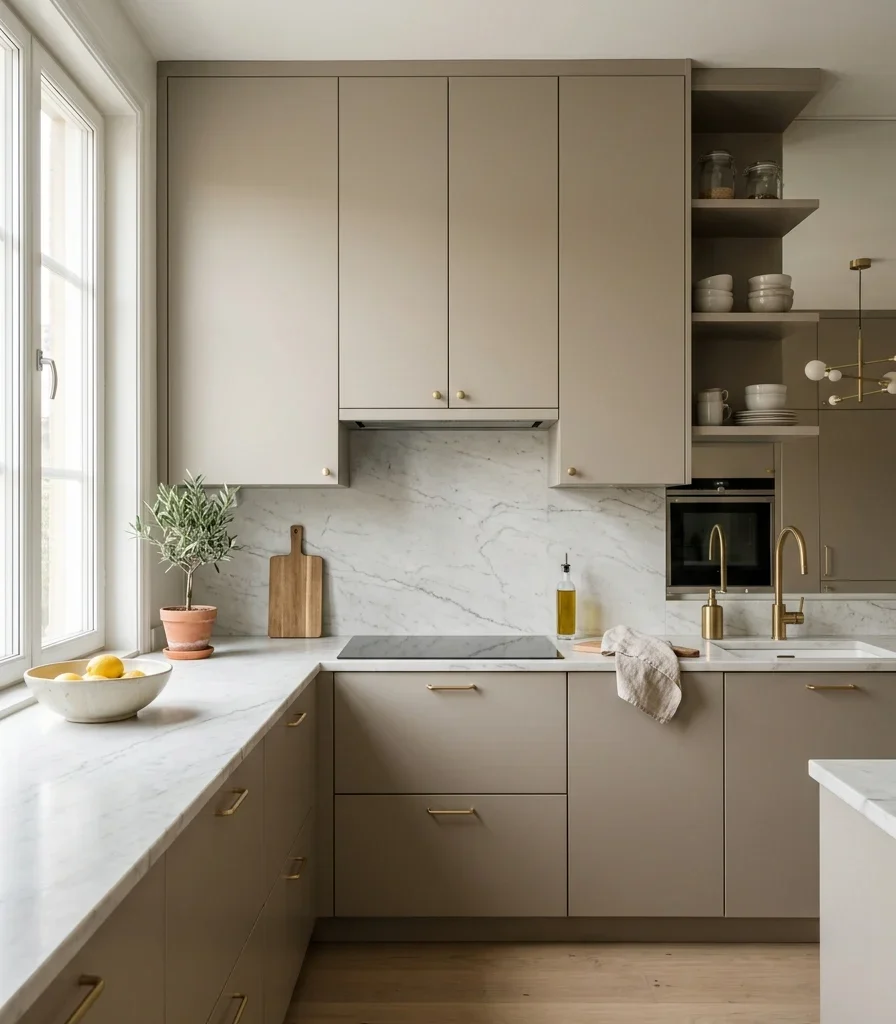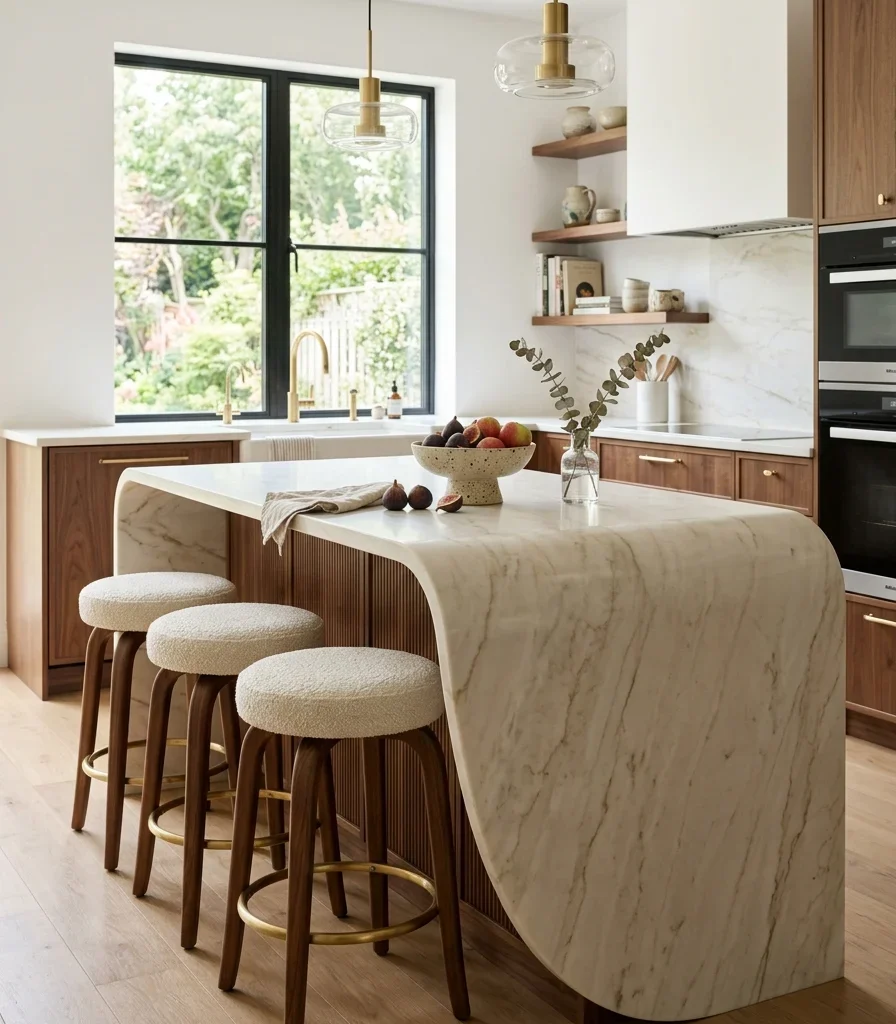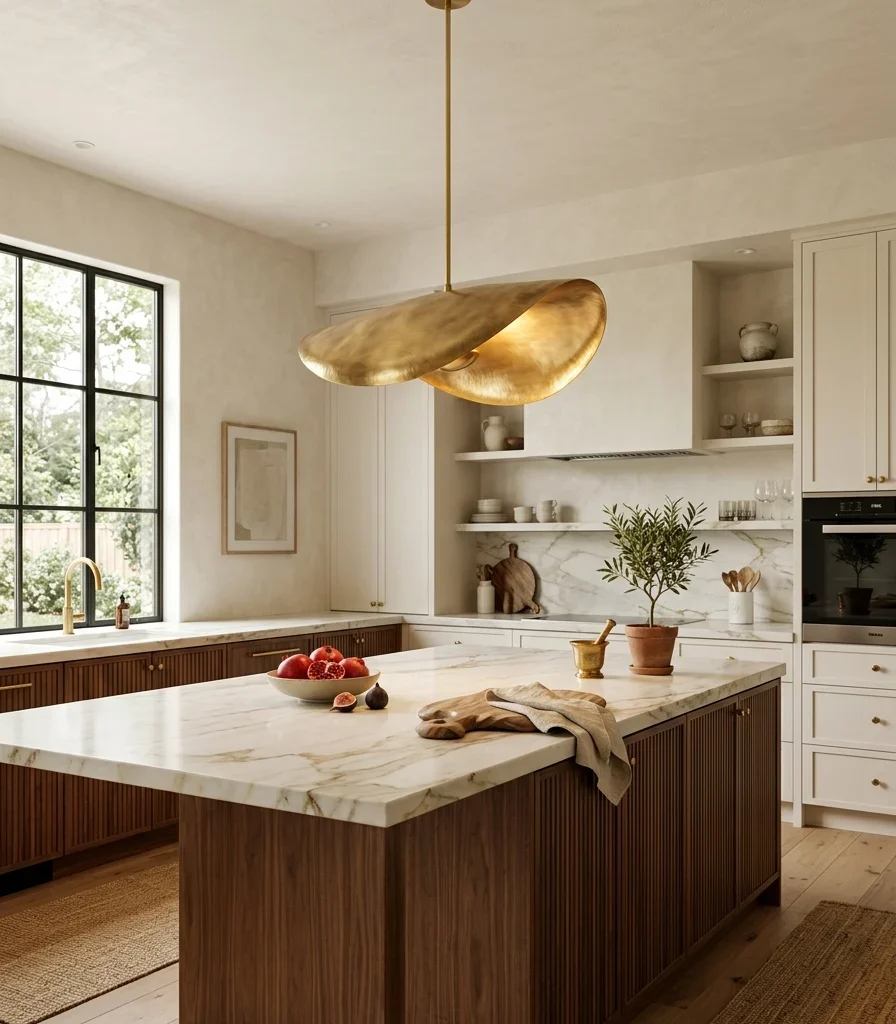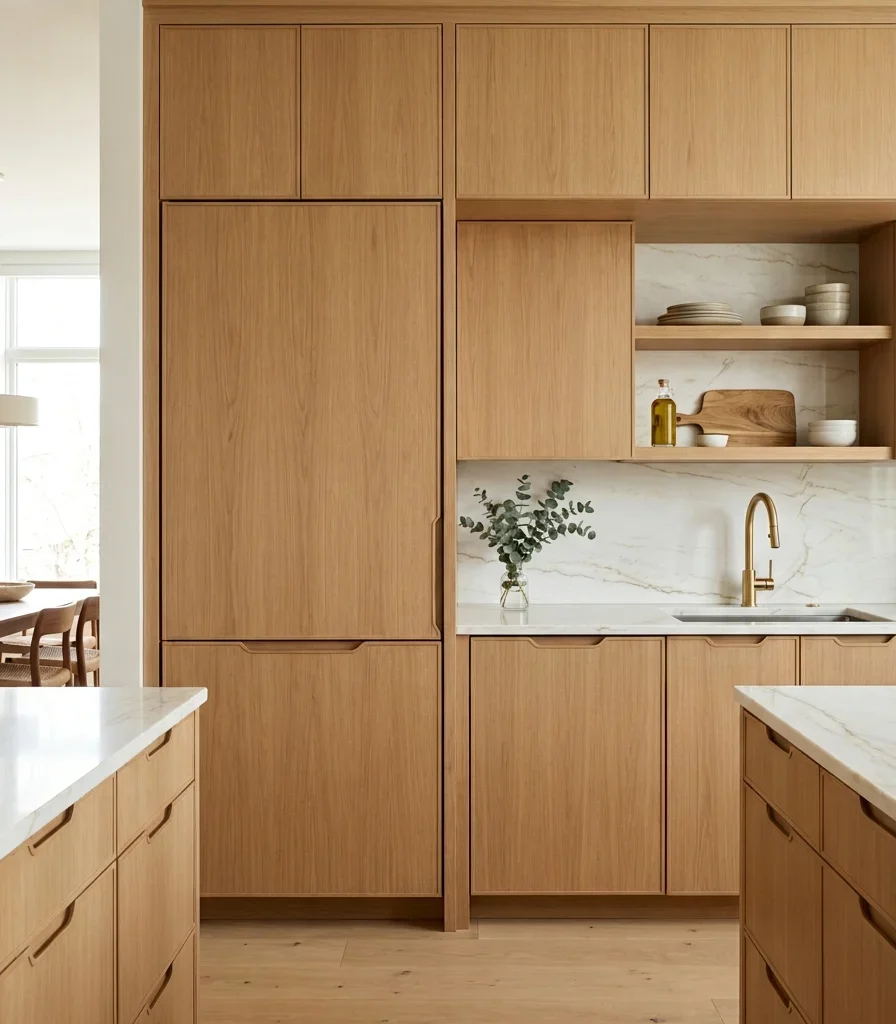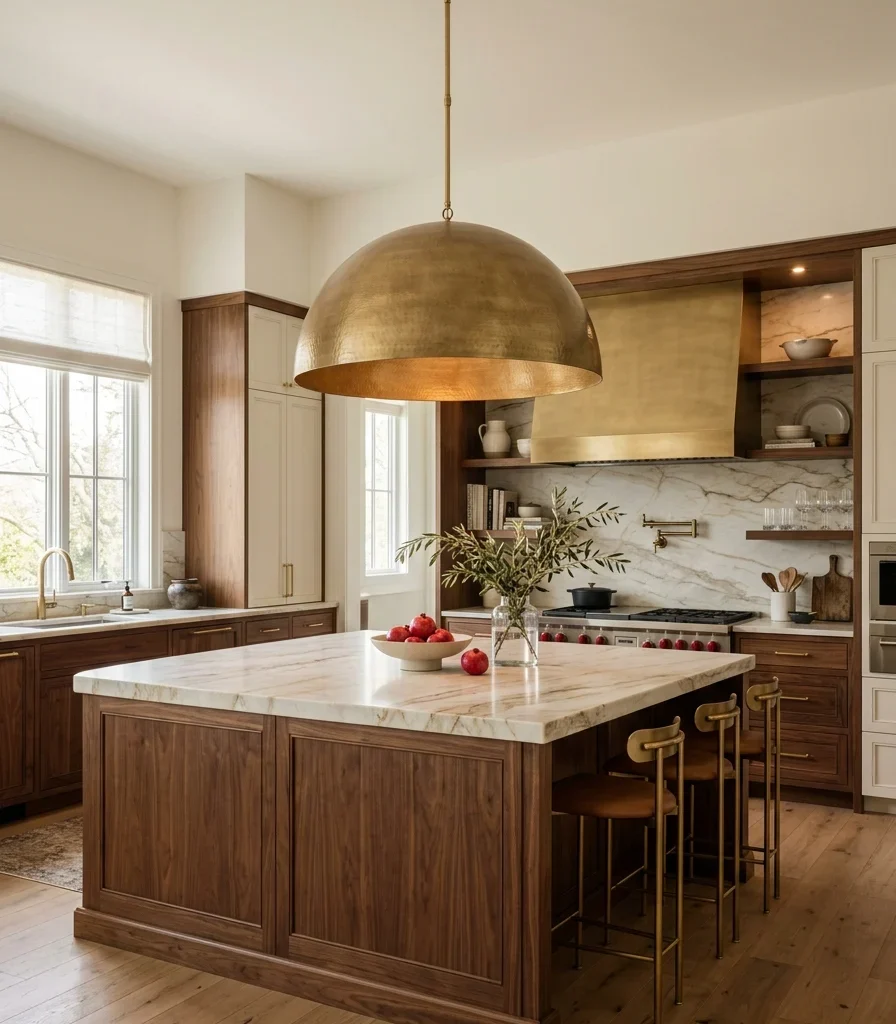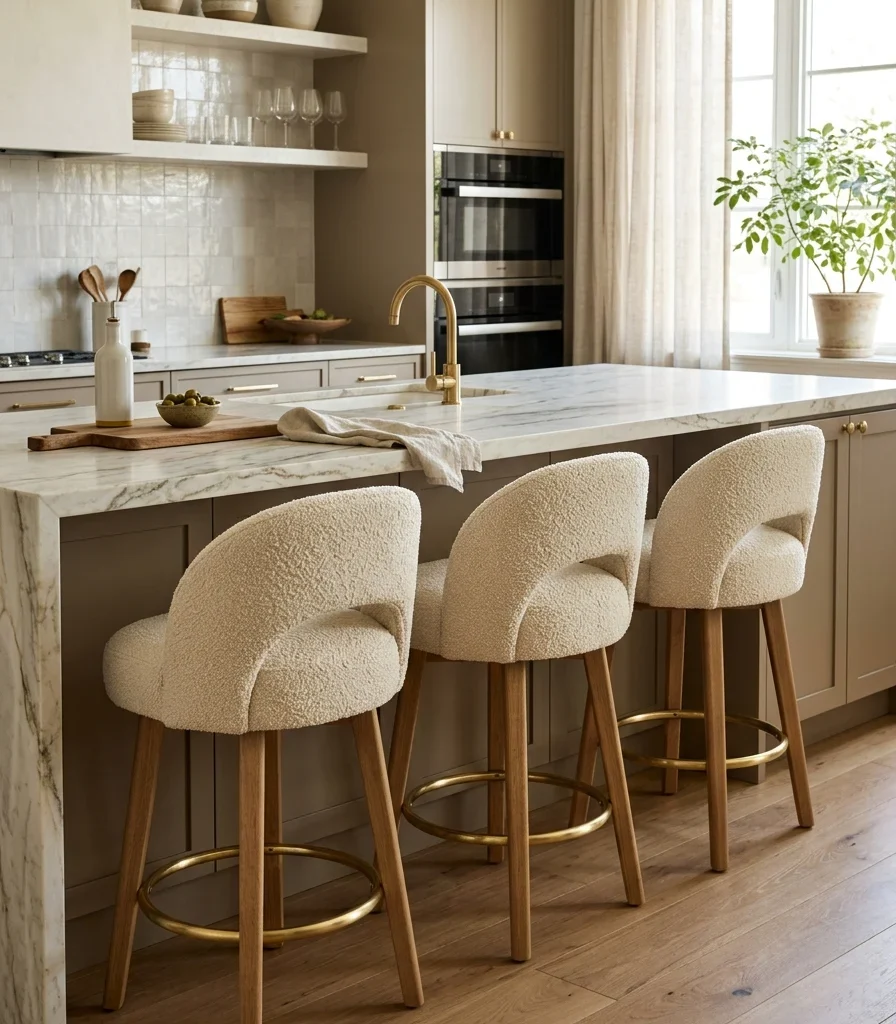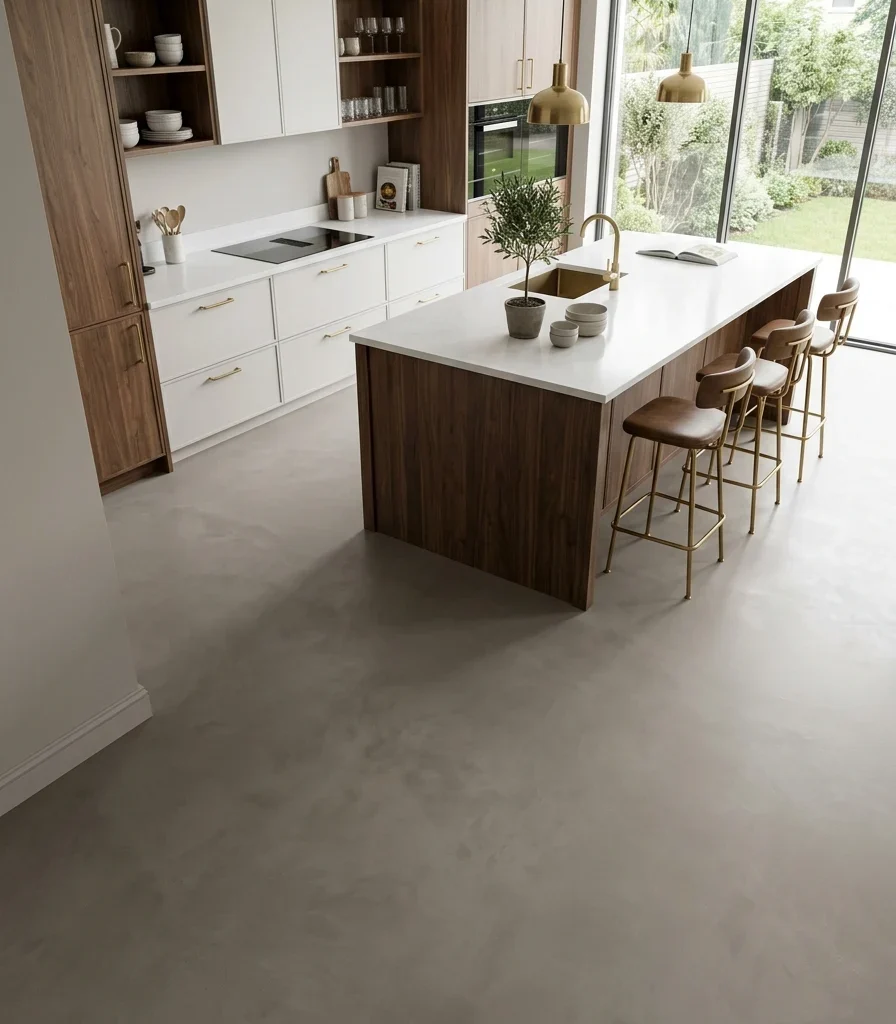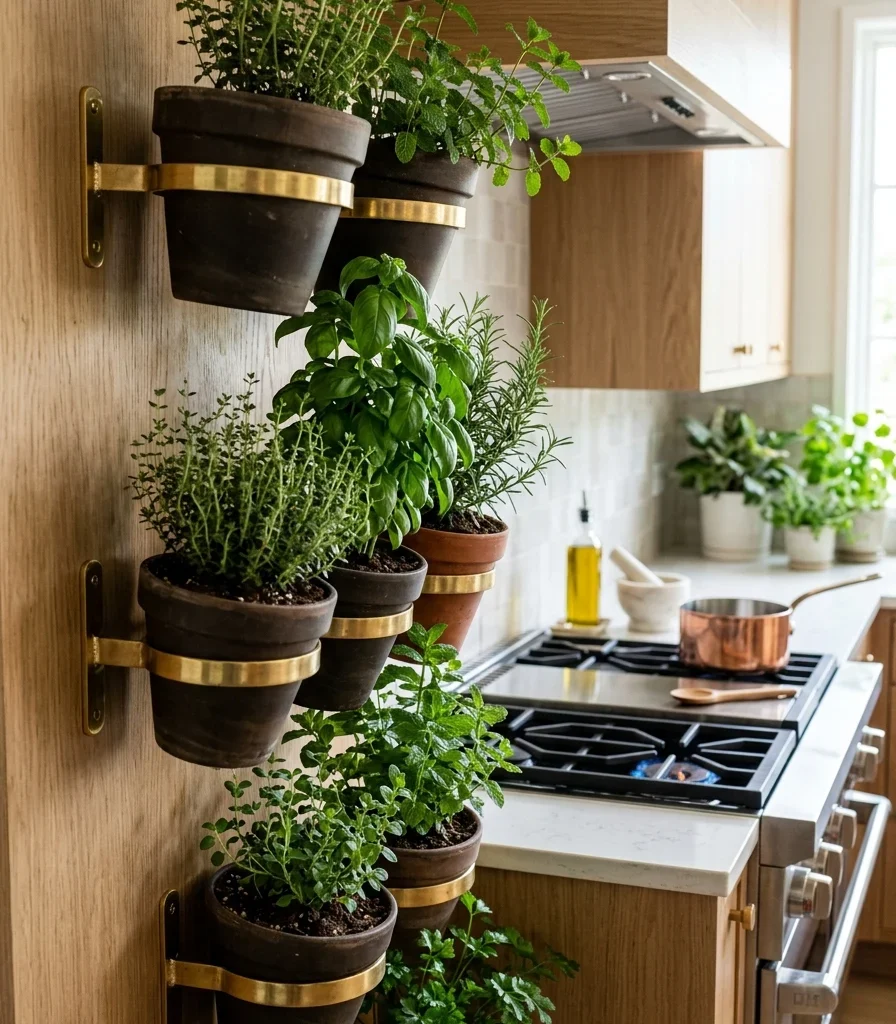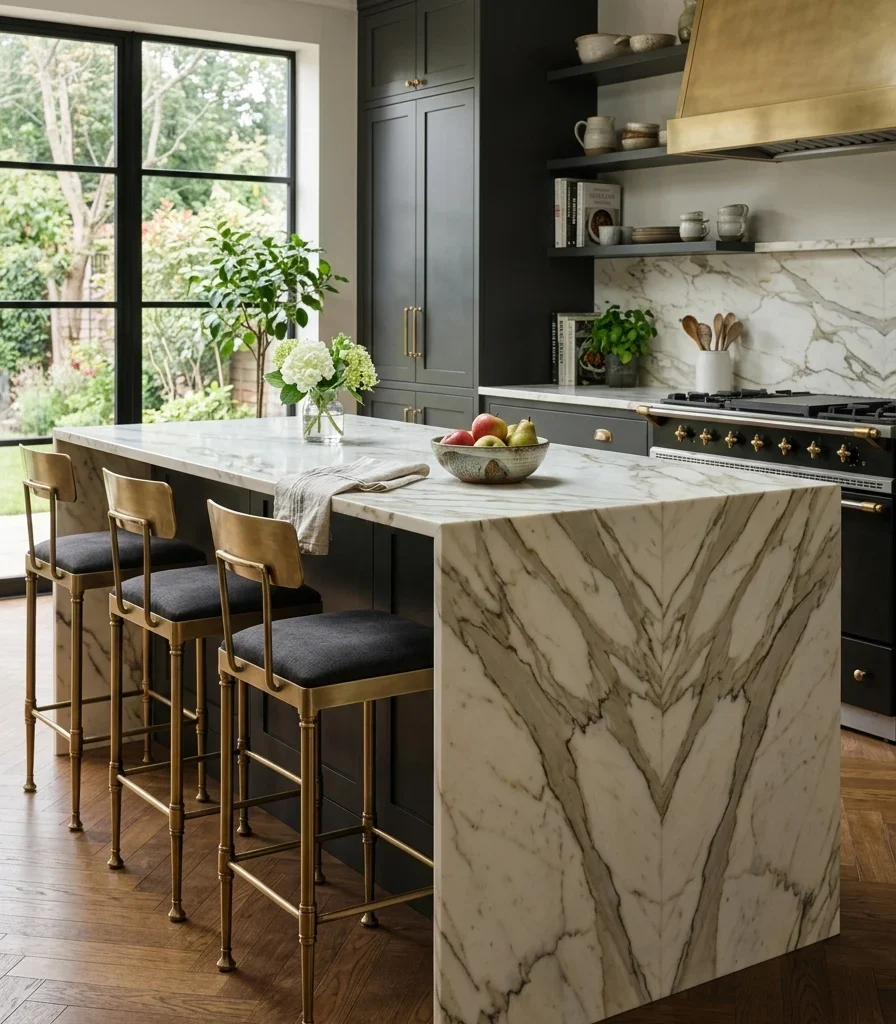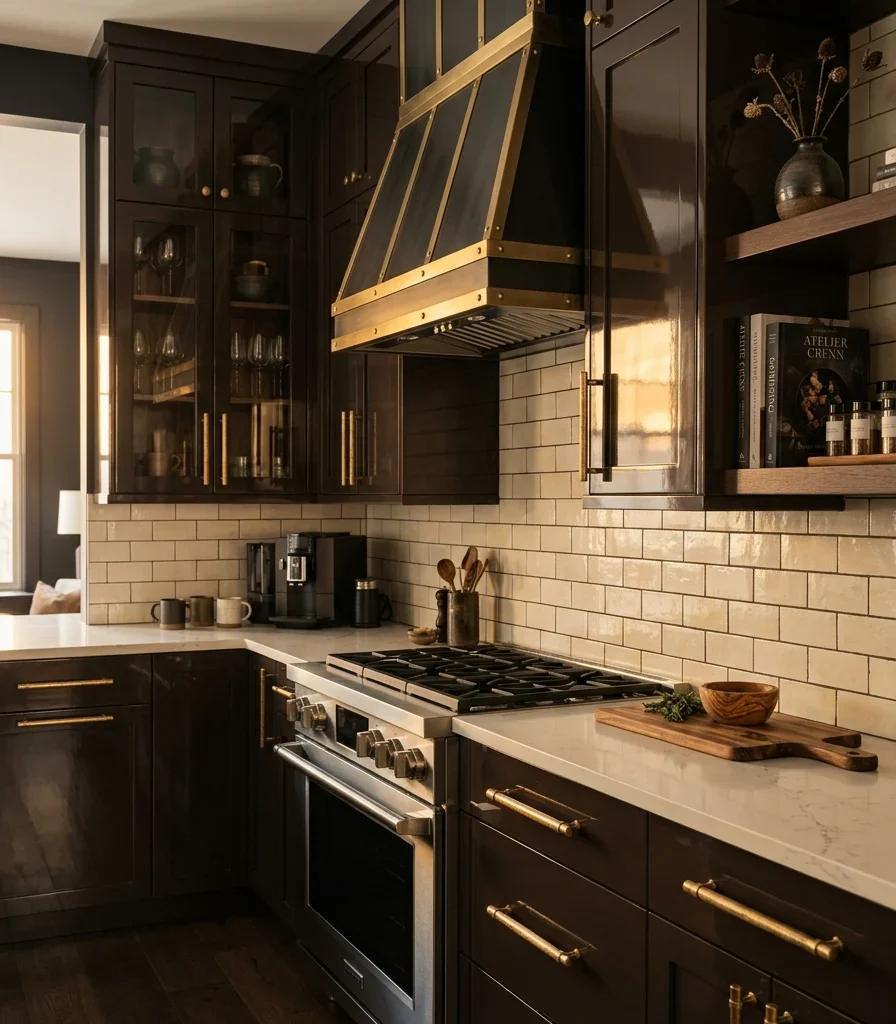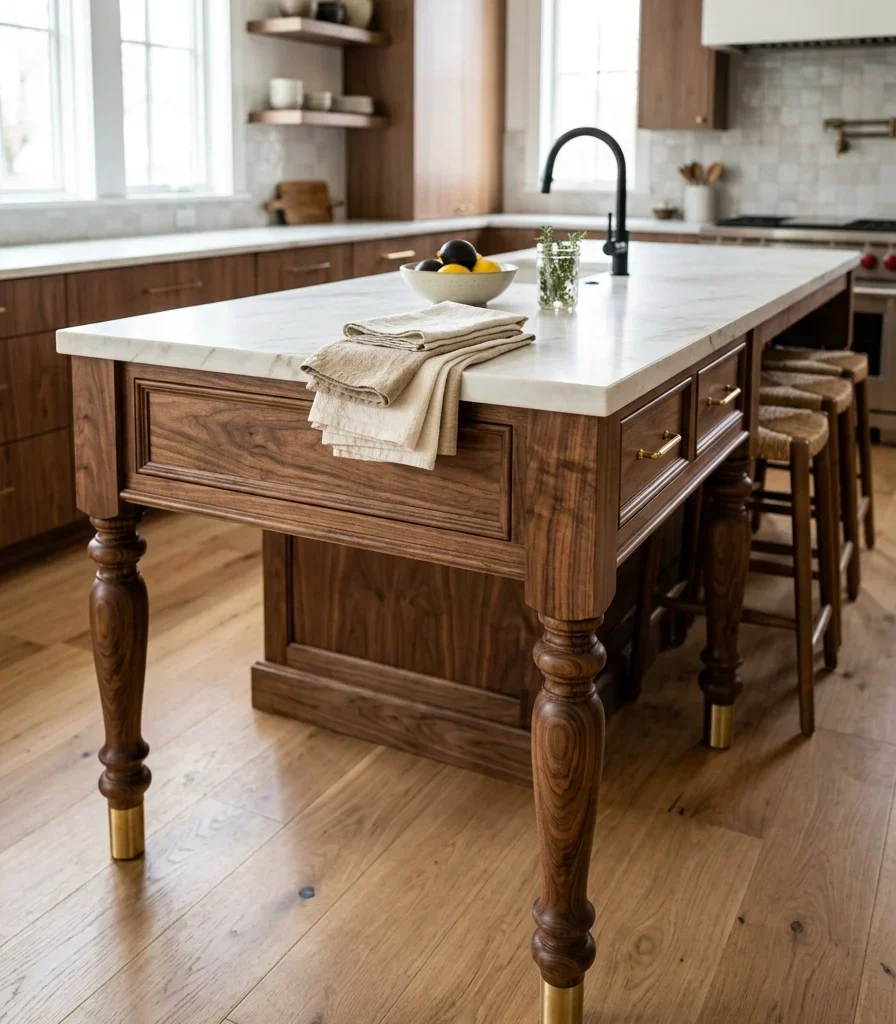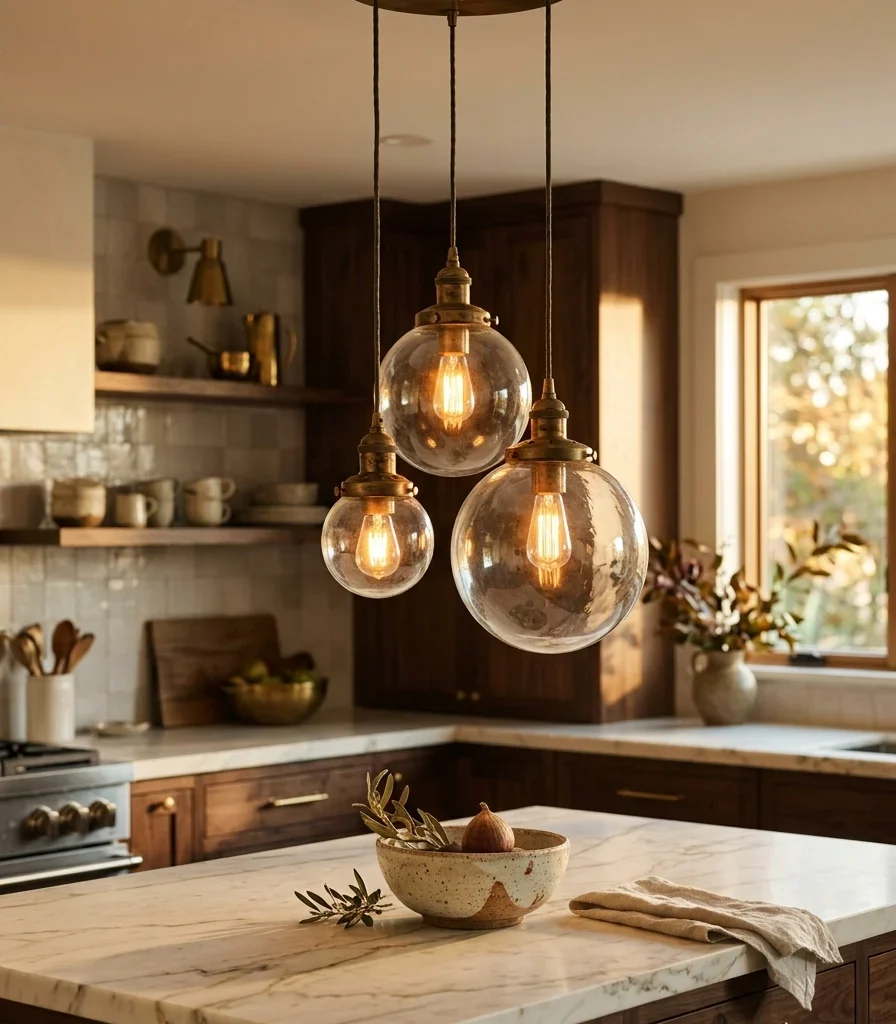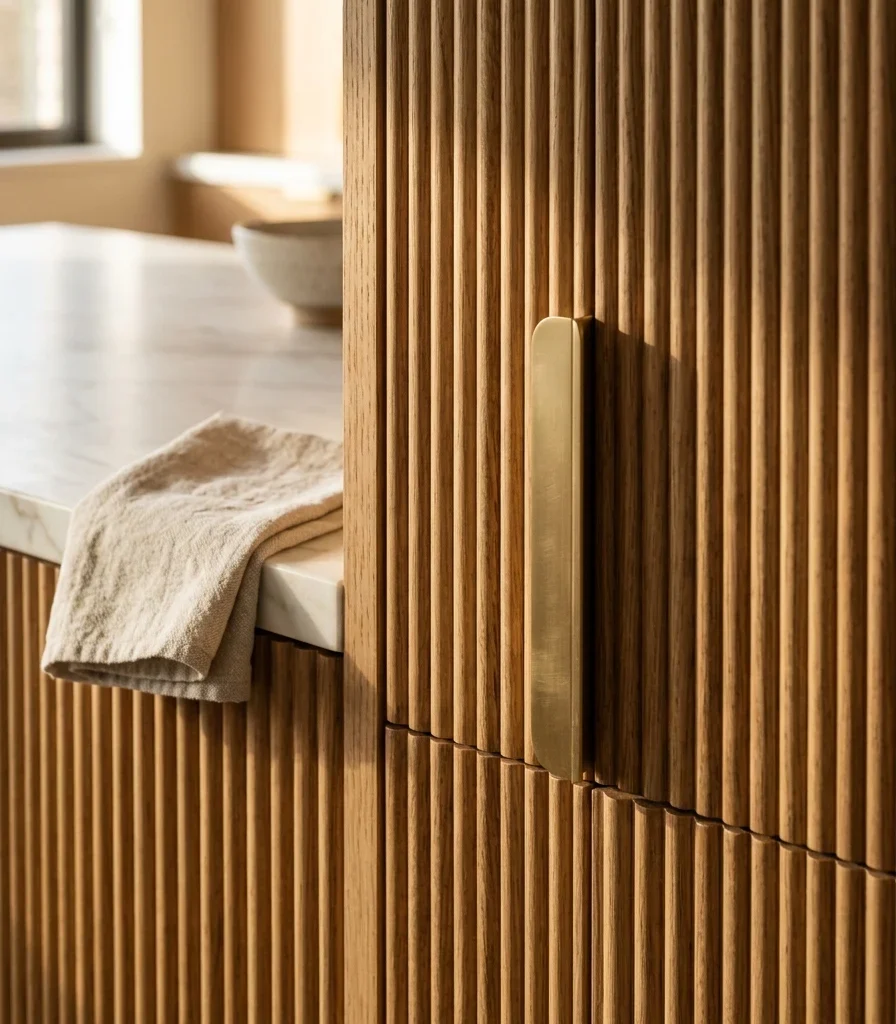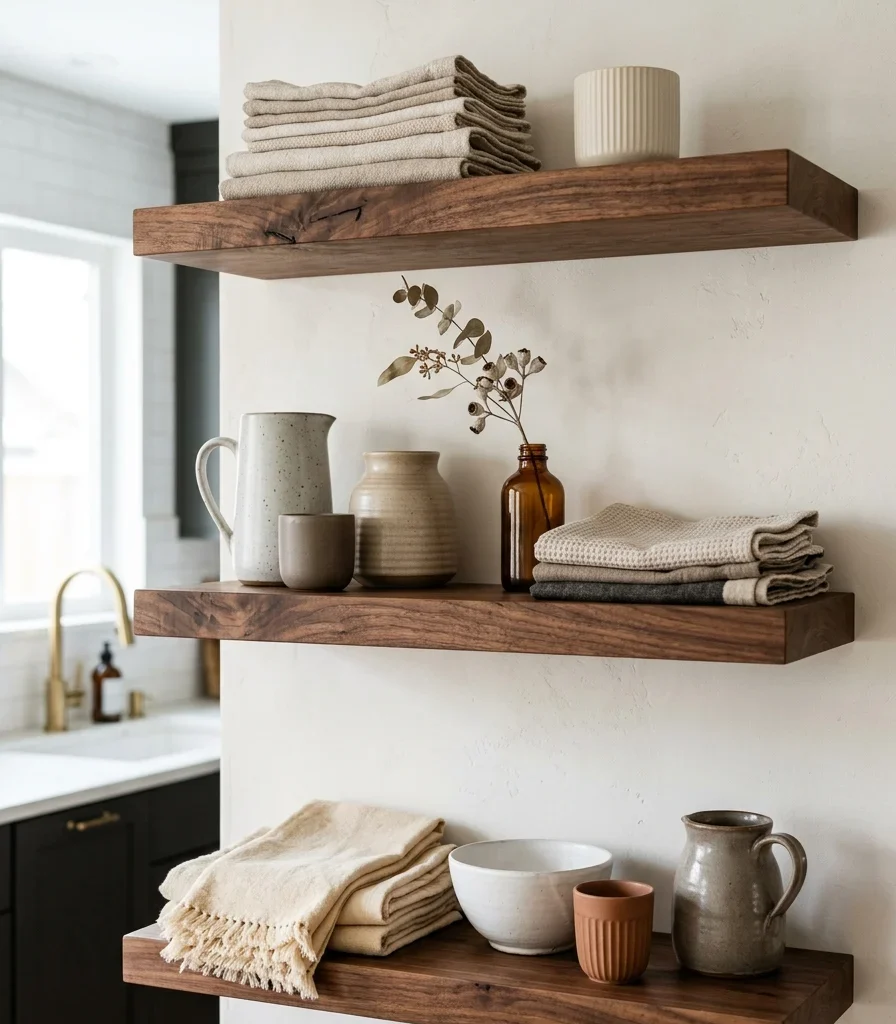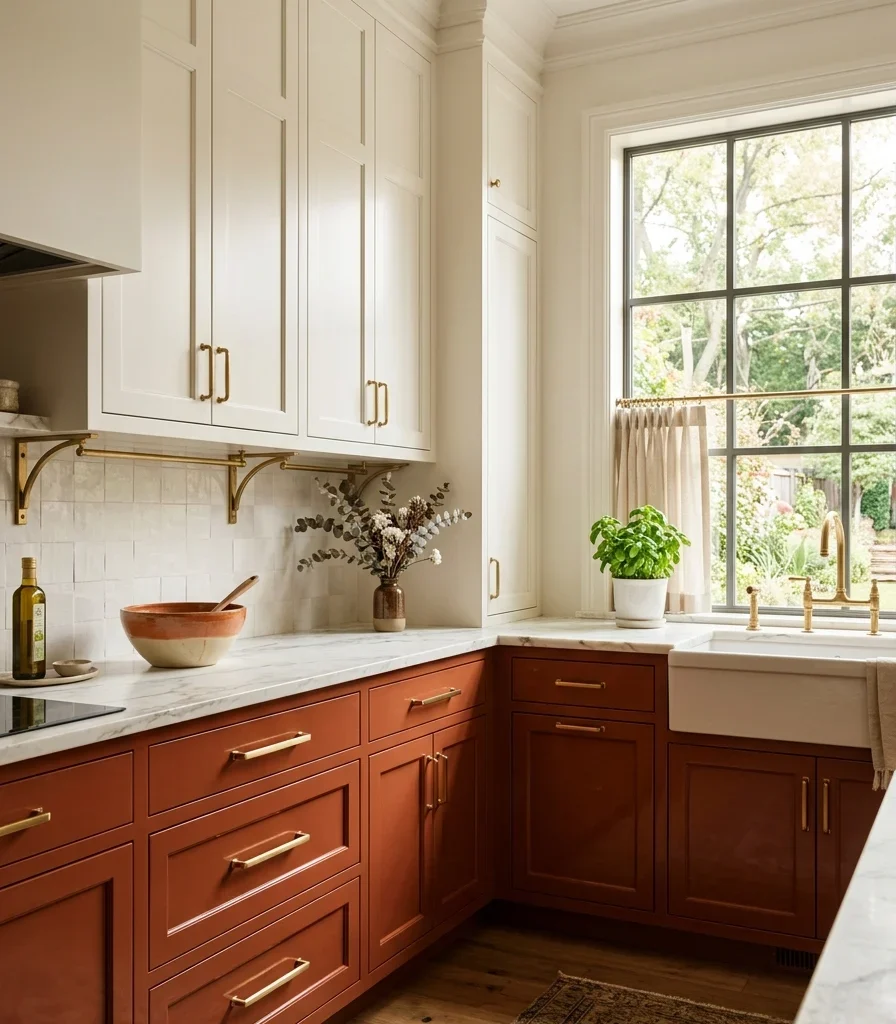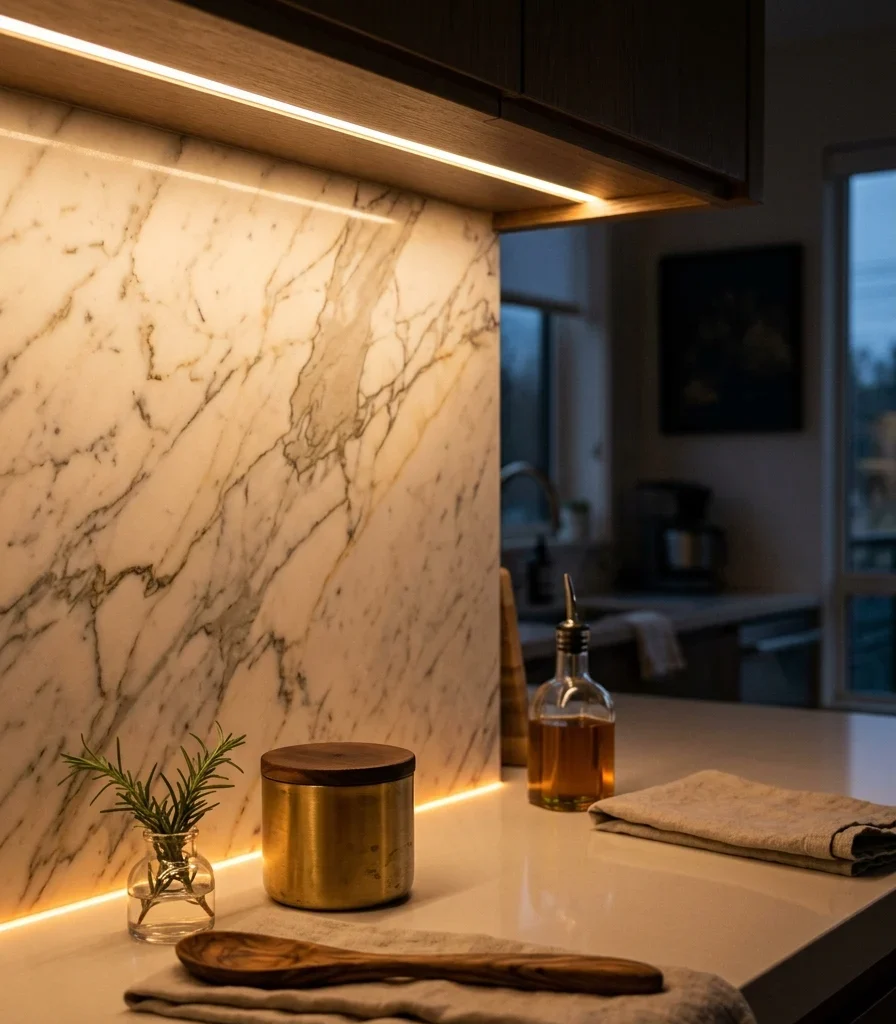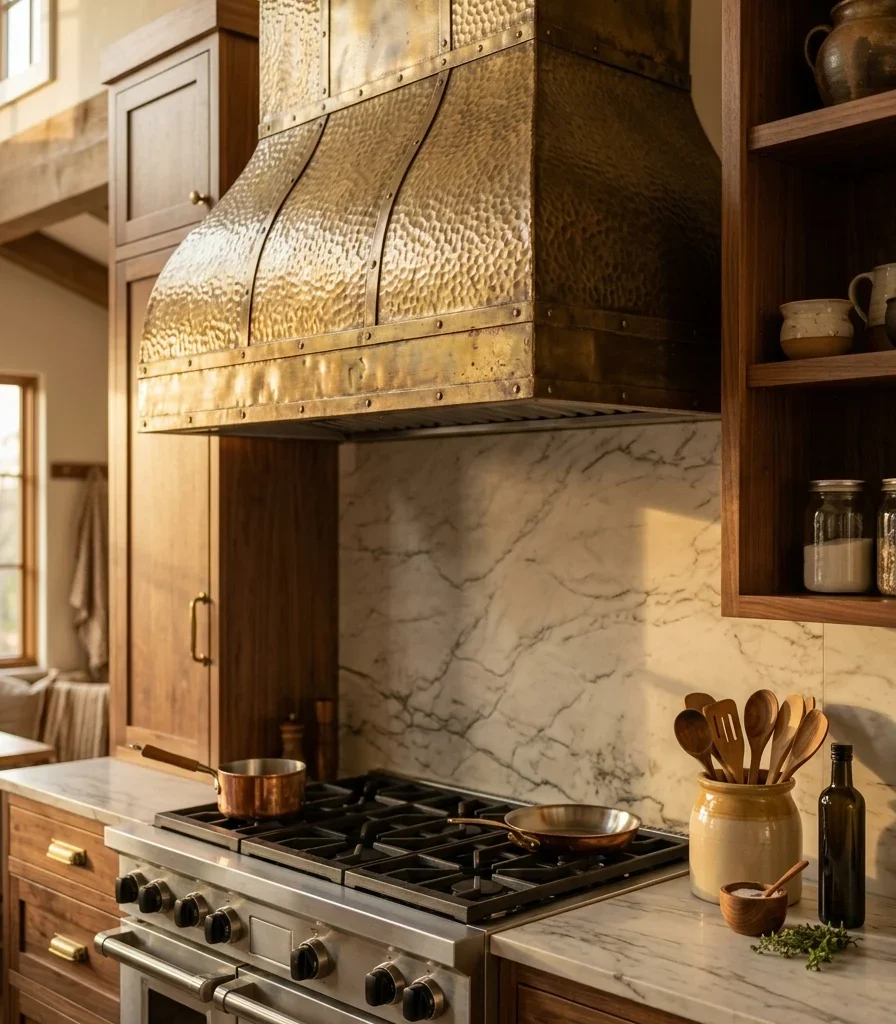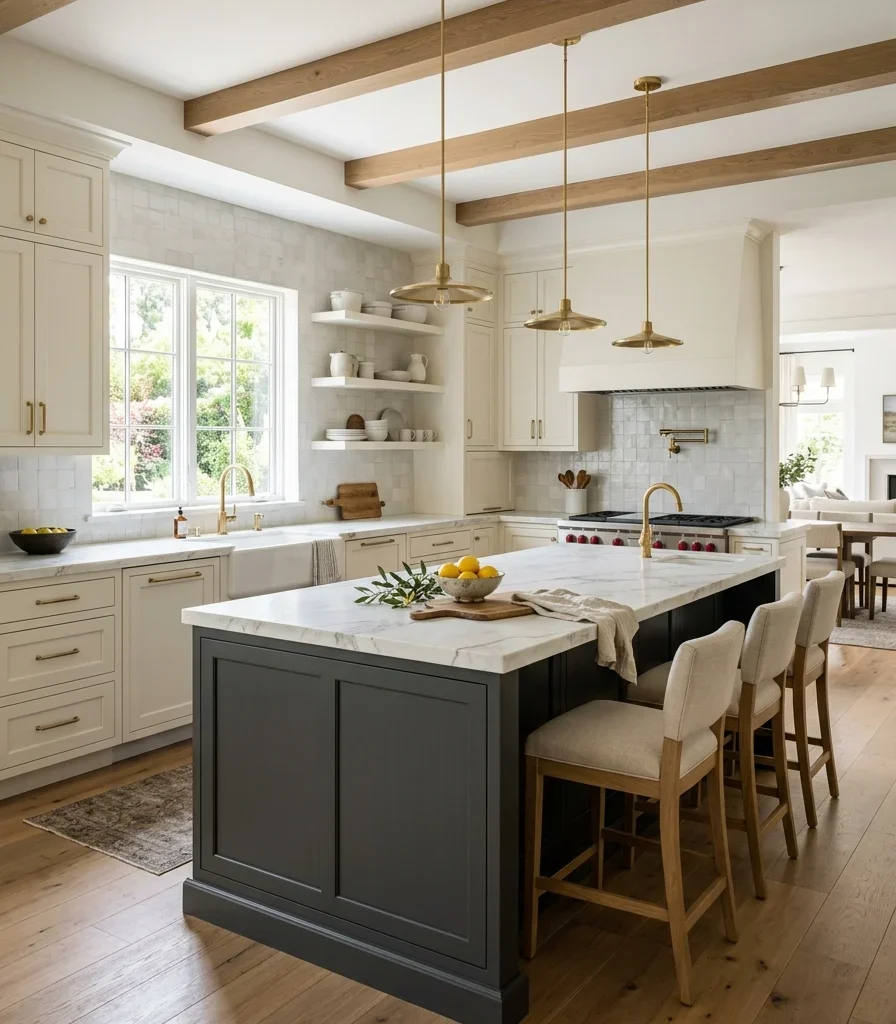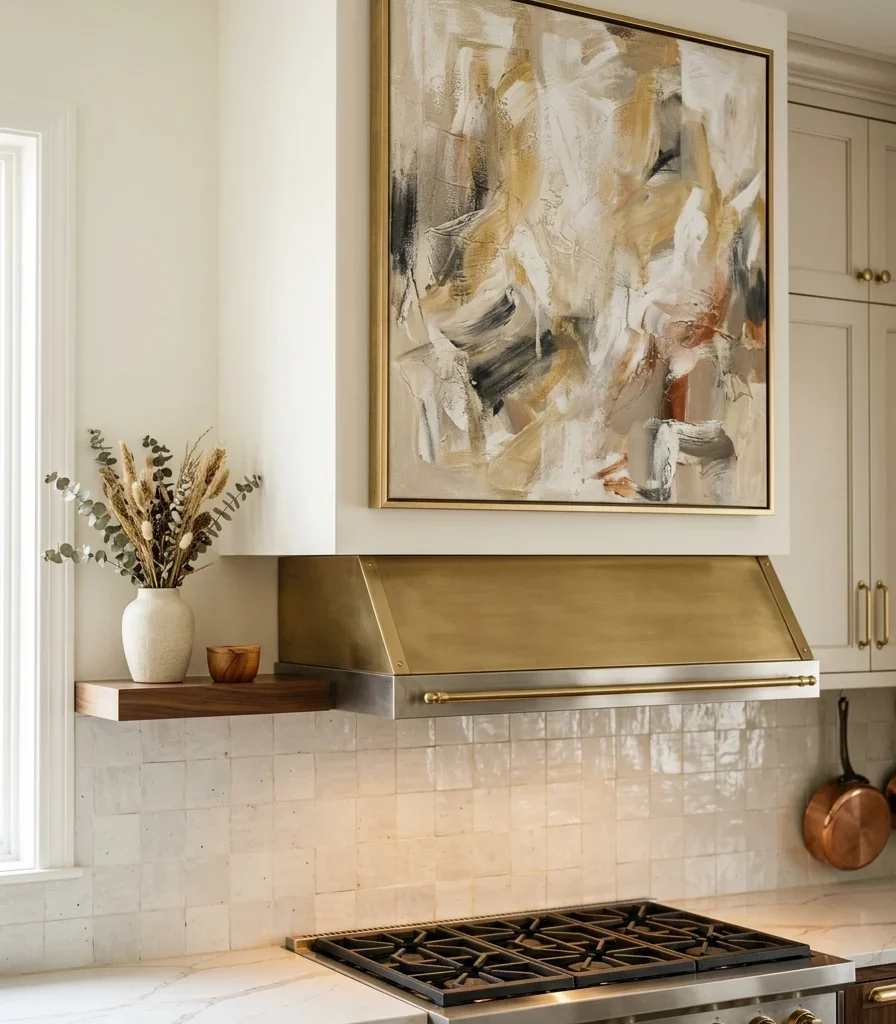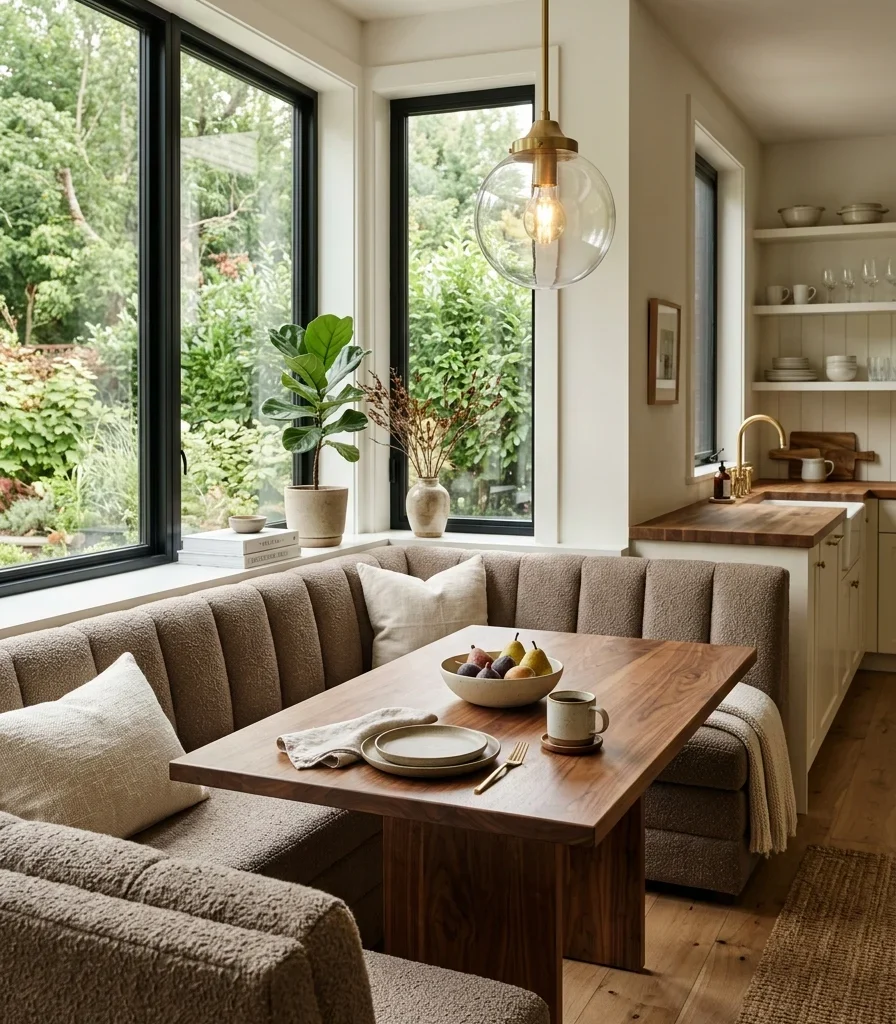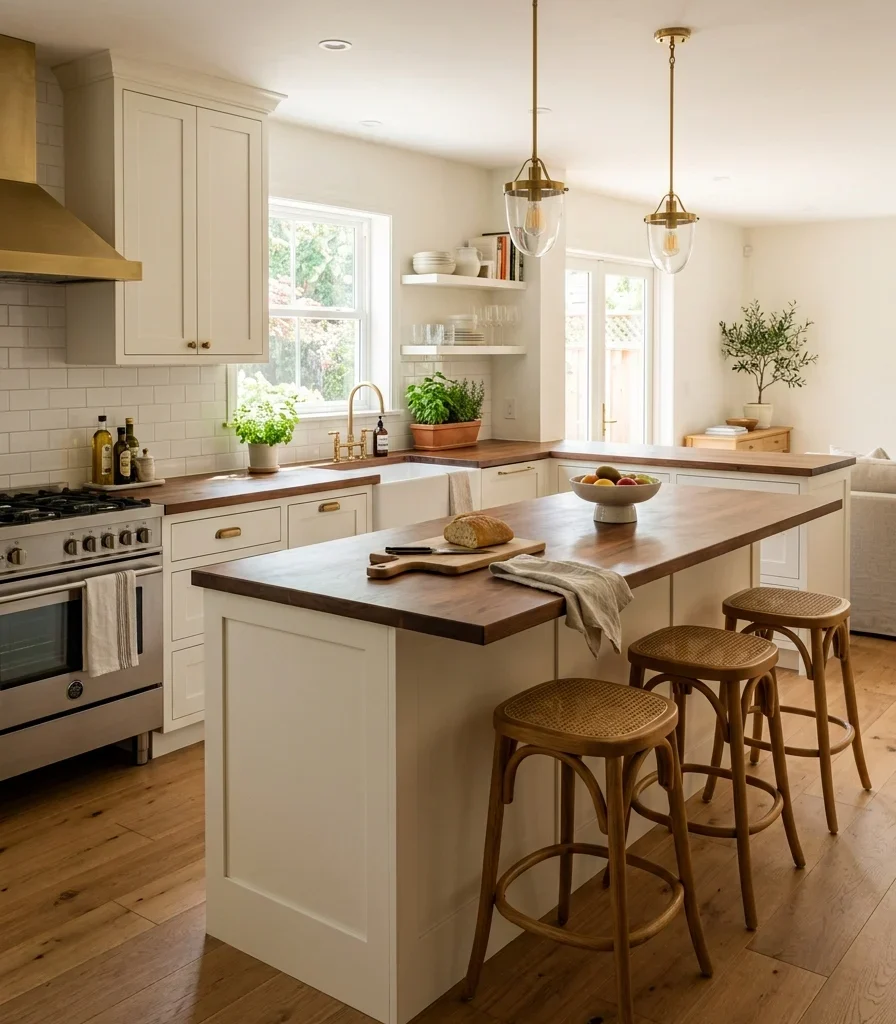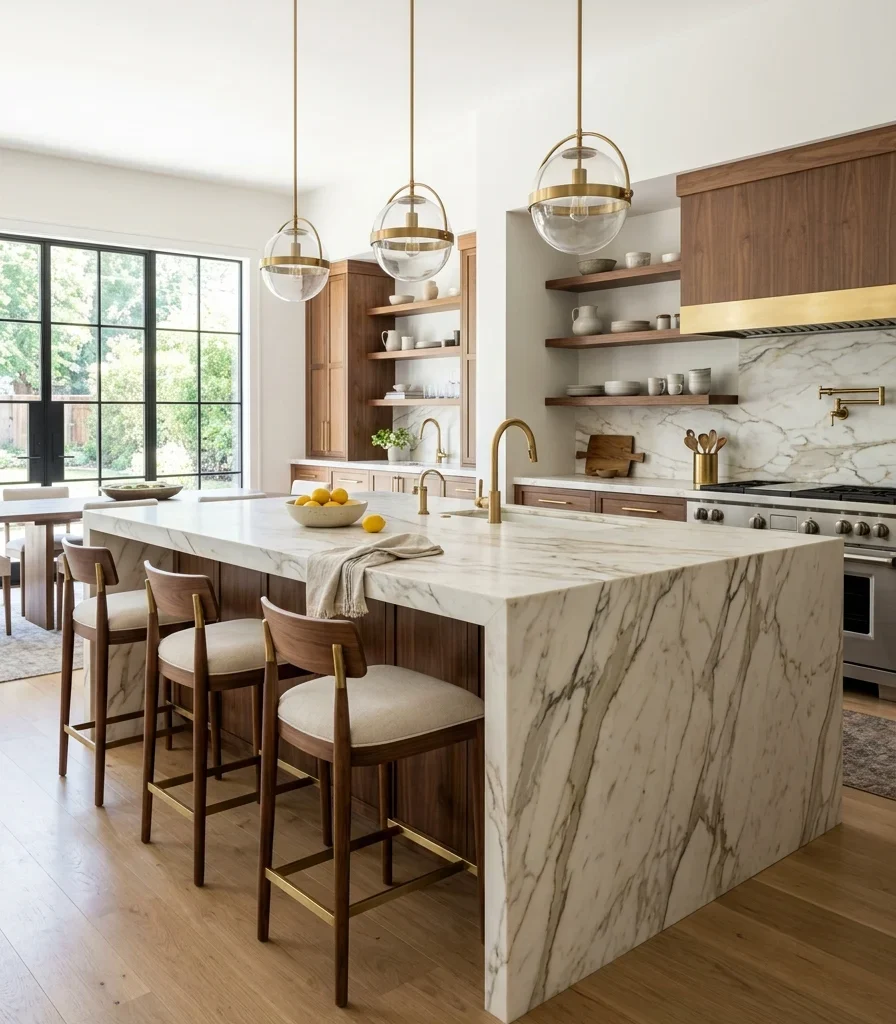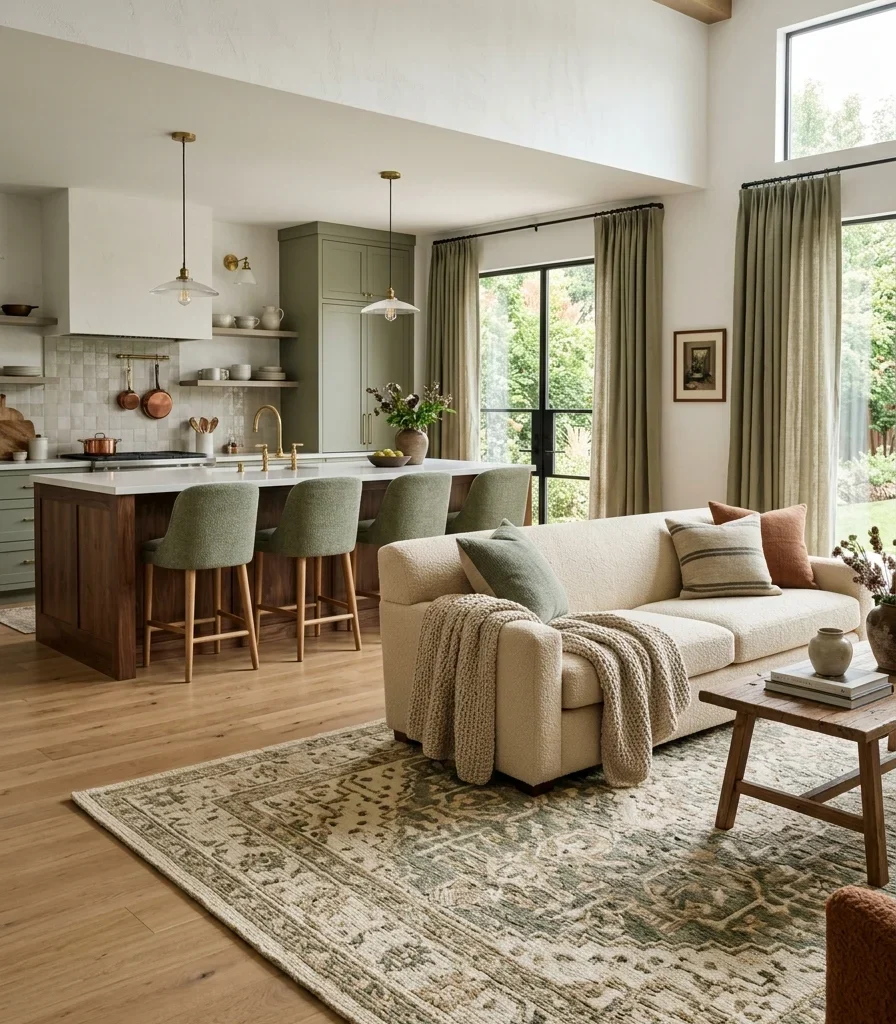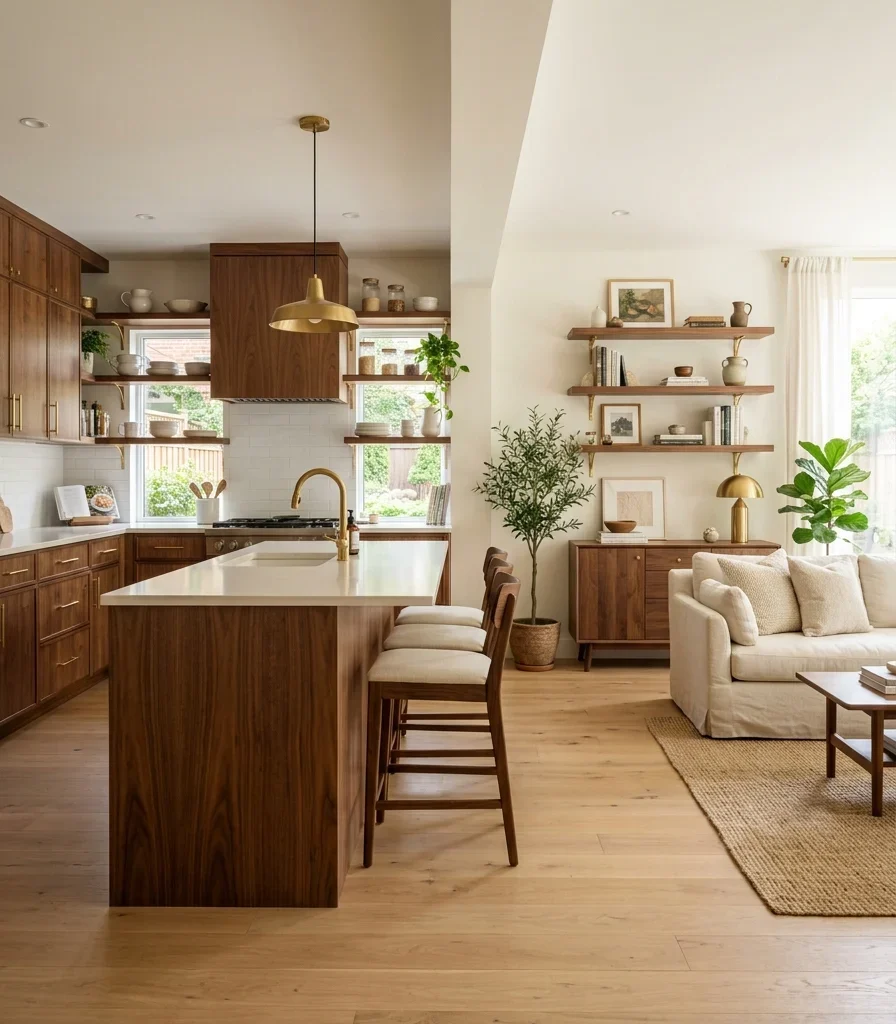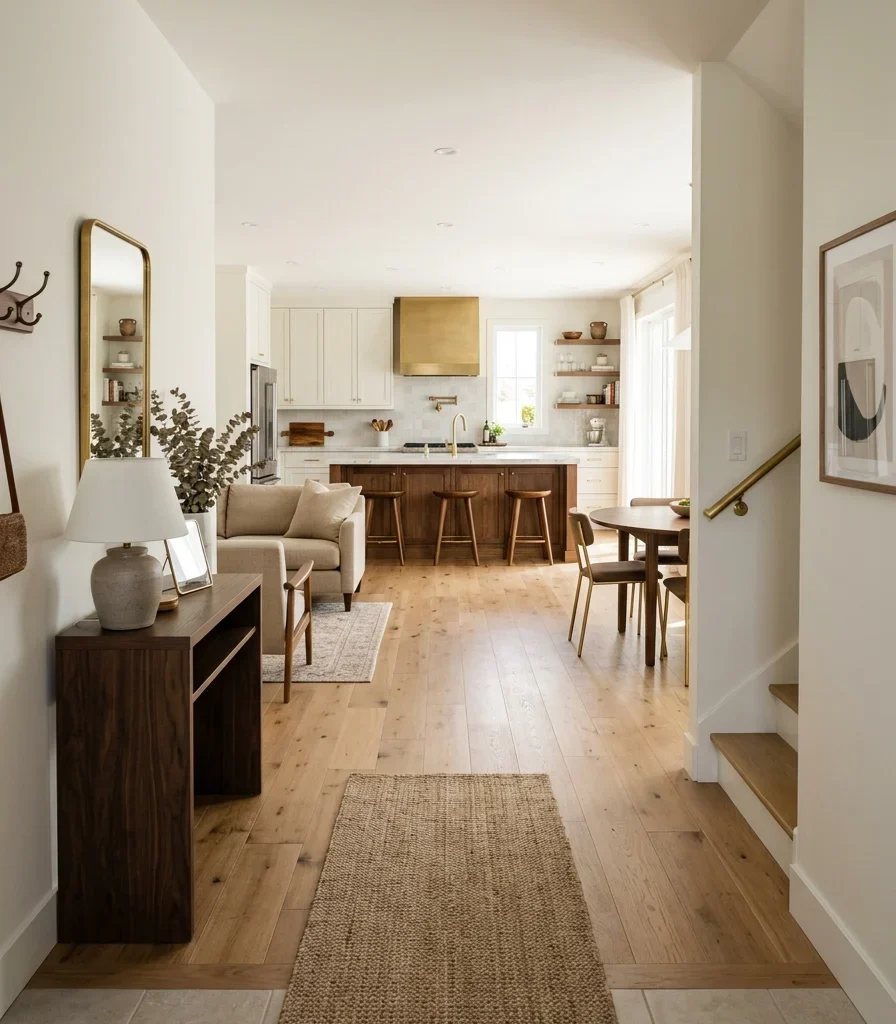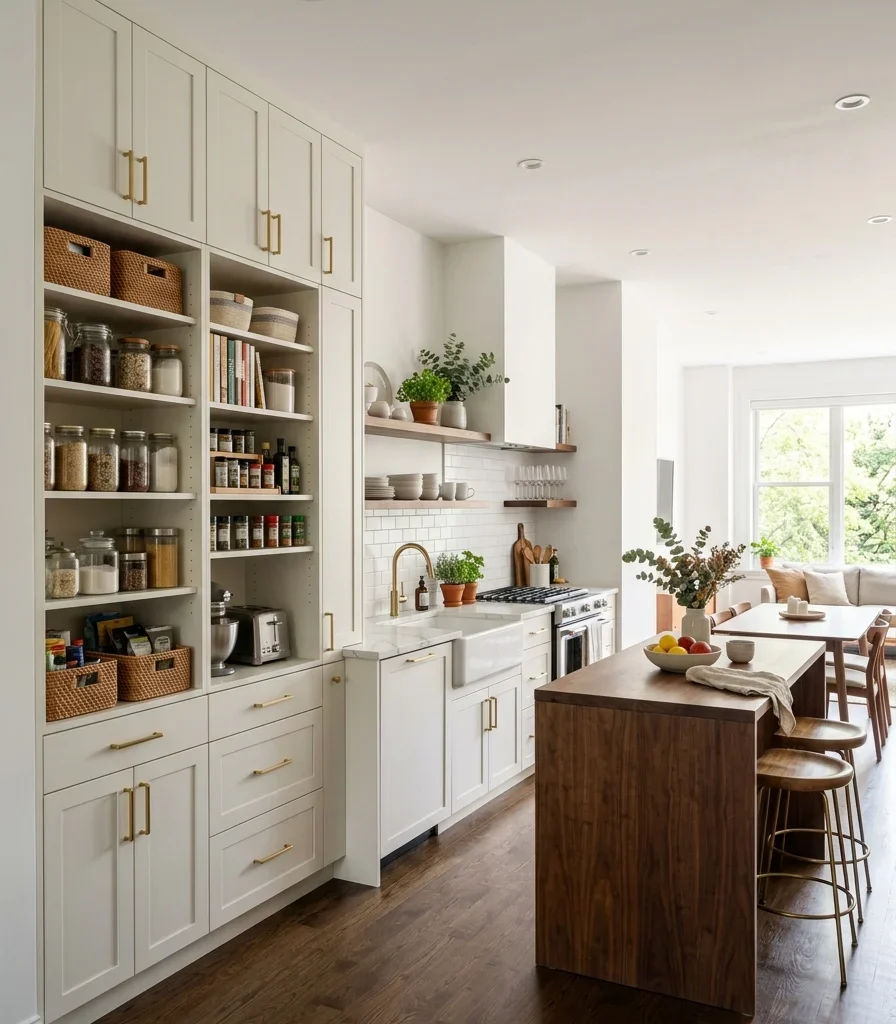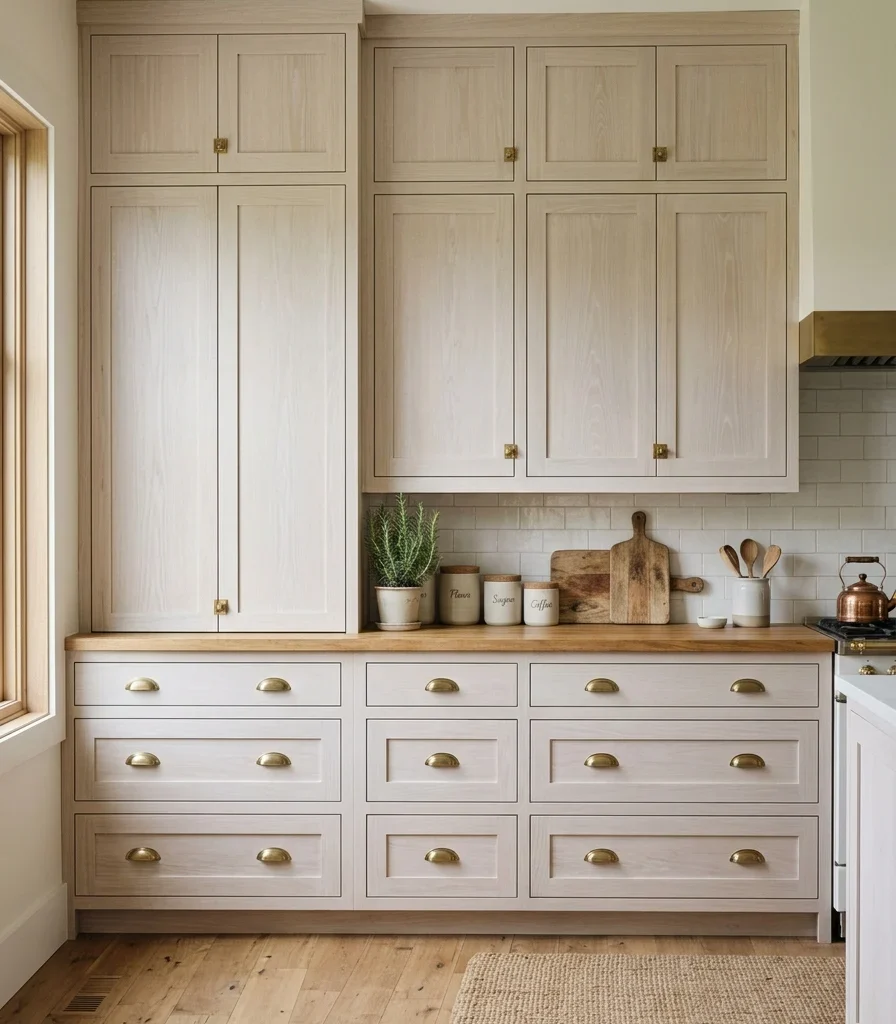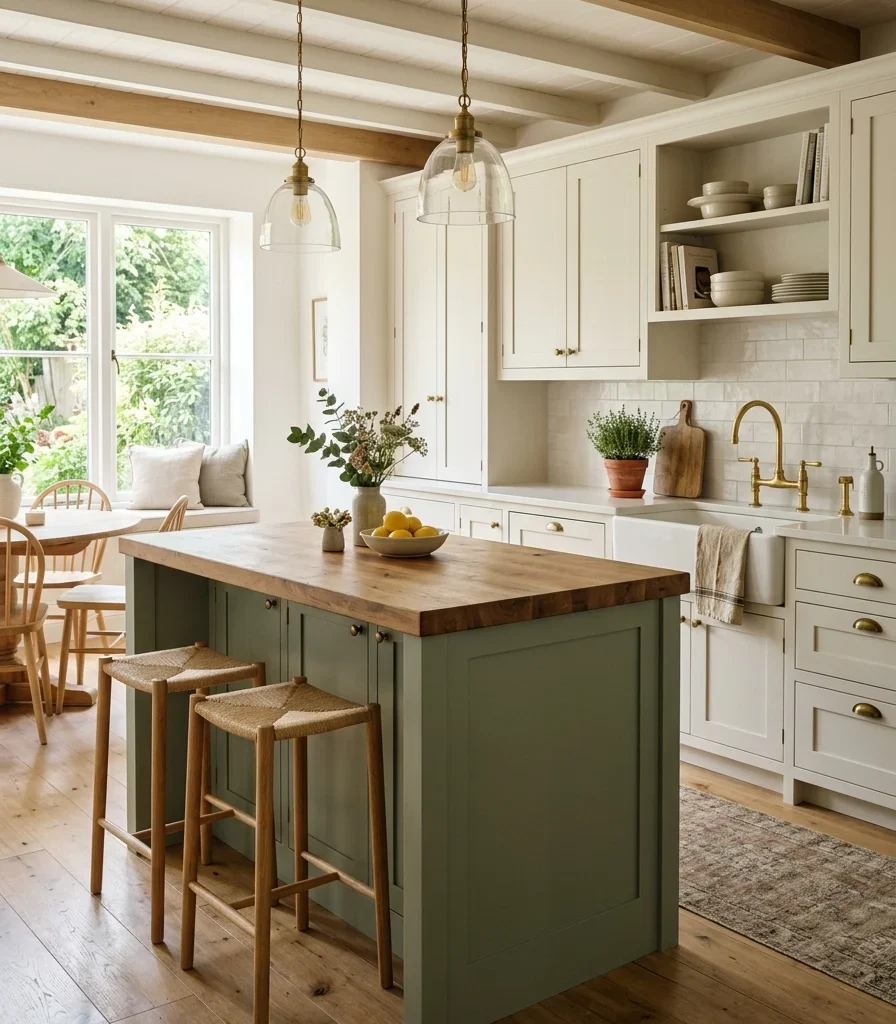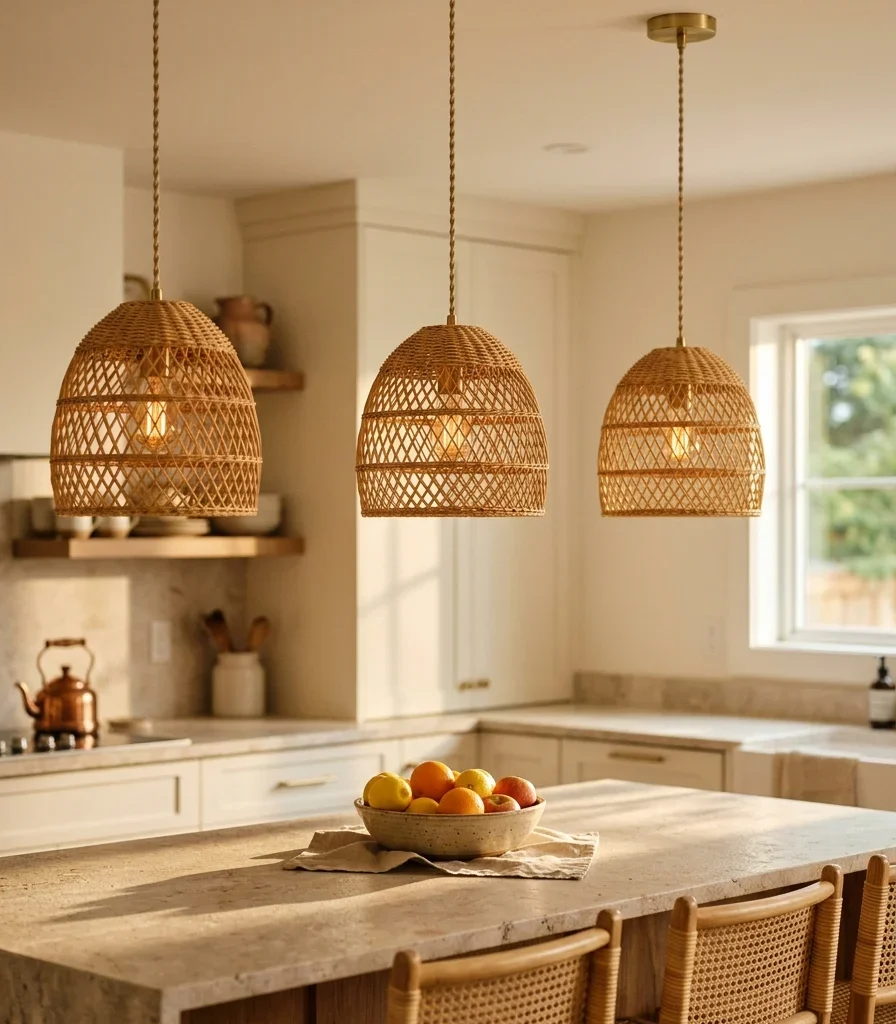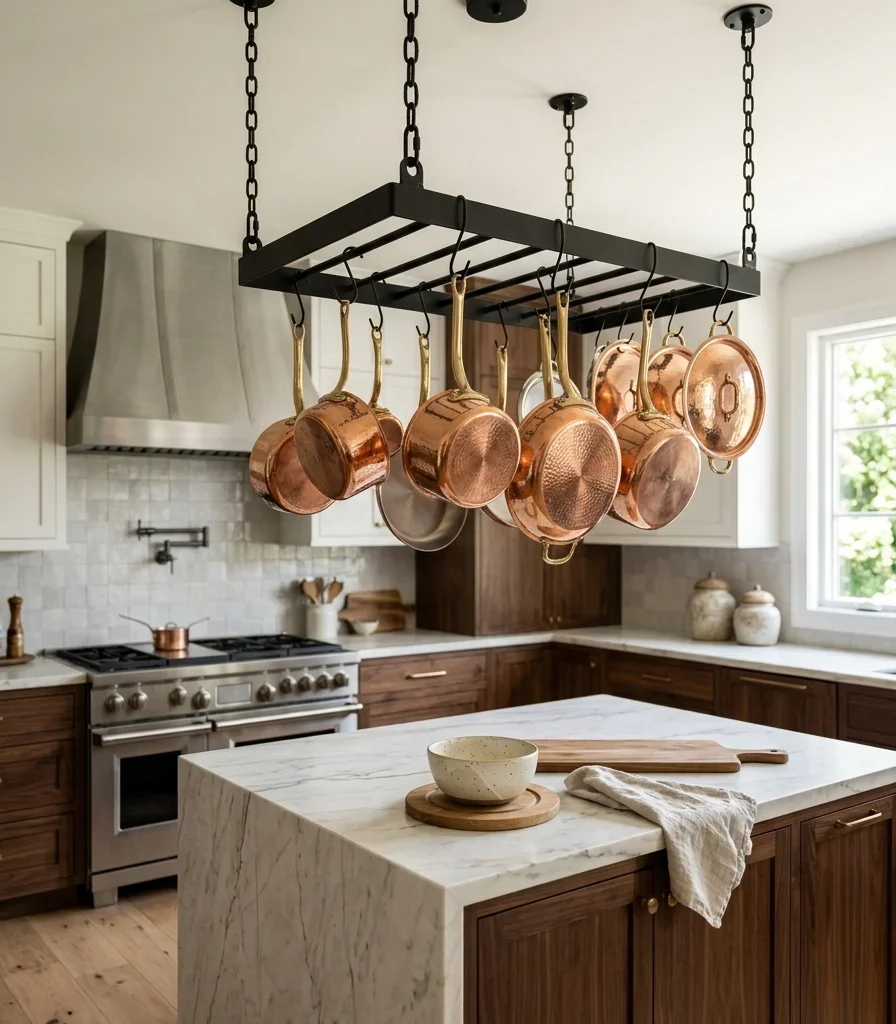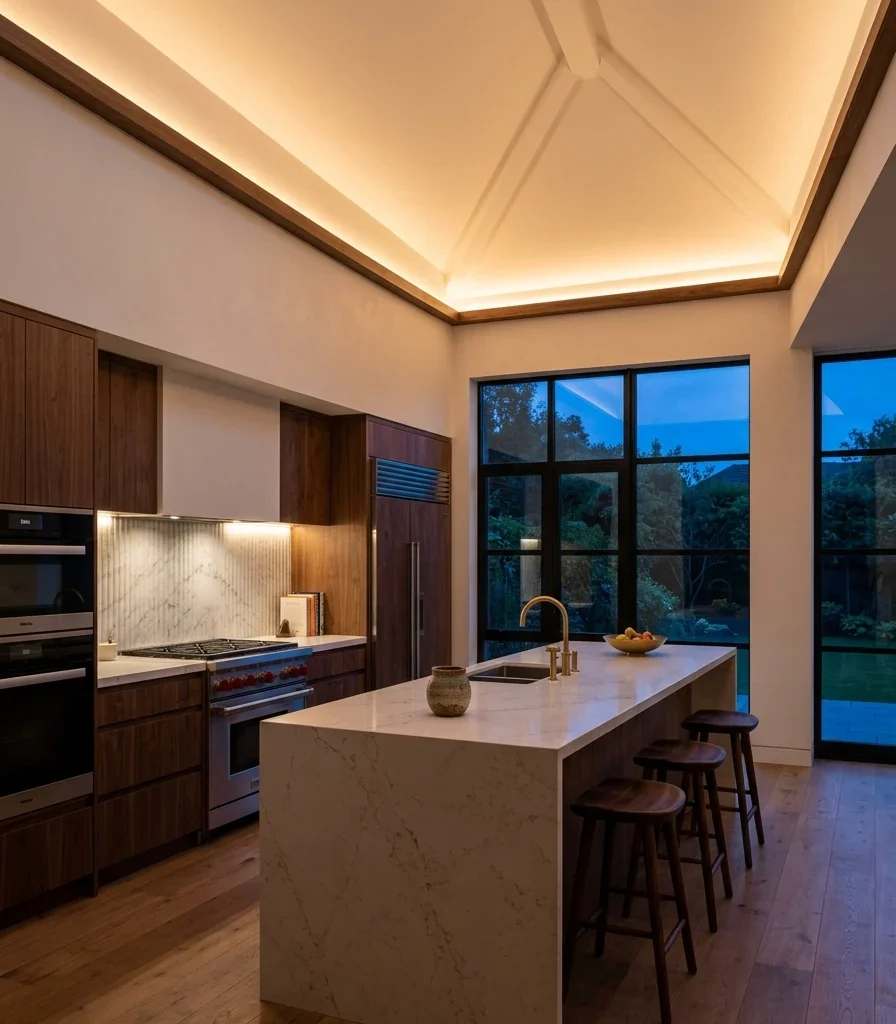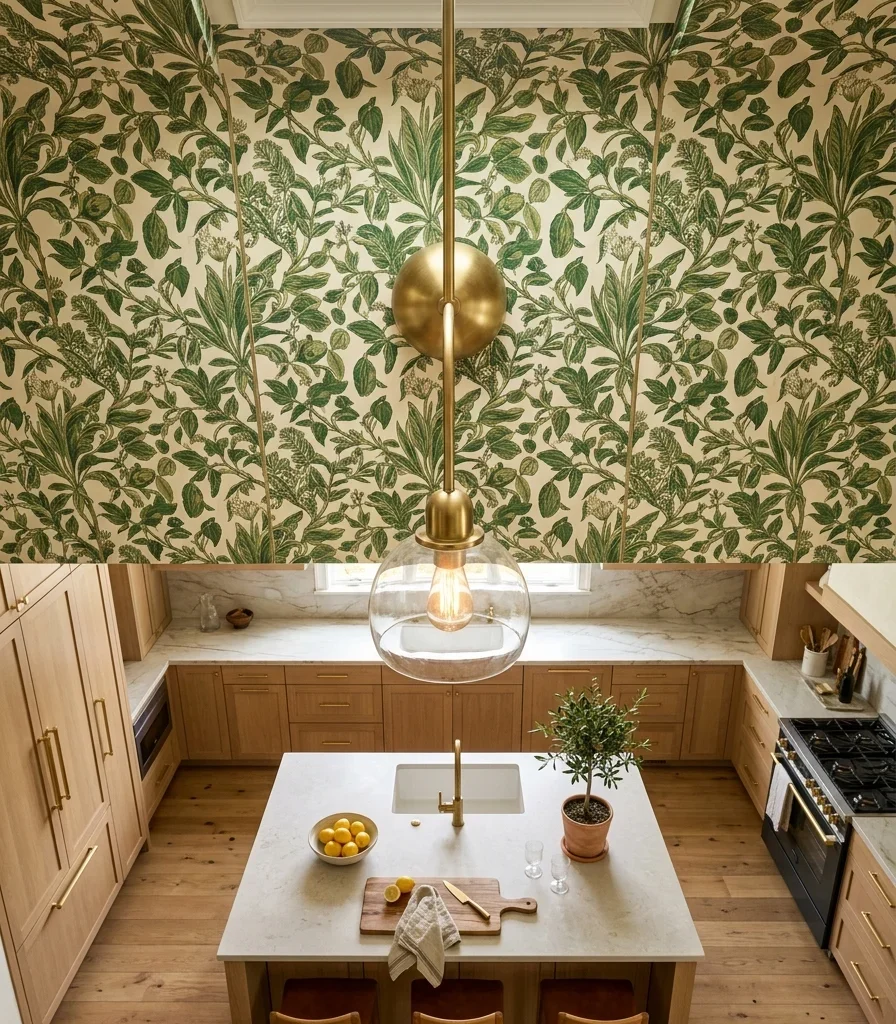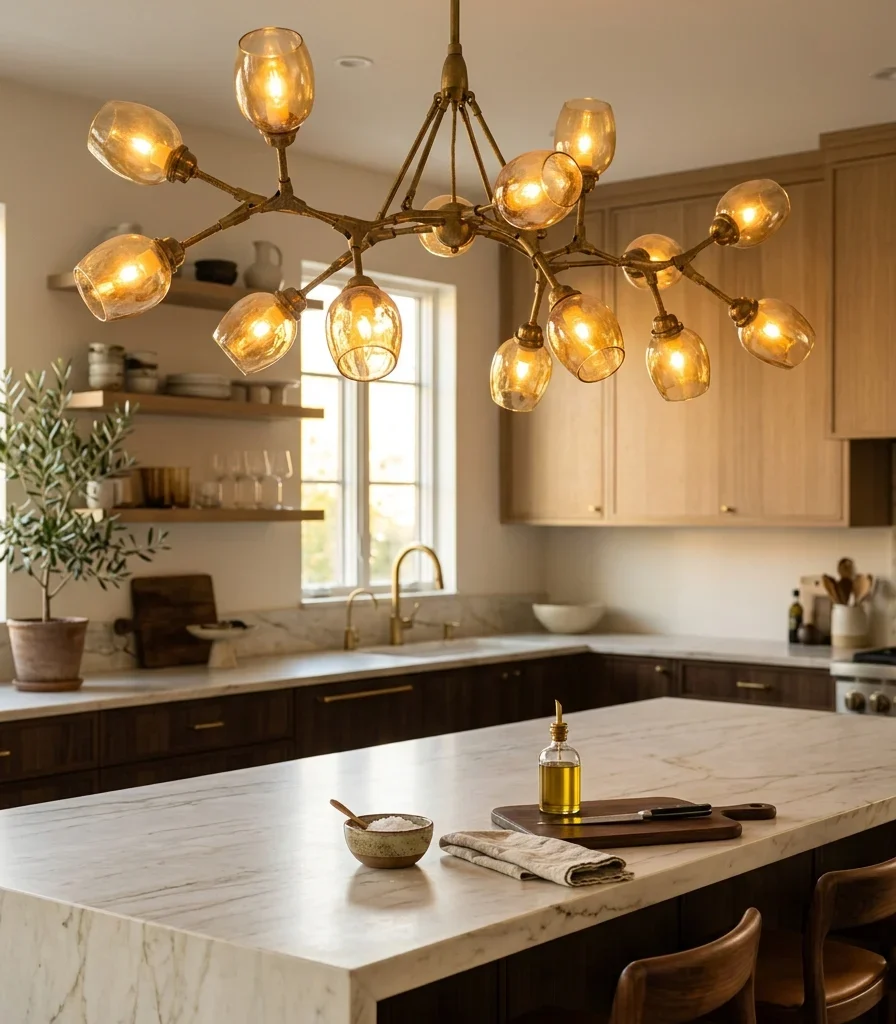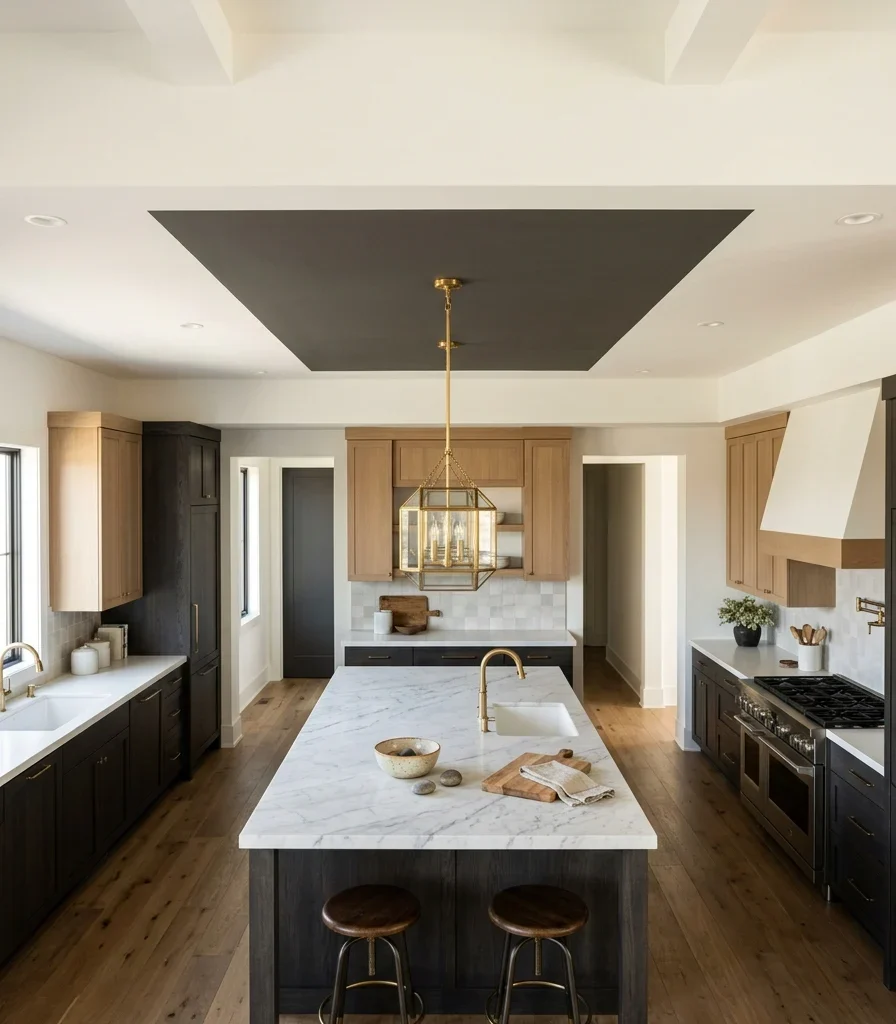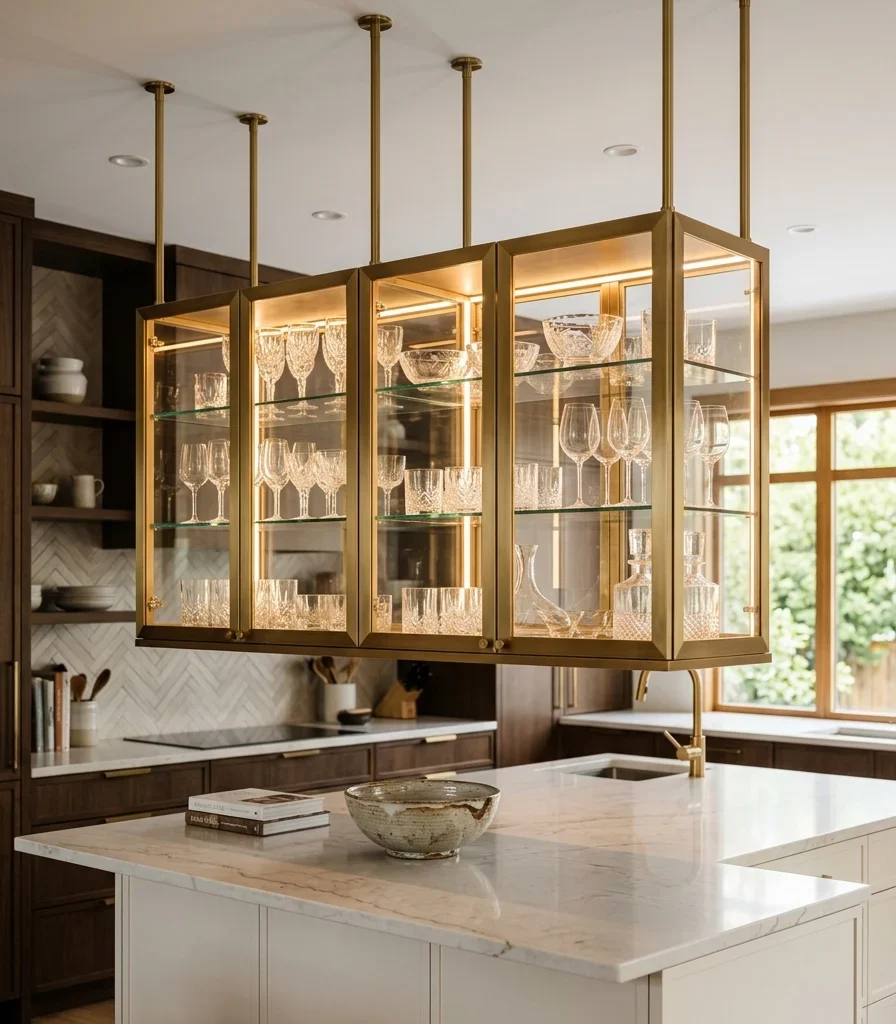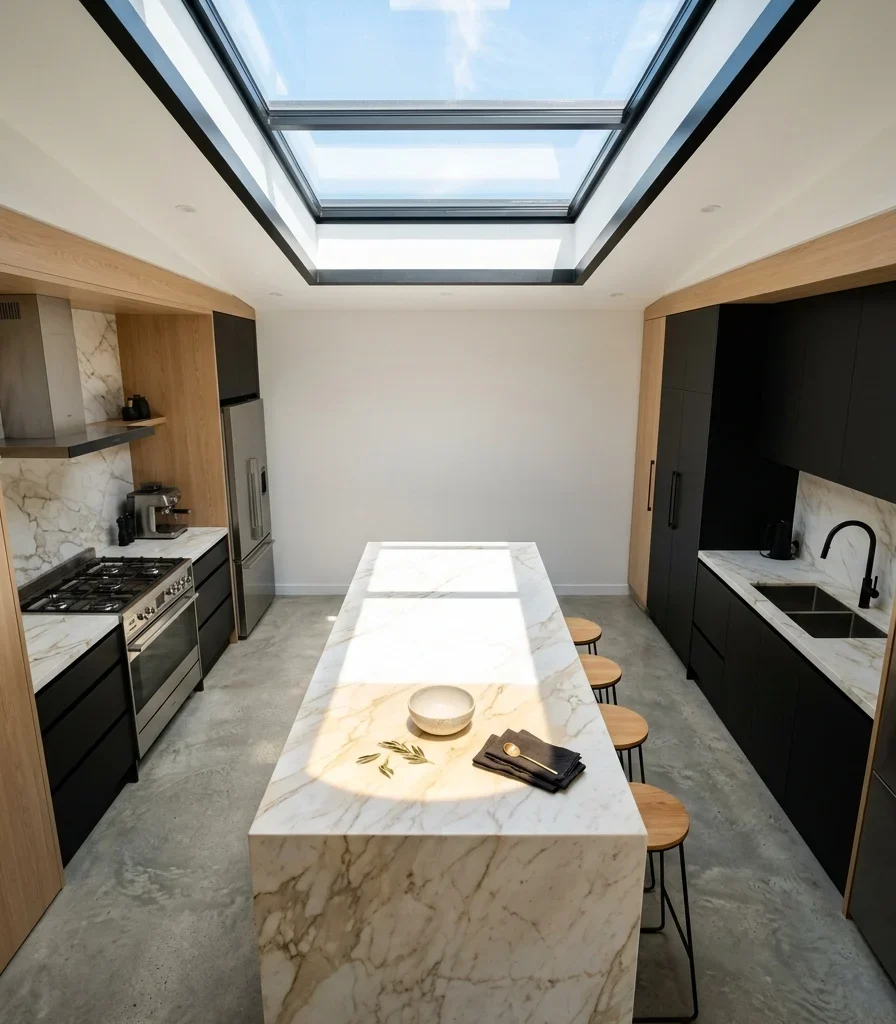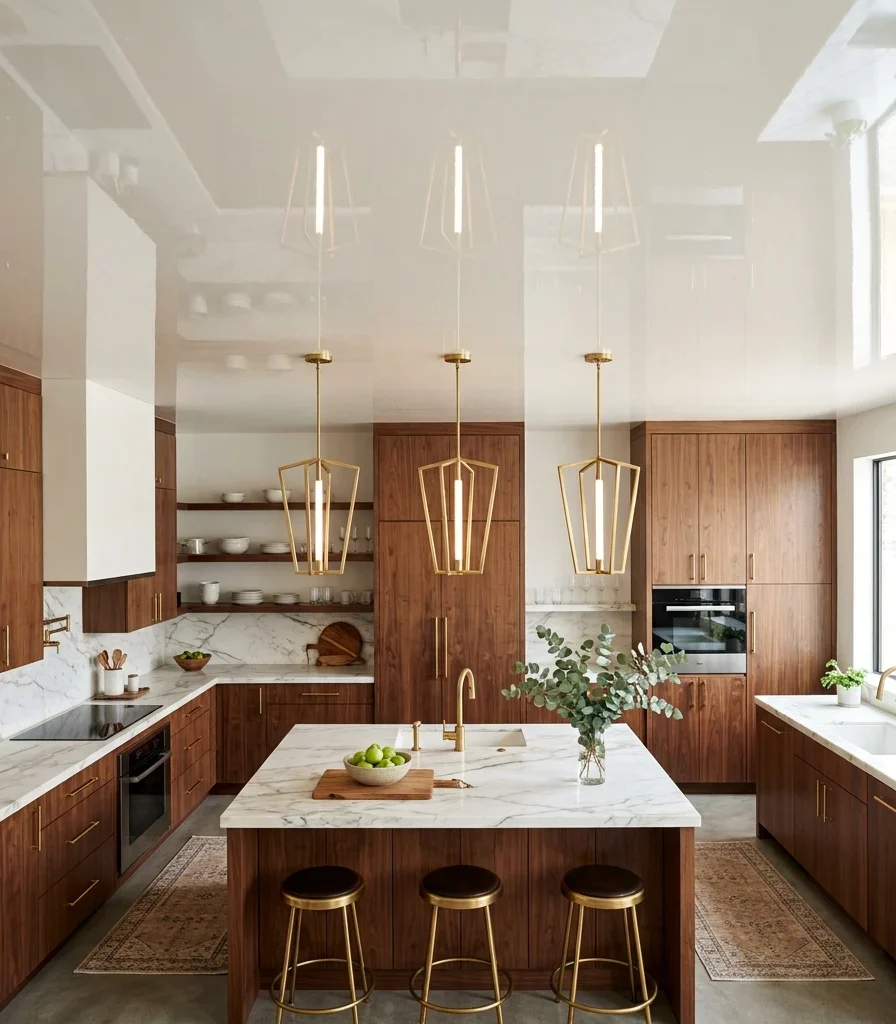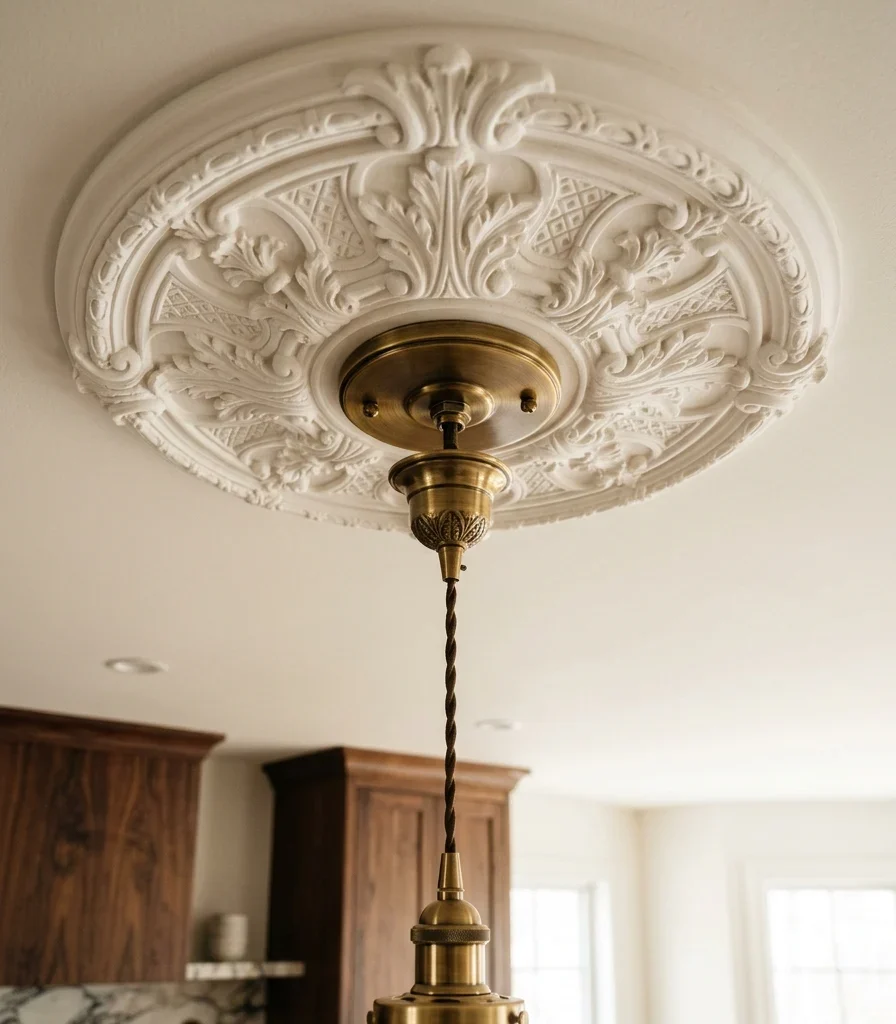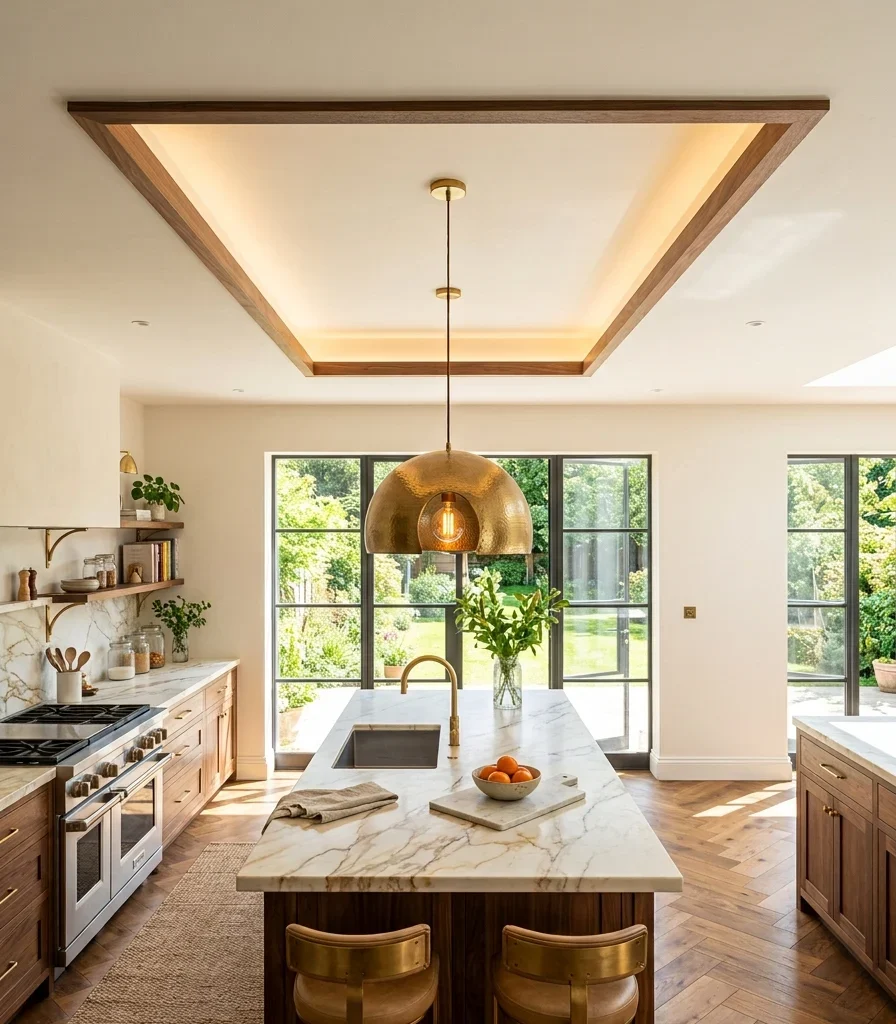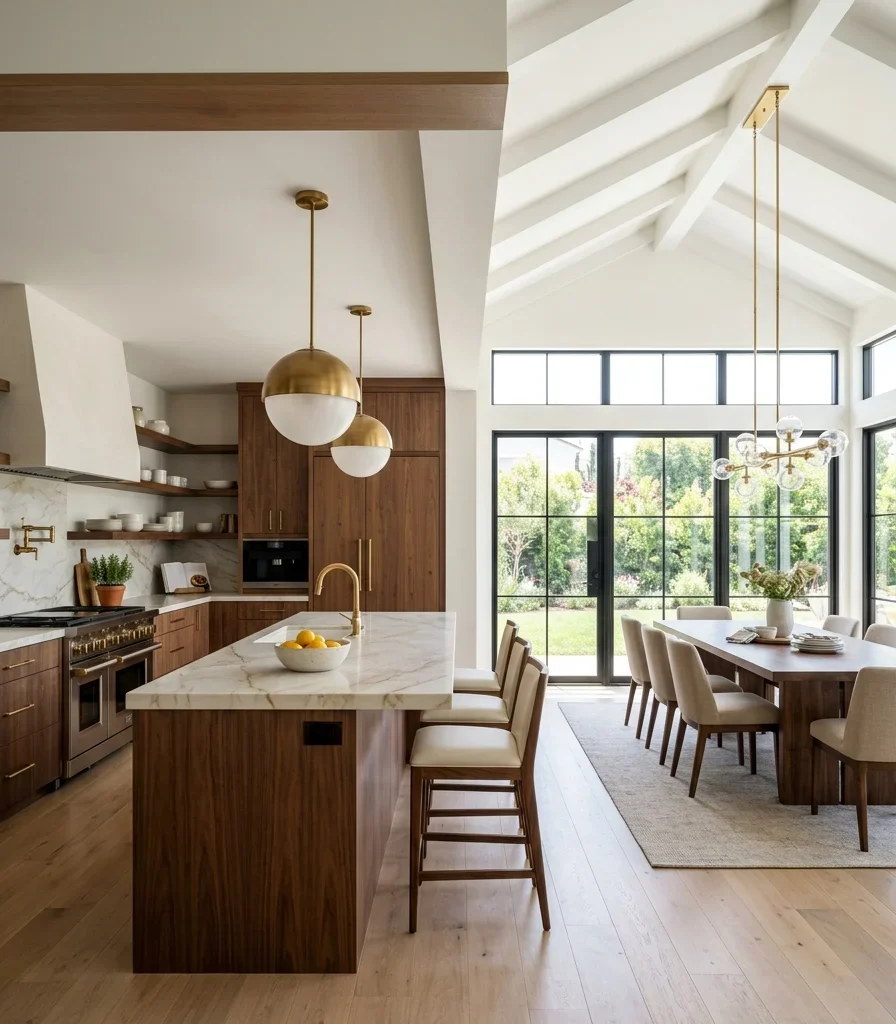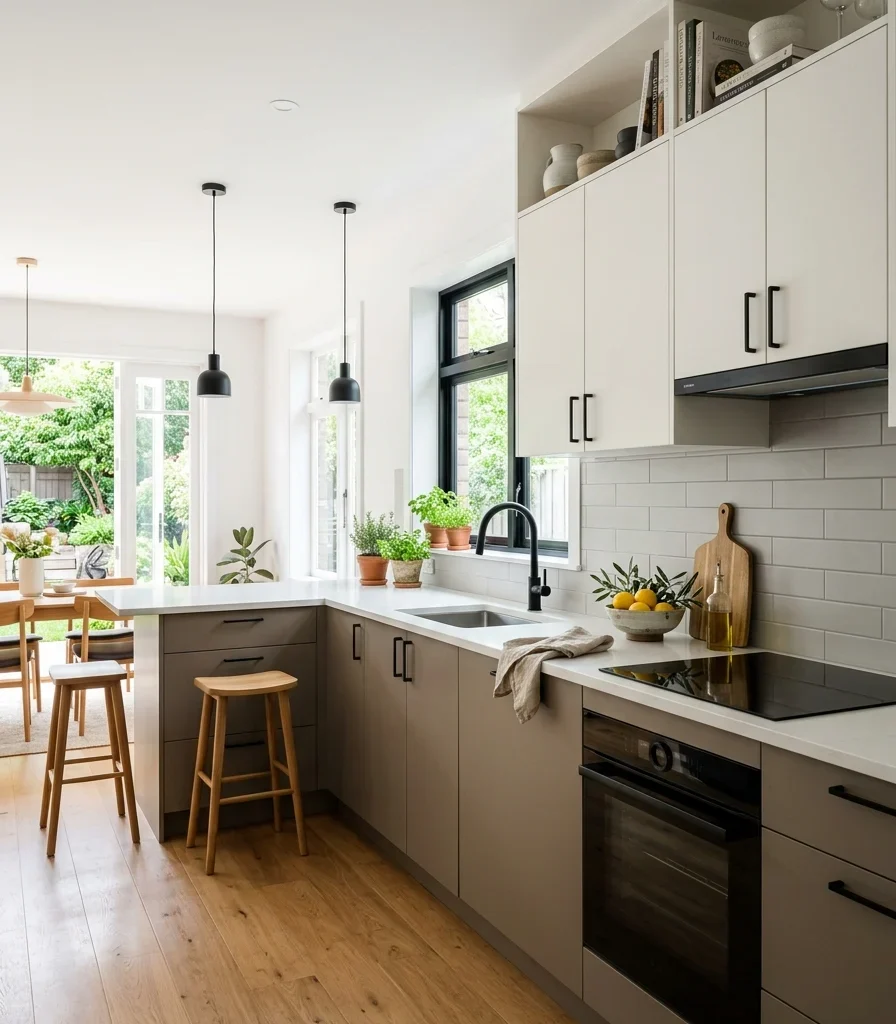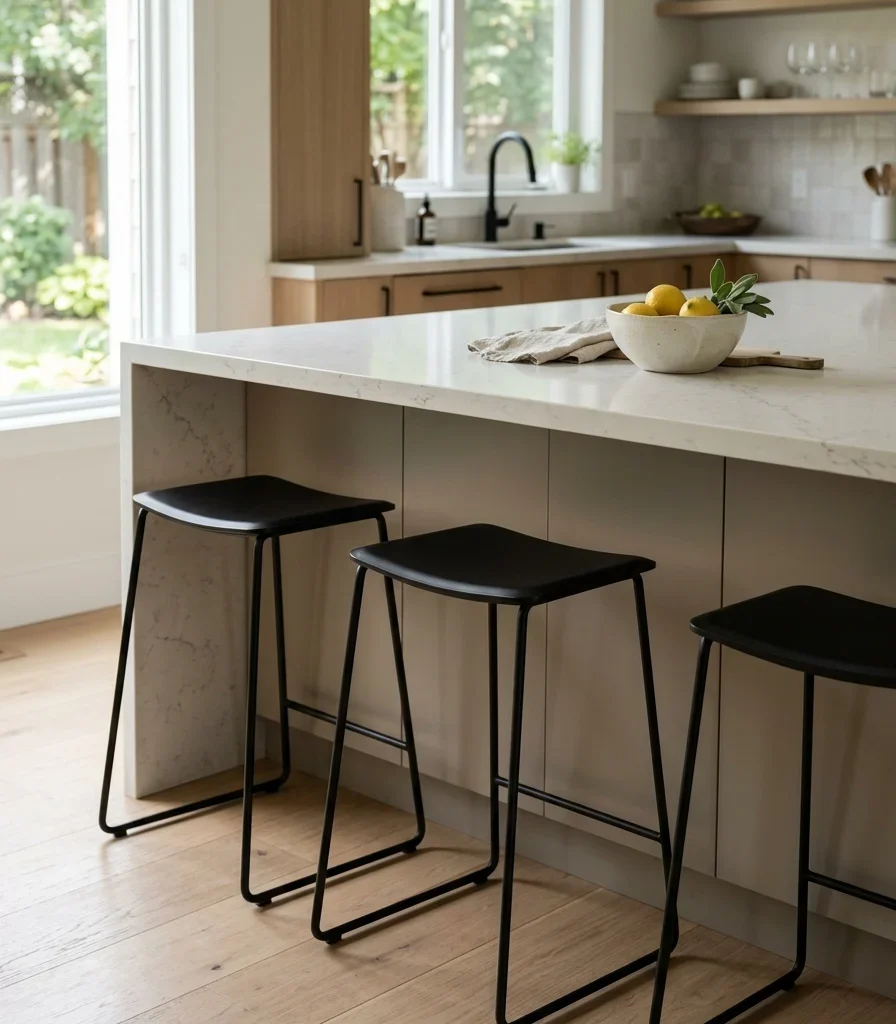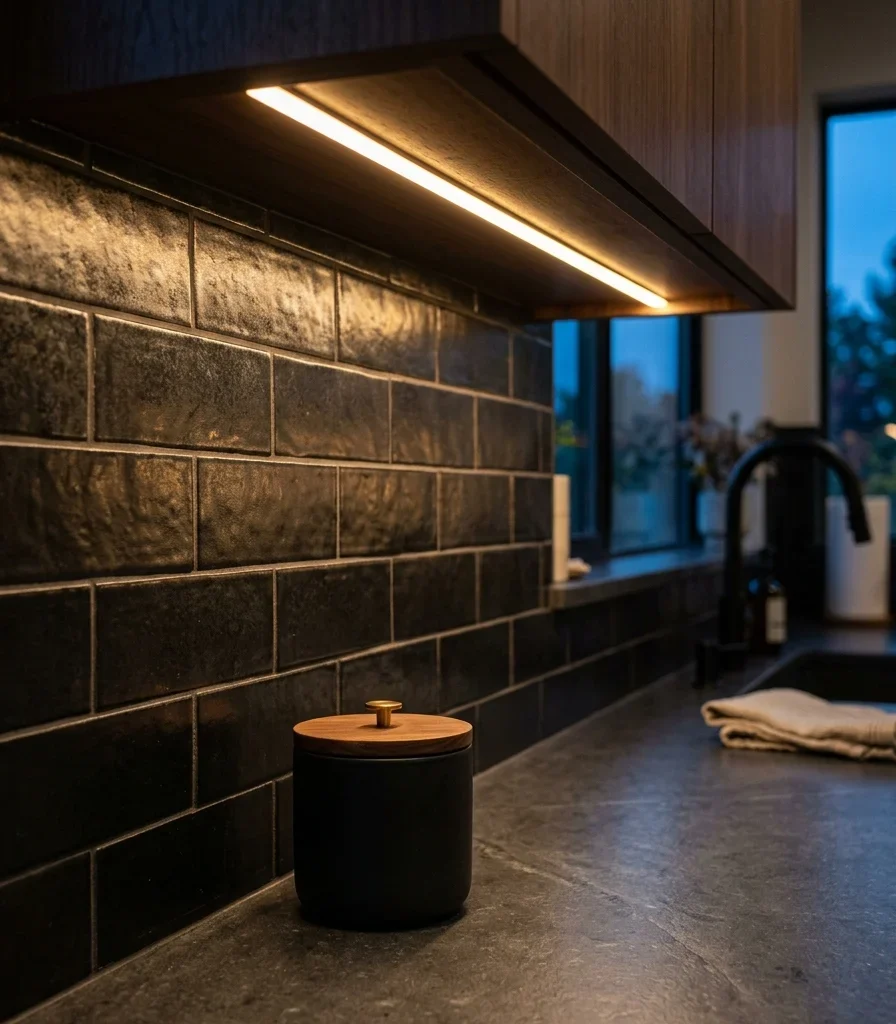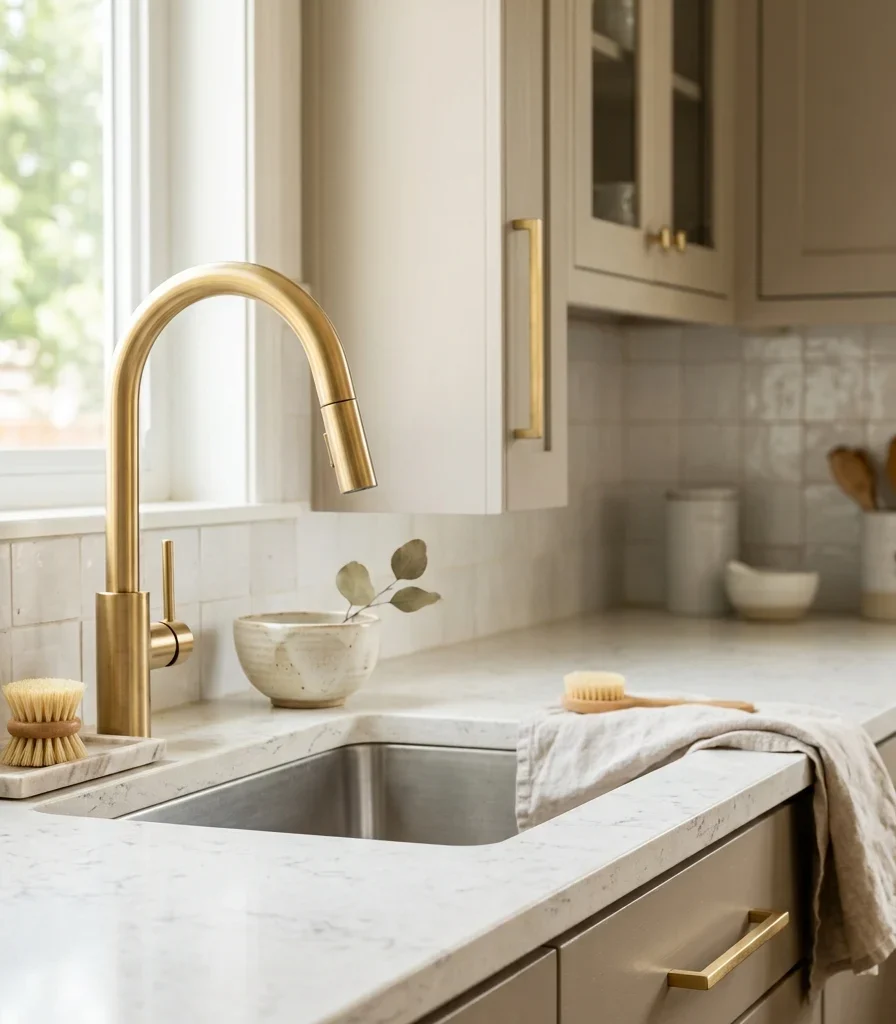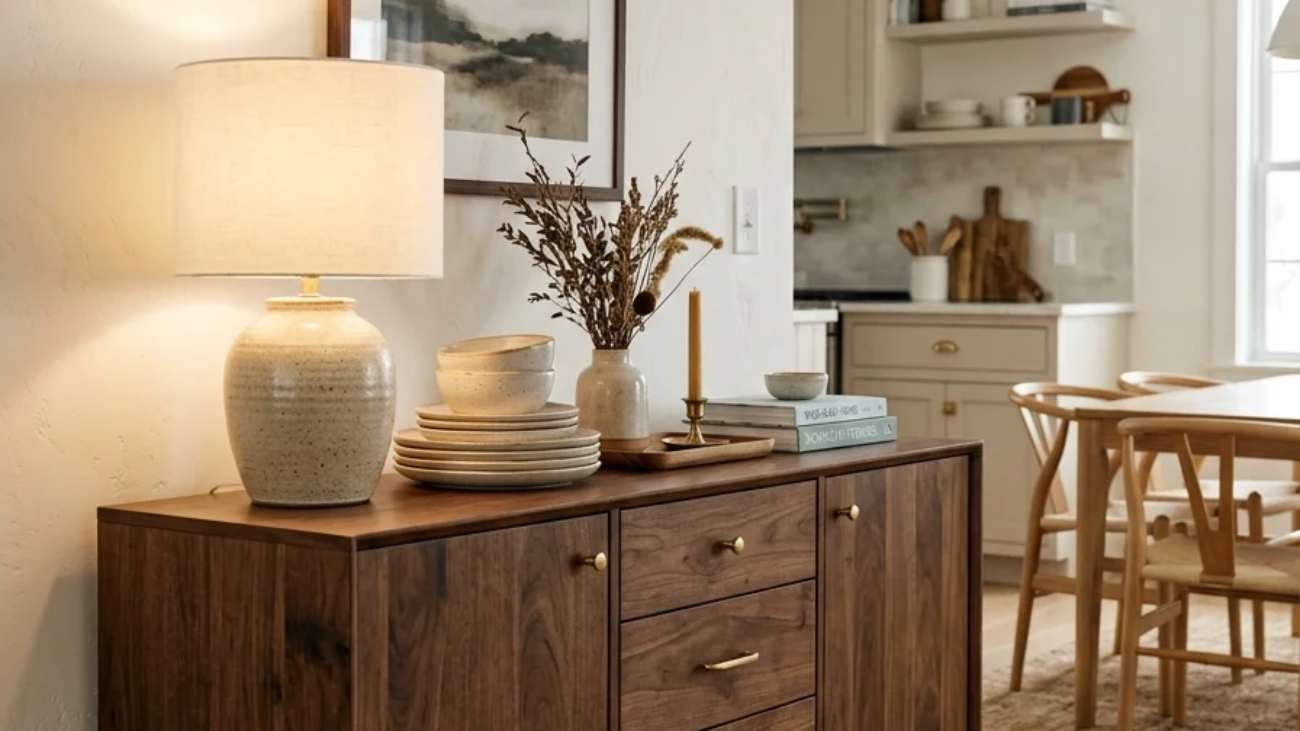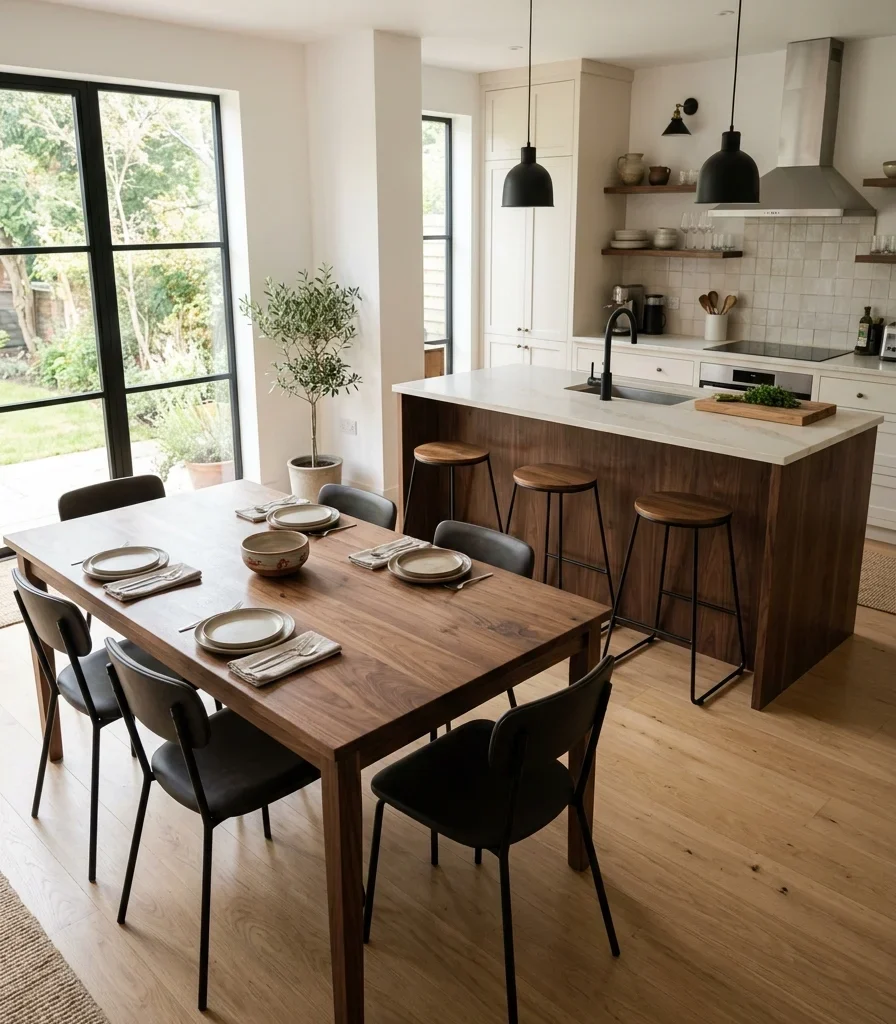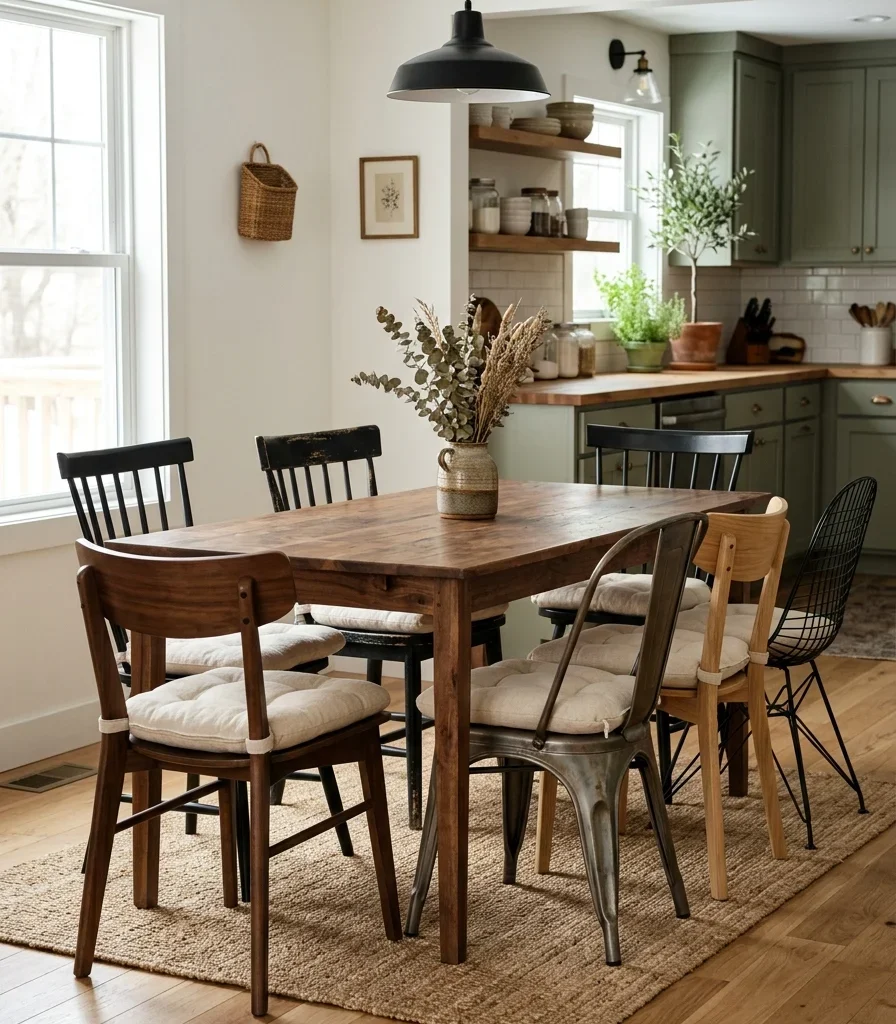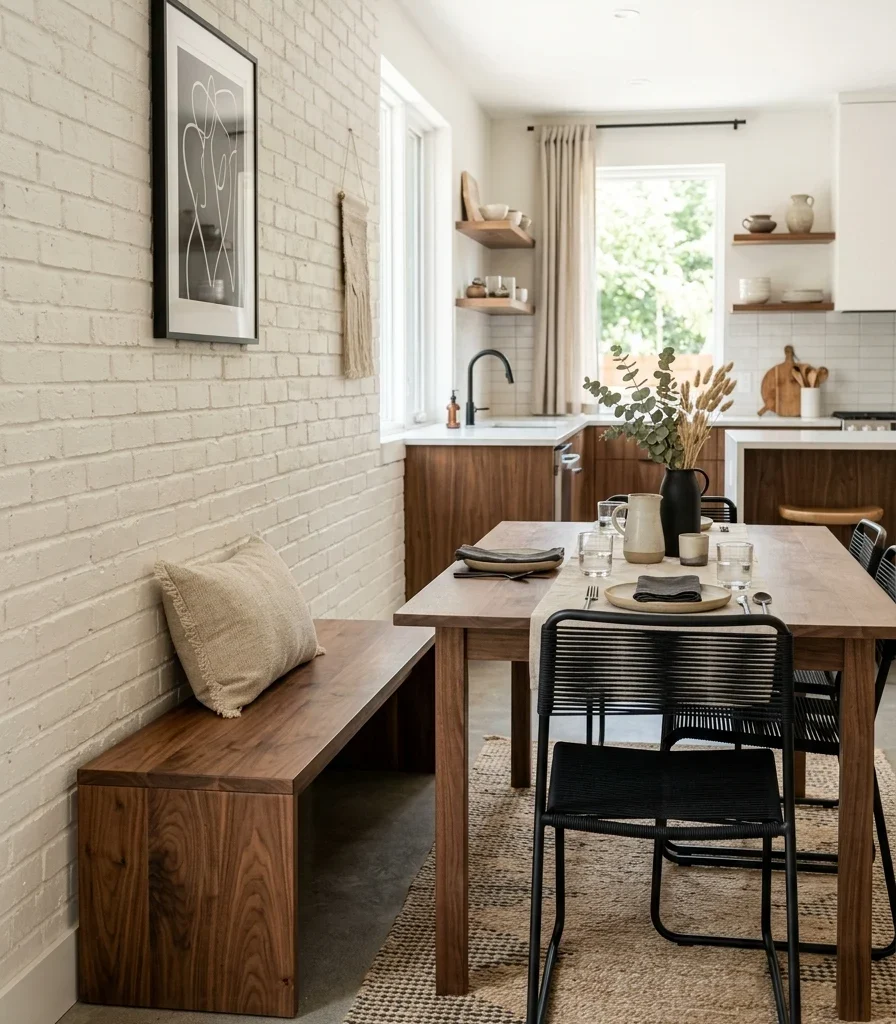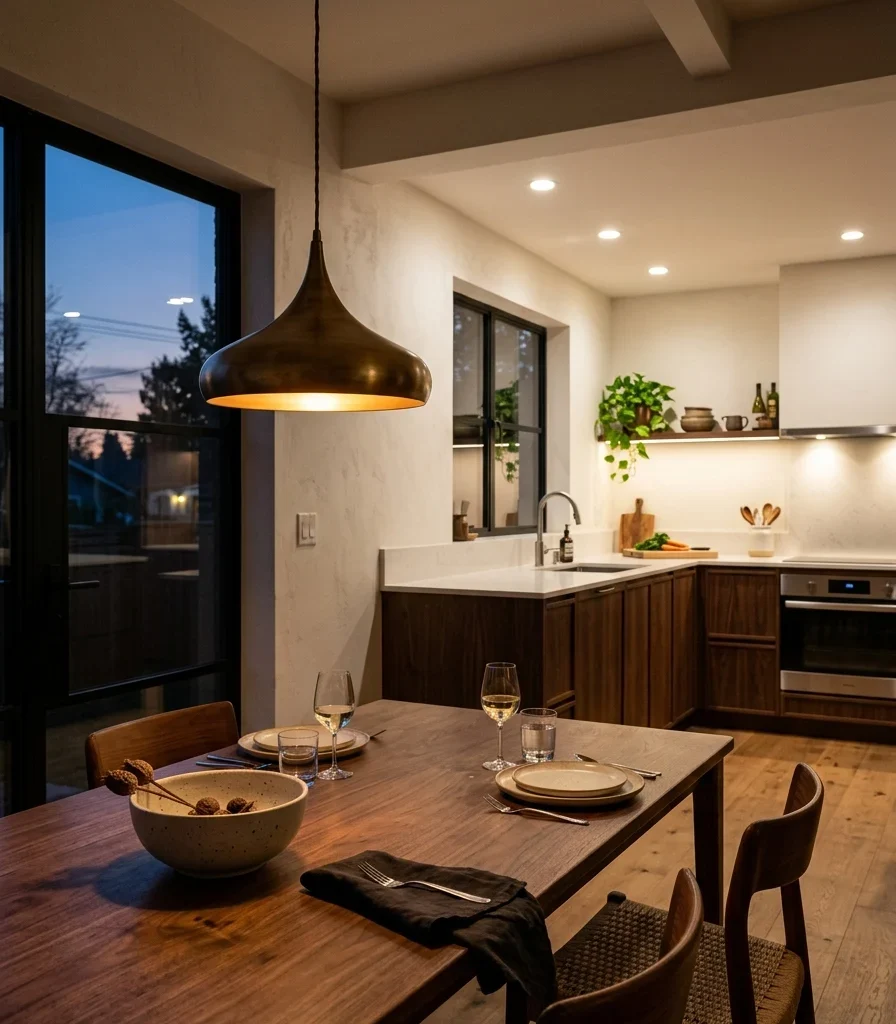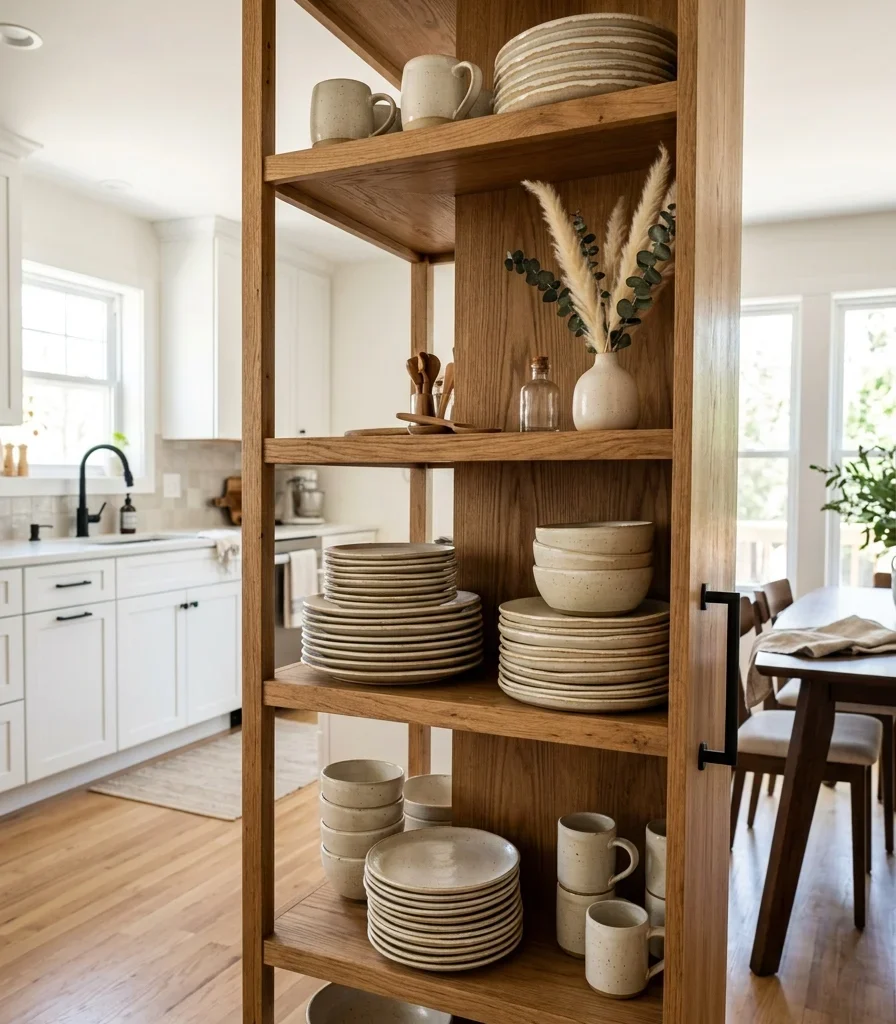
15 Kitchen Countertop Ideas

15 Kitchen Countertop Ideas Worth Copying

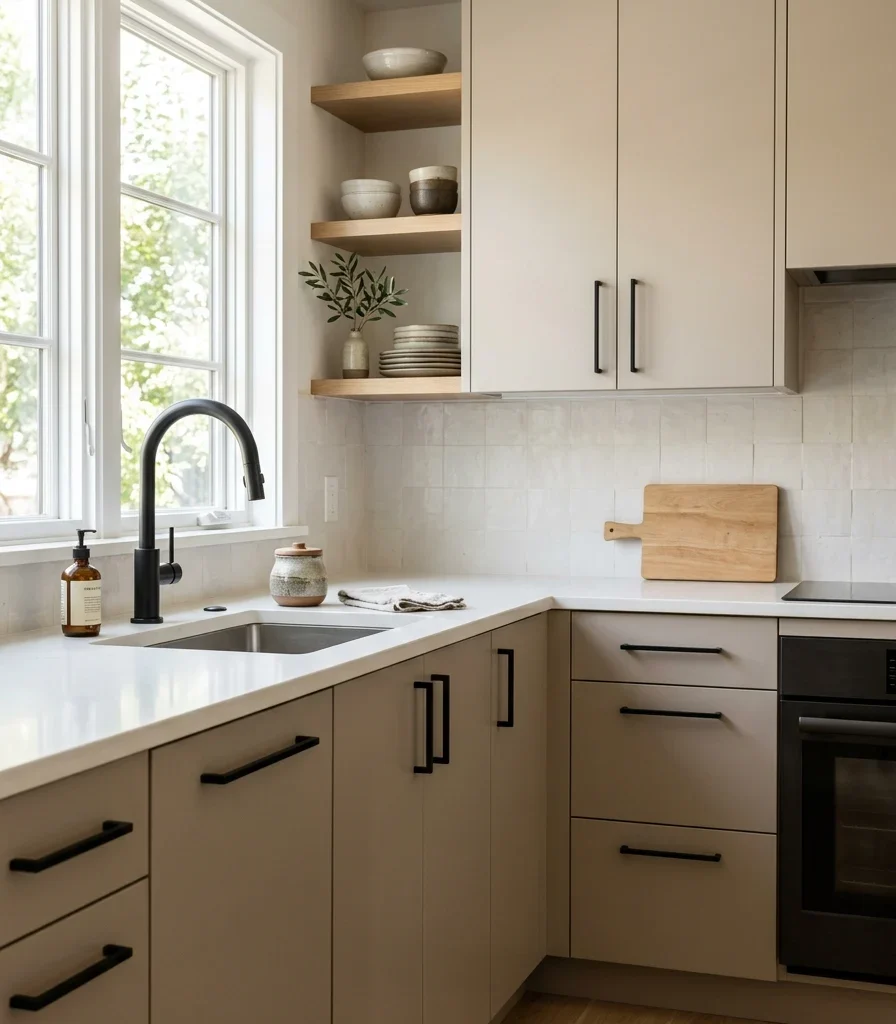
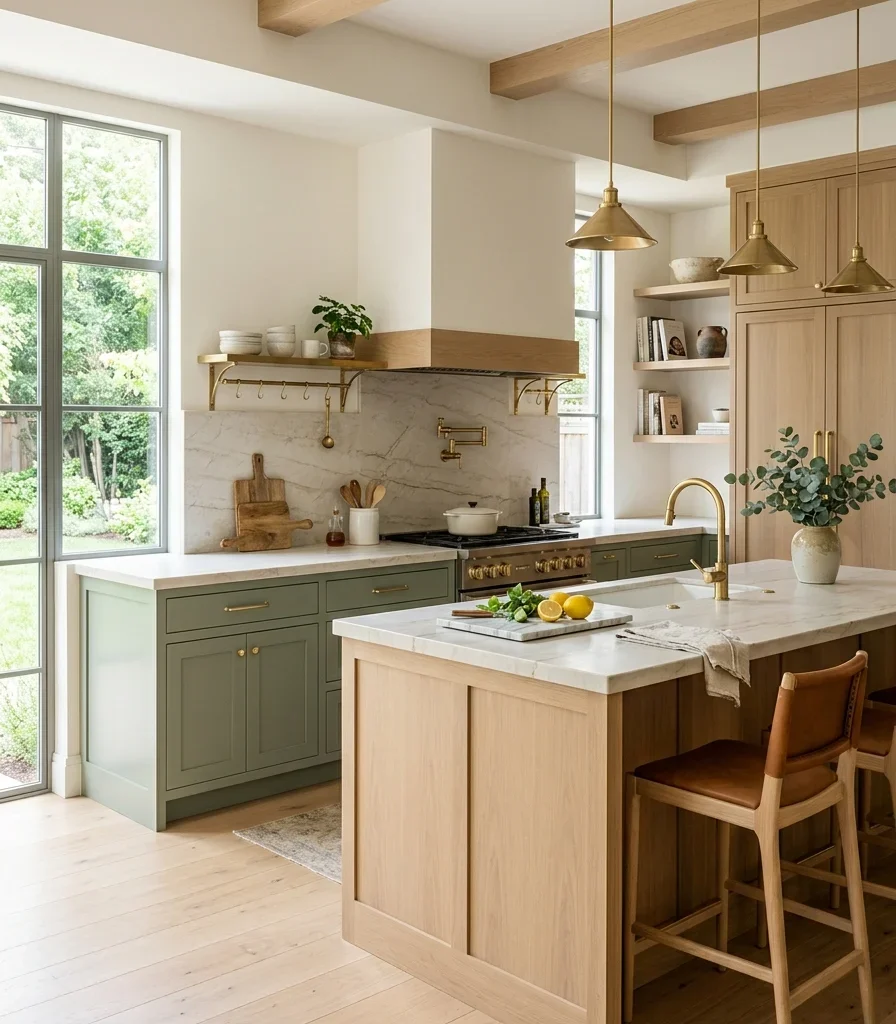
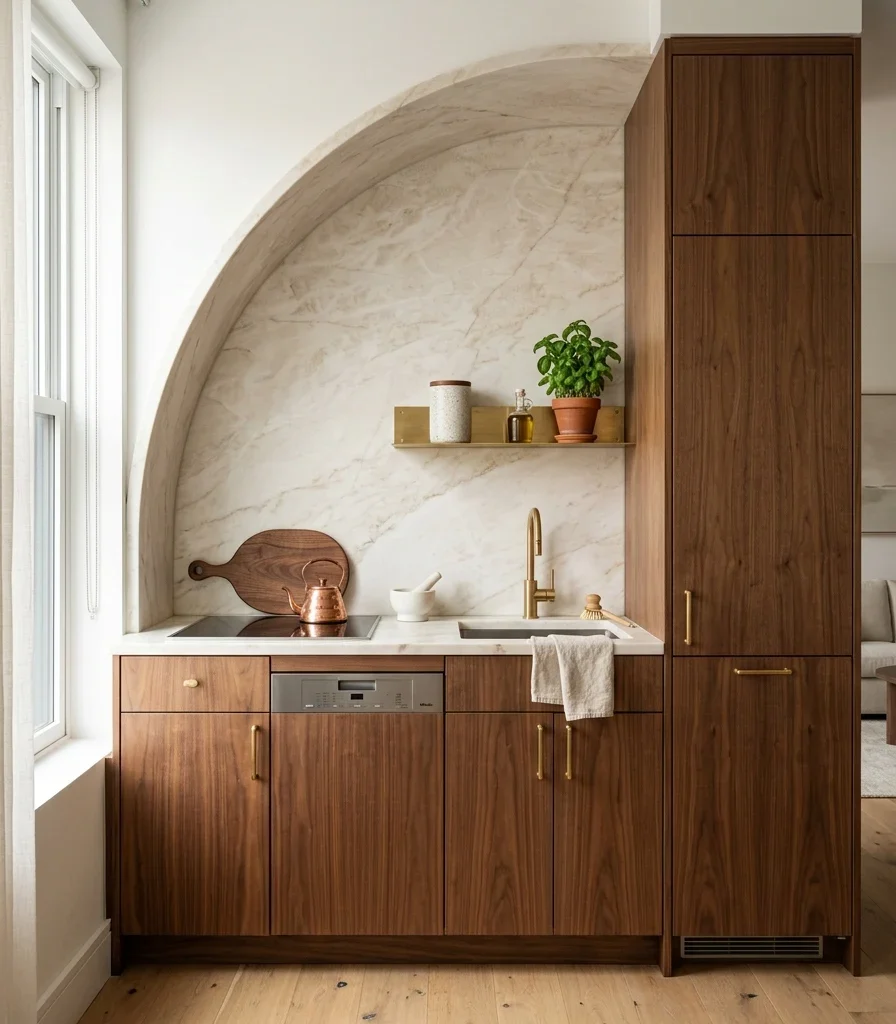
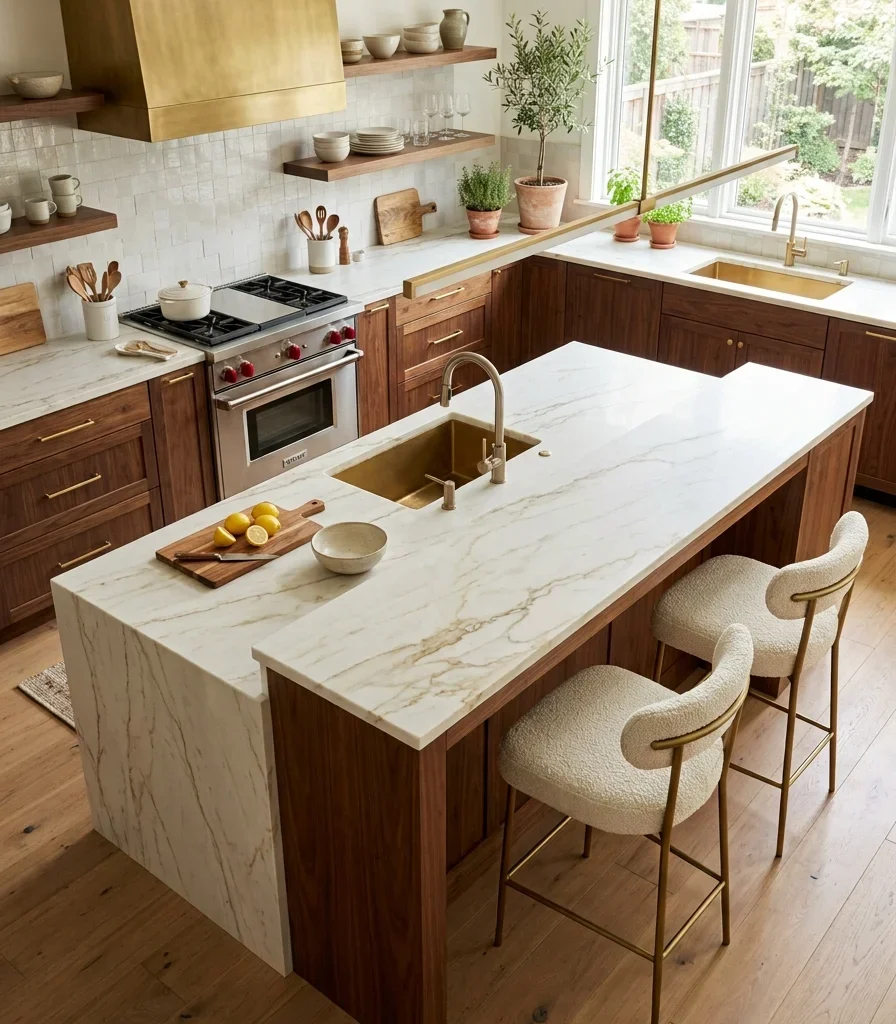
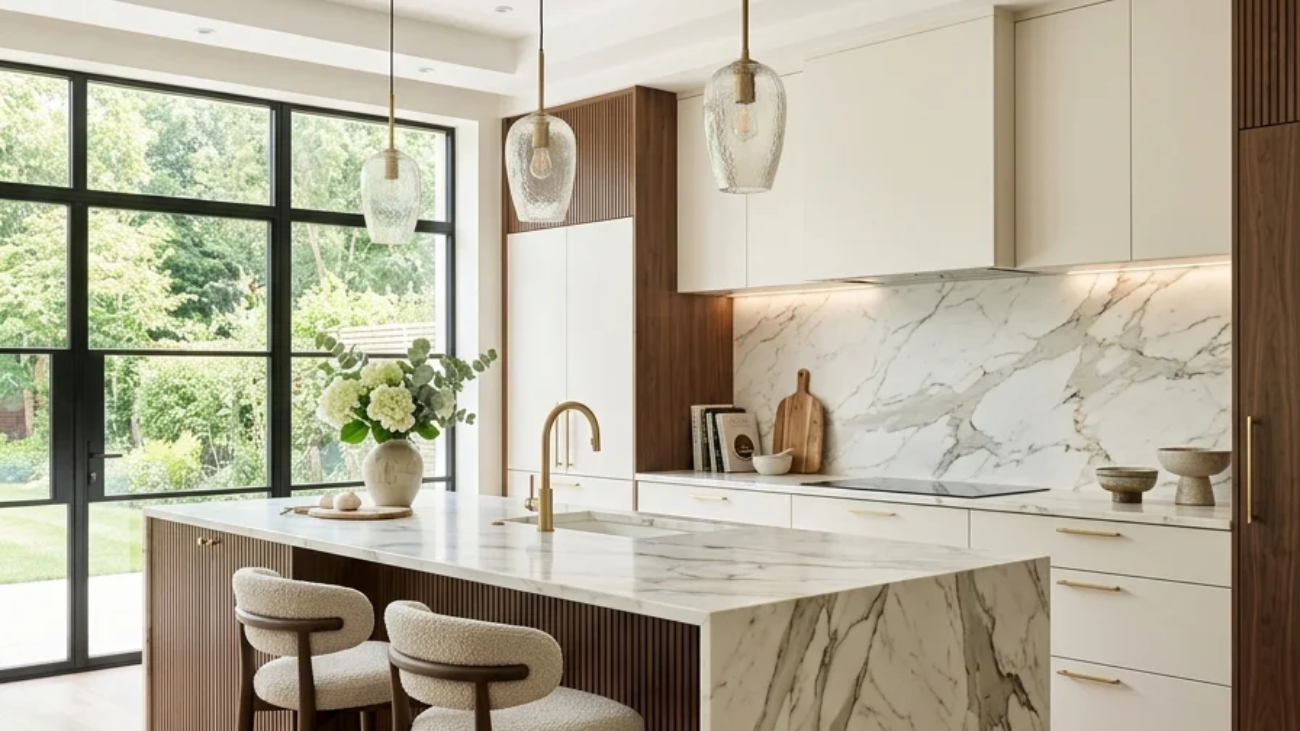
A well-designed kitchen countertop balances everyday function with visual calm, keeping useful objects accessible while giving the work surface enough negative space to breathe. These 15 Kitchen Countertop Ideas show how to style, organize, light, and visually upgrade your counters without making the kitchen feel crowded.

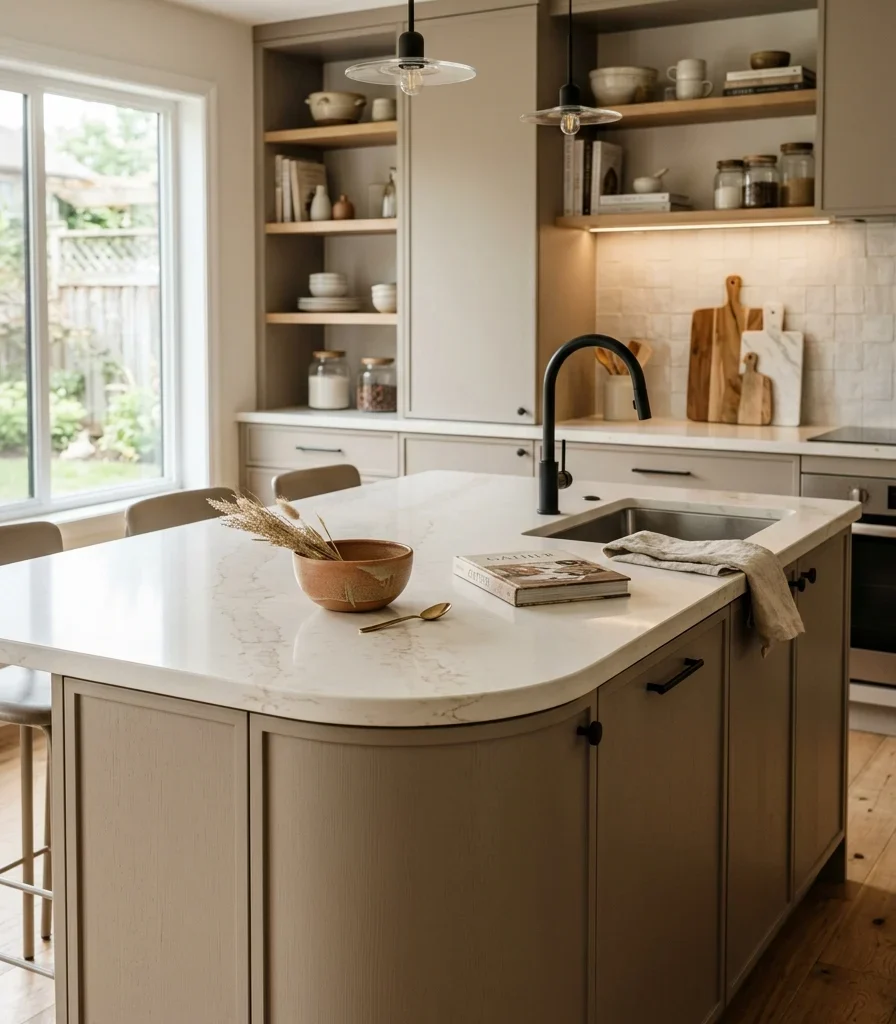
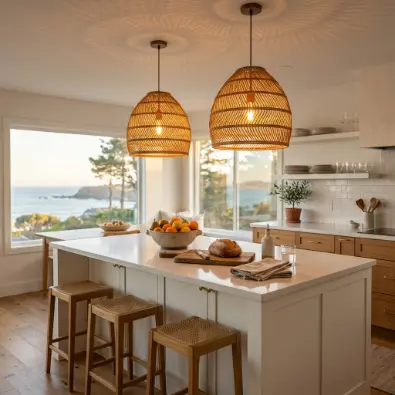
Morning light across a stone worktop can make even an ordinary coffee routine feel intentional. A wooden board leaning quietly against the backsplash, a small ceramic vessel holding herbs, or a single warm lamp can give the kitchen a sense of rhythm without turning the counter into a display shelf. The best countertop styling still leaves room to chop, cook, serve, and live.

Think of the counter as one of the kitchen’s largest horizontal design surfaces rather than a place where everything gets parked. These ideas work for spacious kitchens, compact apartments, rental homes, and hardworking family kitchens alike. Here are 15 ideas worth saving and stealing.

Why 15 Kitchen Countertop Ideas Work So Well

Kitchen countertop styling is less a historical design style than a modern approach to functional visual composition: useful objects are selected, grouped, and positioned according to proportion, repetition, negative space, and daily habits. Unlike purely decorative surfaces, the countertop has to withstand cooking, moisture, heat, cleaning, and constant movement, so the strongest designs combine aesthetics with practical accessibility.

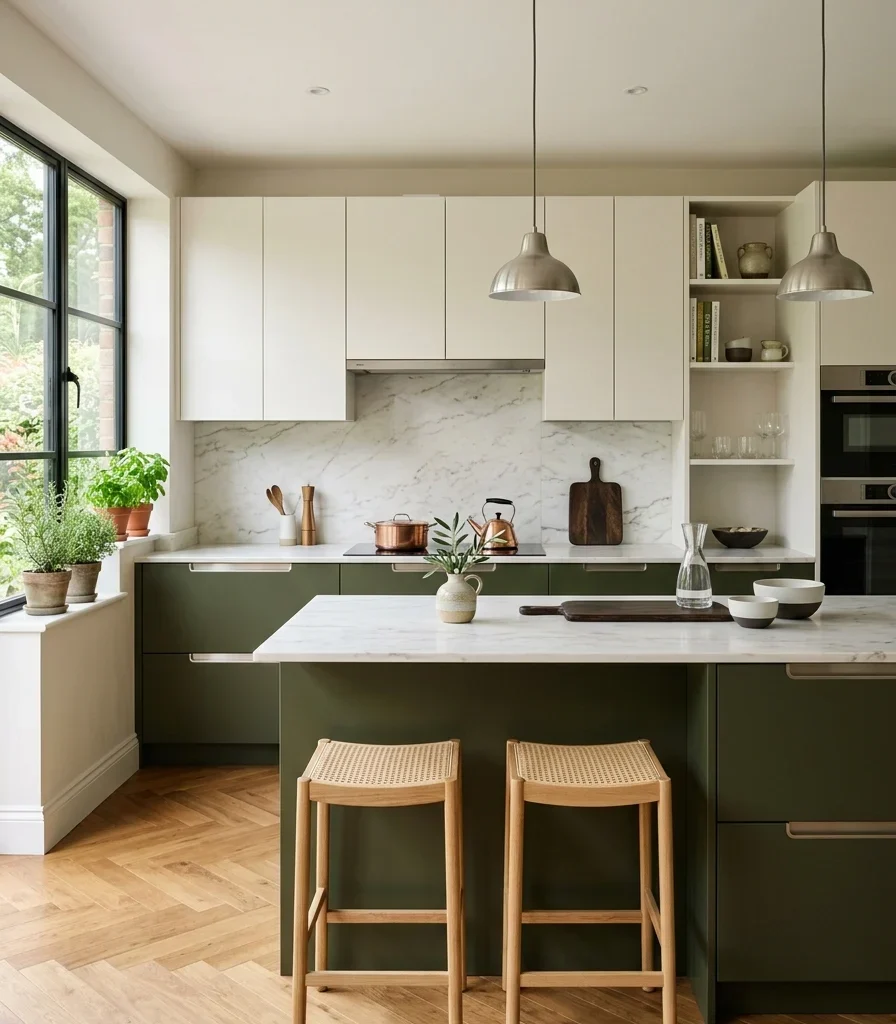
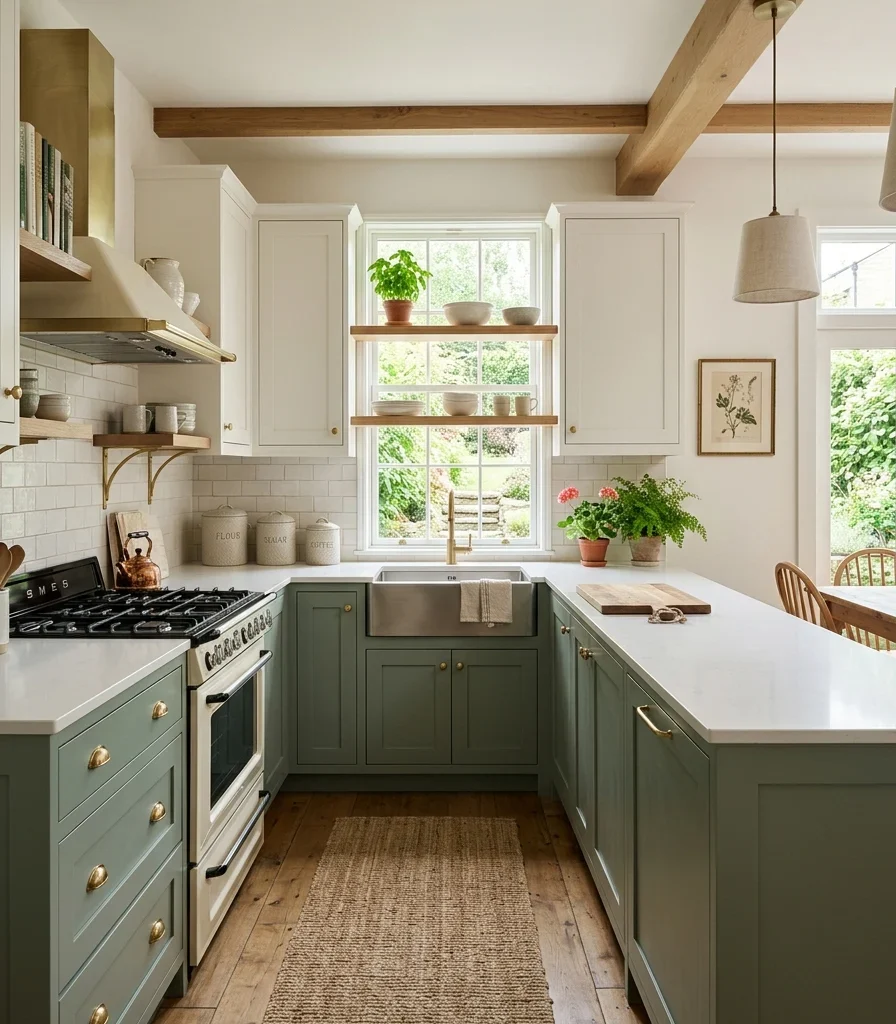
The most adaptable materials are natural or tactile finishes that can visually repeat elsewhere in the kitchen: honed quartz or soapstone, unfinished or lightly oiled oak, walnut, handmade ceramic, clear glass, stainless steel, and aged or brushed brass. Useful colors include warm white, mushroom greige, soft sage, muted blue, terracotta, walnut brown, charcoal, and creamy stone. Keeping the countertop palette to roughly three dominant material tones helps miscellaneous appliances and containers feel less visually scattered.

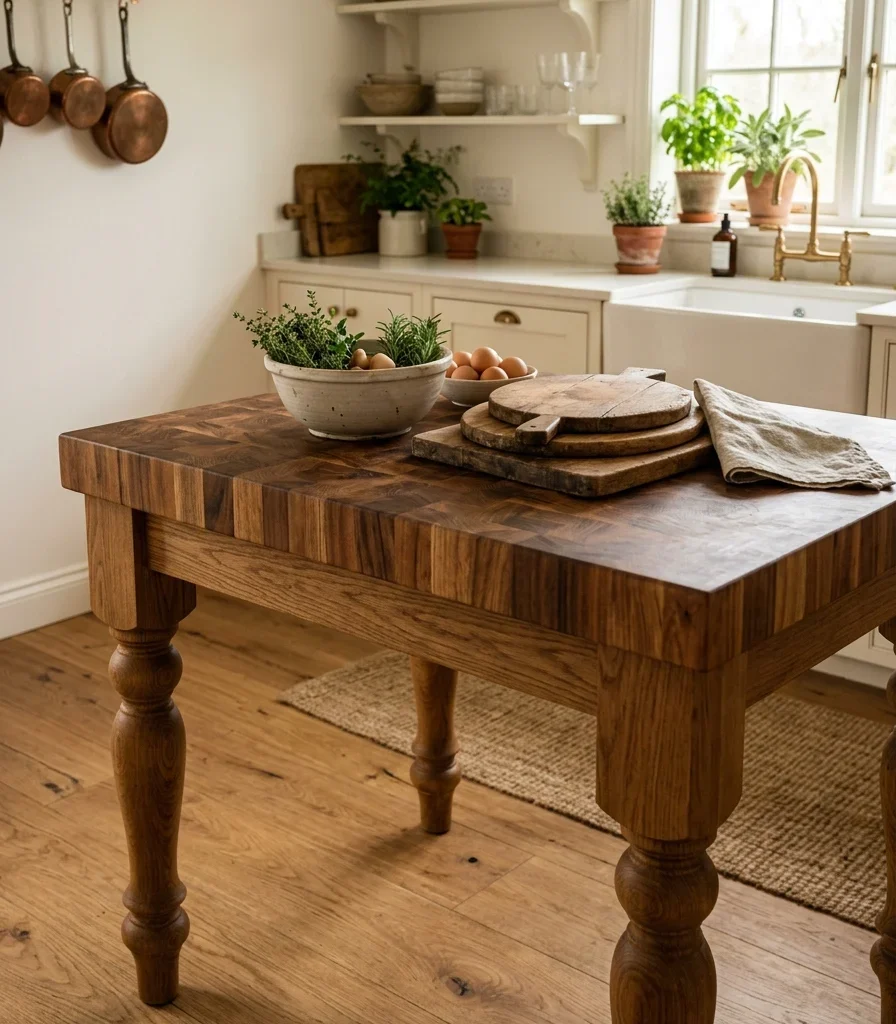
Style at a Glance

Element Core Trait 1 Core Trait 2
Philosophy Function first Curated visual calm
Materials Stone, wood, ceramic Glass, metal, woven fibers
Color palette Warm white, greige, sage Walnut, charcoal, muted blue

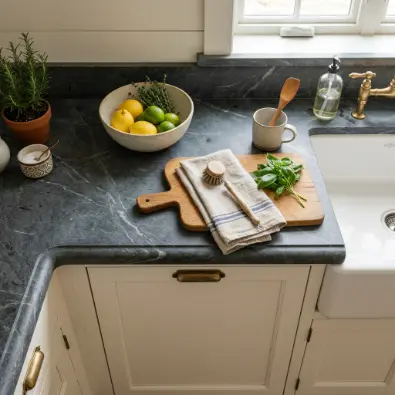
1. Warm White Countertop with a Natural Wood Focal Group
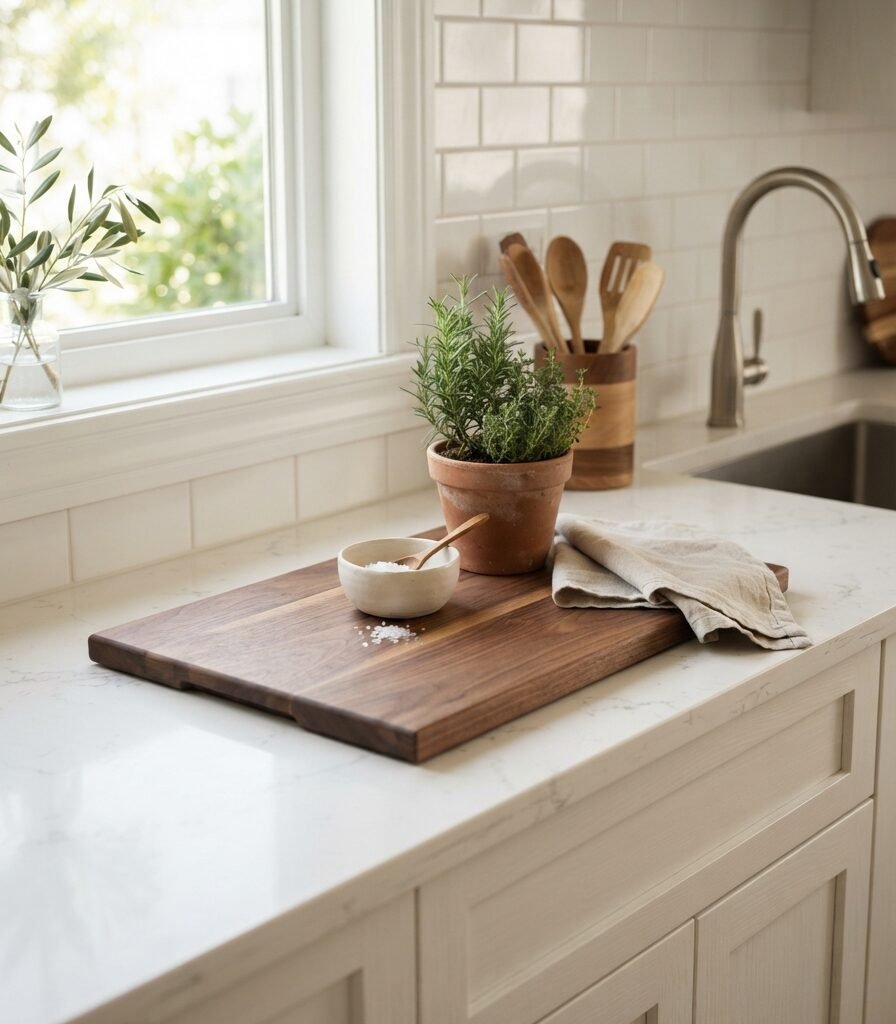
1. Warm White Countertop with a Natural Wood Focal Group

Vibe: Sun-warmed; the counter feels fresh, tactile, and quietly domestic.

Why it works: The principle here is material repetition: the walnut board connects visually with other warm wood elements while the white worktop provides negative space around it. Keeping the display within one restrained brown-green-cream palette prevents the countertop from becoming visually noisy.

How to get it: Place one substantial walnut cutting board vertically against the backsplash rather than scattering several small boards across the worktop. Add one ceramic bowl and one herb pot beside it, leaving at least half of the counter completely open for preparation.

💡 Quick Win: Remove every decorative item for one evening, then return only three pieces that you actually enjoy using.

Shop The Look

Product Searchable Amazon-style description
1 Large walnut wood cutting board with rounded handle
2 Handmade cream ceramic fruit bowl
3 Small olive-green ceramic herb planter
4 Natural linen kitchen hand towel set
5 Walnut utensil holder countertop

2. Honed Stone Counter with Matte Ceramic Accessories

2. Honed Stone Counter with Matte Ceramic Accessories

Vibe: Grounded. The rougher stone texture gives the kitchen visual weight without heaviness.

Why it works: Texture contrast keeps a neutral kitchen from looking flat. Honed stone absorbs light differently from glossy ceramic, while dark oak introduces warmth and prevents the pale surfaces from feeling clinical.

How to get it: Choose accessories with matte rather than glossy finishes when the countertop already has strong veining or texture. Keep the ceramic forms rounded and low so they complement the horizontal stone plane instead of competing with it.

Shop The Look

Product Searchable Amazon-style description
1 Matte sand ceramic kitchen canister set
2 Dark oak rectangular serving board
3 Low neutral ceramic countertop vase
4 Charcoal stoneware utensil crock
5 Minimal stainless steel kitchen spoon set

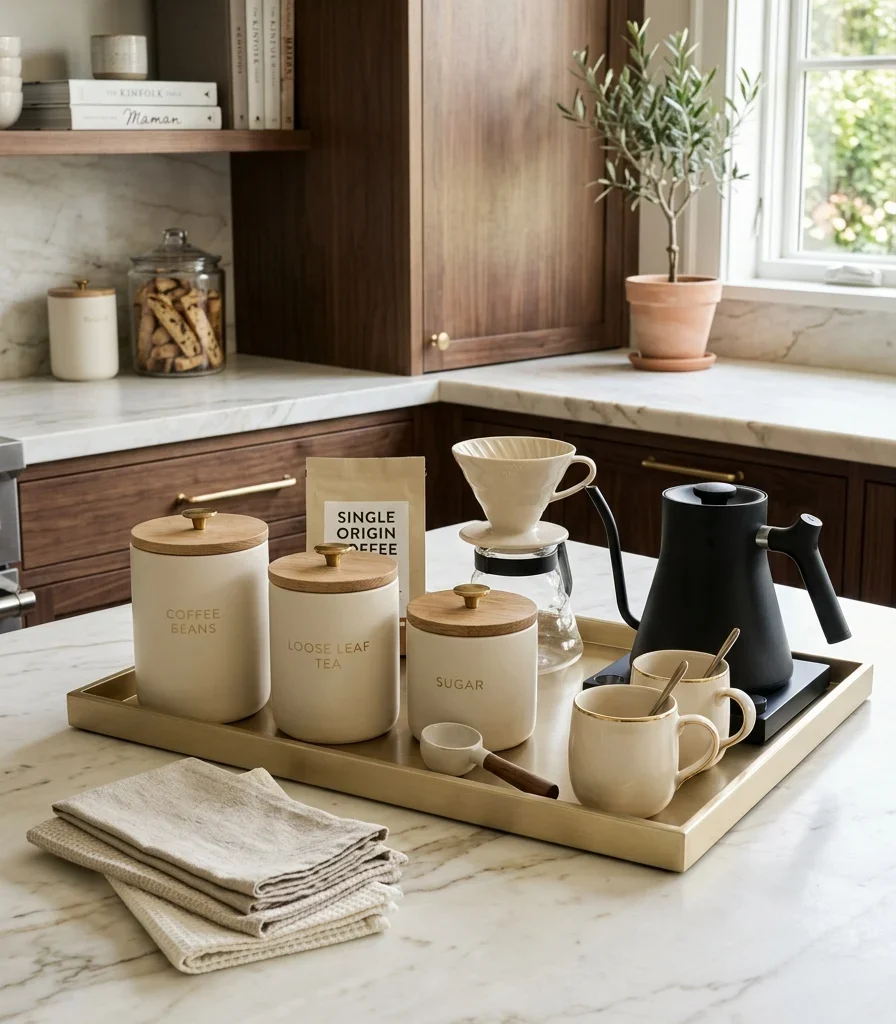
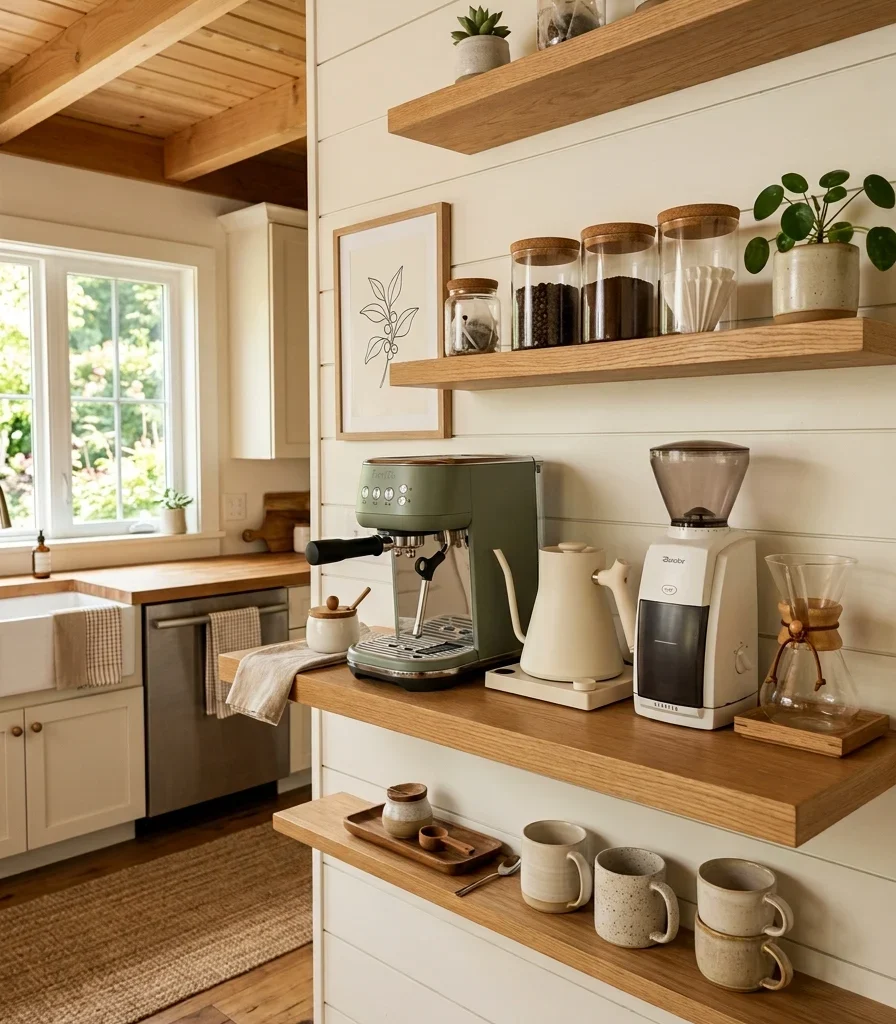
3. Kitchen Countertop Ideas with a Dedicated Coffee Station

3. Kitchen Countertop Ideas with a Dedicated Coffee Station

Vibe: Ritualistic; the counter feels organized around one pleasurable daily habit.

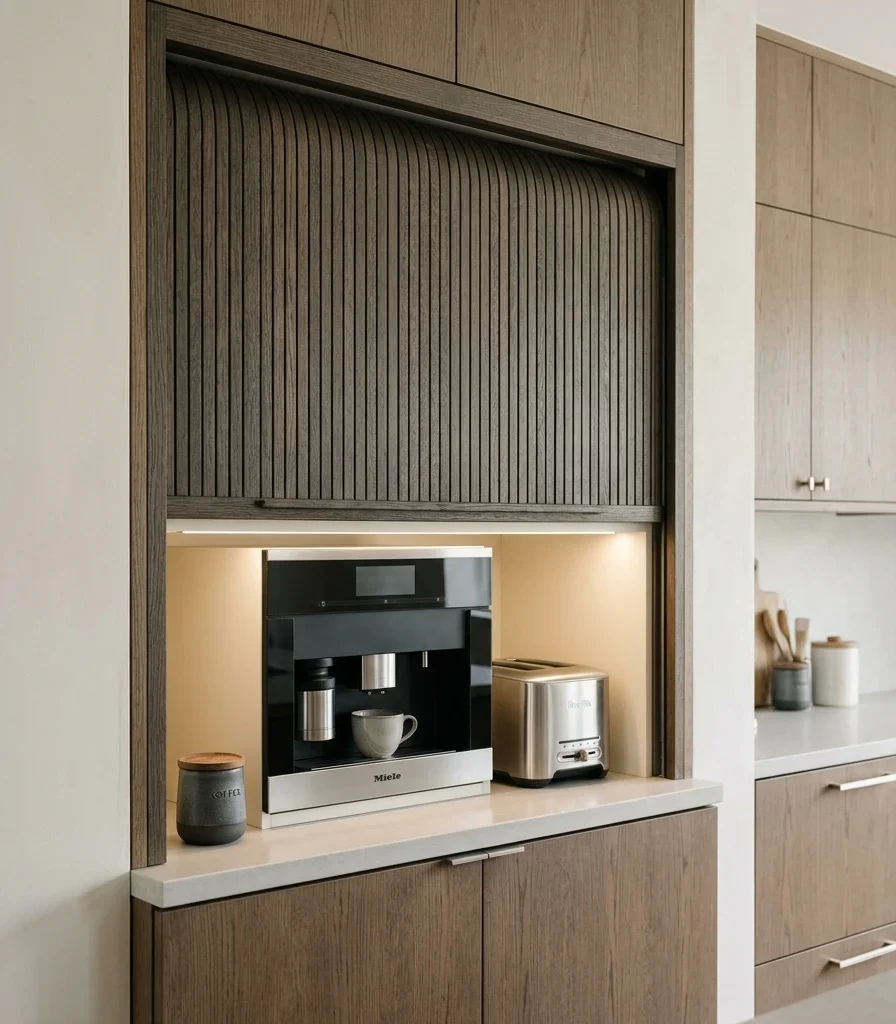
Why it works: A functional zone gives several small objects a clear purpose and visual boundary. The tray creates containment, while repeated walnut and ceramic finishes make the coffee equipment look like one composition rather than unrelated appliances.

How to get it: Dedicate one 24–30 inch section of countertop to coffee preparation and place the machine, jars, and mugs on a single tray. Keep the rest of the counter free so the coffee station reads as an intentional zone rather than general clutter.

💡 Quick Win: A 15–25 rectangular walnut tray can visually organize a coffee corner without moving a single cabinet.

Shop The Look

Product Searchable Amazon-style description
1 Rectangular walnut serving tray with raised edges
2 Ribbed cream ceramic coffee mug set
3 Glass coffee bean storage jar with wooden lid
4 Small brass coffee spoon holder
5 Neutral framed botanical kitchen print

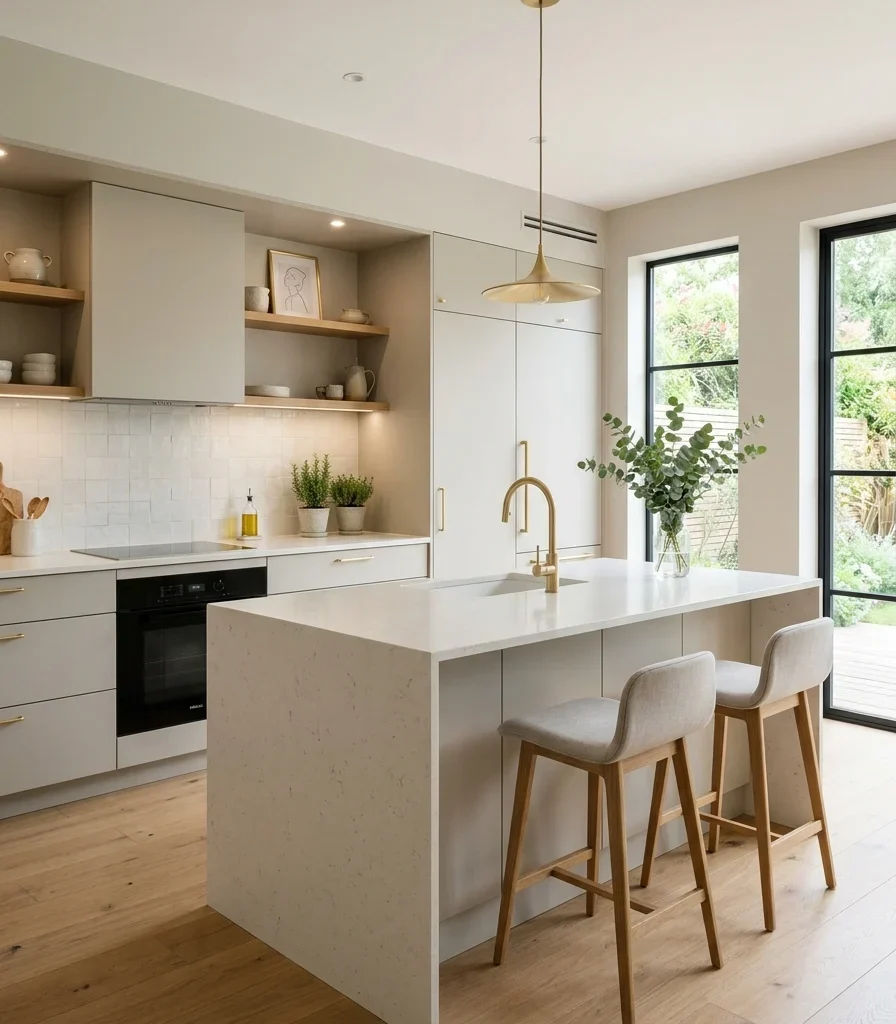
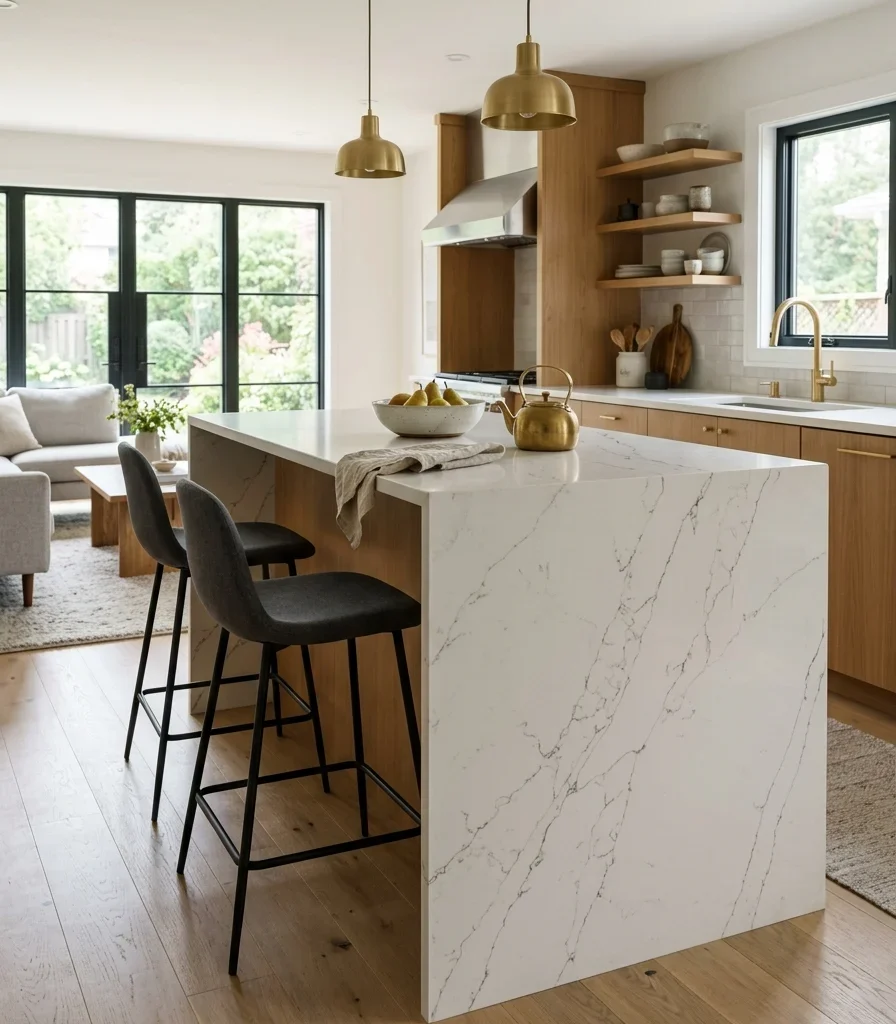
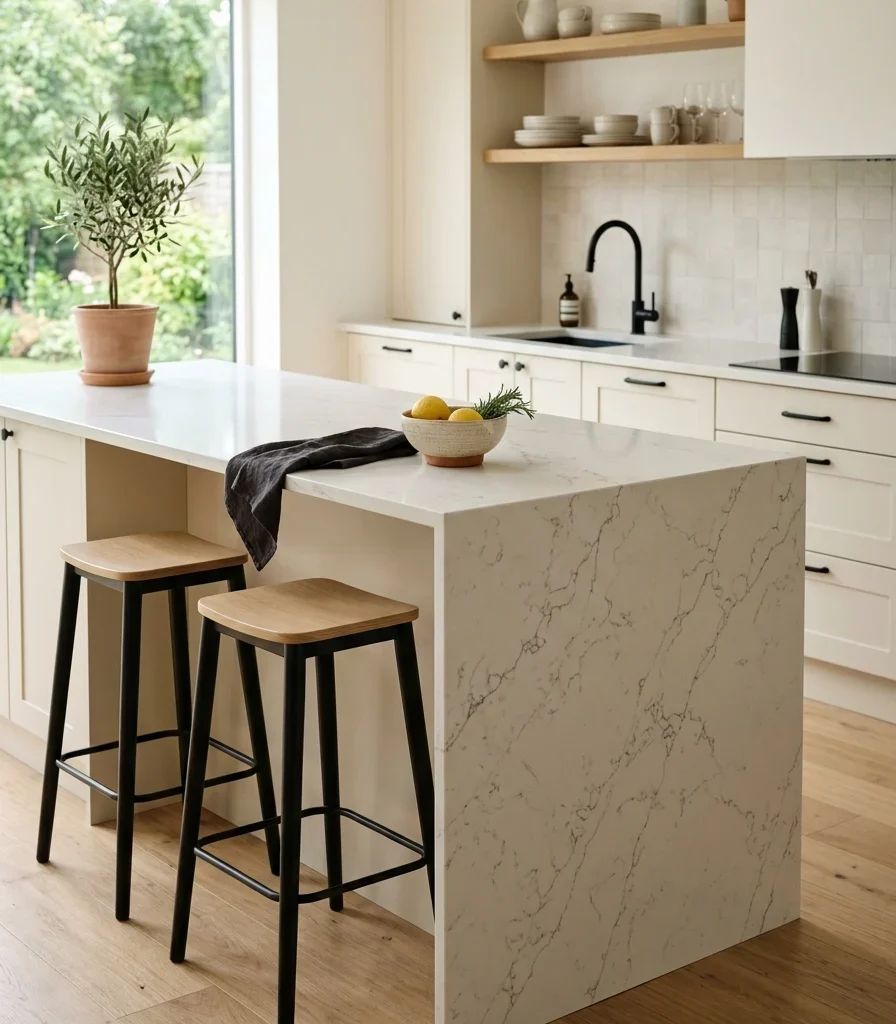
4. Waterfall Countertop with Almost Nothing on Top
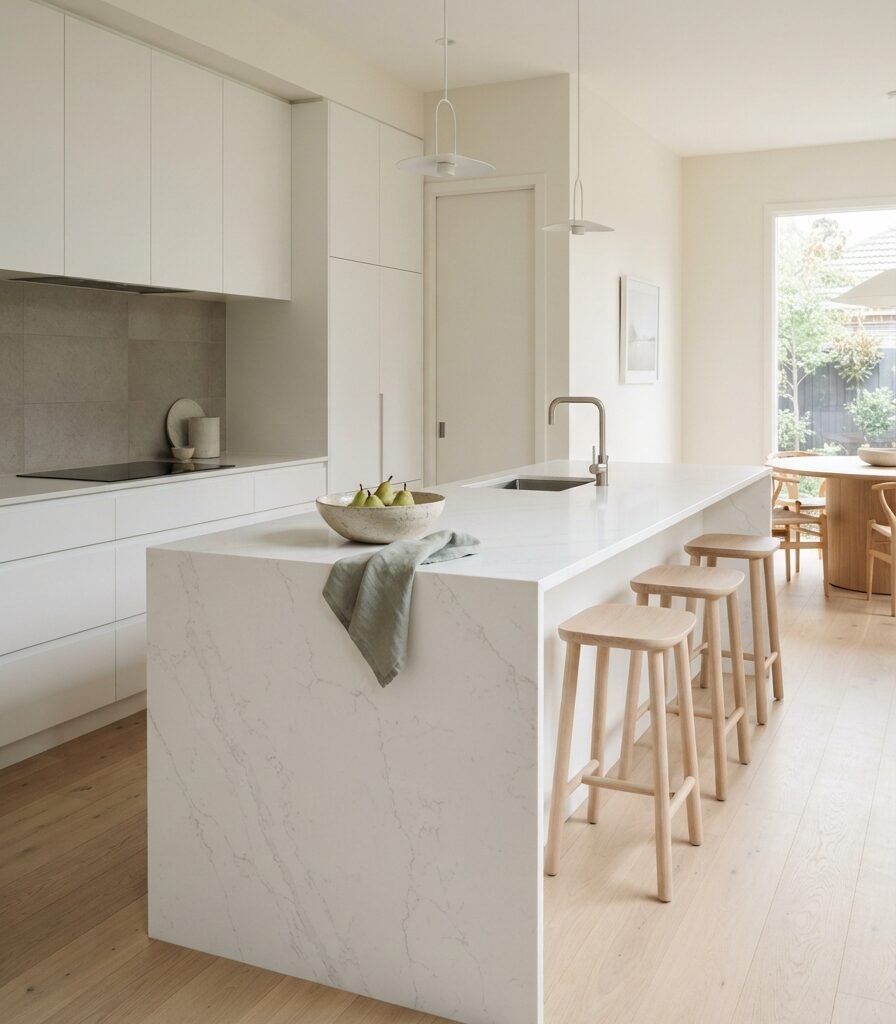
4. Waterfall Countertop with Almost Nothing on Top

Vibe: Airy. The uninterrupted surface makes the whole kitchen feel larger.

Why it works: Negative space becomes the primary decorative element. A waterfall island already has strong visual geometry, so excessive accessories would compete with its architectural edge and make the kitchen feel busier.

How to get it: Treat the island as a work surface first and a decorative surface second. Keep only one low-profile object at the center or one end, leaving generous space around it.

Shop The Look

Product Searchable Amazon-style description
1 Oversized matte white sculptural ceramic bowl
2 Natural linen striped kitchen towel
3 Faux green pear decorative fruit set
4 Slim white stone utensil crock
5 Minimal clear glass water carafe

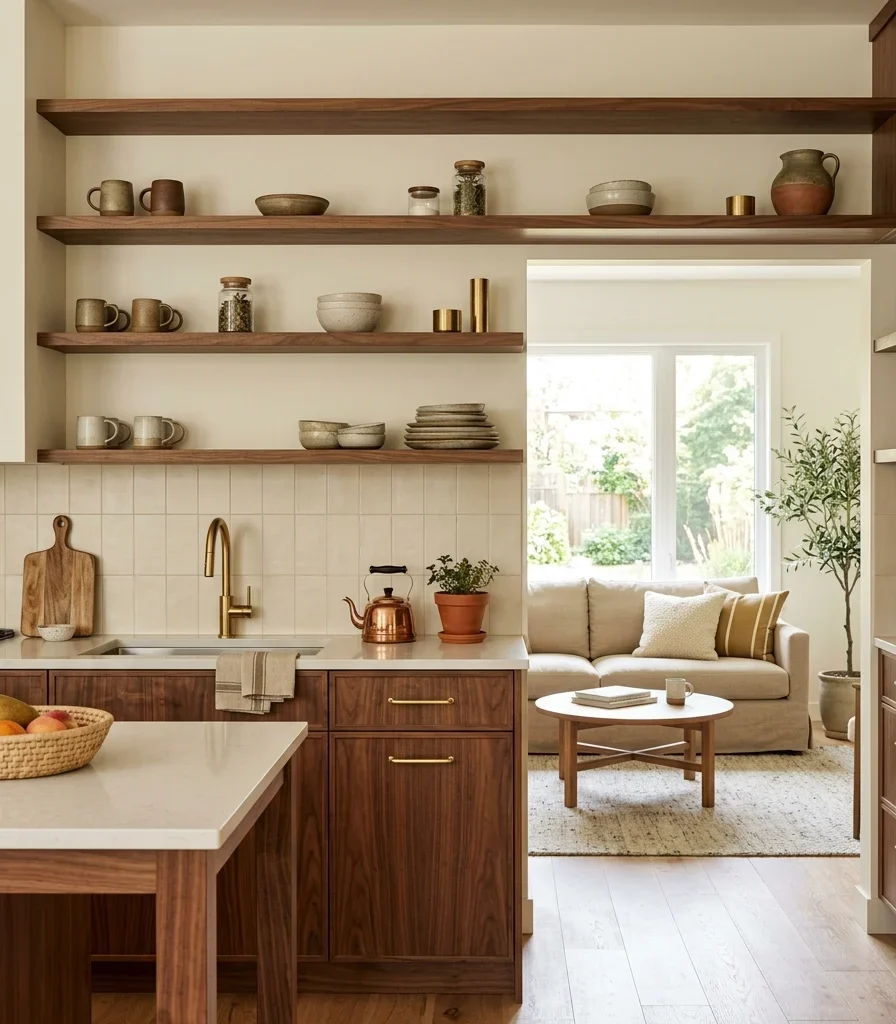
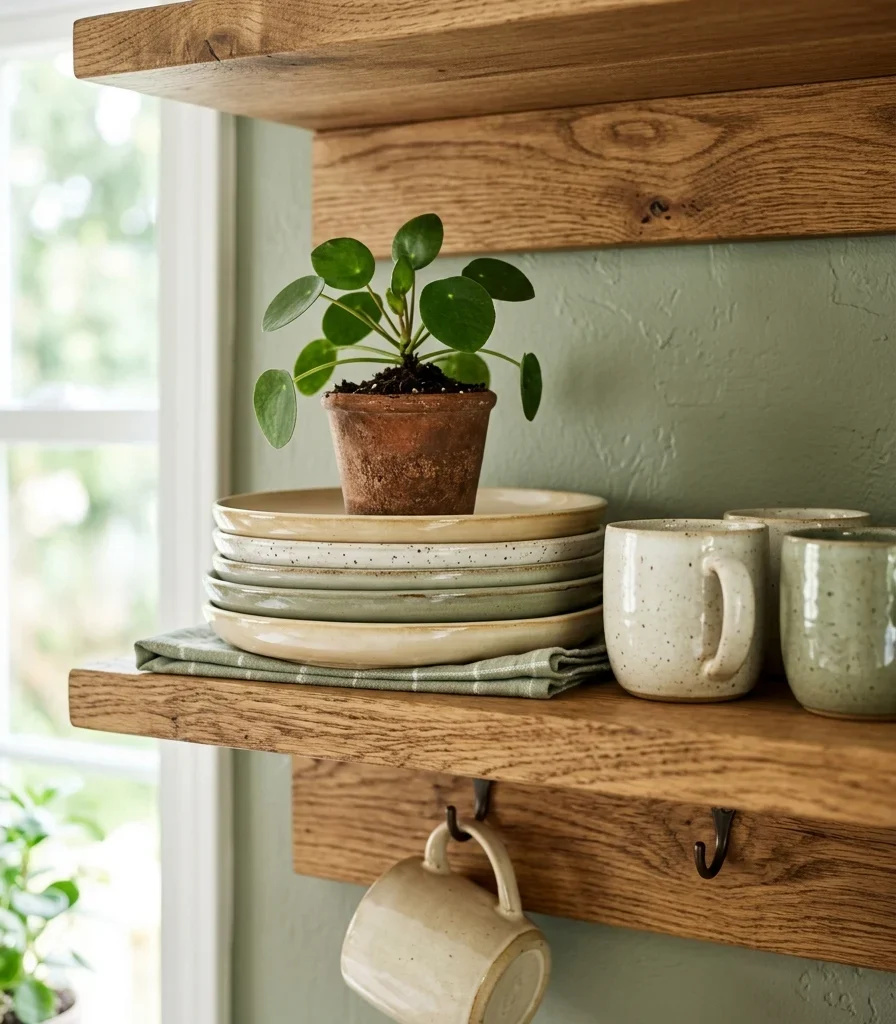
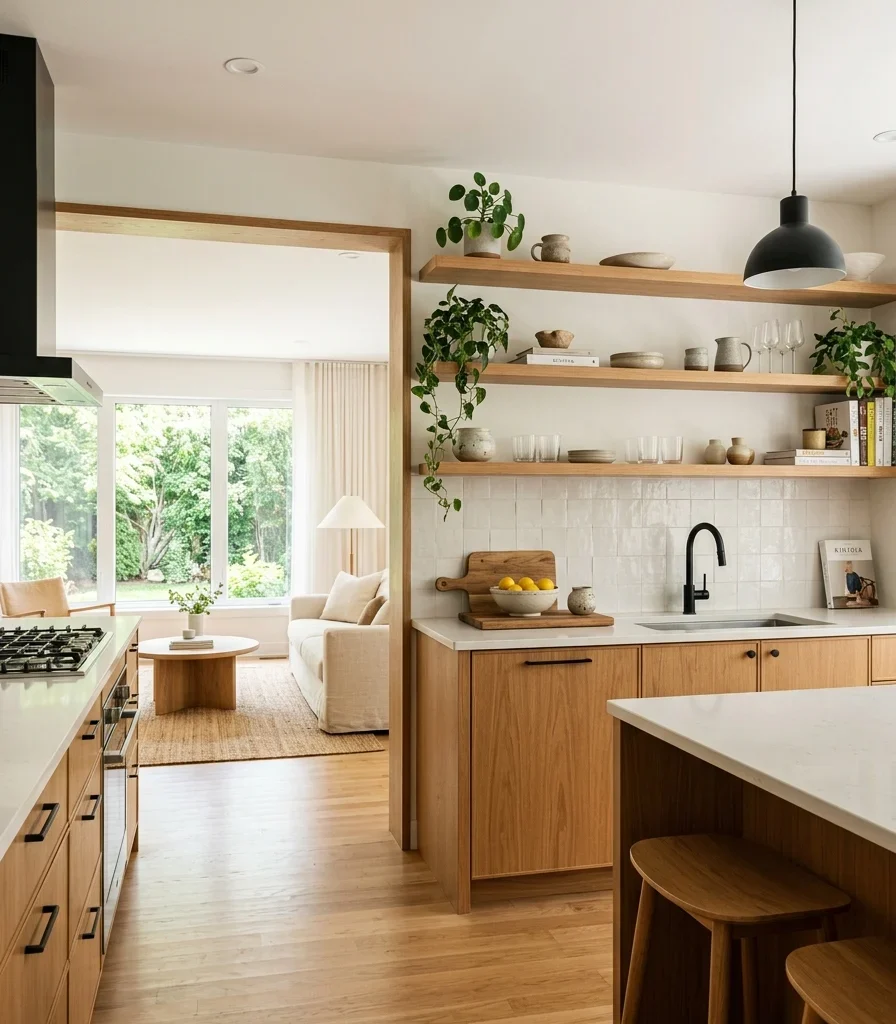
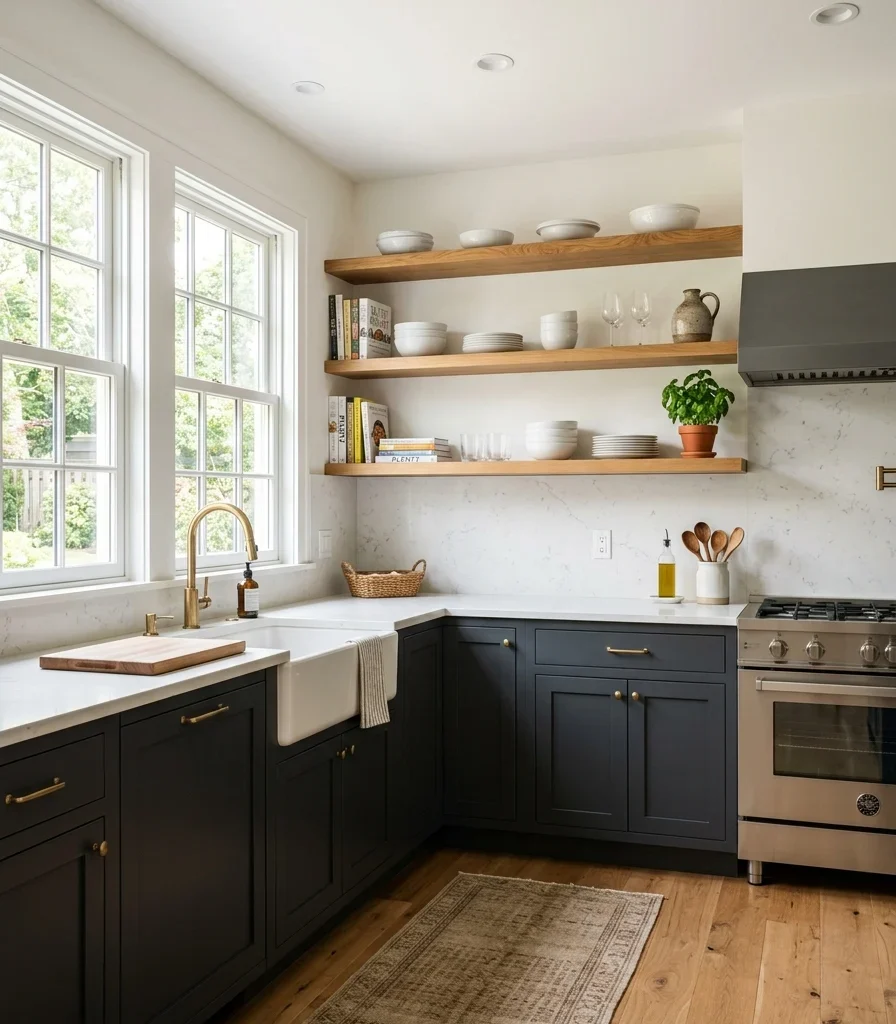
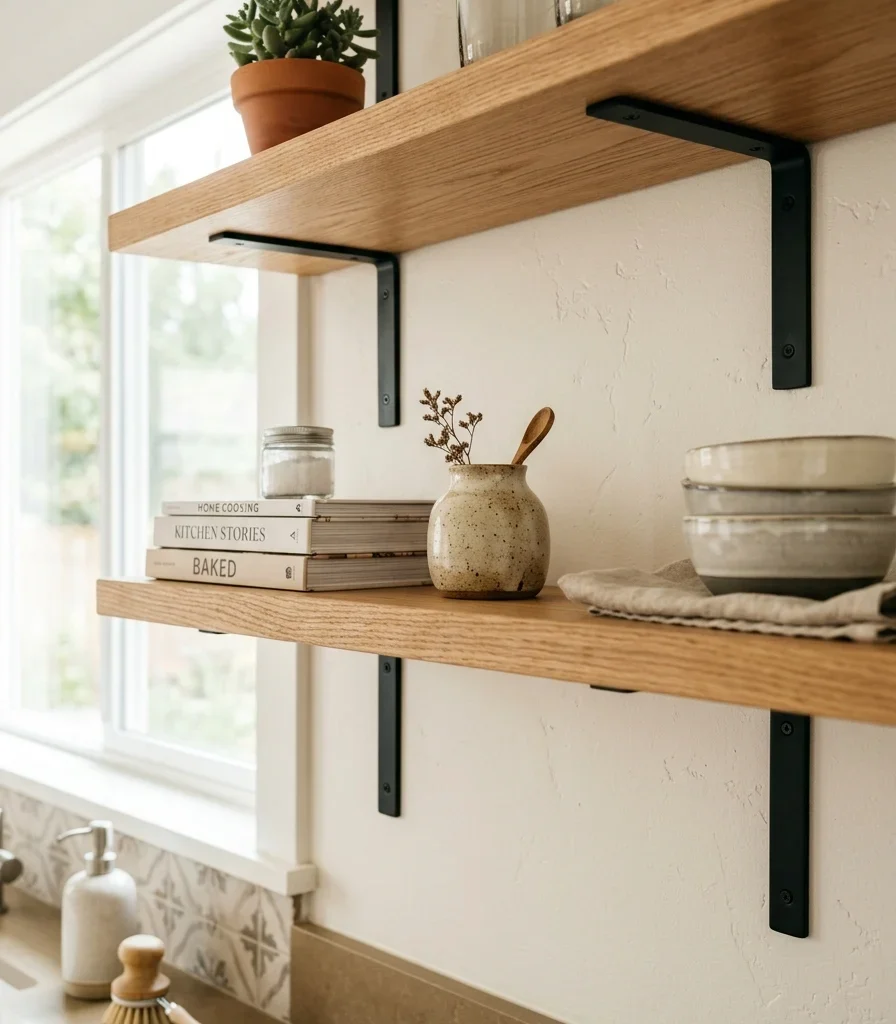
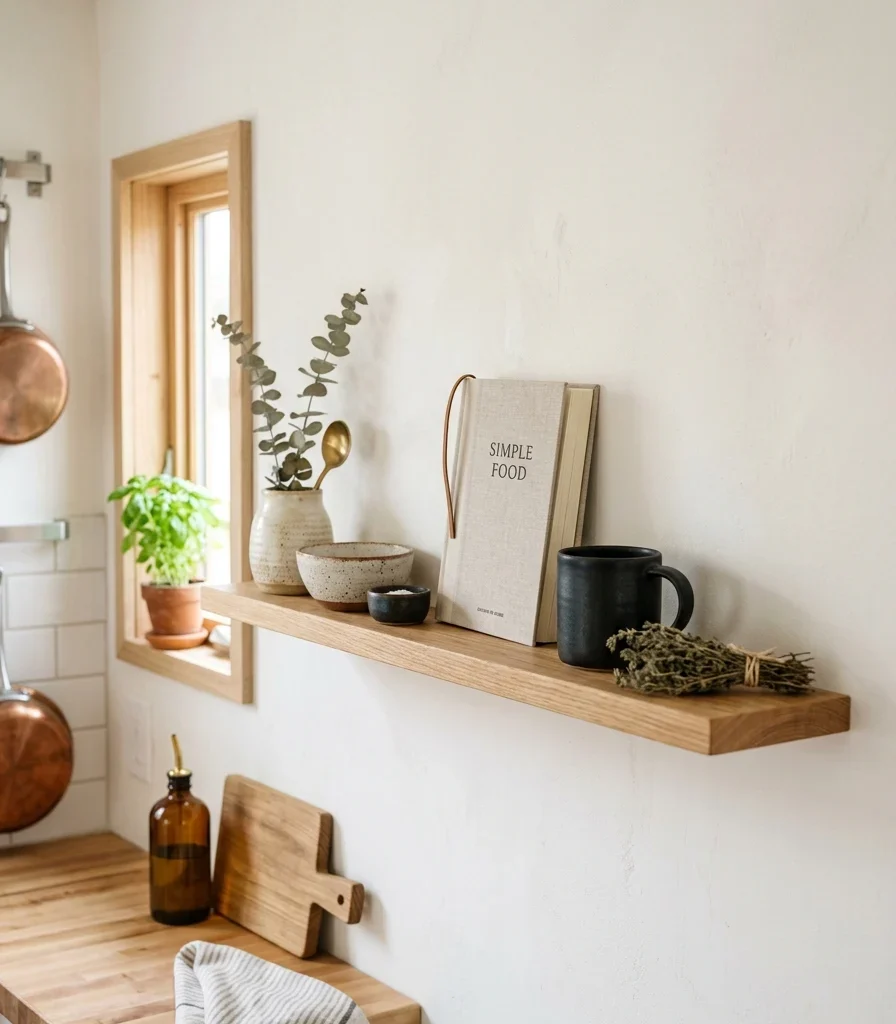
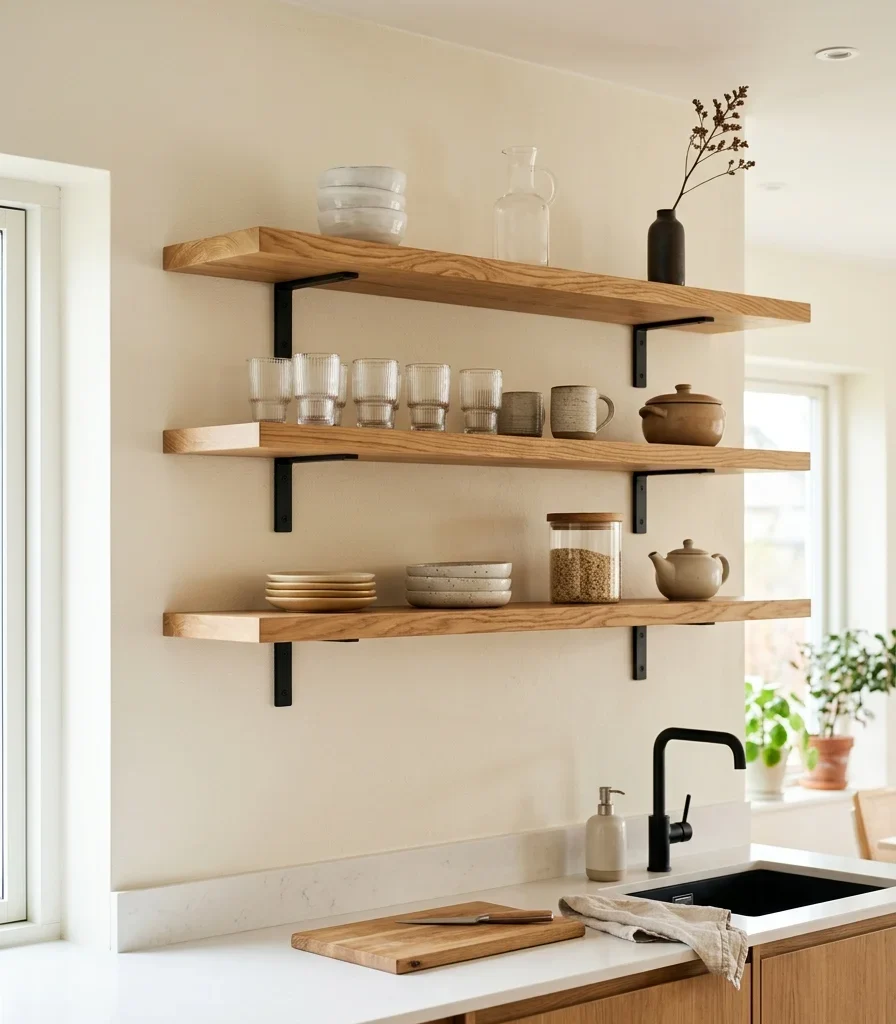
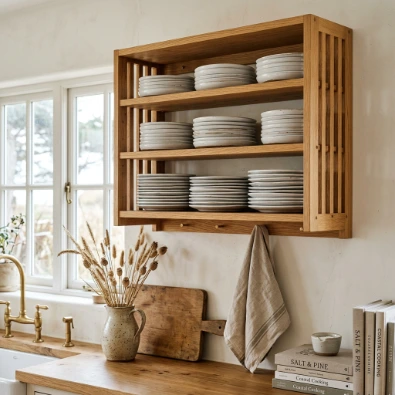
5. Open Wooden Shelving that Visually Continues the Counter
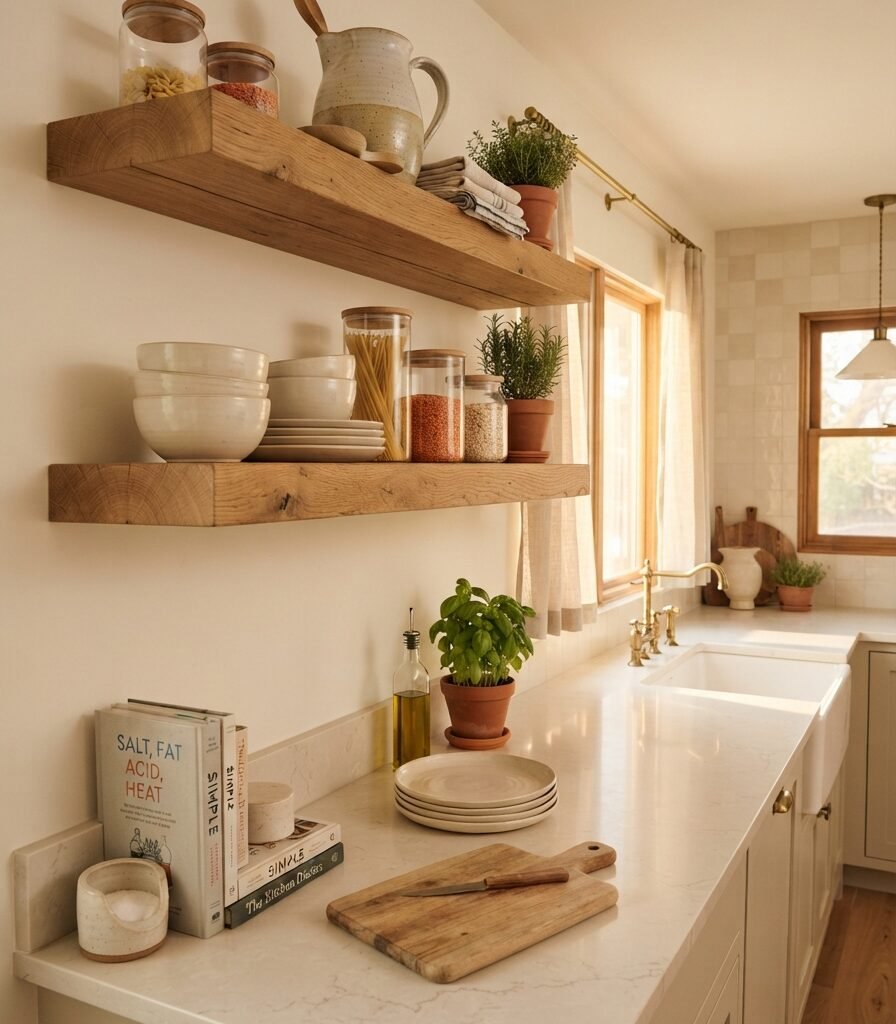
5. Open Wooden Shelving that Visually Continues the Counter

Vibe: Collected; the kitchen feels lived-in without looking overloaded.

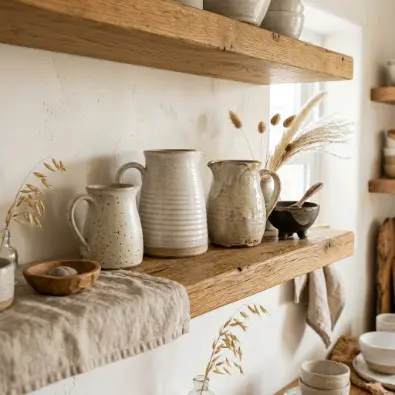
Why it works: Vertical repetition links the countertop with the wall above it. Matching oak tones create a visual bridge, while the different heights of pottery, plates, and jars prevent the shelving from becoming a rigid row.

How to get it: Install shelves approximately 18–22 inches above the worktop where cabinet clearance allows. Use the same wood species or undertone as the countertop accessories so the shelving feels architecturally connected rather than added later.

💡 Quick Win: Rest a single large cutting board against the backsplash beneath the shelves to create the same vertical effect without installing anything.

Shop The Look

Product Searchable Amazon-style description
1 Natural oak floating shelf set
2 Cream stoneware dinner plate set
3 Clear glass pantry jars with wood lids
4 Small terracotta herb pots
5 Handmade ceramic pitcher neutral glaze

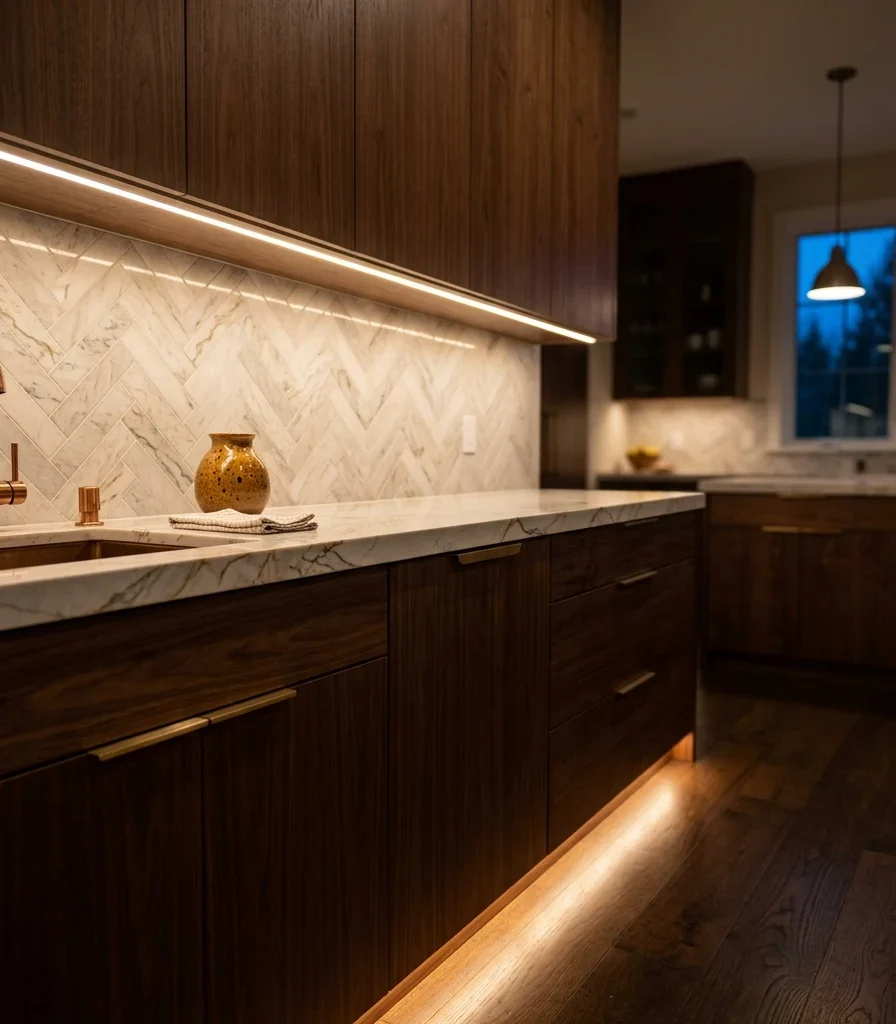
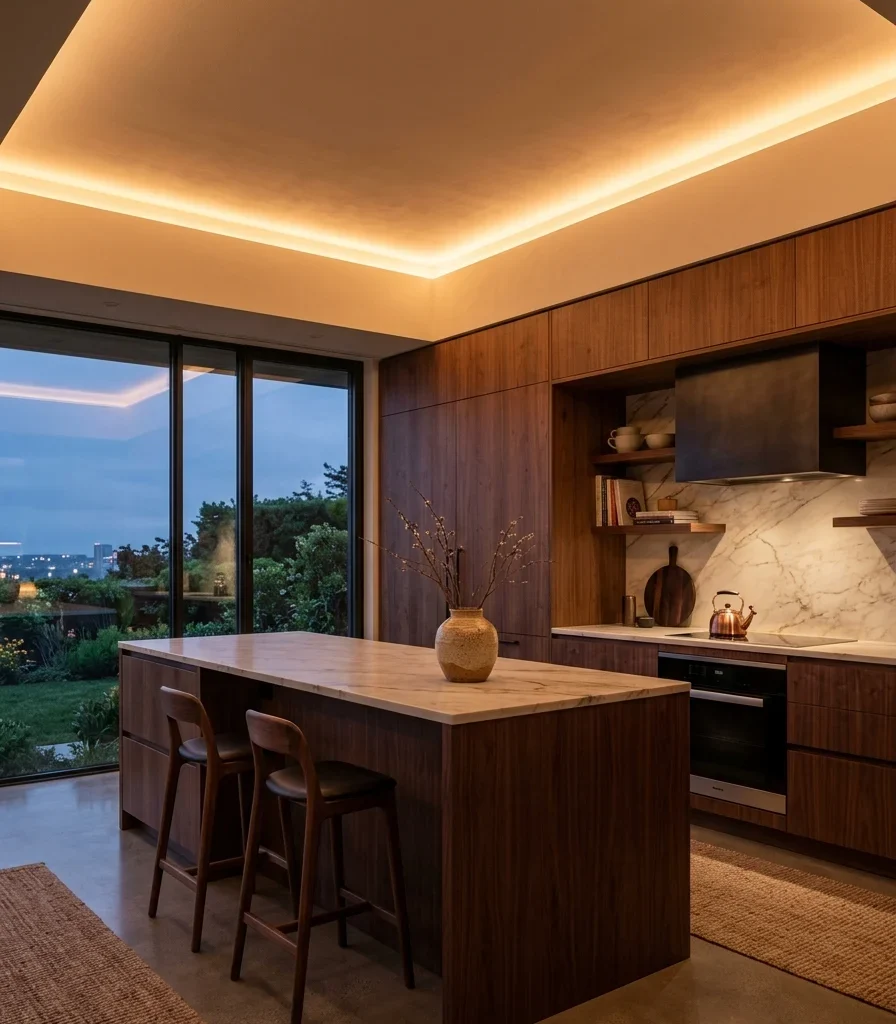
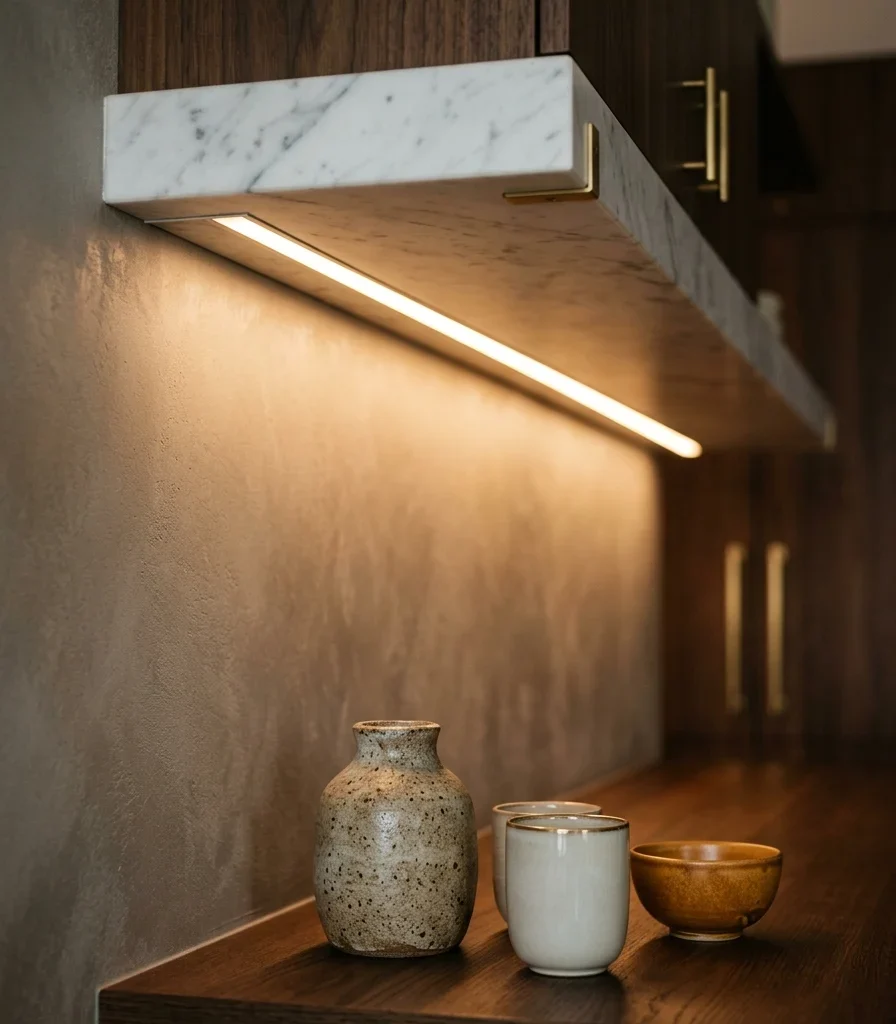
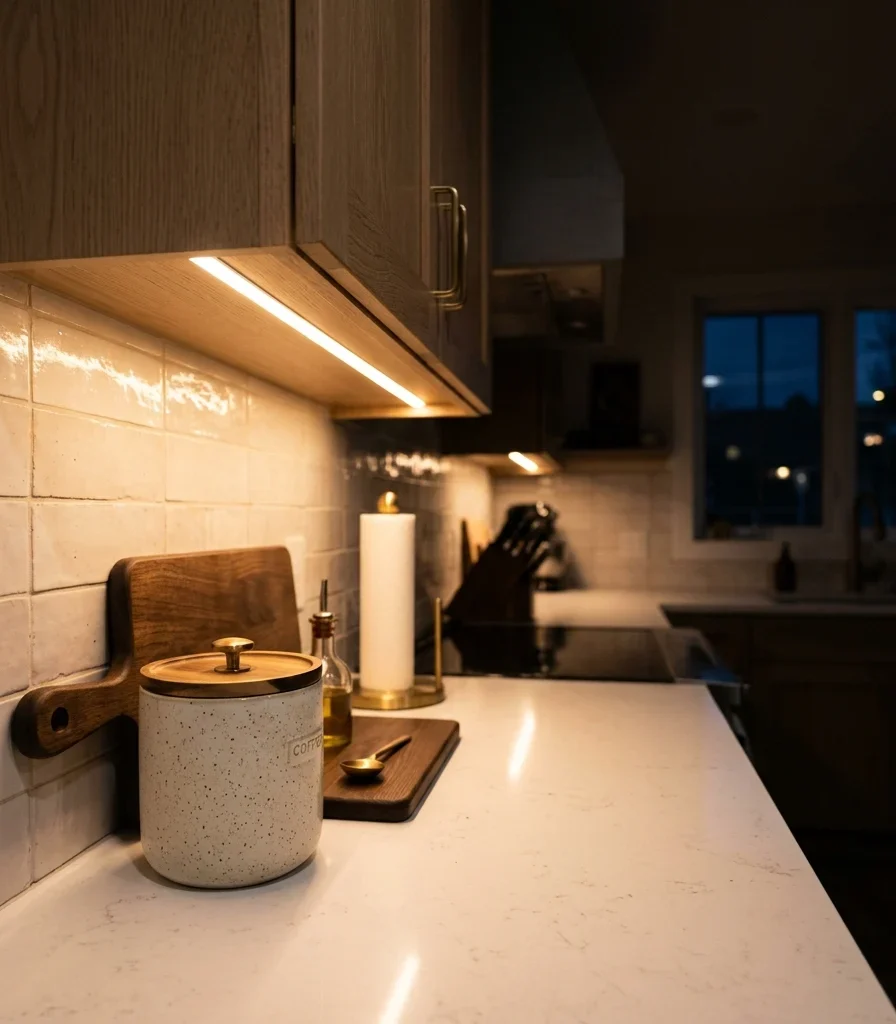
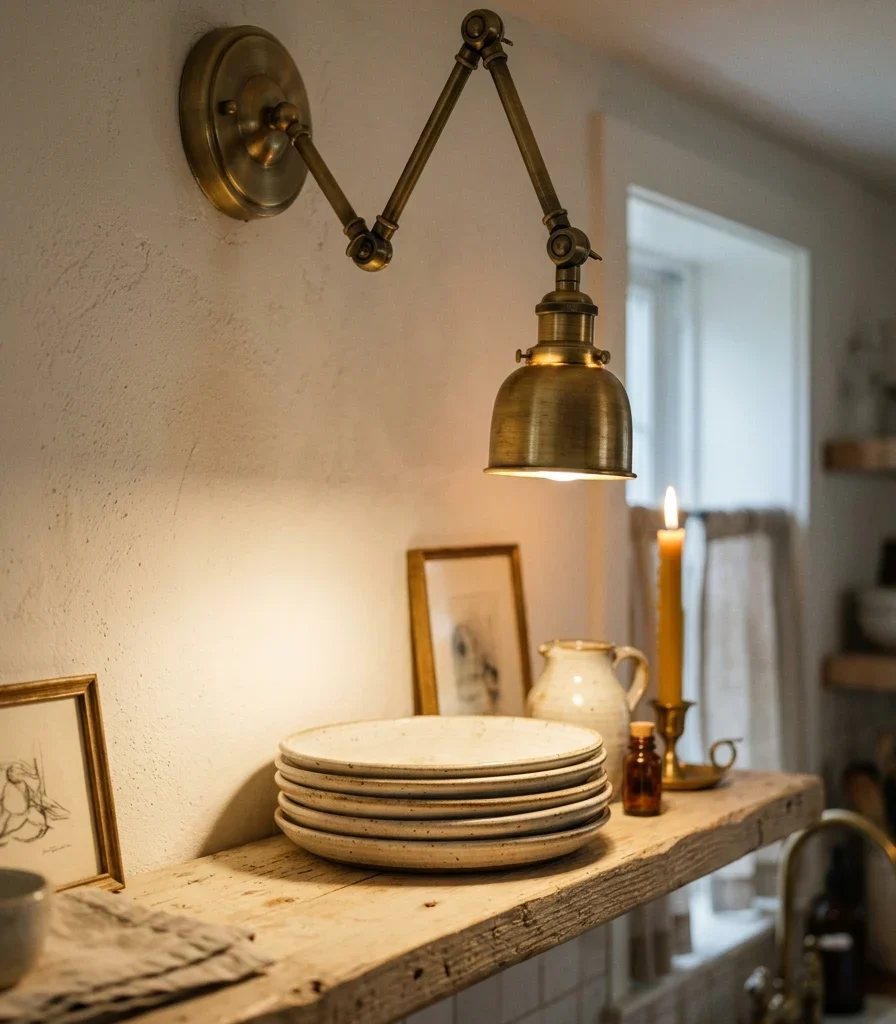
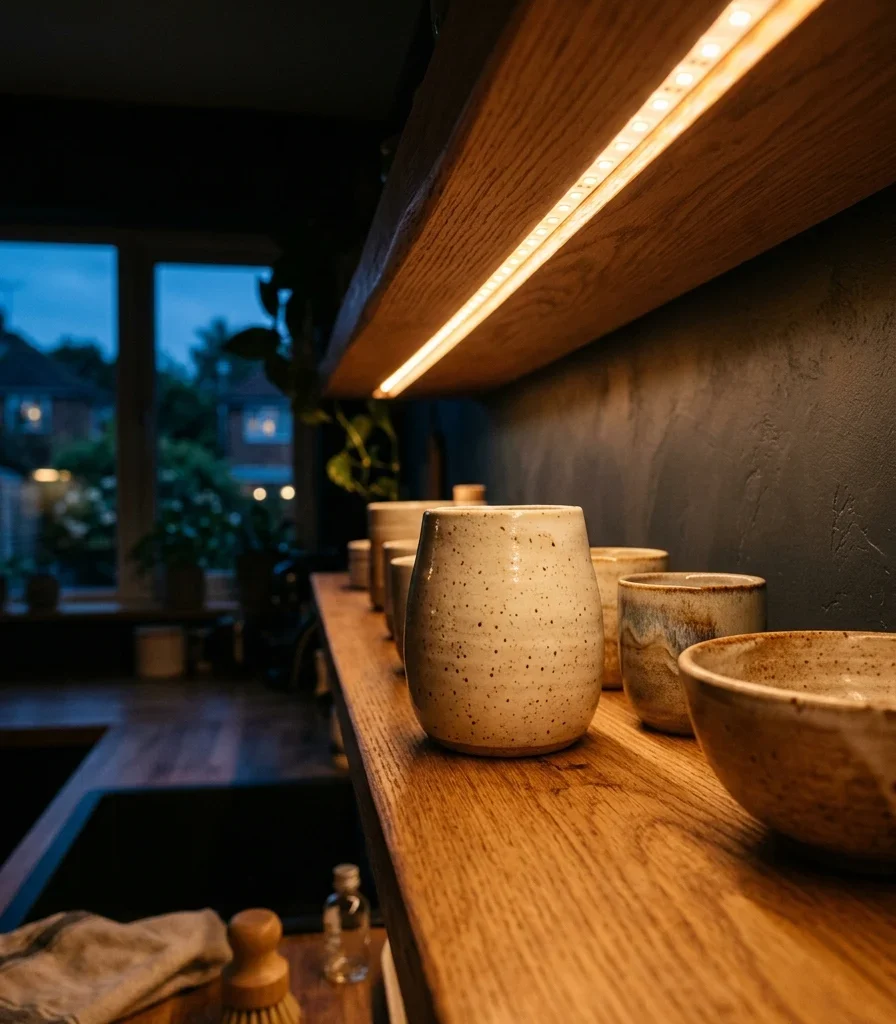
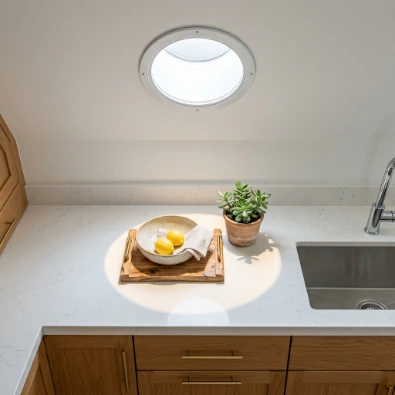
6. Under-Cabinet Lighting for a Counter That Glows

6. Under-Cabinet Lighting for a Counter That Glows

Vibe: Luminous. The counter becomes a soft pool of useful evening light.

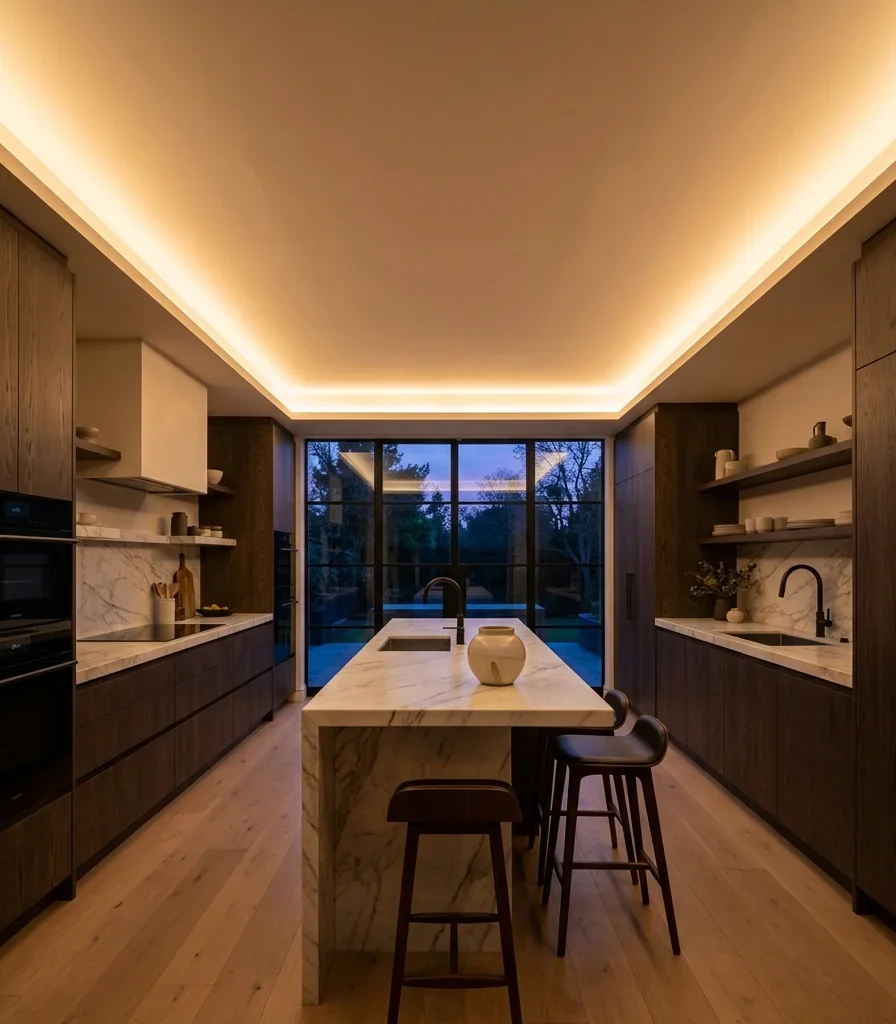
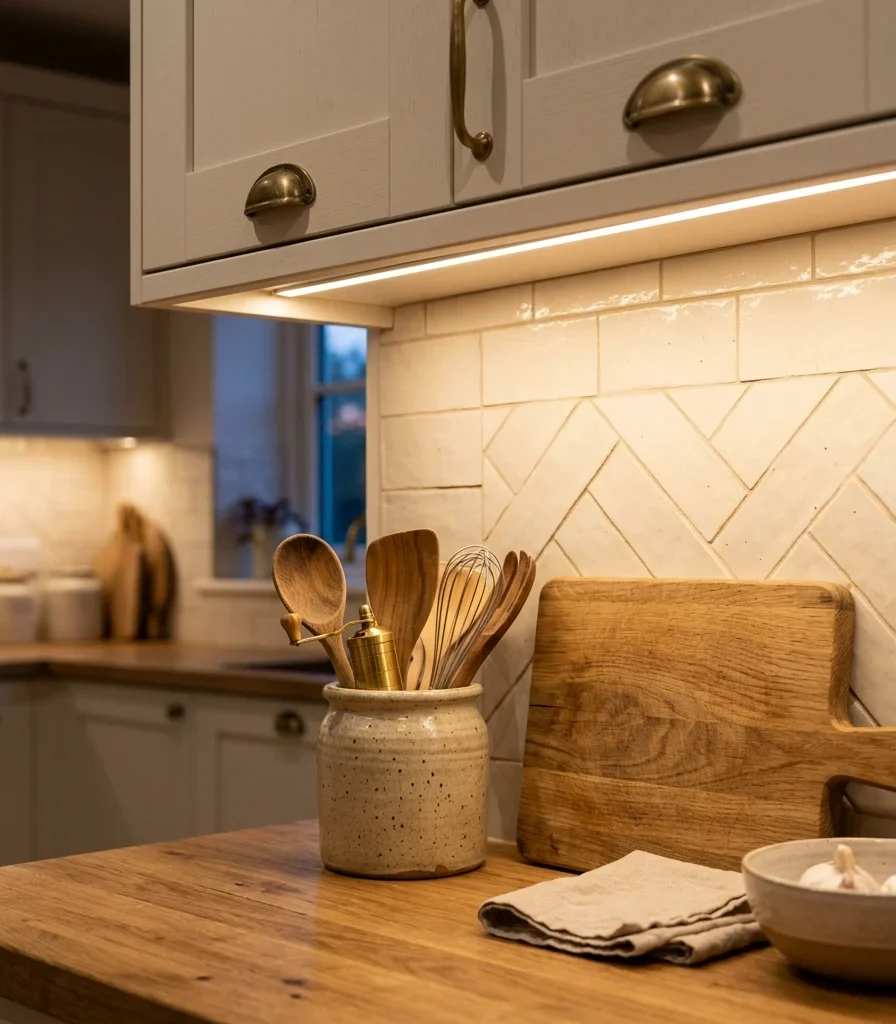
Why it works: Light behavior changes both function and material appearance. Under-cabinet lighting puts illumination directly on the preparation surface instead of relying entirely on a ceiling fixture, and warm LEDs can create a softer evening atmosphere. HomeDreamStyle’s recent small-kitchen guidance similarly recommends 2700K LED lighting and placing the strip toward the cabinet’s front edge for better counter coverage.

How to get it: Choose a continuous LED strip around 2700K and mount it near the front underside of the cabinet rather than deep against the backsplash. Add a dimmer so the same light can serve food preparation and evening ambient lighting.

Shop The Look

Product Searchable Amazon-style description
1 2700K warm white LED under cabinet strip light
2 Plug-in LED dimmer controller kitchen
3 Adhesive LED mounting clips
4 Slim cord management clips for cabinets
5 Warm white rechargeable countertop puck light

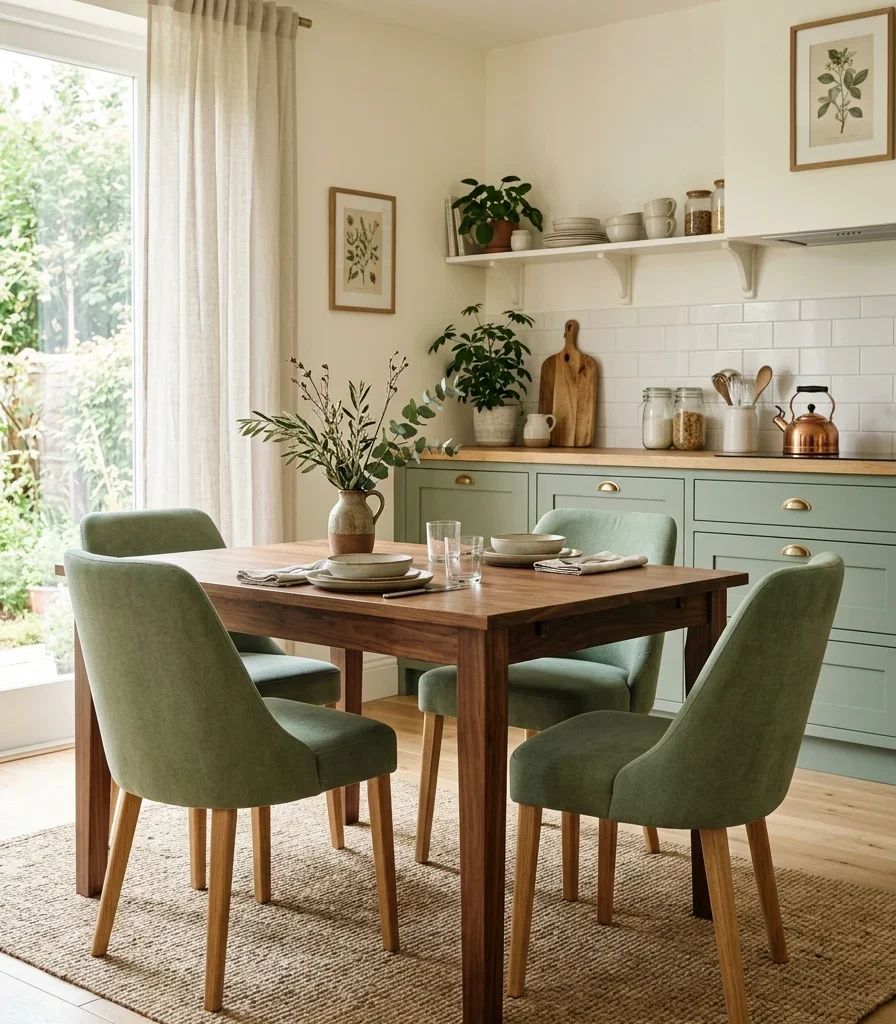
7. Sage Green Counter Styling with Natural Oak
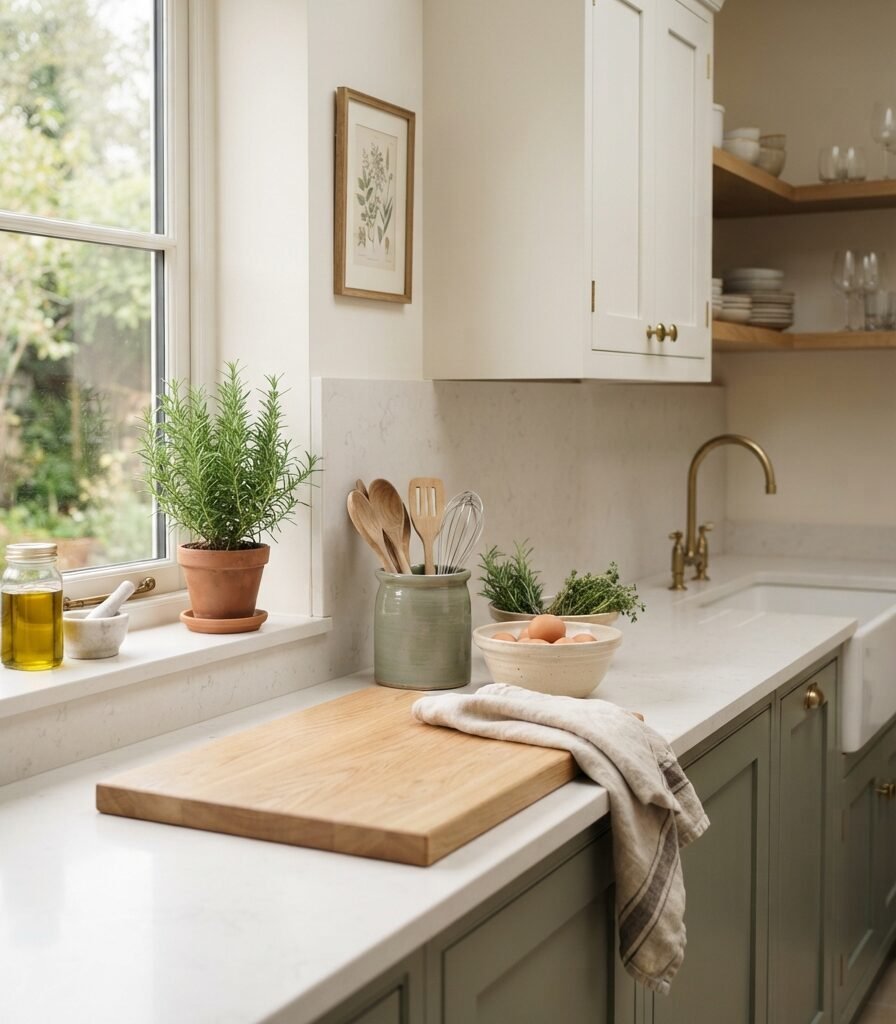
7. Sage Green Counter Styling with Natural Oak

Vibe: Fresh. The restrained green makes the worktop feel connected to nature.

Why it works: The palette uses tonal layering rather than high contrast: sage, cream, and oak sit close enough in visual intensity to feel cohesive. Natural wood adds warmth while preventing green cabinetry from becoming overly cool.

How to get it: Select countertop accessories within one shade family of the cabinetry rather than introducing several unrelated accent colors. A sage crock, cream bowl, and oak board are enough to create a deliberate palette.

💡 Quick Win: Replace one colorful plastic container with a matte sage or cream ceramic utensil crock.

Shop The Look

Product Searchable Amazon-style description
1 Matte sage green ceramic utensil holder
2 Natural oak paddle cutting board
3 Cream ceramic serving bowl
4 Natural linen sage stripe towel
5 Small white ceramic herb planter

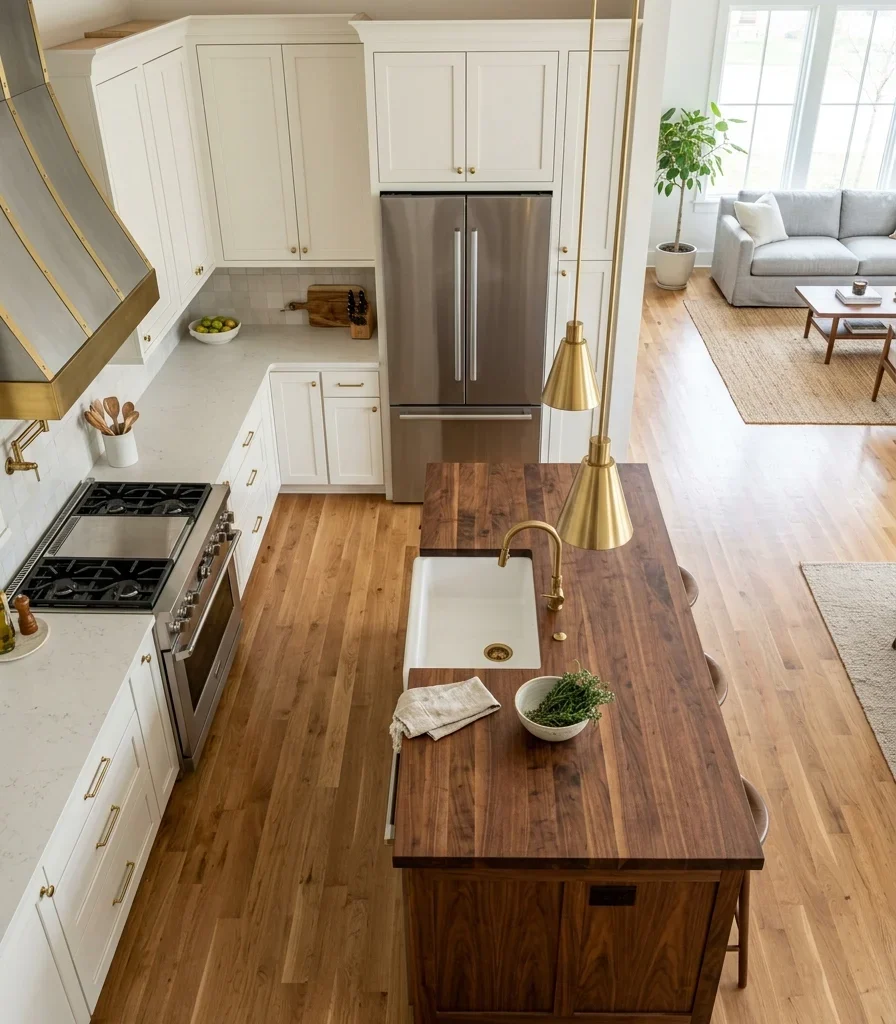
8. Kitchen Countertop Ideas with a Butcher-Block Texture Layer
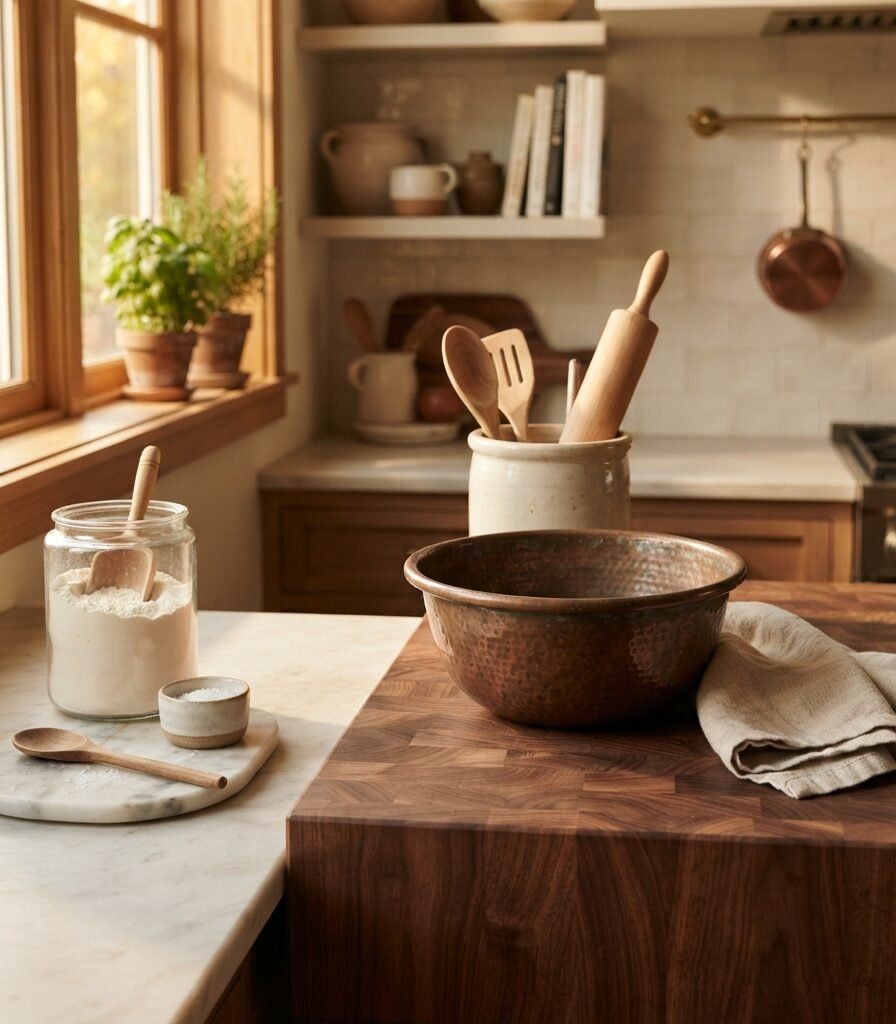
8. Kitchen Countertop Ideas with a Butcher-Block Texture Layer

Vibe: Tactile; the kitchen feels made for hands, food, and slow preparation.

Why it works: Material contrast creates visual richness when wood meets stone. The butcher-block surface introduces warmth and softness against a harder countertop material, while copper adds a third reflective texture without requiring additional decoration.

How to get it: If replacing the entire counter is impractical, use a substantial 18–24 inch walnut or acacia butcher-block board as a dedicated prep zone. Keep it visually distinct rather than trying to make it match the stone exactly.

Shop The Look

Product Searchable Amazon-style description
1 Thick walnut butcher block cutting board
2 Aged copper mixing bowl
3 Wooden rolling pin, natural finish
4 Ivory stoneware utensil crock
5 Natural flax linen kitchen towel

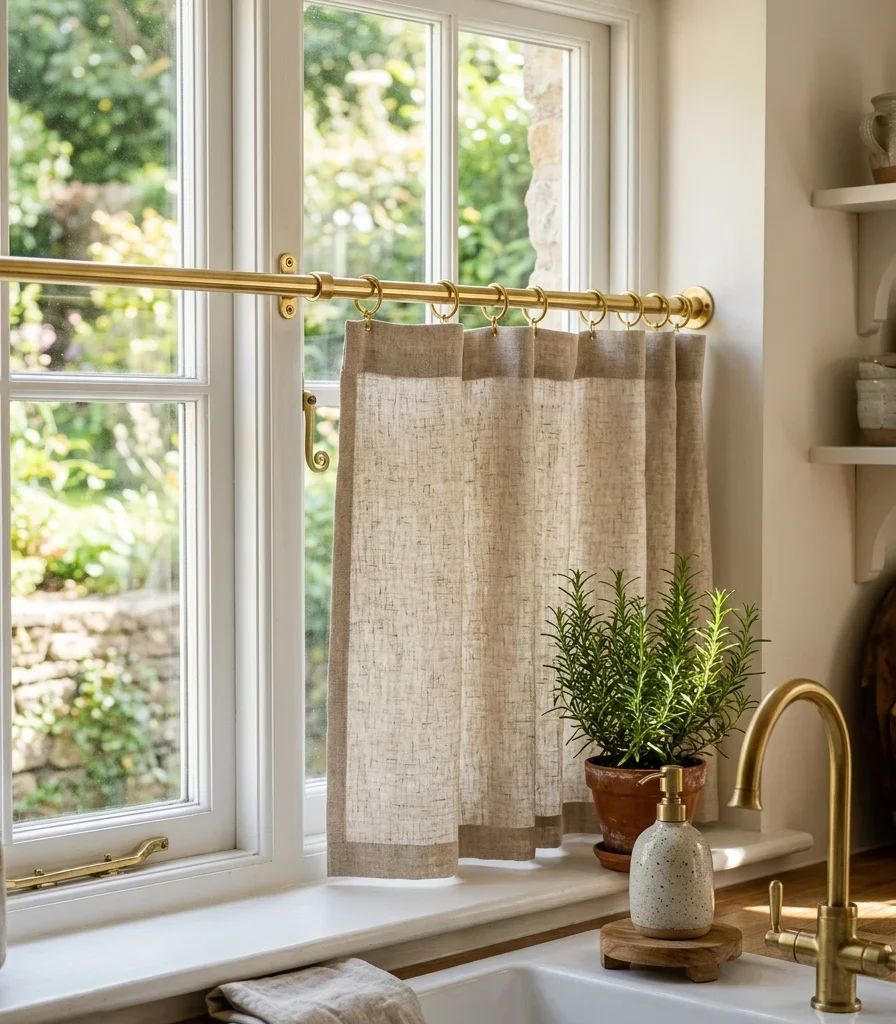
9. A Symmetrical Countertop Arrangement Around the Sink
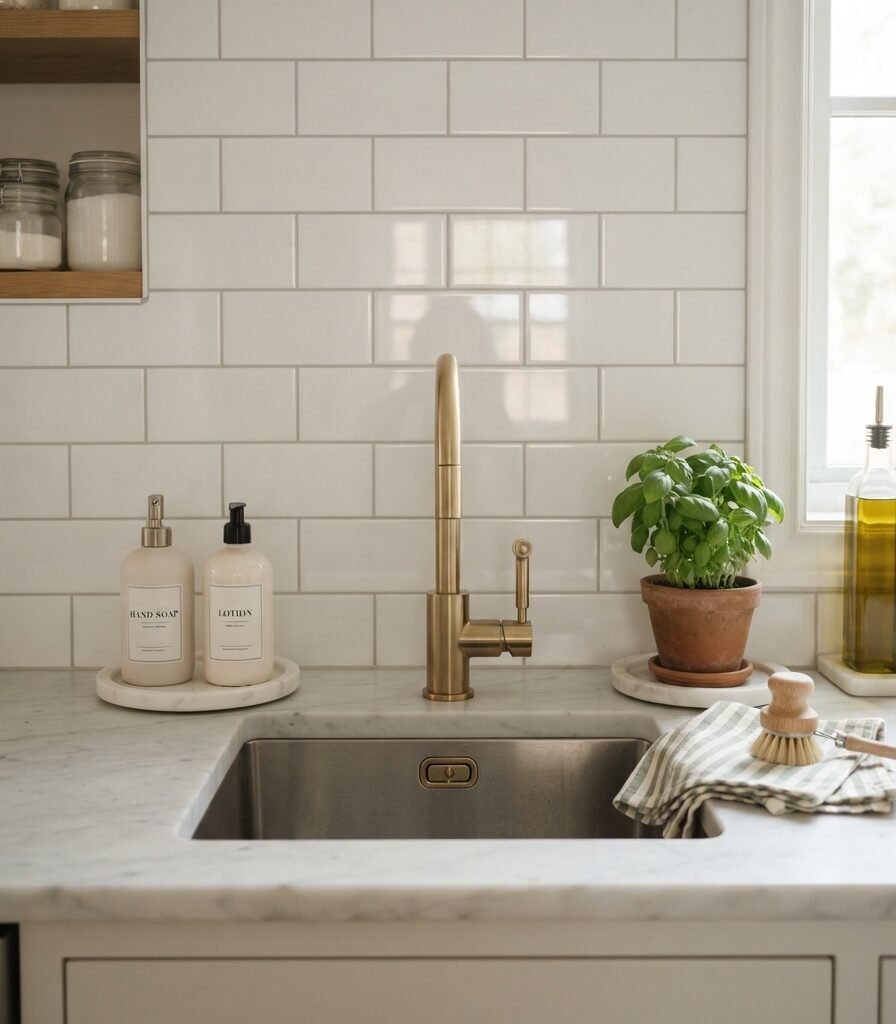
9. A Symmetrical Countertop Arrangement Around the Sink

Vibe: Balanced; the sink zone feels composed instead of randomly occupied.

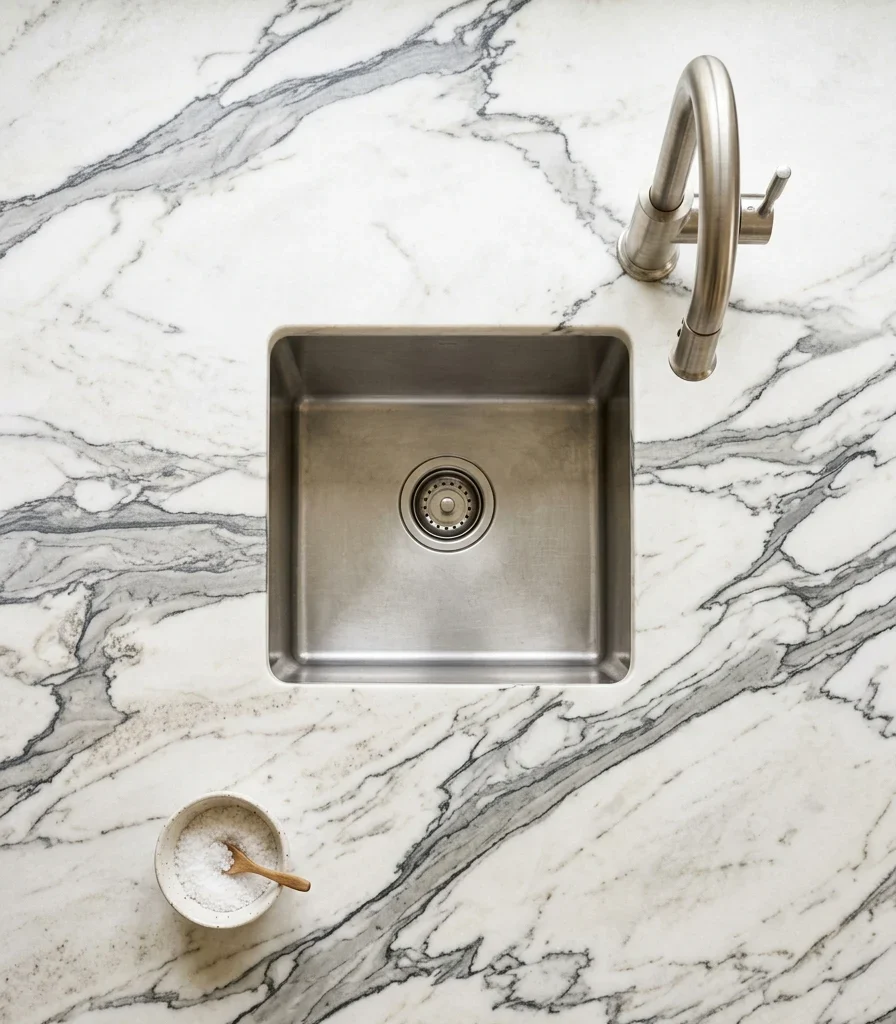
Why it works: Symmetry creates immediate visual order around a naturally important kitchen focal point. The centered faucet acts as the axis, while related objects on both sides create enough balance without requiring identical accessories.

How to get it: Treat the faucet as the centerline and build two small groups at approximately equal visual weight. Keep soap and cleaning products contained on one side while the opposite side carries a plant, towel, or brush.

💡 Quick Win: Place two matching amber glass dispensers beside the sink and remove every other loose bottle from view.

Shop The Look

Product Searchable Amazon-style description
1 Matching amber glass soap dispenser set
2 Small white ceramic herb planter
3 Natural wood dish brush
4 Brushed brass countertop tray
5 Cream waffle weave kitchen towel

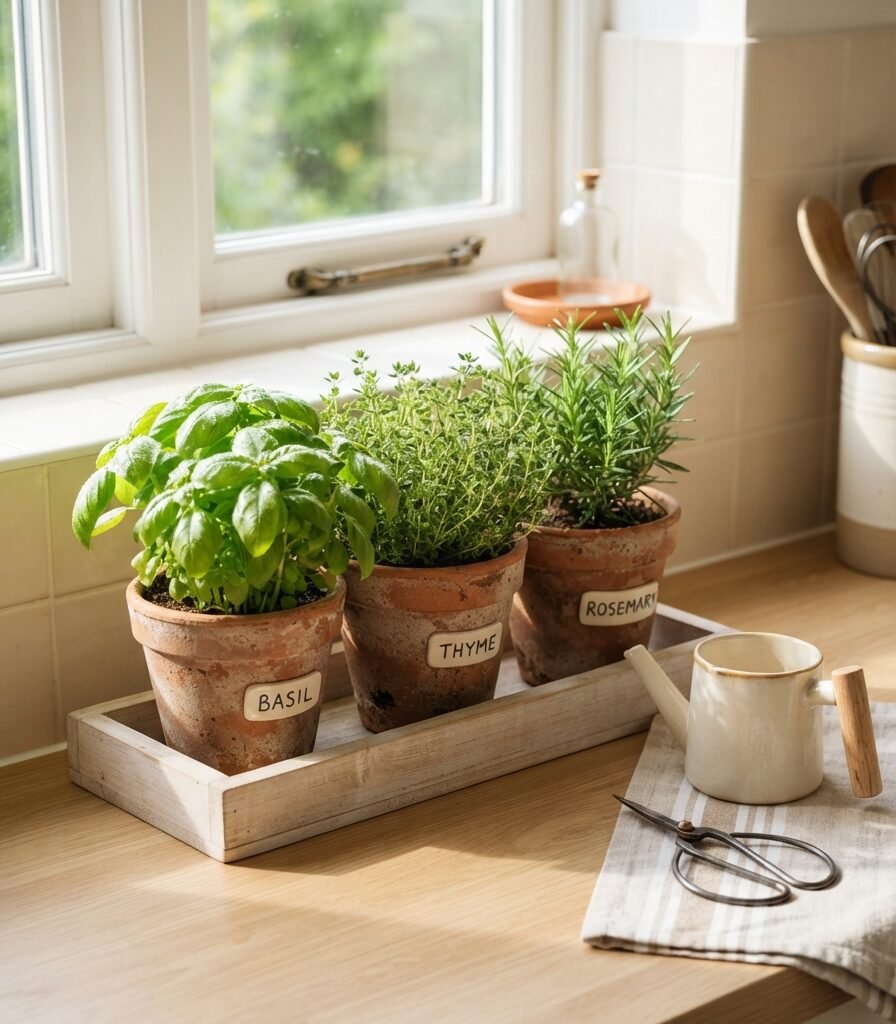
10. A Compact Countertop Herb Garden

10. A Compact Countertop Herb Garden

Vibe: Lively. The countertop gains movement from living green rather than extra decoration.

Why it works: Repetition with variation makes a small collection feel organized: identical pots establish rhythm while different herb heights provide natural irregularity. Because the herbs are useful, the display earns its footprint.

How to get it: Choose three pots no larger than 4–5 inches each and place them together on a narrow tray near the brightest suitable window. Rotate them occasionally so growth remains even.

Shop The Look

Product Searchable Amazon-style description
1 Set of three terracotta herb pots
2 Narrow acacia wood plant tray
3 Herb garden plant labels
4 Small ceramic watering cup
5 Stainless steel herb trimming scissors

11. Black Countertop Accents for High Contrast
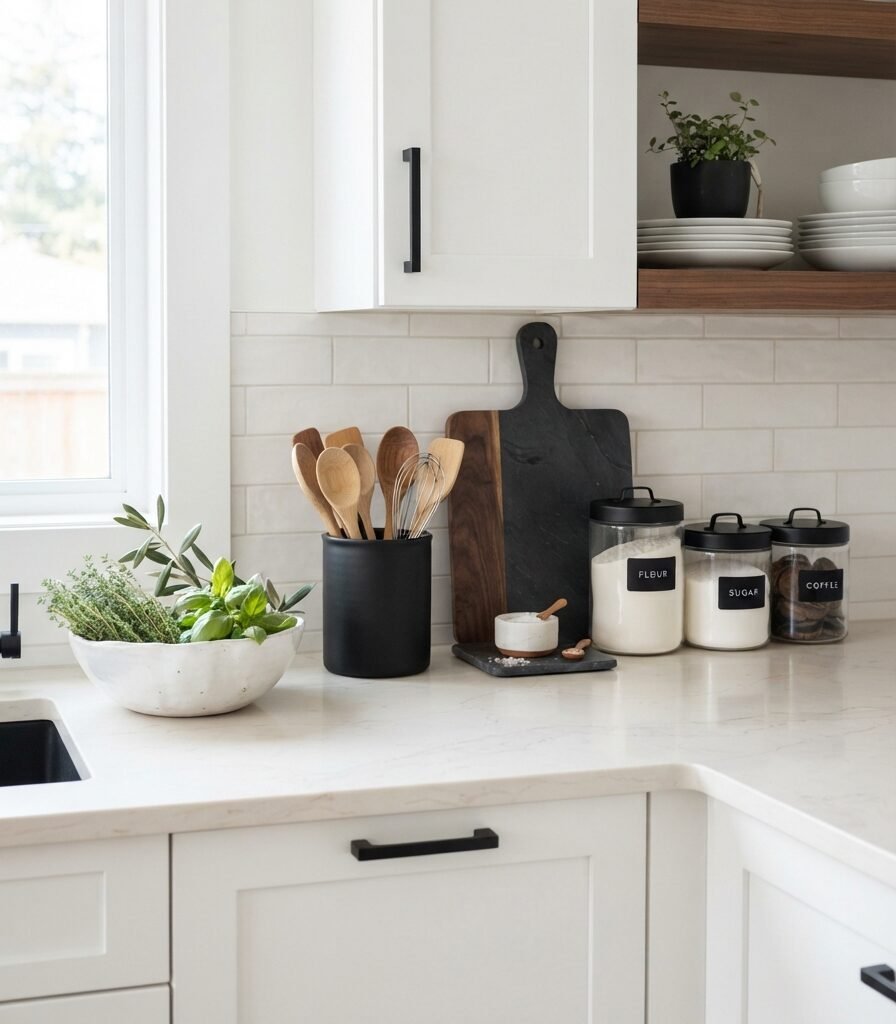
11. Black Countertop Accents for High Contrast

Vibe: Graphic, controlled dark accents give the pale kitchen a stronger visual outline.

Why it works: Contrast creates focal points without requiring colorful accessories. Matte black works especially well against warm white stone because it provides visual weight while its non-reflective finish avoids the harsher effect of polished black metal.

How to get it: Repeat black in only two or three functional locations, such as the utensil crock, canister lids, and one framed print, rather than introducing black into every accessory.

💡 Quick Win: Swap only your utensil holder for a matte black cylindrical crock and remove competing countertop colors.

Shop The Look

Product Searchable Amazon-style description
1 Matte black cylindrical utensil crock
2 Black metal lid glass kitchen canister set
3 Charcoal slate-style serving board
4 White ceramic low fruit bowl
5 Walnut wooden cooking spoon set

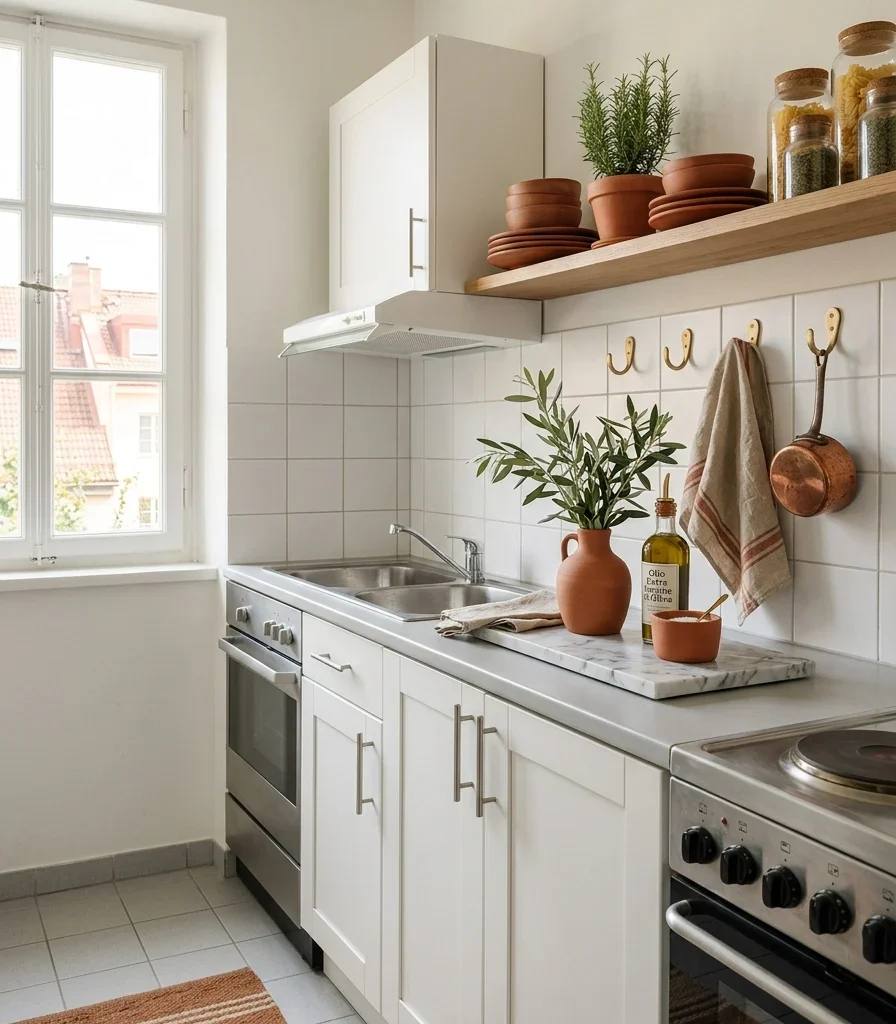
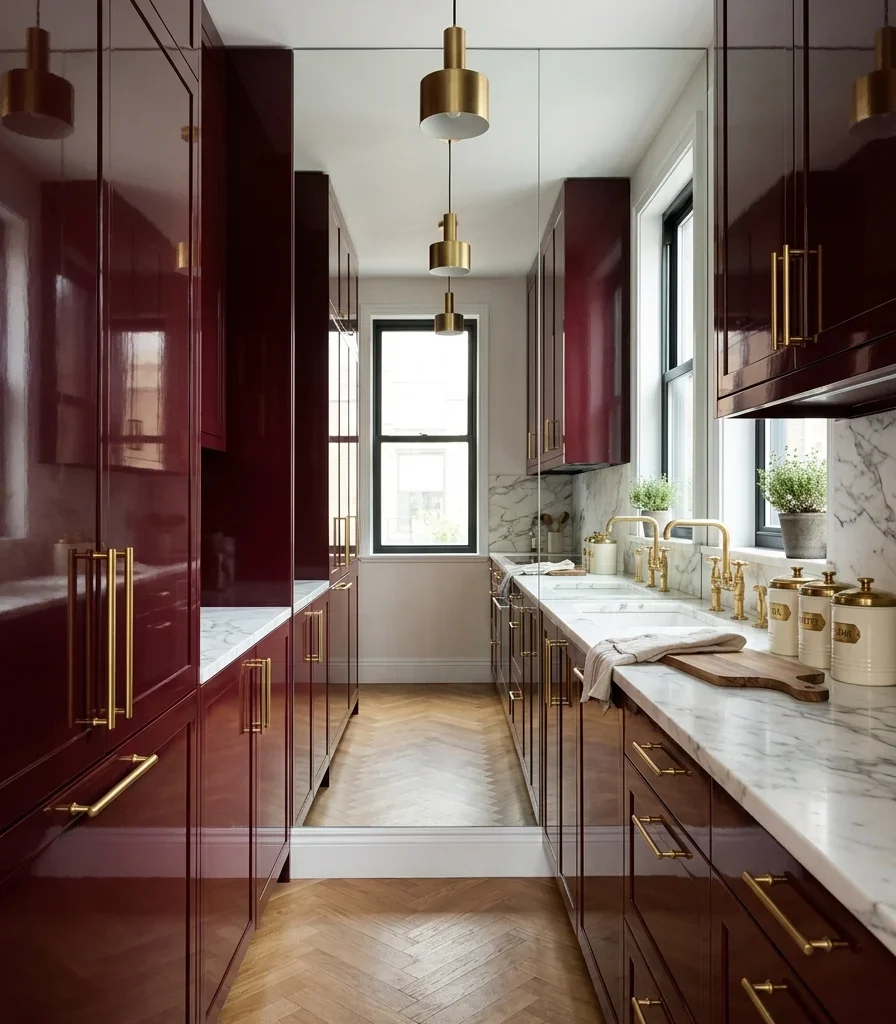
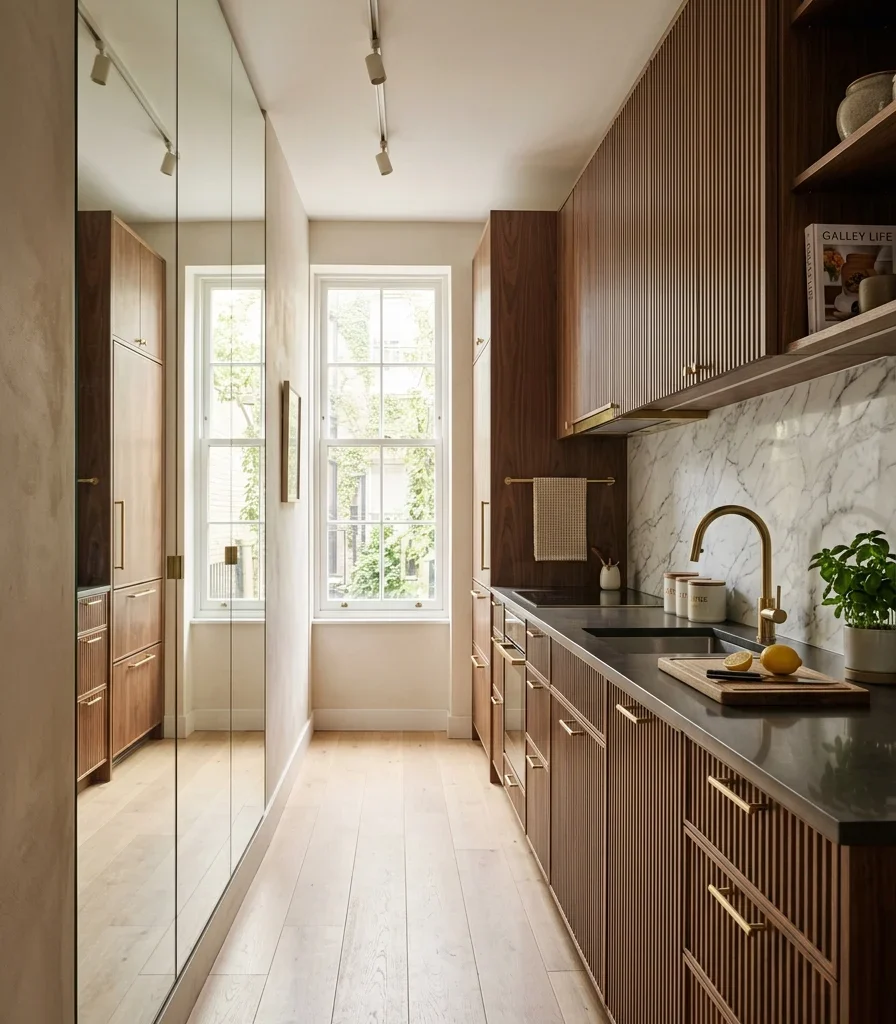
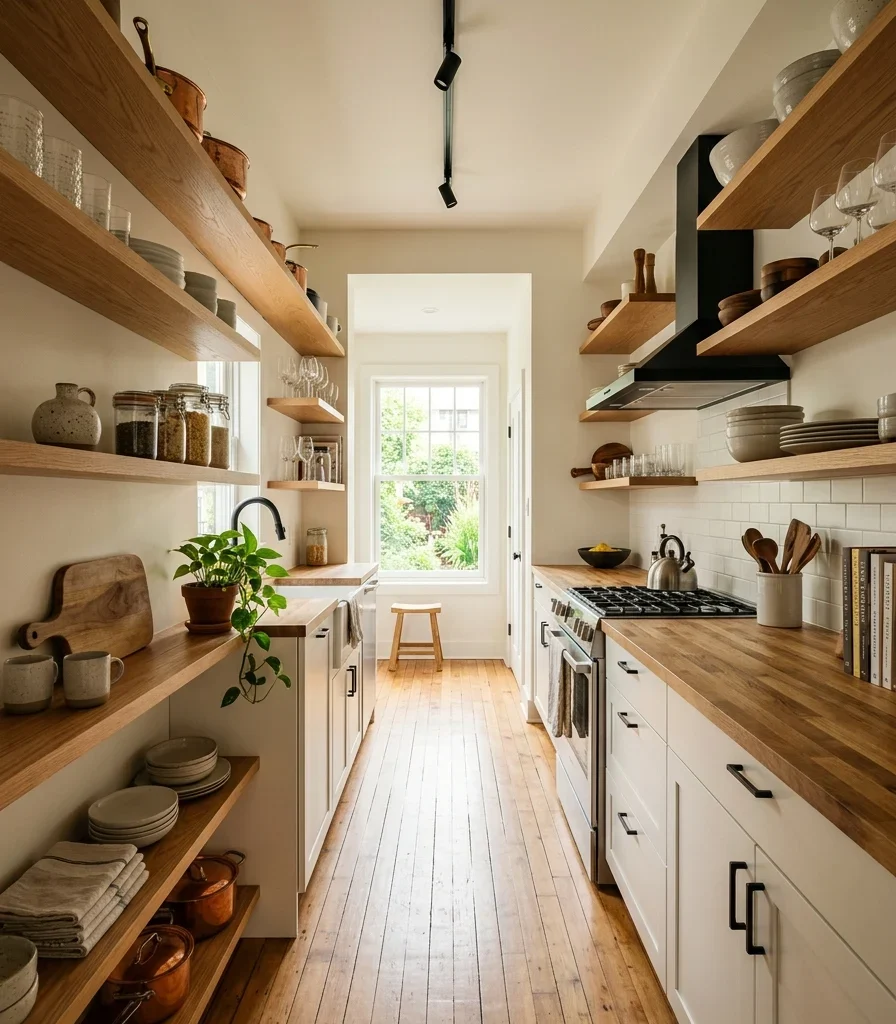
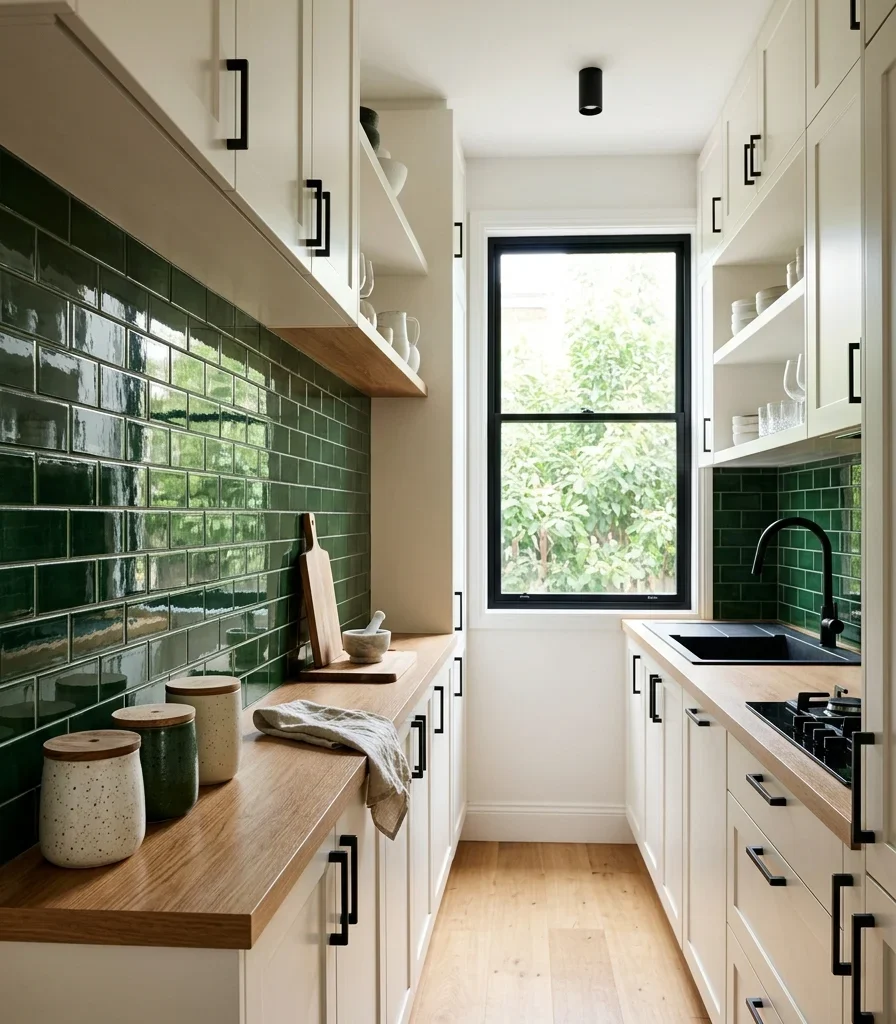
12. Narrow Galley Kitchen Counter with Vertical Storage
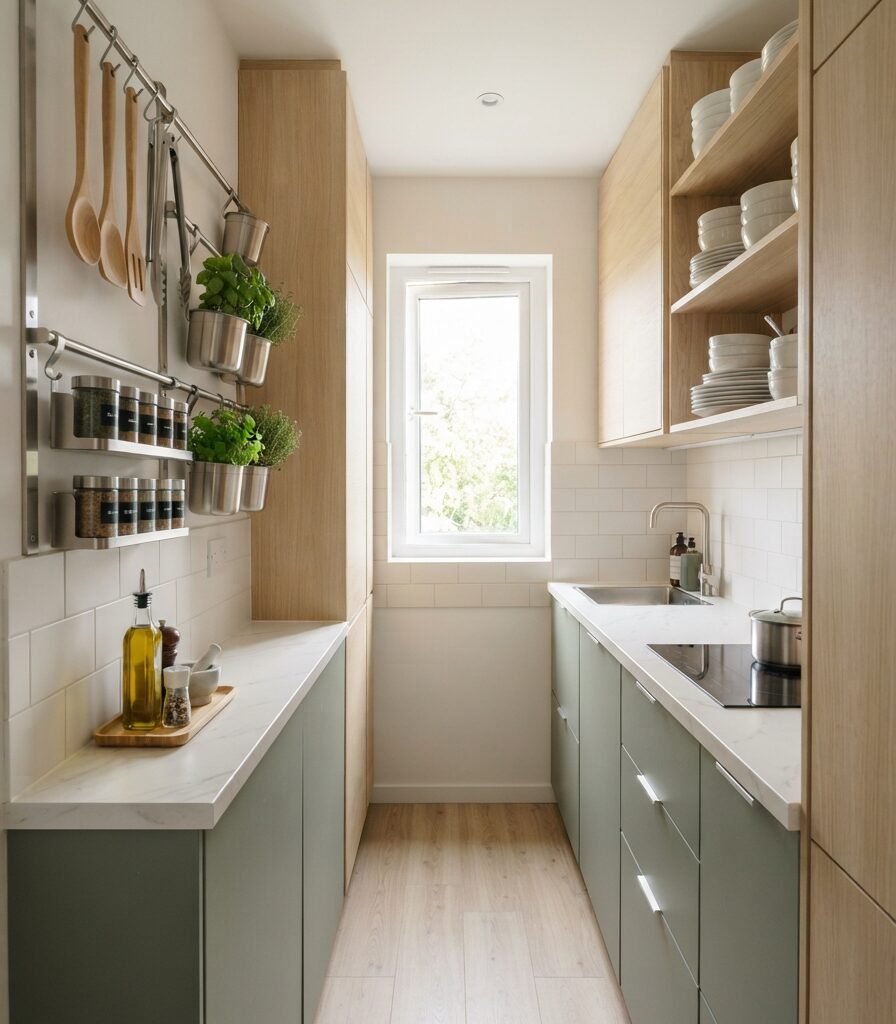
12. Narrow Galley Kitchen Counter with Vertical Storage

Vibe: Efficient; every inch feels useful without looking compressed.

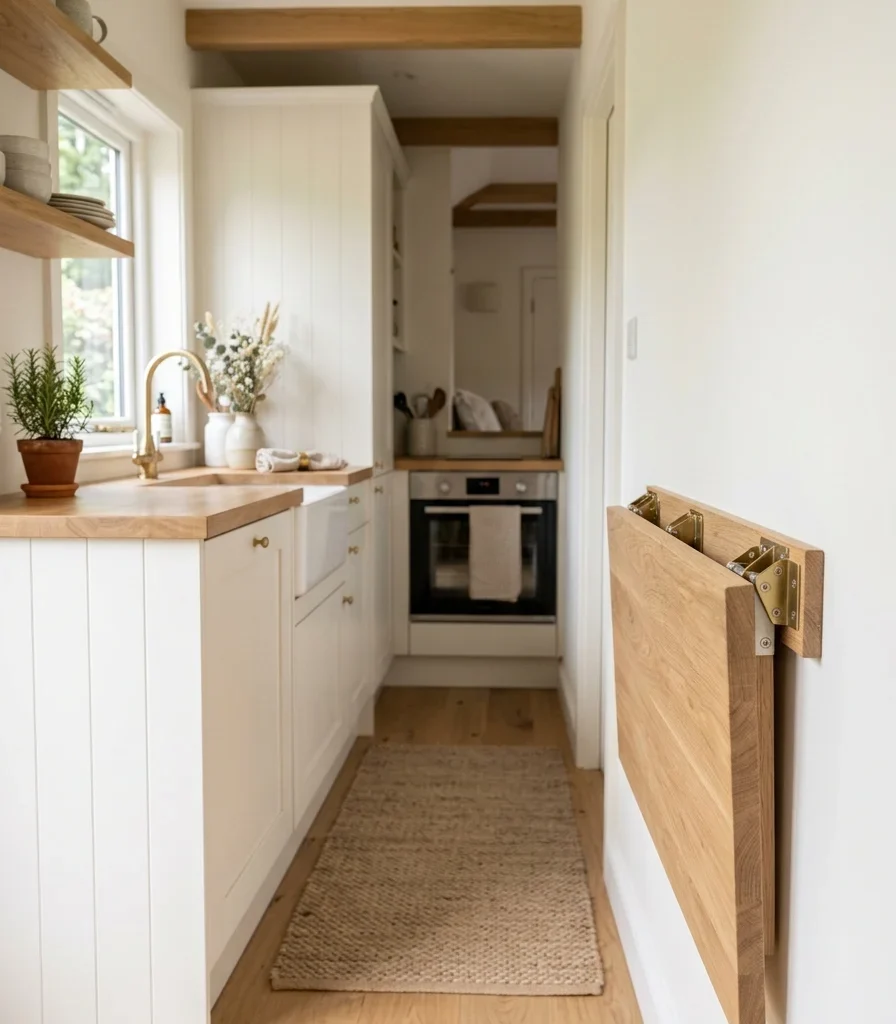
Why it works: Vertical storage moves frequently used objects away from the limited horizontal worktop. The strategy is especially useful in galley kitchens where every extra countertop object reduces the available preparation area.

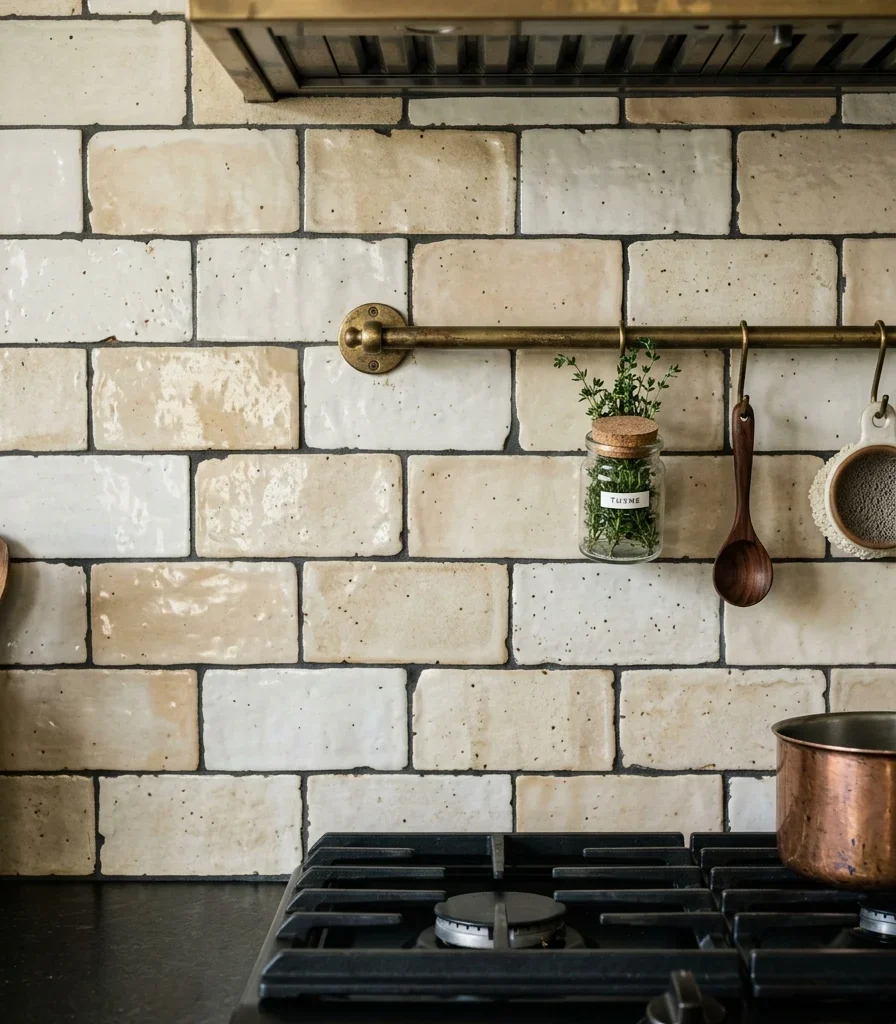
How to get it: Install a slim rail or peg system on the backsplash and move frequently used utensils, measuring tools, or small containers upward. Keep the main counter surface reserved for preparation rather than storage.

Shop The Look

Product Searchable Amazon-style description
1 Stainless steel kitchen wall rail with hooks
2 Magnetic spice jar set for backsplash
3 Natural wood hanging utensil set
4 Slim rectangular countertop organizer tray
5 White ceramic stacking bowl set

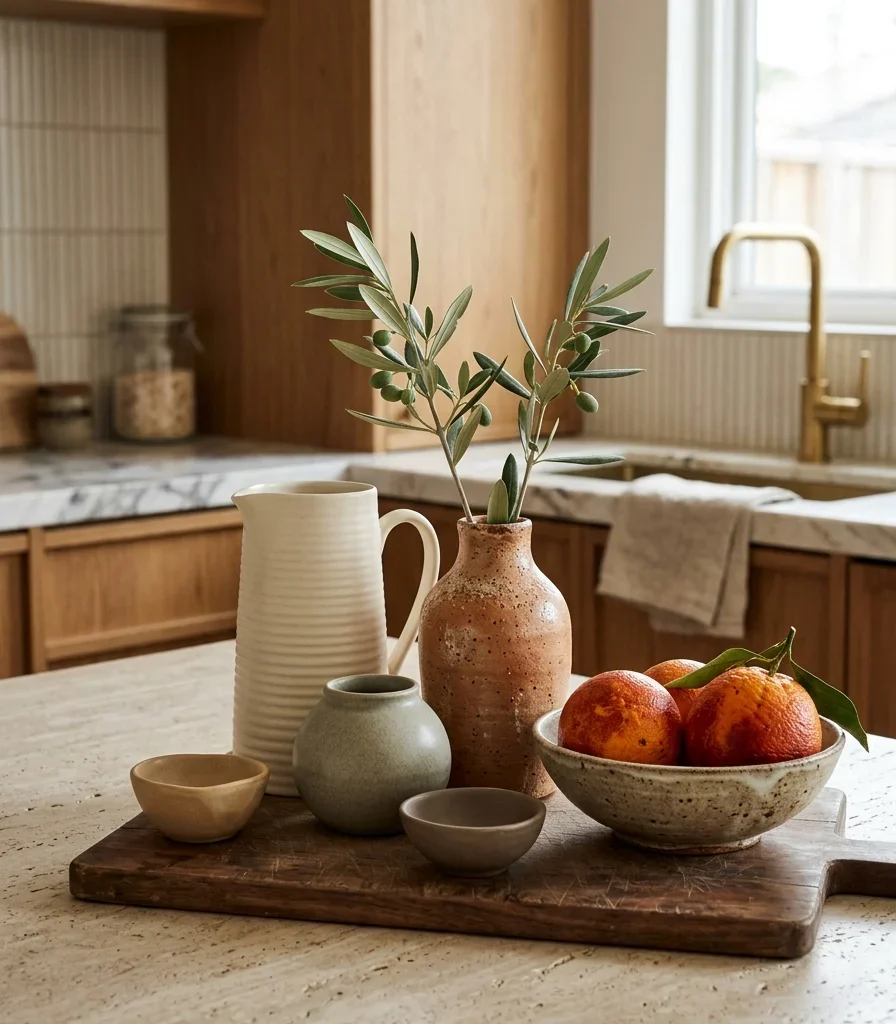
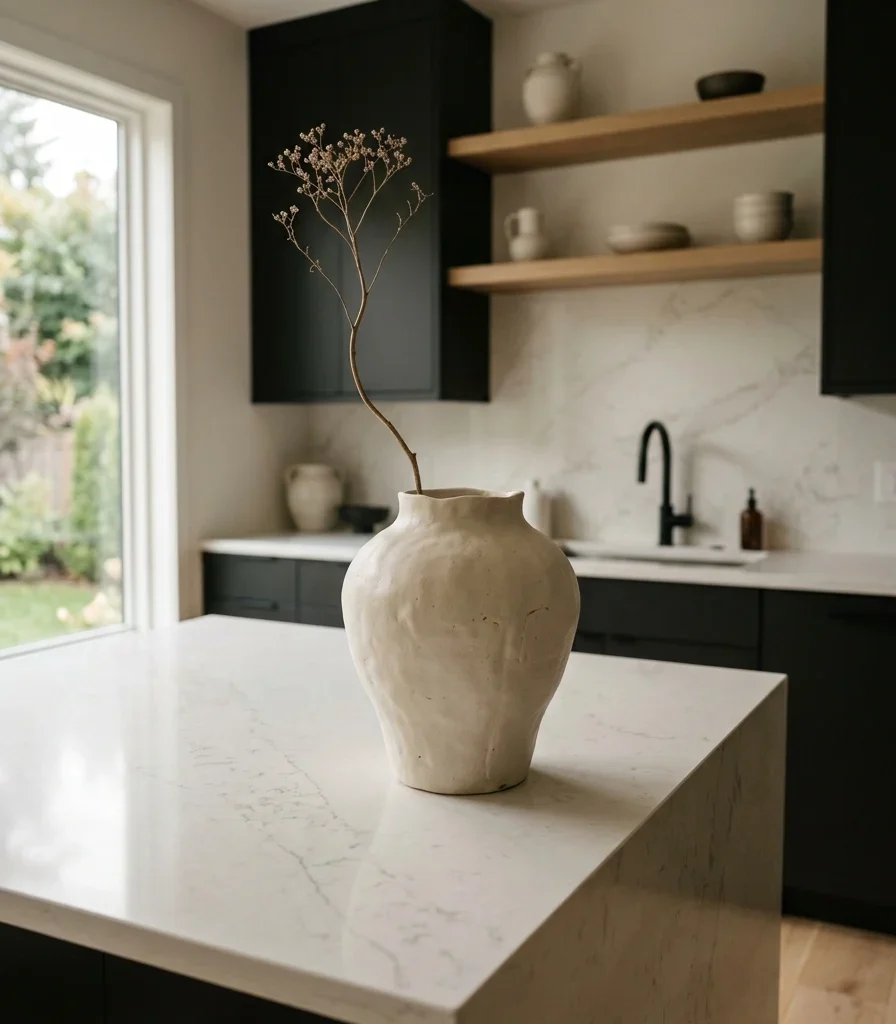
13. Marble Countertop with One Sculptural Centerpiece
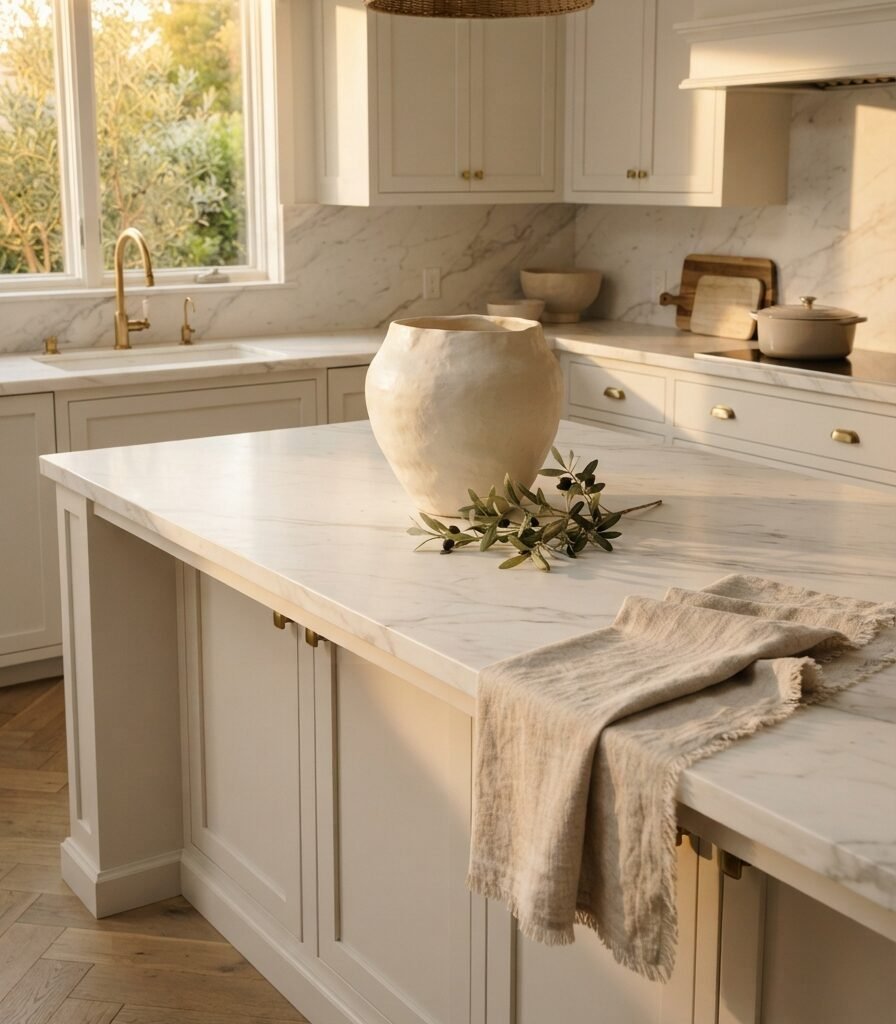
13. Marble Countertop with One Sculptural Centerpiece

Vibe: Hushed. The island feels intentional because restraint becomes the decoration.

Why it works: Scale is doing the work here: one oversized object creates more visual presence than many small accessories. The smooth marble provides a quiet background while the ceramic vessel introduces an opaque, tactile counterpoint.

How to get it: Choose one vessel approximately 10–14 inches tall for a standard island rather than filling the surface with several small objects. Position it slightly off-center so the composition feels designed but not rigid.

💡 Quick Win: Use a secondhand oversized ceramic vase and fill it with three or four olive branches rather than buying multiple decorative pieces.

Shop The Look

Product Searchable Amazon-style description
1 Oversized ivory sculptural ceramic vase
2 Faux olive branch stems natural green
3 Oatmeal linen kitchen runner
4 Small brushed brass tray
5 White marble-look serving board

14. Small Countertop with a 70/30 Clear-Surface Rule

14. Small Countertop with a 70/30 Clear-Surface Rule

Vibe: Spaciou. The empty counter surface creates visual breathing room immediately.

Why it works: Negative space changes perceived room size. HomeDreamStyle’s recent room-decor article uses a 70/30 approach specifically because a mostly clear worktop reads as more generous and functional than one covered from edge to edge.

How to get it: Clear the entire countertop first, then deliberately return only the objects you use every day or need within arm’s reach. Group those items into one composed zone instead of distributing them along the full length.

Shop The Look

Product Searchable Amazon-style description
1 Small cream ceramic kitchen canister
2 Compact natural wood cutting board
3 Small neutral ceramic fruit bowl
4 Mini sage green countertop planter
5 Slim clear acrylic kitchen tray

15. Kitchen Countertop Ideas with a Collected Vintage Layer

15. Kitchen Countertop Ideas with a Collected Vintage Layer

Vibe: Nostalgic; the counter feels gathered over time rather than decorated in one afternoon.

Why it works: Patina contrast keeps a new kitchen from feeling overly uniform. Aged brass, worn walnut, and hand-painted ceramic introduce small variations in surface and color that create character while the cream countertop keeps the composition visually anchored.

How to get it: Choose one vintage-style functional object such as a wooden bread box or ceramic crock and build around it with only two supporting materials. Avoid mixing several unrelated antique finishes, which can make a countertop look like a flea-market display.

💡 Quick Win: Find one secondhand ceramic bowl in cream, blue, or muted green and use it as the counter’s only decorative focal point.

Shop The Look

Product Searchable Amazon-style description
1 Vintage-style wooden countertop bread box
2 Blue and white hand-painted ceramic bowl
3 Aged brass candlestick holder
4 Woven natural linen kitchen towel
5 Small antique-style brass tray

How to Start Your Kitchen Countertop Transformation

The first move: Clear the entire main countertop and establish one intentional 70/30 visual split, with approximately 70% of the most important work surface left open. This anchors every later decision because you can immediately see where you genuinely need storage and where decoration is simply occupying space. Recent HomeDreamStyle guidance similarly treats counter editing as a high-impact, zero-cost starting point.

The most common mistake: Buying attractive organizers before deciding what actually needs to remain on the counter. This creates coordinated clutter instead of solving clutter. First observe your daily routine for two days, then contain only the objects that genuinely need countertop access.

Budget entry points: Start with a 15–25 natural wood cutting board, a 12–20 matte ceramic utensil crock, and a 10–18 small herb planter. Those three pieces introduce wood, ceramic, and living texture without requiring a renovation.

Realistic expectations: A countertop reset can happen in one afternoon for almost no cost. A stronger styling refresh usually takes one weekend and roughly 50–200, while replacing counters, backsplash, lighting, or cabinetry can take several weeks and easily move into the 2,000–10,000+ range depending on materials, labor, and kitchen size.

Frequently Asked Questions About 15 Kitchen Countertop Ideas

What is the best way to style a kitchen countertop without making it look cluttered?

Start with function rather than decoration and keep the majority of the working surface clear. A 70/30 approach is useful: leave around 70% visually open and group the remaining objects into one or two functional zones. A wooden cutting board, ceramic utensil crock, and small herb pot can create enough texture without covering the entire counter.

What colors look best on kitchen countertops?

Warm white, mushroom greige, soft sage, muted blue, walnut brown, and creamy stone are versatile choices because they work with both warm and cool cabinet finishes. For a white kitchen, try adding natural oak and sage rather than introducing several unrelated colors. Keep the countertop accessories within roughly three dominant tones so the surface remains visually coherent.

How much does it cost to decorate a kitchen countertop?

A basic refresh can cost under $50 if you edit the existing objects and add only one new piece. A more complete countertop styling project commonly falls around 75–300 for trays, canisters, boards, planters, lighting, and accessories. The biggest cost jump occurs when countertop styling becomes a renovation involving stone, cabinetry, electrical work, or backsplash installation.

Can these kitchen countertop ideas work in a small kitchen?

Yes, but small kitchens need stricter editing than large kitchens. Prioritize vertical storage, under-cabinet lighting, and one compact styling zone rather than several separate displays. A narrow counter can still feel intentional when most of its surface remains available for food preparation.

Which items should always be kept off the kitchen countertop?

Anything used rarely, duplicate utensils, excessive small appliances, loose packaging, and decorative objects with no functional role are strong candidates for cabinet storage. Keep only frequently used appliances and objects that genuinely benefit from being within reach. For a daily-use setup, a wooden cutting board, one utensil crock, a coffee station, or a small herb pot can provide practical and visual value without overwhelming the surface.

Ready to Create Your Dream Kitchen Countertop with These 15 Kitchen Countertop Ideas?

These 15 Kitchen Countertop Ideas cover color palettes, natural materials, lighting, functional zones, small-space storage, and carefully edited accessories rather than treating the counter as a purely decorative surface. The transformation does not need to happen all at once; starting with one clear section is often the smartest way to discover what your kitchen actually needs. Today, remove everything from your main countertop, wipe the surface clean, and return only the five objects you use most often. The result should feel lighter, easier to work in, and more connected to the everyday rituals that make a kitchen feel like home. Save or pin your favorite idea- especially the one that matches your counter’s natural stone, wood tone, or morning light- and use it as your next small design move.

You Might Also Like

20 Latest Trends Luxury Kitchen Design Mansions

20 Latest Trends Luxury Kitchen Mansions Design Ideas

A mansion-scale luxury kitchen is a kitchen designed with the square footage and budget to support multiple functional zones: a main island, a secondary prep island, a butler’s pantry, and often a hidden second kitchen, rather than the single-workstation layout a standard home requires. This article gives you 20 of the latest trends in luxury kitchen design for mansions, covering the material, color, lighting, and layout decisions that separate estate-scale kitchens from the merely upgraded.

It feels like walking through a sequence of considered rooms rather than one kitchen: a main island anchoring the space guests see, a second prep zone working quietly out of sight, a wine wall glowing behind glass at the room’s edge. This is mansion-scale luxury kitchen design at its most confident: expansive without being empty, layered with genuine function behind every beautiful surface.

Here are 20 ideas worth saving and stealing.

Why Mansion-Scale Luxury Kitchen Design Works So Well

Mansion kitchen design descends from the great country-house and estate kitchens of the 19th century, which separated cooking, baking, and serving into distinct staffed zones a tradition modern luxury design has revived not for staff, but because genuinely large households and frequent entertaining still benefit from dividing function across more than one workstation. What separates it from a large but single-zone luxury kitchen is this deliberate multiplication of dedicated spaces, each finished to the same material standard as the main room.

Core materials include book-matched marble or onyx for multiple stone features, hand-forged iron and brass for range hoods and hardware, and refrigerated glass-front wine storage. Color favors deep espresso or warm bronze carried consistently across several cabinetry runs, occasionally punctuated by a contrasting secondary island in terracotta or warm white.

This scale of kitchen is trending because estate and mansion buyers increasingly entertain at a catering level rather than a purely family one, and design-industry data shows rising demand for dual-island layouts, hidden prep kitchens, and wine walls as homeowners want a kitchen that performs like a small restaurant without ever looking like one.

Genuinely mansion-scale kitchens require the square footage a smaller home can’t provide, but the underlying philosophy of dedicating distinct zones to distinct tasks scales down successfully; a modest kitchen can borrow the zoning principle even without a second island or hidden pantry.

Style at a Glance

ElementCore Trait 1Core Trait 2
PhilosophyMultiple dedicated zones rather than one multi-purpose workstationConsistent material investment across every zone, visible or hidden
MaterialsBook-matched marble/onyx, hand-forged iron, refrigerated glassWarm bronze, deep espresso lacquer
Color PaletteDeep espresso, warm terracotta accentWarm white contrast island

20 Latest Luxury Kitchen Design Trends for Mansions

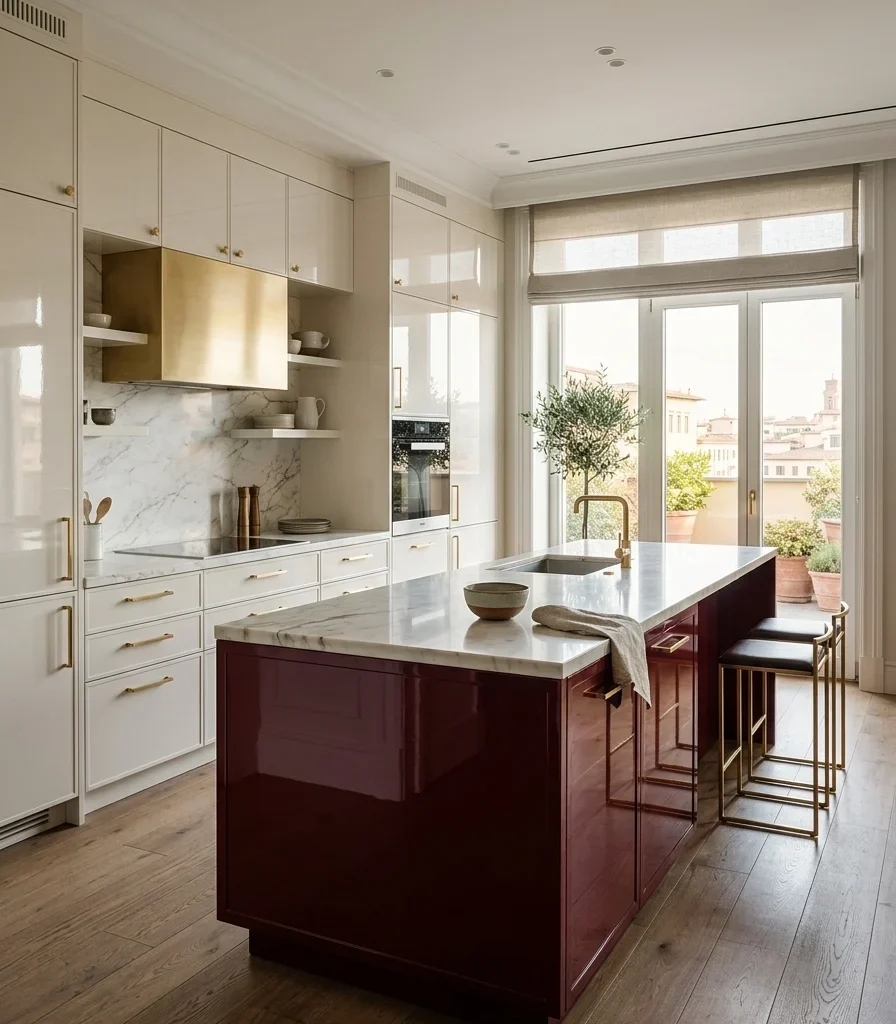
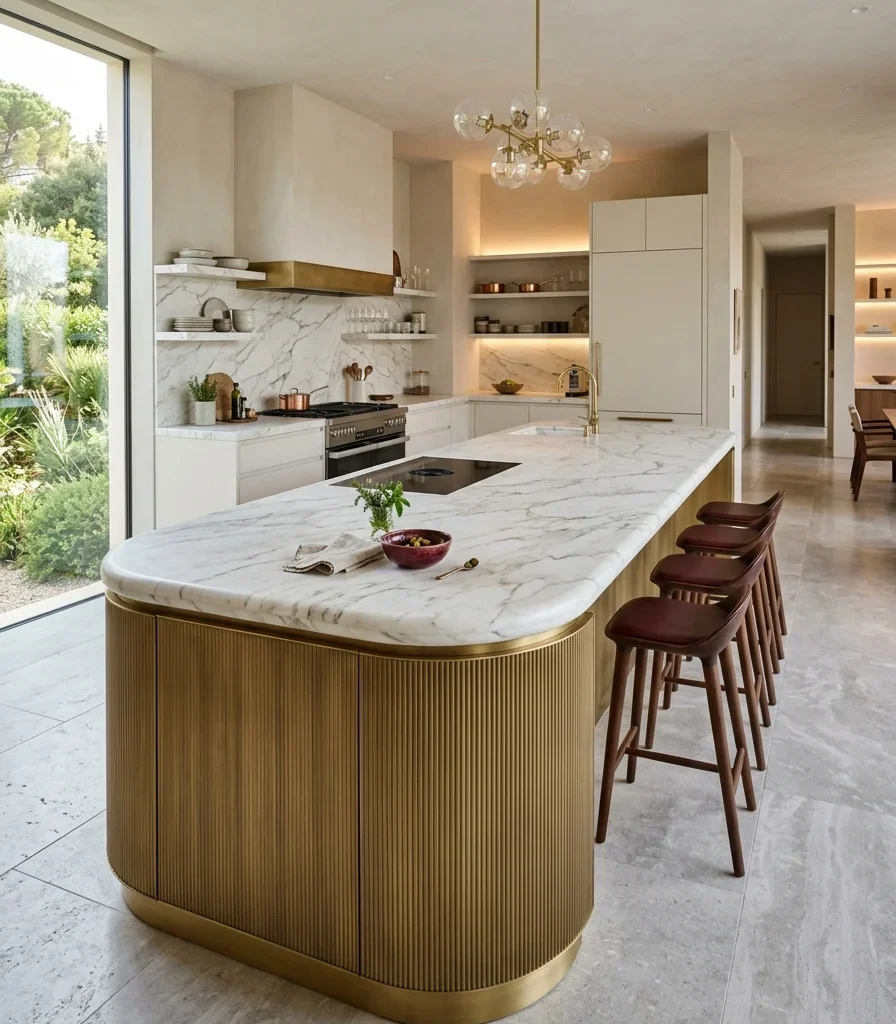
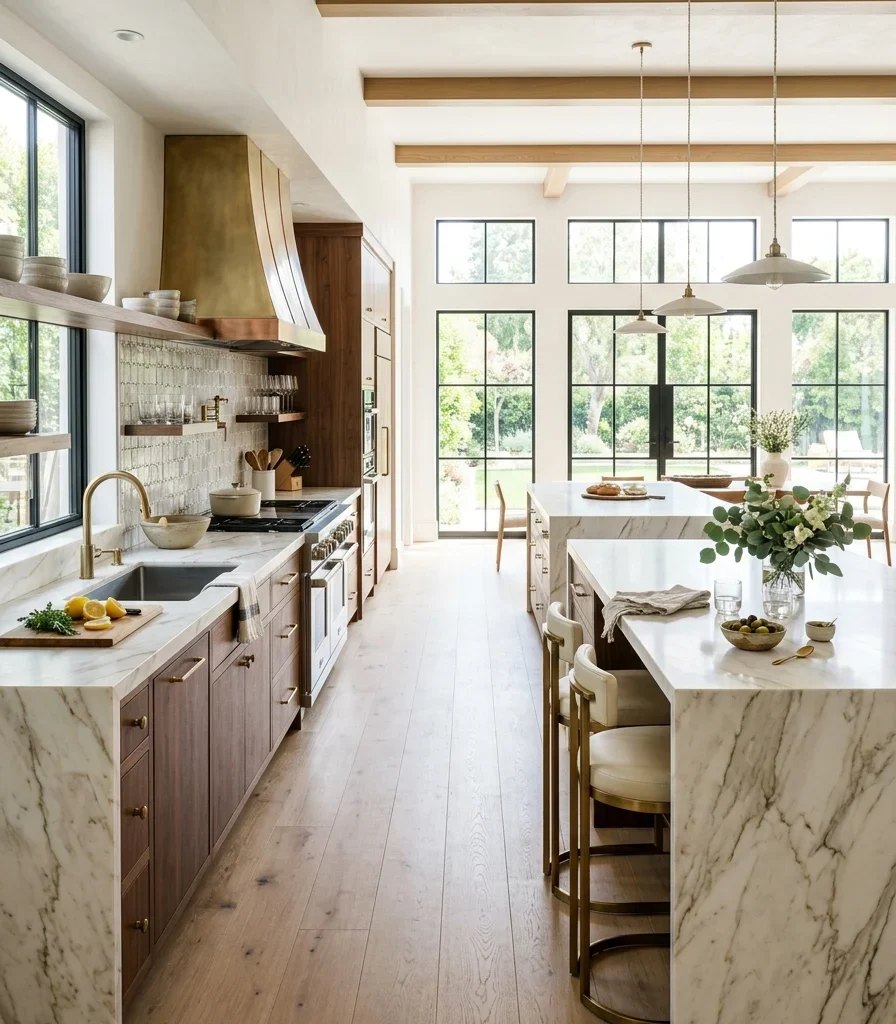
1. Install Twin Book-Matched Marble Waterfall Islands

1. Install Twin Book-Matched Marble Waterfall Islands

Vibe: Grounded two sculptural anchors instead of one, each carrying enough presence to stand alone.

Why it works: A dual-island layout is a proportion principle unique to genuinely large kitchens; one island handles prep and cooking while the second serves as a buffet or bar during entertaining, and book-matching both in the same slab lot keeps their veining visually related rather than competing.

How to get it: Order both islands from the same stone lot so veining reads as intentionally paired, and size the second island slightly smaller to establish a clear visual hierarchy between primary and secondary workstations.

💡 Quick Win: A single waterfall island with a rolling marble-topped cart nearby approximates the dual-zone function at a fraction of the cost.

Shop the Look

Product
Book-matched marble slab pair
Warm brass counter stool set
Small ceramic countertop bowl
Marble maintenance sealant kit
Brass island pendant light

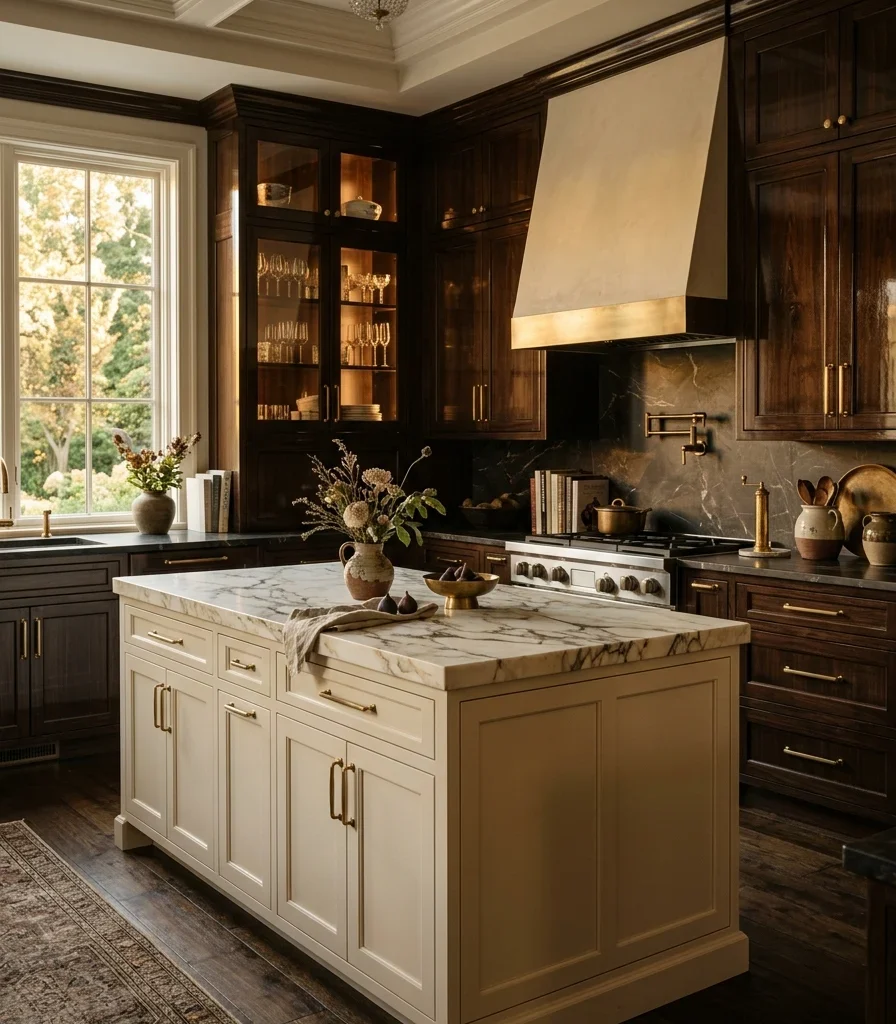
2. Pair Deep Espresso Perimeter With a Warm White Island

2. Pair Deep Espresso Perimeter With a Warm White Island

Vibe: Moody, a room dark enough at its edges to make the central island feel like it’s glowing.

Why it works: Reversing the usual light-perimeter, dark-island formula uses contrast at a scale only a large room supports; the deep espresso perimeter recedes visually while the warm white island commands the room’s center, a hierarchy that reads clearly only when there’s enough perimeter cabinetry for the dark tone to register as a deliberate frame.

How to get it: Keep every perimeter cabinet in matching high-gloss espresso, and reserve warm white exclusively for the island’s cabinetry base beneath the marble top, tying both zones together with identical brass hardware.

Shop the Look

Product
Espresso lacquer perimeter cabinet
Warm white island cabinet base
Brushed brass cabinet pull set
Small ceramic countertop vessel
Brass range hood trim

3. Build a Furniture-Grade Butler’s Pantry With Its Own Prep Sink

Vibe: Still a second, quieter kitchen doing the unglamorous work so the main room stays composed.

Why it works: A butler’s pantry with its own plumbed prep sink is a furniture-arrangement principle that fully separates staging and cleanup from the display kitchen. Guests never see a dirty pan because the pantry, not the main sink, handles that function entirely, which only makes sense once a home has the square footage to dedicate an entire secondary room to it.

How to get it: Fit the pantry with furniture-grade turned-leg cabinetry matching the main kitchen’s wood tone, and plumb a small prep sink with its own garbage disposal so cleanup never has to migrate back to the display kitchen.

Shop the Look

Product
Turned walnut pantry cabinet legs
Small prep sink brass faucet
Marble pantry counter slab
Small ceramic canister set
Brass pantry cabinet pull

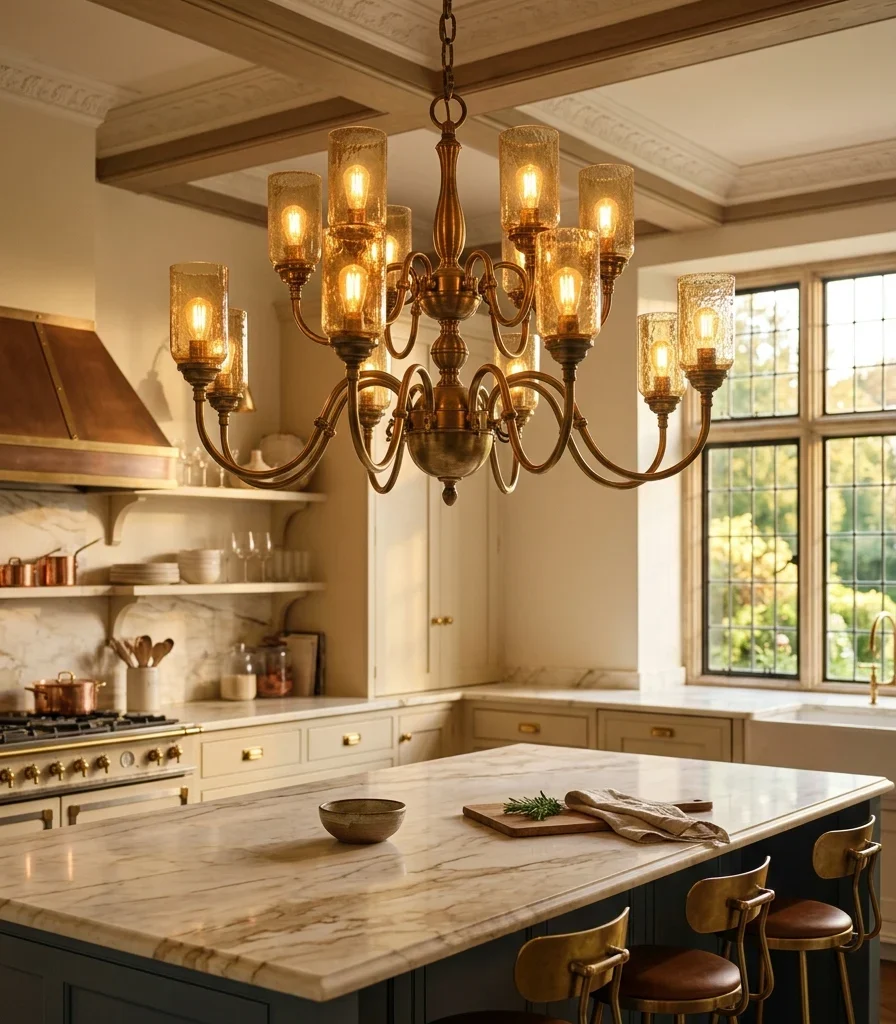
4. Hang a Grand Chandelier-Style Fixture Over the Main Island

4. Hang a Grand Chandelier-Style Fixture Over the Main Island

Vibe: Warm a fixture with enough scale to read as jewelry for the entire room, not just the island beneath it.

Why it works: A chandelier-scale fixture applies visual-weight principles that only work proportionally in a room with high ceilings and generous island length; a fixture this large over a standard island would overwhelm it, but at mansion scale it balances the room’s other large surfaces rather than competing with them.

How to get it: Size the fixture to roughly two-thirds the island’s length, hang it at least 34 inches above the counter to clear sightlines across a wide island, and choose warm 2700K bulbs visible through glass shades for genuine ambient glow.

Shop the Look

Product
Multi-arm brass chandelier fixture
Warm 2700K glass shade bulb
Brass ceiling canopy trim
Small ceramic countertop bowl
Adjustable chandelier chain kit

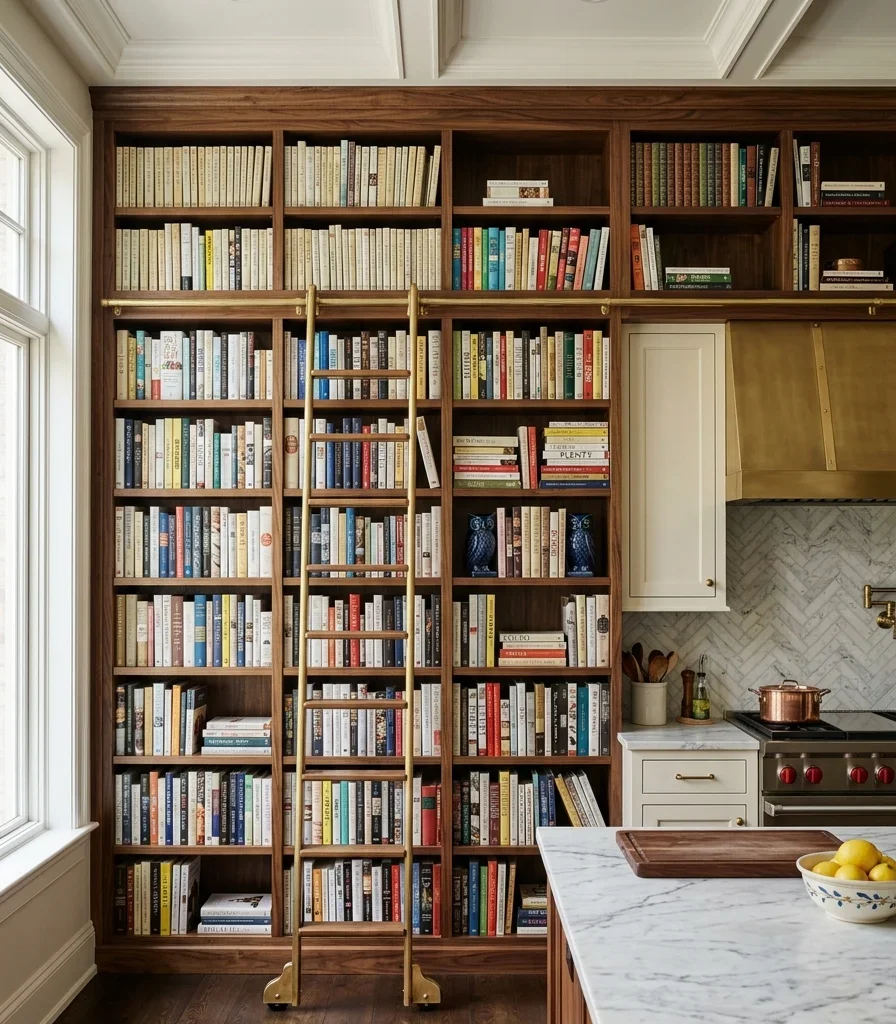
5. Curate a Cookbook Library Wall

5. Curate a Cookbook Library Wall

Vibe: Layered a wall that turns a working collection into a genuine architectural feature.

Why it works: A dedicated library wall is an accessory-layering principle at architectural scale; rather than tucking cookbooks into a single shelf, a full wall with a brass library ladder treats the collection as worth displaying prominently, which only reads as intentional rather than excessive when the room has enough additional wall space elsewhere for storage and function.

How to get it: Install floor-to-ceiling walnut shelving with a brass rolling library ladder for top-shelf access, and group books loosely by color or size rather than alphabetically for a more visually composed display.

Shop the Look

Product
Floor-to-ceiling walnut shelving
Brass rolling library ladder
Ceramic bookend set
Brass ladder rail hardware
Small ceramic decorative vessel

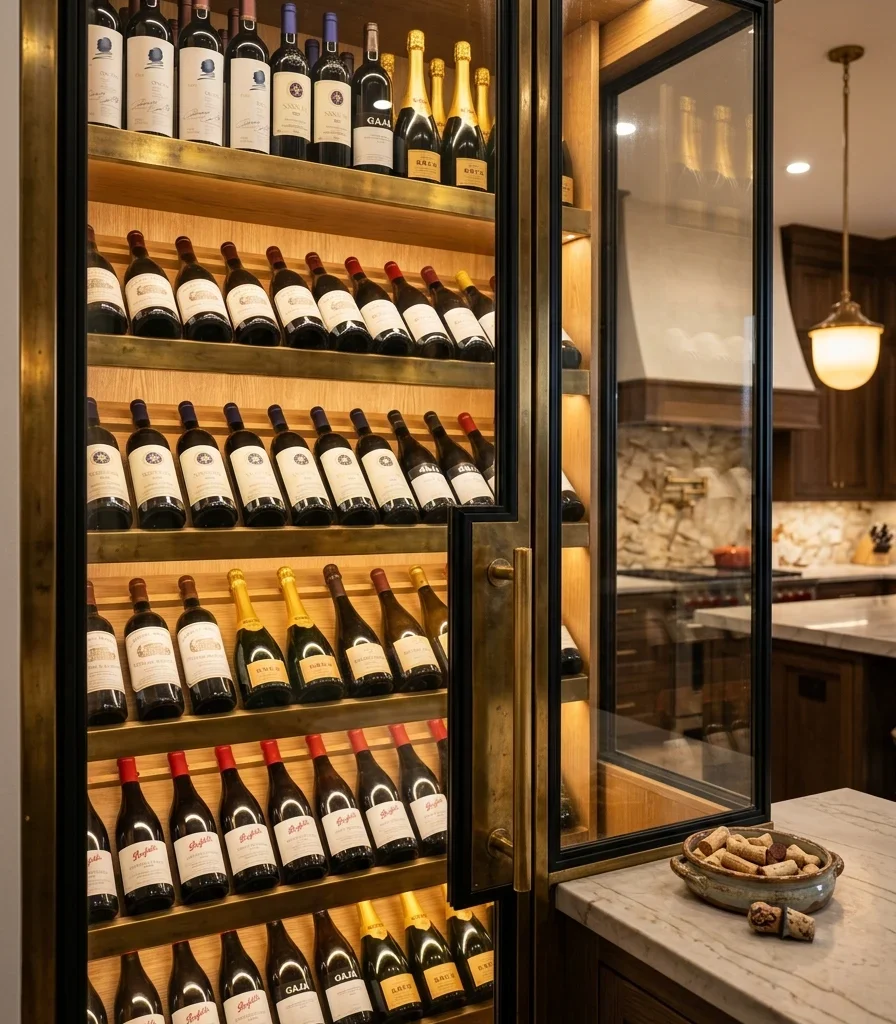
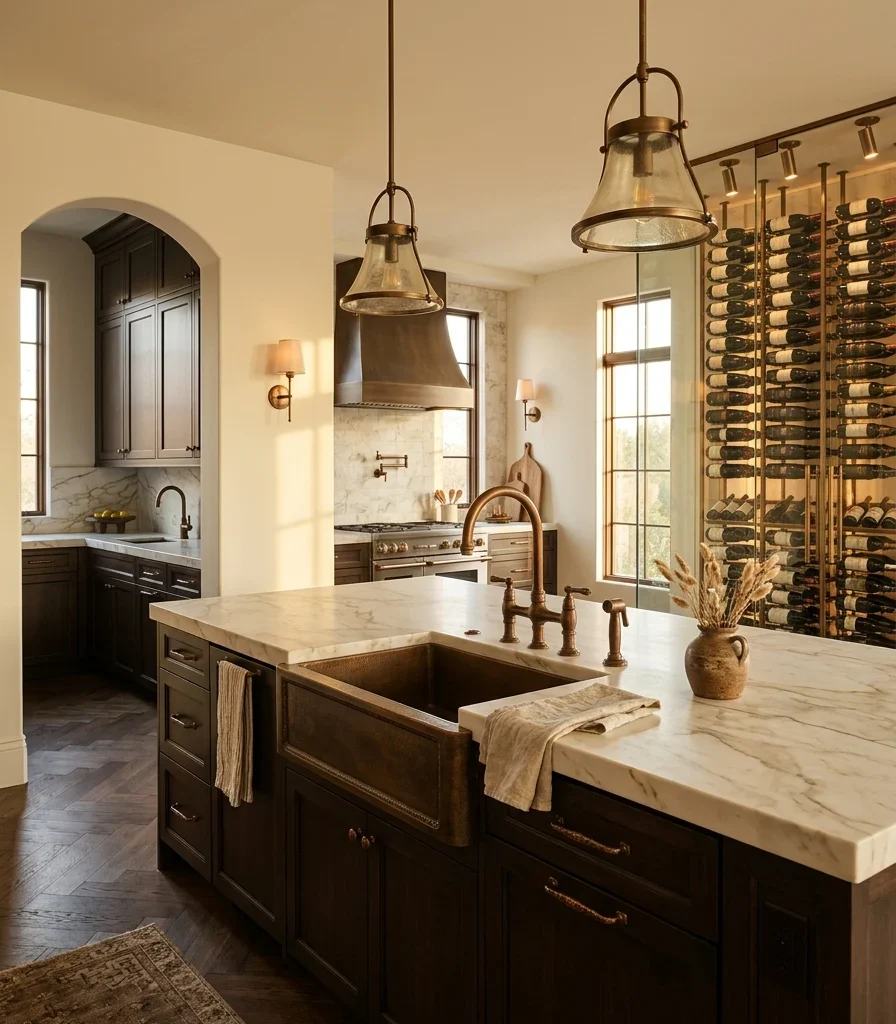
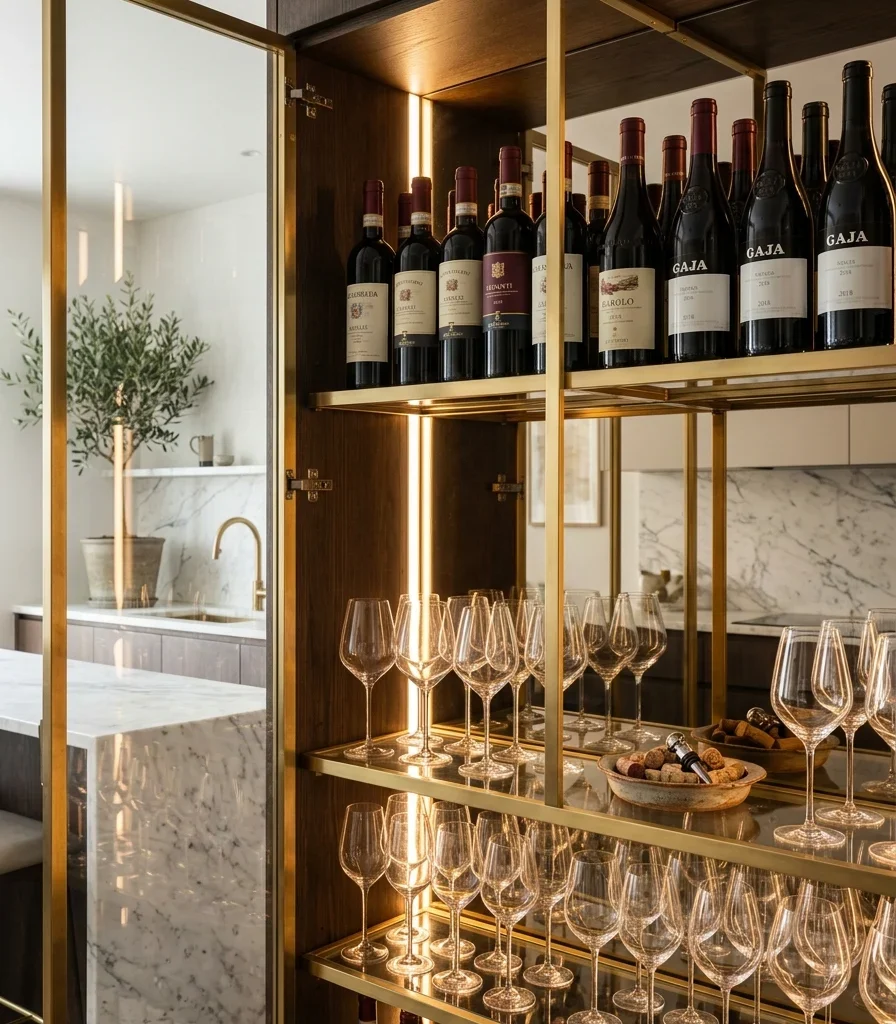
6. Build a Refrigerated Glass-Front Wine Wall

6. Build a Refrigerated Glass-Front Wine Wall

Vibe: Warm a wall that turns wine storage into ambient light and color rather than a hidden cellar.

Why it works: A full-wall wine refrigeration unit is a material and functional choice specific to estate-scale entertaining; the temperature-controlled glass wall keeps a serious collection properly stored while displaying it as a lit architectural feature, a use of square footage that only makes sense once the kitchen has wall space to spare beyond its working cabinetry.

How to get it: Specify dual-zone refrigeration (separate temperatures for red and white storage) behind UV-filtering glass, with interior LED lighting on a warm 2700K setting so the glow complements rather than competes with the room’s other warm light sources.

Shop the Look

Product
Dual zone glass front wine refrigerator
Interior LED wine wall lighting
Brass wine shelf trim
Small ceramic wine stopper dish
Wine glass storage rack brass

7. Carry a Warm Bronze Metal Story Across Multiple Zones

7. Carry a Warm Bronze Metal Story Across Multiple Zones

Vibe: Warm one metal tone unifying rooms that could otherwise feel like separate spaces.

Why it works: Carrying identical bronze hardware across every zone main kitchen, pantry, wine wall is a hardware-consistency principle that becomes essential specifically at mansion scale, where multiple rooms could easily read as disconnected without one metal finish tying them into a single coherent material story.

How to get it: Source every hardware and fixture piece from a single bronze product line across all zones simultaneously, since bronze finishes vary noticeably in warmth between manufacturers and mismatched batches undercut the whole-house cohesion this idea depends on.

Shop the Look

Product
Warm bronze cabinet pull set
Warm bronze faucet single hole
Warm bronze pendant light
Small ceramic countertop vessel
Warm bronze outlet cover plate

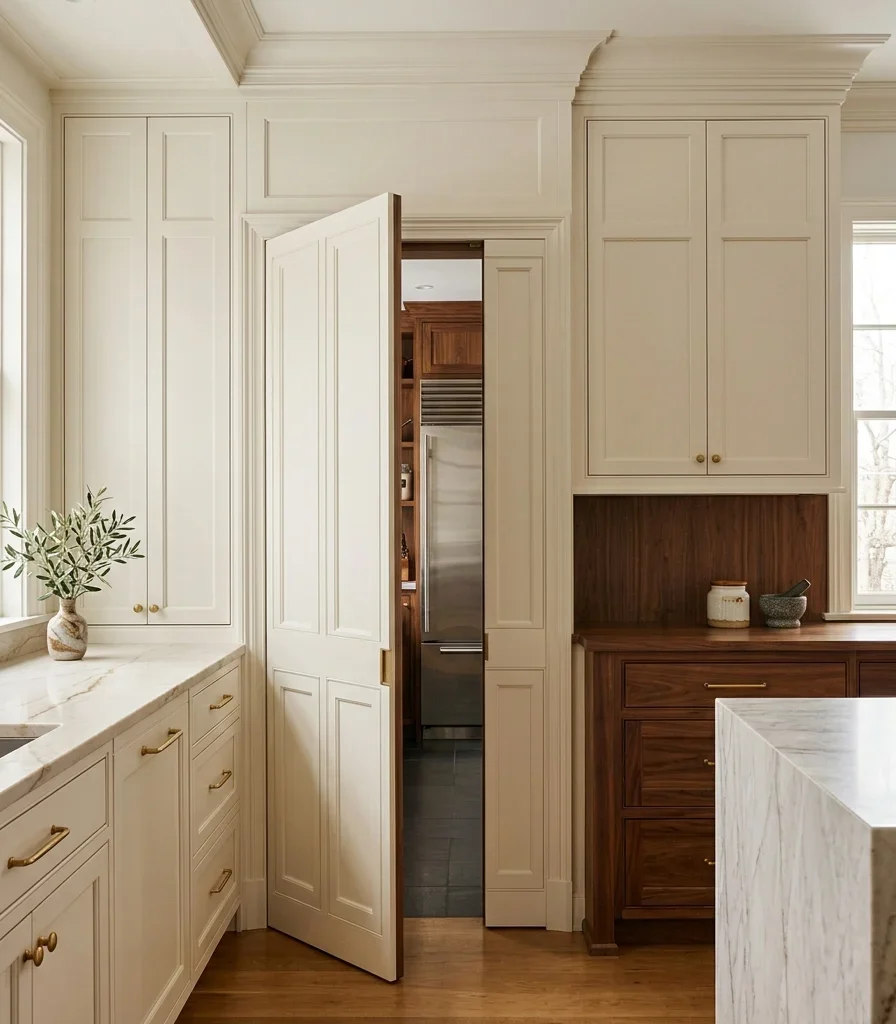
8. Add a Second Prep Kitchen Behind a Hidden Door

8. Add a Second Prep Kitchen Behind a Hidden Door

Vibe: Still a display kitchen that stays composed because a full second kitchen handles the heavy lifting out of sight.

Why it works: A hidden second kitchen applies the dry-and-wet kitchen separation concept at its most complete form; the front kitchen stays entirely for display and light use, while a fully equipped back kitchen with its own range and prep sink handles actual heavy cooking, a division that only justifies its cost and space when a household entertains at a genuinely large scale.

How to get it: Build the connecting door with a push-latch mechanism finished to match the surrounding cabinetry, and equip the second kitchen with a full range and hood so all high-heat, high-odor cooking happens there rather than in the display kitchen.

Shop the Look

Product
Push-latch hidden pass-door mechanism
Matching cabinet finish panel
Second kitchen range hood
Brass interior door pull
Small ceramic canister set

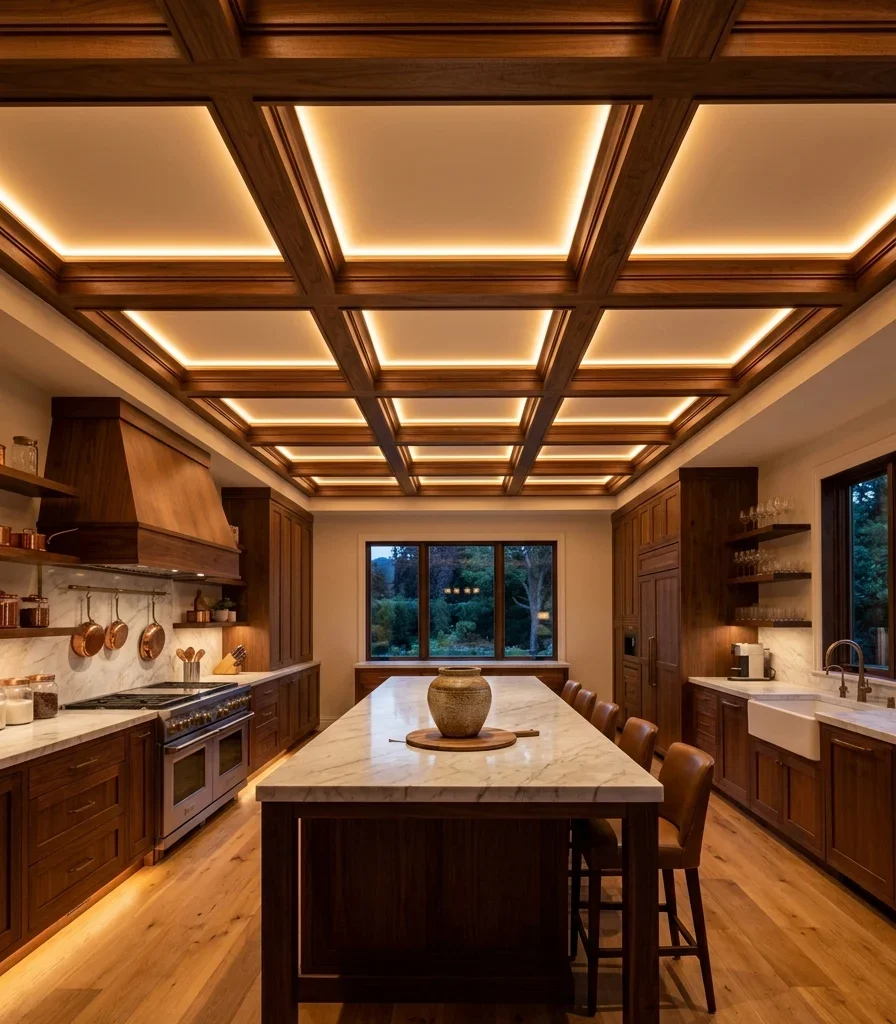
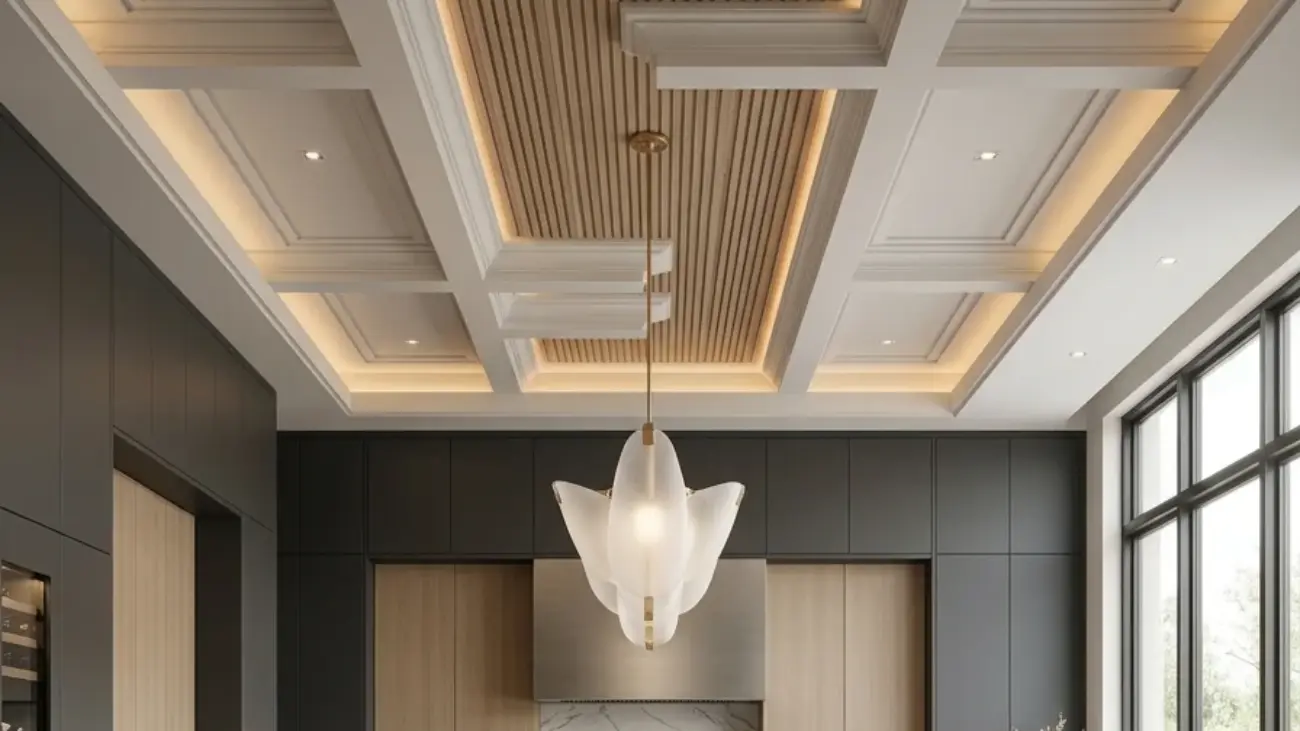
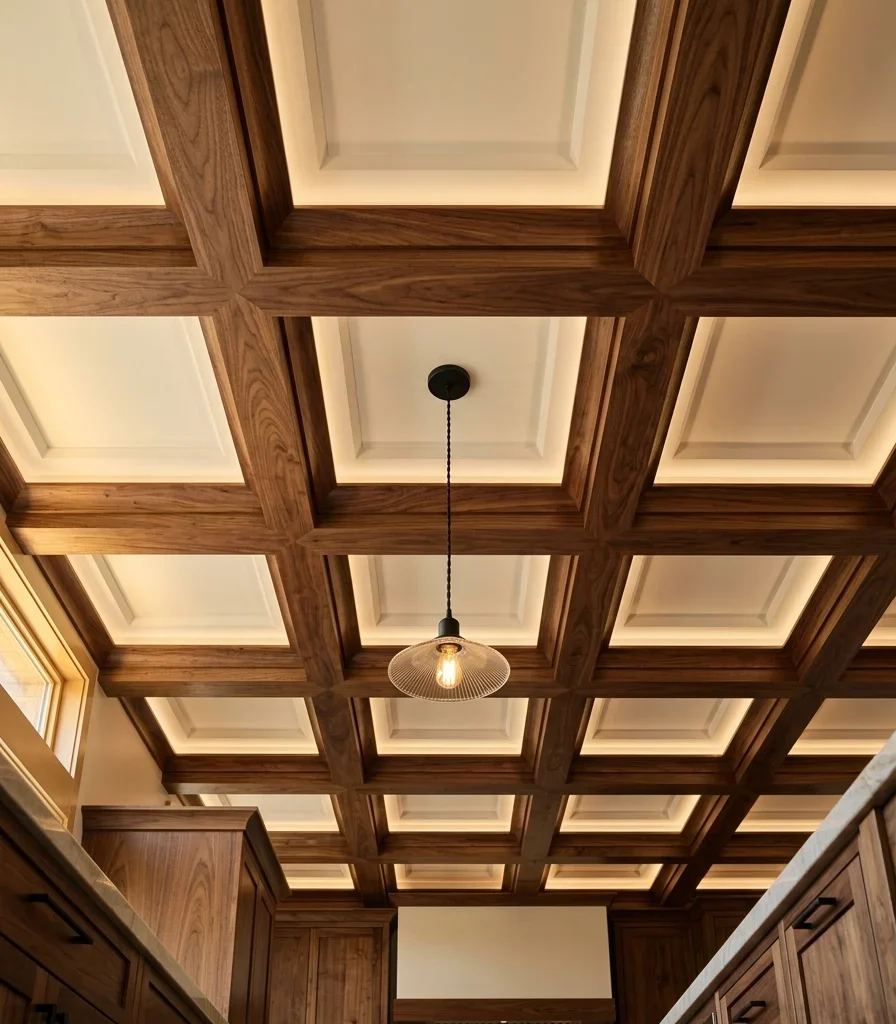
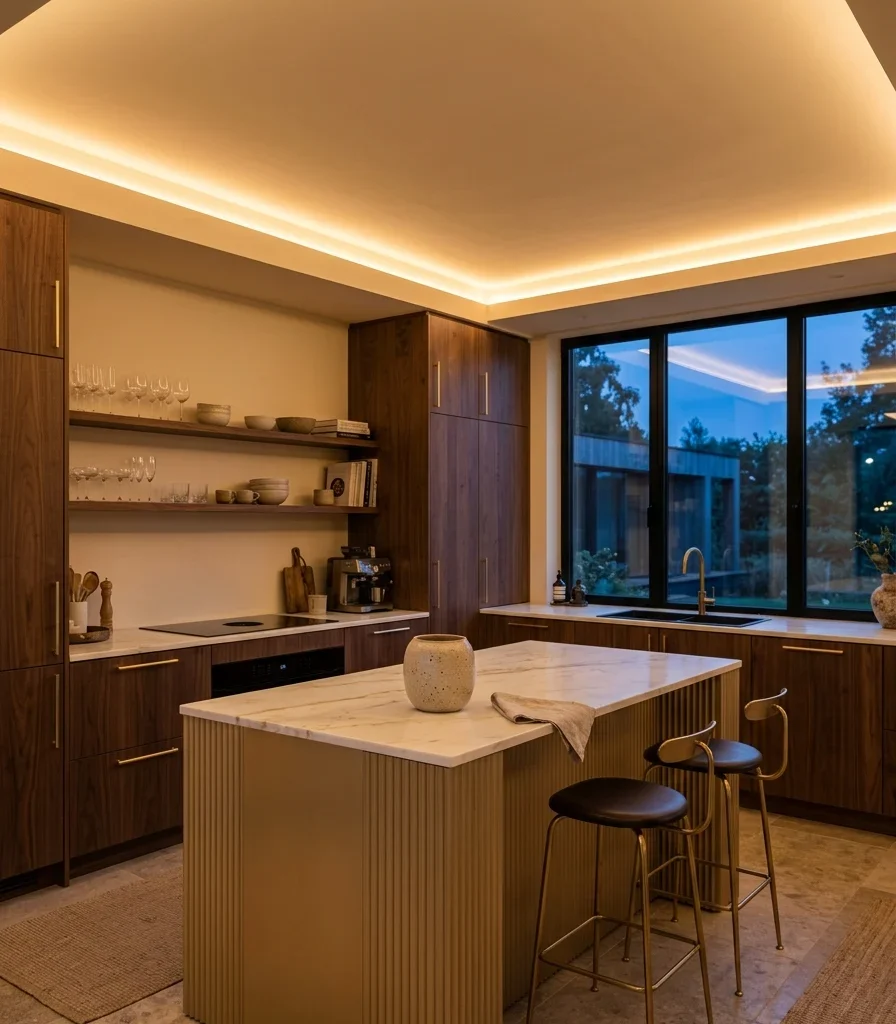
9. Recess Cove Lighting Around a Coffered Ceiling

9. Recess Cove Lighting Around a Coffered Ceiling

Vibe: Warm a ceiling with genuine architectural rhythm, lit to emphasize its structure rather than flatten it.

Why it works: Cove lighting integrated into coffered beams is an architectural light-layering technique that only exists at a scale where the ceiling itself has structural detail to light; the recessed glow traces each coffer’s perimeter, emphasizing the room’s architecture rather than competing with pendant or task lighting below.

How to get it: Recess a warm 2700K LED strip into the underside lip of each coffer beam, angled to wash upward into the recessed panel, wired on a dimmer separate from the room’s task and pendant lighting layers.

Shop the Look

Product
Recessed cove LED channel kit
Warm 2700K LED strip
Coffered ceiling beam trim
Ceiling cove dimmer switch
Small ceramic decorative vessel

10. Style a Sculptural Fruit and Botanical Display Station

10. Style a Sculptural Fruit and Botanical Display Station

Vibe: Layered, a dedicated corner treated the way a hotel lobby treats its floral centerpiece.

Why it works: Dedicating an entire counter zone specifically to display (rather than folding fruit and flowers into the main workspace) is an accessory principle that only makes sense with square footage to spare; it treats the arrangement as a standing feature rather than something that has to be cleared for daily prep.

How to get it: Reserve a counter section at least 24 inches wide exclusively for this display, layering three ceramic bowl heights with seasonal fruit and one tall floral stem, refreshing the arrangement weekly to keep it genuinely alive rather than static decoration.

Shop the Look

Product
Layered ceramic display bowl set
Tall glass floral vase
Brass fruit bowl stand
Ceramic pedestal cake stand
Small brass floral frog

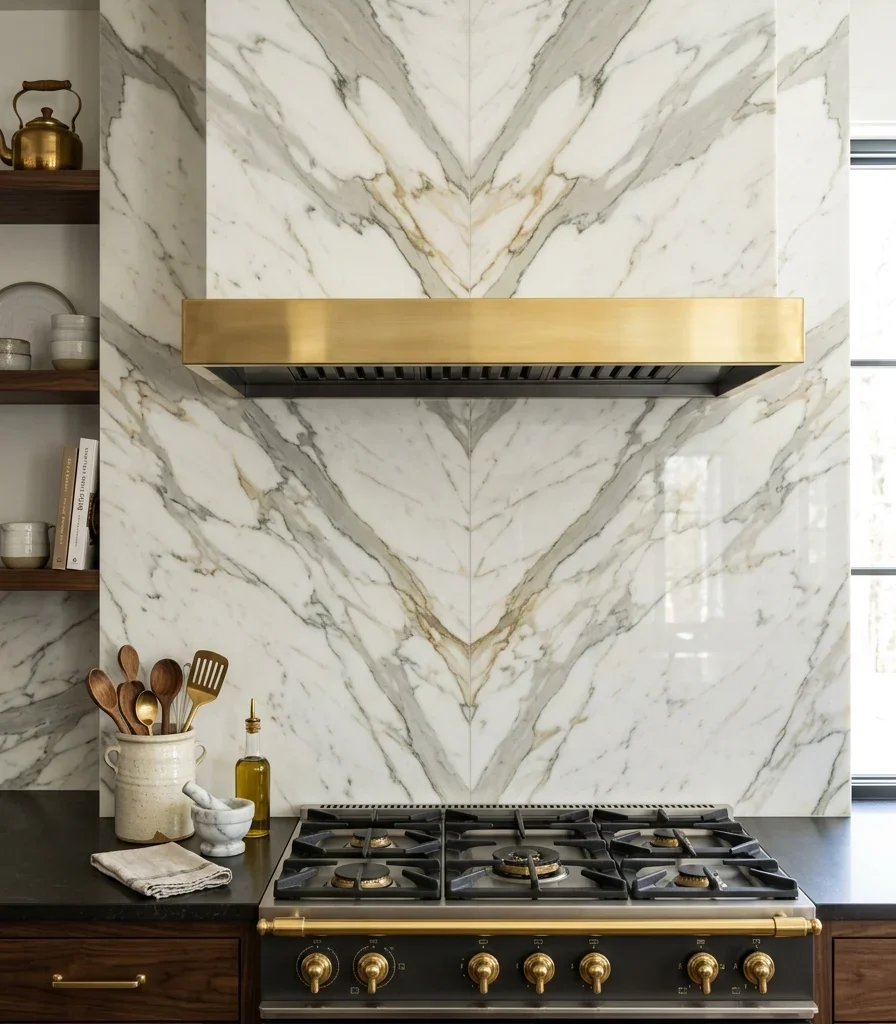
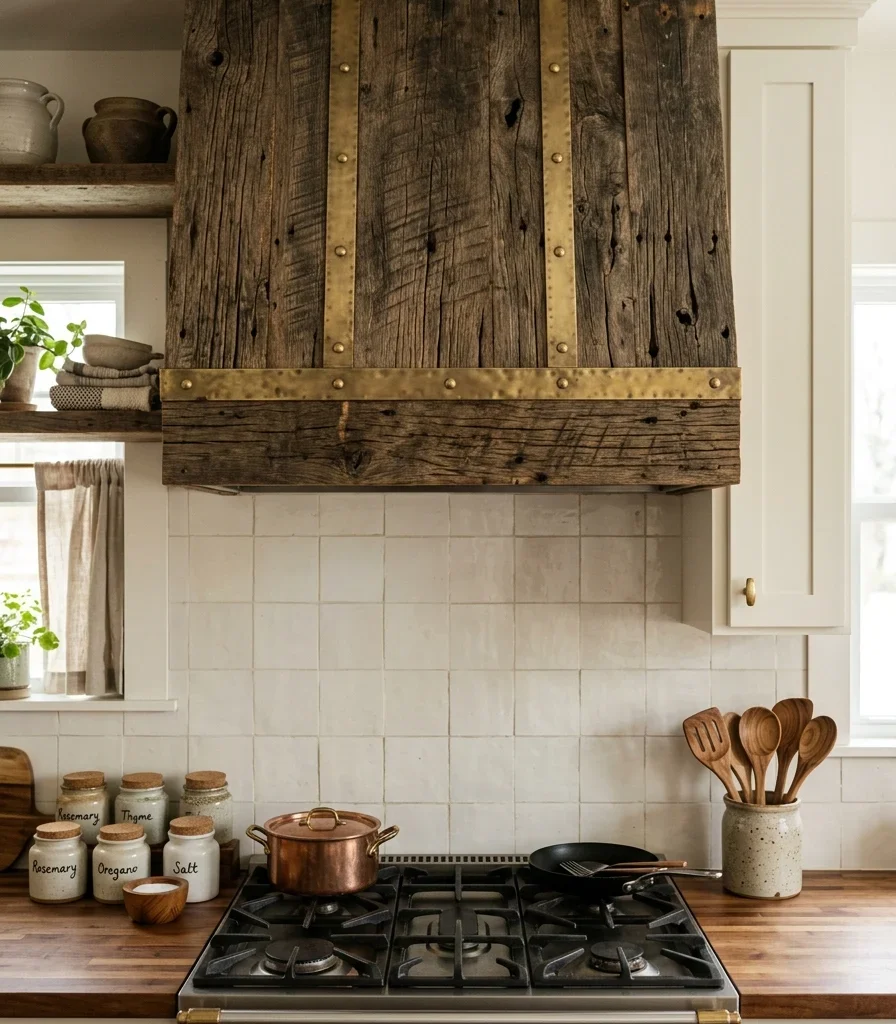
11. Center a Hand-Forged Iron and Brass Range Hood

11. Center a Hand-Forged Iron and Brass Range Hood

Vibe: Warm a hood substantial enough to function as the room’s sculptural centerpiece.

Why it works: A genuinely hand-forged hood combining iron and brass is a material-honesty principle at architectural scale; its mixed-metal texture develops individual character over time, and its scale (often extending several feet beyond a standard range) only proportionally suits a room with a correspondingly large range and surrounding wall space.

How to get it: Specify a hood sized to extend at least 4 inches beyond the range’s cooktop on each side, mixing hand-hammered brass panels with a blackened iron frame, and let both metals develop their natural patina rather than lacquering them.

Shop the Look

Product
Hand-forged iron and brass range hood
Unlacquered brass hood panel
Small ceramic utensil crock
Iron hood mounting bracket
Walnut range surround trim

12. Repeat Two-Tone Cabinetry Across Multiple Cabinetry Runs

12. Repeat Two-Tone Cabinetry Across Multiple Cabinetry Runs

Vibe: Grounded a color system repeated deliberately enough that multiple rooms read as one connected sequence.

Why it works: Repeating the same two-tone pairing across the main kitchen, secondary island, and pantry is a contrast and continuity principle that only becomes necessary once a home has enough distinct kitchen-adjacent zones to risk feeling disjointed; the repetition signals that every room was designed together rather than added piecemeal.

How to get it: Apply the identical warm white and deep espresso combination to every cabinetry run across all kitchen-related zones, using the same paint formula and hardware finish in each room rather than a close approximation.

Shop the Look

Product
Warm white cabinet-grade paint
Deep espresso lacquer cabinet finish
Brushed brass cabinet pull set
Small ceramic countertop bowl
Brass cabinet hinge hardware

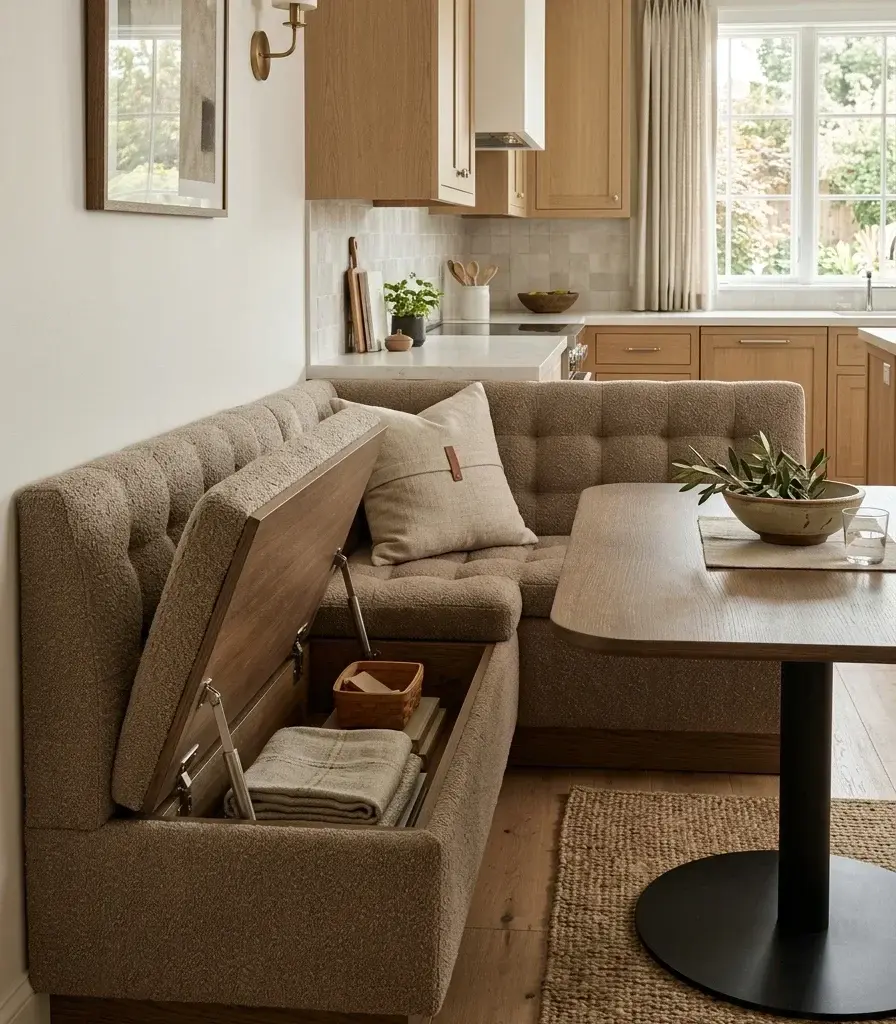
13. Build a Banquette Breakfast Nook With a Bay Window

13. Build a Banquette Breakfast Nook With a Bay Window

Vibe: Warm, a casual seating nook that feels like its own small room within the larger kitchen.

Why it works: A bay window banquette applies furniture-arrangement and negative-space principles at a scale that requires genuine architectural investment; the curved window alcove itself has to exist before the built-in seating can follow it, which is why this detail appears almost exclusively in homes with the square footage to dedicate an entire bay to breakfast seating alone.

How to get it: Build the banquette bench to follow the bay window’s exact curve or angles, upholster in a durable performance bouclé, and pair with a round walnut pedestal table sized to the alcove rather than a standard rectangular table that would crowd the curve.

Shop the Look

Product
Built-in banquette bench cushion
Taupe bouclé upholstery fabric
Round walnut pedestal table
Linen throw pillow set
Brass pendant light over table

14. Separate Zones for Cooking

14. Separate Zones for Cooking

Vibe: Airy kitchen large enough that cooking, baking, and coffee never compete for the same counter.

Why it works: Dedicating separate zones to distinct daily functions is a traffic-flow and layout principle that solves the fundamental congestion problem of a single all-purpose kitchen. A marble baking station stays permanently set up for pastry work while the range handles savory cooking simultaneously, a division that only becomes practical once total counter length exceeds what one household typically needs.

How to get it: Position the baking station on a cool marble surface away from the range’s heat, and place the coffee station near the breakfast nook rather than the main cooking zone, so each area’s material and location matches its specific function.

Shop the Look

Product
Marble baking station slab
Brass coffee station tray
Ceramic canister set for coffee zone
Range zone brass fixtures
Small ceramic mixing bowl set

15. Install a Book-Matched Onyx Backlit Bar Wall

15. Install a Book-Matched Onyx Backlit Bar Wall

Vibe: Moody, a wall that glows from within rather than simply reflecting the room’s other light sources.

Why it works: Onyx is translucent enough to backlight, a material-honesty principle unique to this specific stone; book-matching a backlit onyx slab pair creates a genuinely luminous focal wall, an effect and expense that only makes sense in a dedicated bar or entertaining zone adjacent to, but separate from, the main working kitchen.

How to get it: Specify book-matched onyx slabs no thicker than ¾ inch (thicker stone blocks too much backlight), with an LED panel mounted directly behind at a warm 2700K setting, framed in brass to coordinate with the room’s other hardware.

Shop the Look

Product
Book-matched onyx slab pair
LED backlight panel warm white
Brass bar shelf trim
Crystal glassware set
Brass bar shelf bracket

16. Add Warm Terracotta Lacquer to a Secondary Island

16. Add Warm Terracotta Lacquer to a Secondary Island

Vibe: Warm, a bold color choice reserved for the secondary, more casual workstation rather than the main showpiece.

Why it works: Placing the boldest color on the secondary island rather than the main one is a proportion and hierarchy principle specific to multi-island kitchens; it lets the room take a genuine color risk without disrupting the primary island’s more neutral, universally photographed presence, a nuance only available once a kitchen has more than one island to differentiate.

How to get it: Lacquer the secondary island in a genuine high-gloss terracotta finish, keeping the main island in warm white marble so the color contrast reads as a deliberate zoning choice rather than competing focal points.

Shop the Look

Product
High-gloss terracotta lacquer finish
Brushed brass cabinet pull
Warm white main island marble
Small ceramic countertop bowl
Brass cabinet hinge set

17. Layer Under-Cabinet and Toe-Kick Lighting Together

17. Layer Under-Cabinet and Toe-Kick Lighting Together

Vibe: Hushed cabinetry that glows at both its top and bottom edge, floating between two lines of warm light.

Why it works: Layering light at two different heights along the same cabinetry run is a light-layering principle that reads as more dramatic, specifically across a long cabinetry span. Toe-kick lighting makes the whole cabinet run appear to float above the floor while under-cabinet lighting illuminates the counter, and the combined effect only registers fully across runs long enough for both lines to read clearly.

How to get it: Install separate warm 2700K LED strips at both the toe-kick base and the underside of upper cabinets, wiring each to its own switch so the two layers can be used independently or together depending on the time of day.

Shop the Look

Product
Toe-kick LED light strip
Under-cabinet LED light strip
Dual channel dimmer switch
Small ceramic countertop vessel
Warm 2700K LED bulb pack

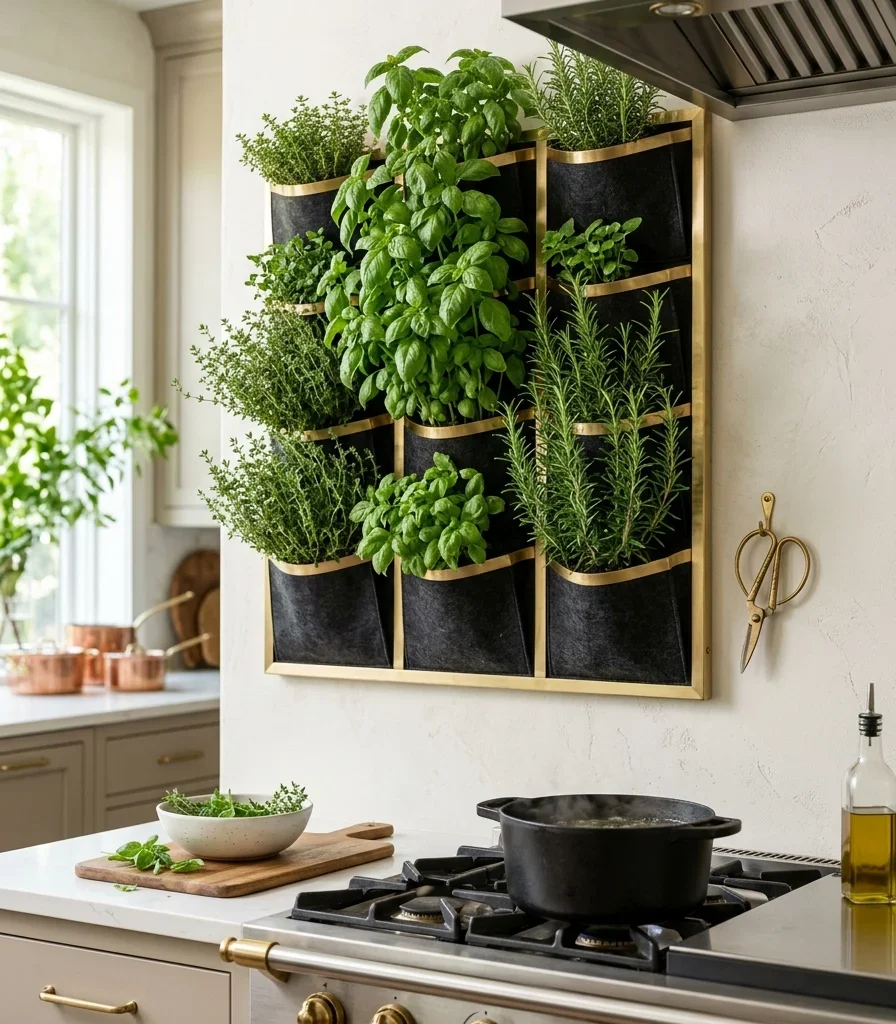
18. Add a Fresh Herb Wall Garden Near the Range

18. Add a Fresh Herb Wall Garden Near the Range

Vibe: Layered living greenery positioned exactly where it gets used, rather than tucked on a distant windowsill.

Why it works: A dedicated herb wall applies accessory-layering and biophilic principles together; positioning fresh, living herbs directly beside the cooking zone makes the greenery genuinely functional rather than purely decorative, a level of built-in infrastructure (irrigation, grow lighting) that only makes sense to install permanently in a kitchen large enough to dedicate wall space to it.

How to get it: Install a vertical planting system with individual irrigated pockets near, but not directly above, the range’s heat zone, and choose herbs that tolerate the kitchen’s ambient humidity and light levels, refreshing plantings seasonally.

Shop the Look

Product
Vertical wall herb planting system
Brass planter pocket trim
Small brass herb scissors
Irrigation drip line kit
Grow light strip warm spectrum

19. Frame an Indoor-Outdoor Catering Pass-Through

19. Frame an Indoor-Outdoor Catering Pass-Through

Vibe: Airy, a kitchen that extends its serving capacity directly onto the terrace during large gatherings.

Why it works: A wide catering pass-through is a traffic-flow principle scaled for estate entertaining specifically; a standard pass-through window suits a family passing snacks outside, while a mansion-scale opening (often 8 feet or wider) is sized for catering staff to serve platters directly to a terrace crowd, a function that only justifies its footprint at genuinely large-scale gatherings.

How to get it: Extend the interior marble counter material through as the full-width sill, and specify a window system that opens completely upward or slides fully away rather than a fixed pane, sized generously enough for serving trays to pass through two at a time.

Shop the Look

Product
Full-width catering pass-through window
Matching marble sill extension
Outdoor bar stool set, weather-resistant
Small ceramic herb pot
Exterior counter support bracket

20. Scale Mansion Details Into a Modest-Sized Kitchen

20. Scale Mansion Details Into a Modest-Sized Kitchen

Vibe: Still proof that mansion-level material quality translates even without mansion-level square footage.

Why it works: In a kitchen without room for dual islands or a second prep kitchen, the small-space adaptation is borrowing just one or two of the highest-impact details a book-matched marble backsplash or a built-in wine fridge rather than attempting a scaled-down version of every mansion feature, since diluting all twenty ideas across less square footage reads as cluttered rather than luxurious.

How to get it: Choose the single detail with the most visual impact per square foot (typically a full-height book-matched backsplash) and commit the majority of the kitchen’s budget to that one feature rather than spreading funds thinly across many smaller mansion-inspired touches.

💡 Quick Win: A compact 15-inch built-in wine fridge under the counter borrows the wine-wall concept’s function without requiring a full dedicated wall.

Shop the Look

Product
Book-matched marble backsplash slab
Compact built-in wine fridge
Brushed brass cabinet hardware
Small ceramic countertop vessel
Walnut open shelf accent

How to Start Your Mansion-Scale Luxury Kitchen Transformation

Your first move is deciding how many distinct zones your square footage can genuinely support before choosing any material. Since the entire mansion-kitchen philosophy rests on separating function across multiple spaces, mapping which zones you actually have room for a second island, a pantry, and a hidden prep kitchen needs to happen before any stone or cabinetry order.

The most common mistake is over-scaling fixtures, a large chandelier sized for a mansion hung over a standard-height ceiling, which reads as ill-fitted rather than grand. The fix is matching fixture and island scale precisely to your ceiling height and room dimensions rather than borrowing proportions from a much larger reference kitchen.

Three items under $50 that create immediate impact: a set of layered ceramic display bowls for a fruit station, a small brass herb scissors set, and a warm 2700K LED toe-kick light strip.

A weekend refresh lighting and hardware costs $300–800. A full mansion-scale kitchen renovation with dual islands, a butler’s pantry, and a wine wall typically runs $150,000–400,000 or more and takes six to twelve months depending on square footage and custom fabrication.

Frequently Asked Questions About Luxury Kitchen Design for Mansions

What is the difference between a mansion kitchen and a standard luxury kitchen?

A standard luxury kitchen concentrates high-end materials into one main workstation. A mansion-scale luxury kitchen divides function across multiple dedicated zones: a main island, a secondary island, a butler’s pantry, and sometimes a hidden second kitchen, all finished to the same material standard, a division of space only genuinely large homes have room to support.

What color defines mansion-scale luxury kitchen design right now?

Deep espresso paired with warm white remains the leading combination, often repeated across multiple cabinetry runs and rooms for continuity, with a bolder accent like terracotta reserved for a secondary island rather than the main showpiece.

How much does a mansion-scale luxury kitchen renovation cost?

A partial upgrade using hardware and lighting across existing cabinetry costs $10,000–30,000. A mid-range renovation with a dual-island layout runs $150,000–250,000, and a full estate-scale renovation including a butler’s pantry, hidden prep kitchen, and onyx bar wall typically costs $300,000–500,000 or more depending on region and fabrication.

Can a smaller home borrow mansion kitchen trends without the square footage?

Yes, committing budget to one high-impact detail, like a book-matched marble backsplash or a compact built-in wine fridge, translates the material quality without requiring the multi-zone layout mansion-scale kitchens depend on for their full effect.

What is the most requested mansion kitchen feature right now?

A hidden second prep kitchen behind a matched pass-door is currently the most requested single feature among estate-scale renovations, according to design-industry data, followed closely by dual book-matched marble islands and refrigerated glass-front wine walls.

Ready to Create Your Dream Mansion-Scale Luxury Kitchen?

These 20 ideas move across material, color, lighting, layout, and genuine small-space adaptations from twin book-matched marble islands and a hidden second kitchen to a single borrowed detail that brings mansion-level material quality into a far smaller footprint. None of this needs to happen all at once, and mapping your zones before ordering a single slab is genuinely the smarter first step, not a scaled-down compromise. Today’s specific action: sketch your kitchen’s actual square footage and mark which additional zones second island, a pantry, a wine wall realistically fit before pricing out any material. Once that zone map is settled, the kitchen stops reading as one oversized room and starts functioning the way a genuine estate kitchen does, each space doing its own quiet job while the main room stays composed for guests. Save the ideas that match your home’s actual layout and your entertaining scale; that book-matched onyx glow and hidden pass-door will still feel just as considered years from now.

You Might Also Like

15 Ways to Achieve a Luxurious Contemporary Kitchen Design

15 Ways to Achieve a Luxurious Contemporary Kitchen Design

A luxurious contemporary kitchen design is an ever-current, of-the-moment style that mixes clean lines with softer curves, matte and glossy textures, and warm neutrals, distinct from “modern,” which refers to a fixed mid-century movement; contemporary design simply means whatever reads as current right now. This article gives you 15 genuinely achievable ways to bring a luxurious contemporary kitchen design into a real budget, covering material, color, lighting, and layout techniques that create a high-end look without requiring a full custom renovation.

It feels like a kitchen that’s been edited rather than decorated: one sculptural pendant instead of five accessories, a single curved island corner softening an otherwise straight room, light catching a mixed-texture backsplash at just the right angle. This is luxurious contemporary kitchen design at its most attainable: confident, current, built from a handful of well-chosen upgrades rather than a gut renovation. Every choice reads as intentional because there are fewer of them.

Here are 15 ideas worth saving and stealing.

Why Luxurious Contemporary Kitchen Design Works So Well

Contemporary design differs from modern design in a specific, often-confused way: modern” refers to the mid-century movement of the 1930s through 1960s with its fixed vocabulary of clean lines and function-first form, while “contemporary” describes whatever design language is current at any given moment, borrowing freely from modern, minimalist, and organic influences without being locked to one era. What makes a contemporary kitchen read as luxurious specifically is editing fewer, better-chosen elements rather than more decoration.

Core materials mix textures deliberately: matte quartz or porcelain alongside a glossy tile accent, warm greige cabinetry paired with matte black or brushed gold hardware, and at least one curved or organic profile breaking up an otherwise rectilinear room. Color stays warm and neutral greige, warm white, and matte black, with one bold material or color moment doing the visual work a whole room of saturated color would otherwise need to do.

This approach is trending because homeowners increasingly want a luxury look achievable through targeted upgrades rather than full renovations, and Pinterest and design-industry search data both show “affordable luxury kitchen” and “high-end kitchen on a budget” climbing as searches, reflecting real demand for attainable versions of high-end style.

Yes, a small or rental kitchen can achieve this look, and arguably benefits from the same editing principle even more: one hero material change (a backsplash, a hardware swap, a pendant) does more for a small kitchen’s perceived luxury than several smaller changes spread thin.

Style at a Glance

ElementCore Trait 1Core Trait 2
PhilosophyEditing and restraint signal luxury more than added decorationMixed textures over a single flat finish
MaterialsMatte quartz/porcelain, curved cabinetry profilesMatte black or brushed gold hardware
Color PaletteWarm greige, warm whiteMatte black accent

15 Ways to Achieve a Luxurious Contemporary Kitchen Design

1. Choose an Engineered Quartz Waterfall Island That Mimics Marble

1. Choose an Engineered Quartz Waterfall Island That Mimics Marble

Vibe: Serene, a waterfall edge with the visual drama of marble and none of its maintenance anxiety.

Why it works: Engineered quartz applies material honesty differently than natural stone; its manufactured veining pattern is more consistent and stain-resistant than marble, letting a real waterfall island exist on a mid-range budget without the sealing and etching concerns natural stone requires in daily use.

How to get it: Choose a quartz with veining printed through the slab (not just surface-applied) for a more convincing marble read, and specify a seamless waterfall fabrication at the corner so the pattern continues unbroken down both sides.

💡 Quick Win: A quartz-look peel-and-stick counter film refreshes an existing laminate island for under $60 while saving for a full replacement.

Shop the Look

Product
Marble look engineered quartz slab
Matte black counter stool set
Small ceramic countertop bowl
Quartz edge polishing kit
Matte black pendant light

2. Pair Warm Greige Cabinetry With Matte Black

2. Pair Warm Greige Cabinetry With Matte Black

Vibe: Grounded, a palette warm enough to feel current, contrasted just enough to feel intentional.

Why it works: Warm greige paired with matte black is a contrast principle that reads as contemporary specifically because it avoids both the stark white-and-chrome of the 2010s and the deep, moody tones of traditional luxury; the pairing sits in a confident middle ground that photographs current without chasing a narrower trend.

How to get it: Choose a greige with a visible warm undertone (test against natural daylight, since greige shifts more than most neutrals), and commit to matte black exclusively across hardware, faucet, and any lighting rather than mixing in chrome or brass.

Shop the Look

Product
Warm greige cabinet-grade paint
Matte black faucet single hole
Matte black cabinet pull set
Small ceramic countertop vessel
Matte black pendant fixture

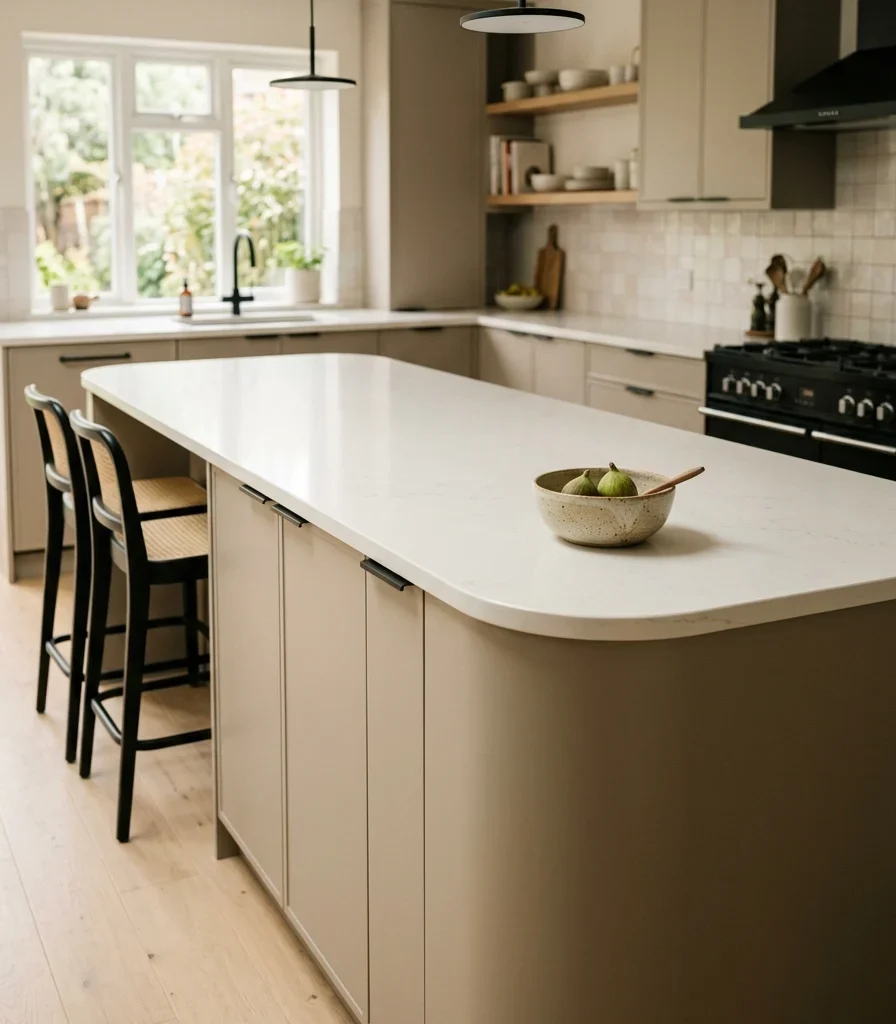
3. Soften One Island Corner Into a Curve

3. Soften One Island Corner Into a Curve

Vibe: Layered, a single soft edge that breaks up an otherwise entirely rectilinear room.

Why it works: Curved silhouettes are one of contemporary design’s most consistent current signals, and rounding just one island corner (rather than the whole perimeter) applies contrast at a manageable scale; it introduces the softer, organic-modern line trending across furniture and architecture right now without requiring a fully custom curved cabinet run.

How to get it: Specify a rounded corner radius of at least 8 inches on the island’s most visible end (typically facing the main walking path), wrapped in seamless quartz or laminate that follows the curve without a visible seam.

Shop the Look

Product
Curved corner island cabinet base
Seamless quartz wrap finish
Small ceramic countertop bowl
Matte black toe kick trim
Matte black island pendant

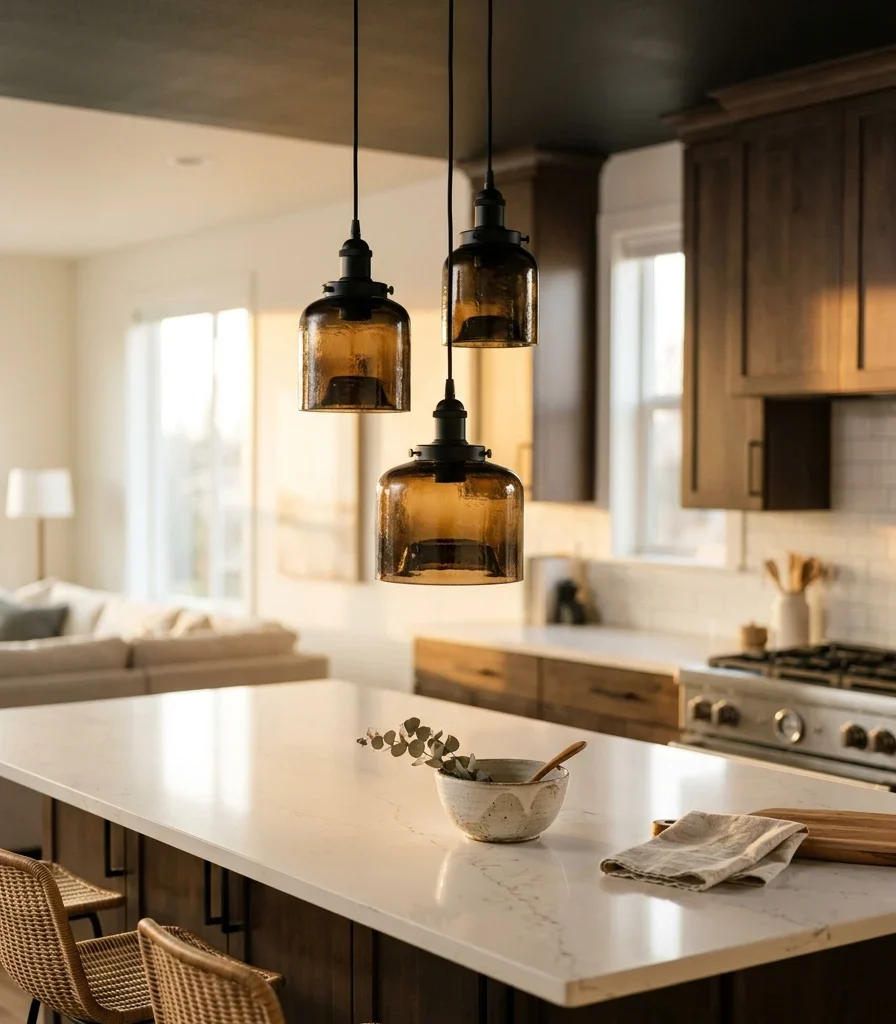
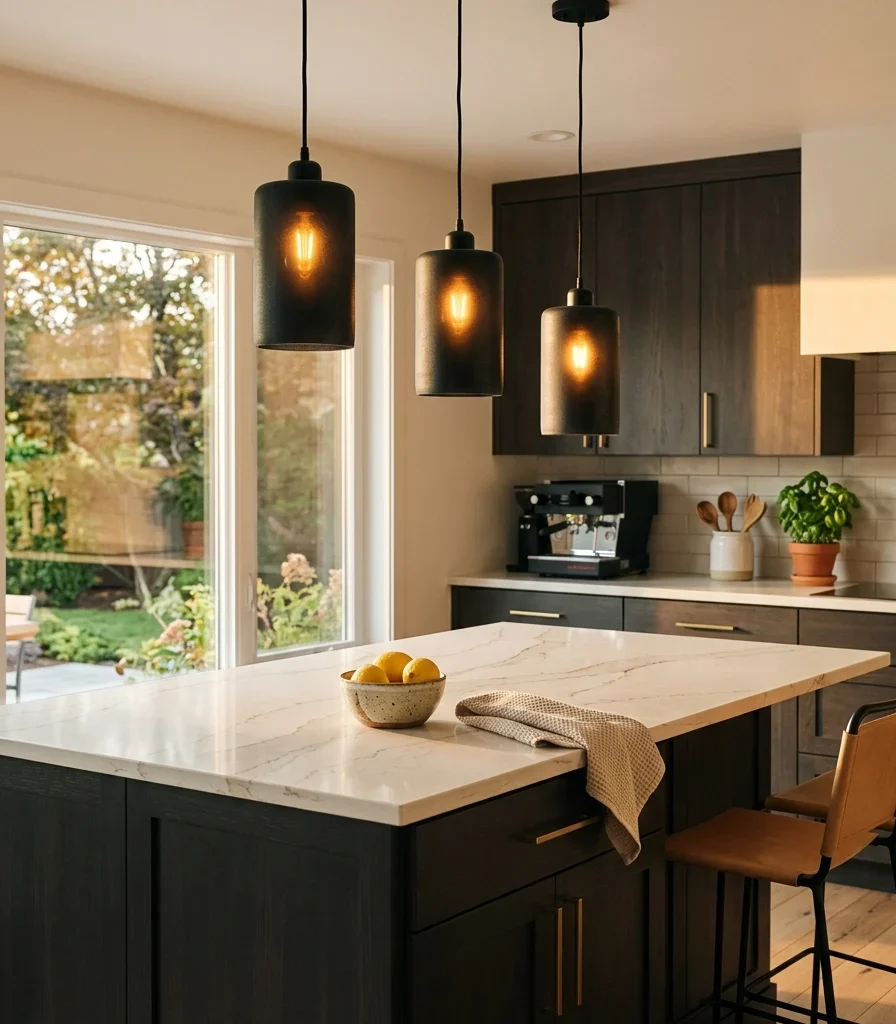
4. Hang a Statement Pendant Trio at Varied Heights

4. Hang a Statement Pendant Trio at Varied Heights

Vibe: Warm three fixtures doing the visual work of an entire accessory collection.

Why it works: A staggered pendant cluster is a light-layering and visual-weight principle that gives an island genuine focal presence without requiring any additional decor. Three pendants at varied heights (rather than one centered fixture) create movement and depth, which is precisely the kind of single high-impact upgrade the “editing over decorating” philosophy depends on.

How to get it: Hang three matte black pendants in graduated heights (typically 28, 32, and 36 inches above the counter), spaced evenly along the island’s length, using warm 2700K bulbs for genuine ambient glow.

💡 Quick Win: A single oversized pendant centered over the island delivers similar visual impact for a lower cost than a full three-piece cluster.

Shop the Look

Product
Matte black glass pendant set
Warm 2700K bulb for pendants
Adjustable pendant cord kit
Matte black ceiling canopy
Small ceramic countertop bowl

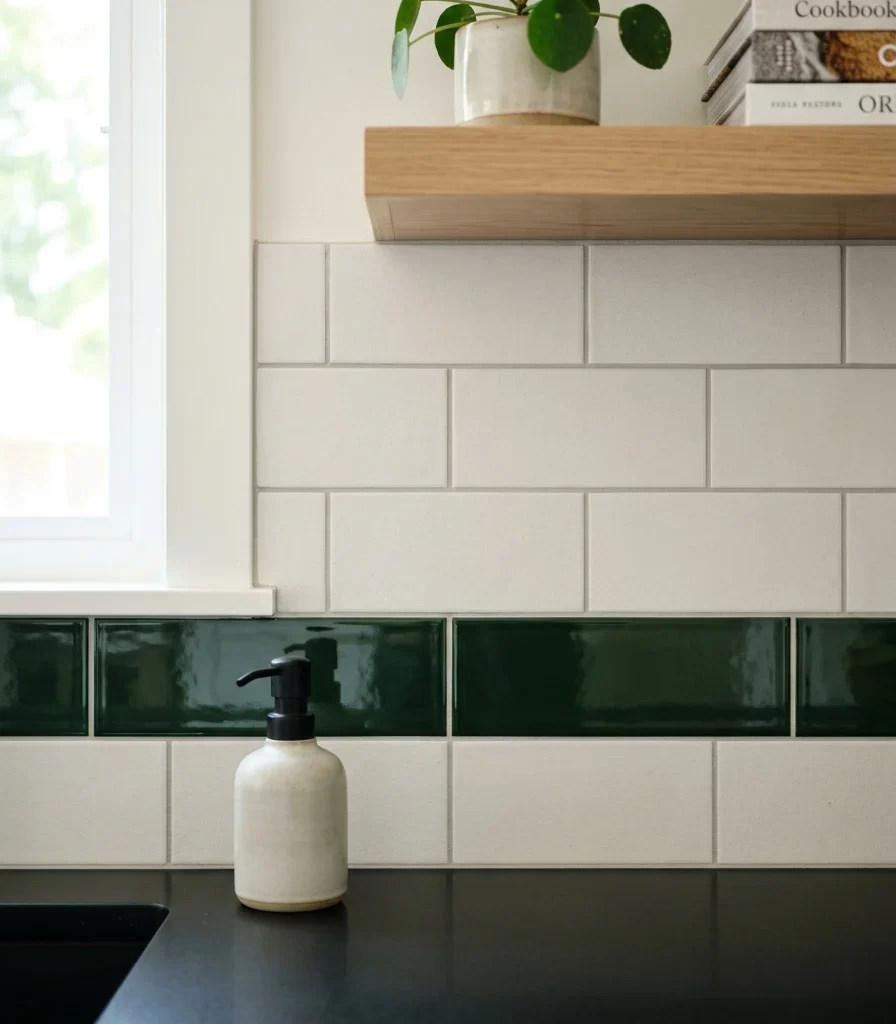
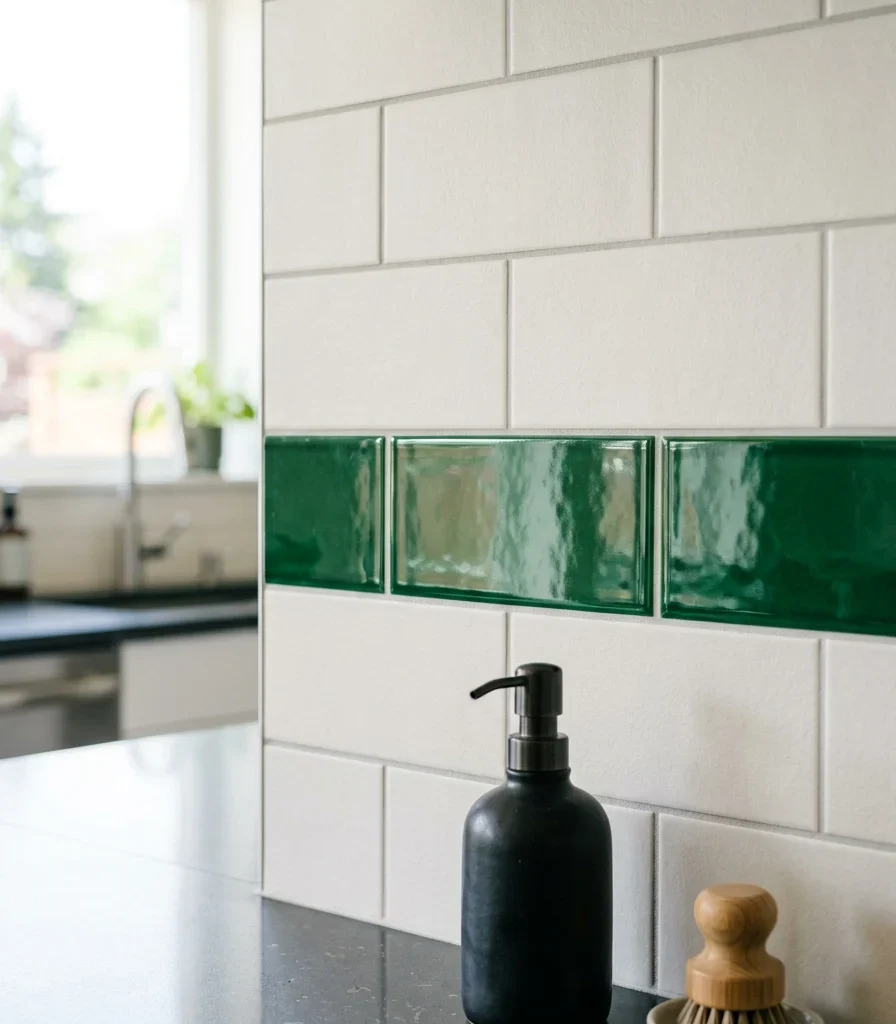
5. Mix a Matte Tile Field With One Glossy Accent Row

5. Mix a Matte Tile Field With One Glossy Accent Row

Vibe: Fresh, a backsplash with genuine texture contrast instead of one uniform finish top to bottom.

Why it works: Mixing matte and glossy finishes within the same material family is a texture-layering principle that reads as more considered than a single finish throughout, since the glossy row catches and reflects light differently than the surrounding matte field, adding visual depth without introducing a second color or pattern.

How to get it: Run a matte white subway or square tile as the primary field, breaking it with a single 4 to 6-inch glossy accent row in a deep color at eye level, positioned where it catches the room’s main light source most directly.

Shop the Look

Product
Matte white square backsplash tile
Glossy dark green accent tile
Tile edge trim matte black
Small ceramic soap dispenser
Grout sealer penetrating

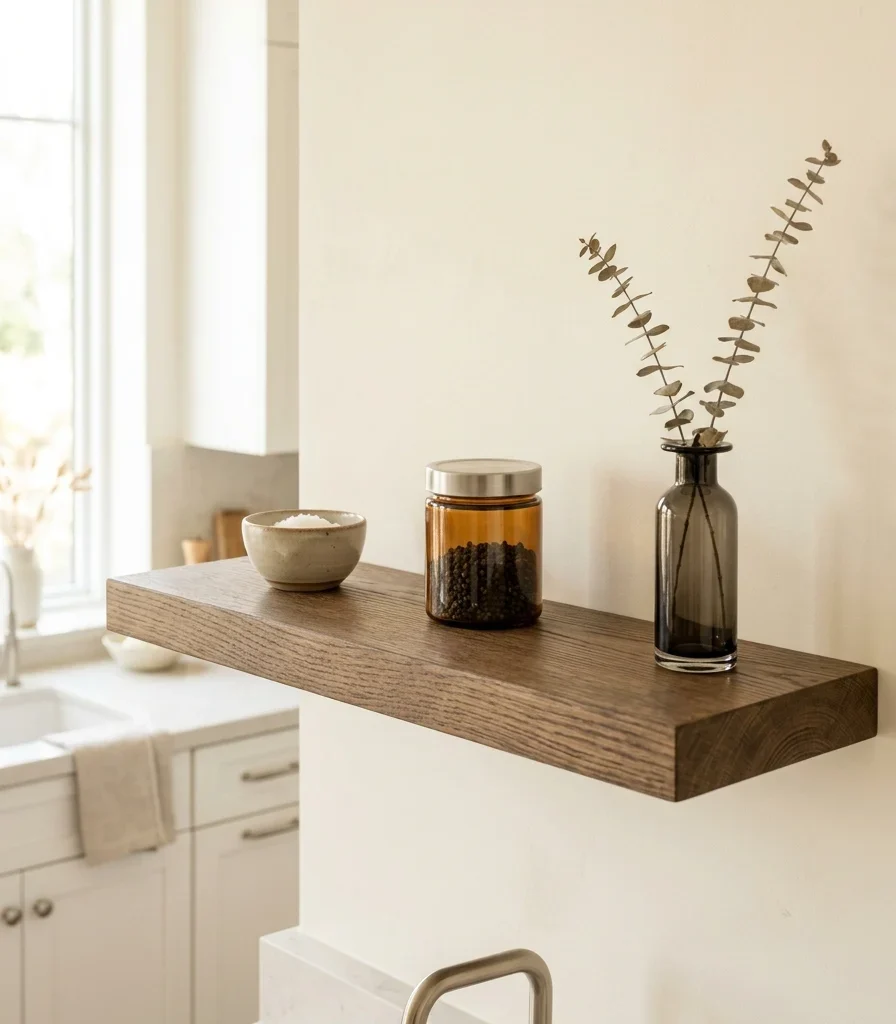
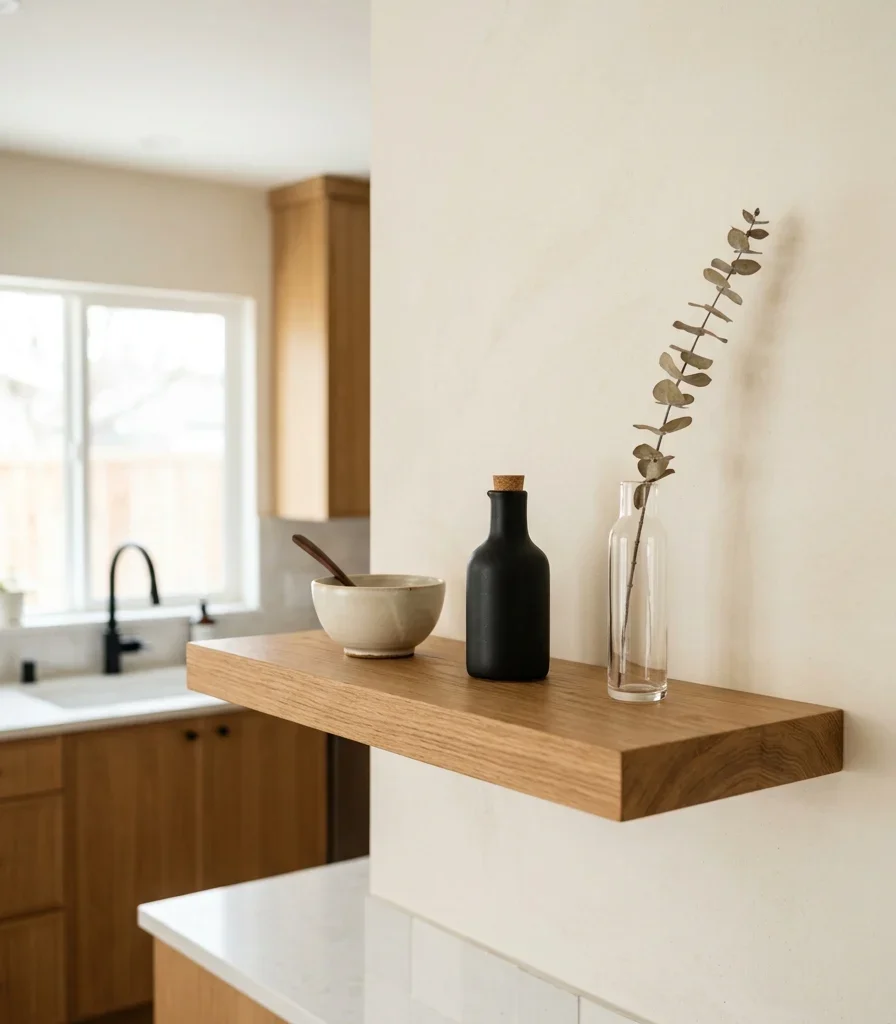
6. Curate an Open Shelf With Exactly Three Objects

6. Curate an Open Shelf With Exactly Three Objects

Vibe: Still a shelf edited down to exactly the objects worth looking at.

Why it works: Extreme restraint in open shelving is the negative-space principle at the heart of this whole approach: three objects with generous space between them carry more visual weight individually than a dozen items crowded onto the same shelf, and this specific discipline is what separates a “styled” shelf from one that simply looks tidy.

How to get it: Limit the shelf to exactly three objects in varied heights, spaced at roughly equal intervals, choosing one glass and one ceramic material rather than an all-matching set for subtle contrast.

Shop the Look

Product
Floating oak shelf
Matte ceramic vessel small
Slim glass bud vase
Matte black shelf bracket
Single dried stem bundle

7. Split Cabinetry Two-Tone on a Budget-Friendly Line

7. Split Cabinetry Two-Tone on a Budget-Friendly Line

Vibe: Fresh two-tone split at exactly the height that costs the least to repaint.

Why it works: Splitting color at the counter line (rather than an irregular pattern) is the most budget-efficient version of two-tone cabinetry, since it only requires repainting the lower run, a proportion principle that still delivers the visual contrast of a full two-tone kitchen while limiting the material and labor cost to half the cabinetry.

How to get it: Keep existing upper cabinets in their current warm white (or repaint if needed) and repaint only the lower cabinets in warm greige, using the same matte black hardware across both to visually unify the split.

Shop the Look

Product
Warm greige cabinet-grade paint
Matte black cabinet pull set
Warm white upper cabinet paint
Small ceramic countertop bowl
Matte black cabinet hinge

8. Choose Slim Profile Bar Stools With No Bulk

8. Choose Slim Profile Bar Stools With No Bulk

Vibe: Still seating that stays visually quiet instead of competing with the island beneath it.

How to get it: Choose backless stools no wider than 16 inches with slim matte black legs, tucked fully under the counter overhang between uses so the island’s silhouette stays clean.

Shop the Look

Product
Backless matte black counter stool
Slim quartz bar overhang extension
Small ceramic countertop bowl
Stool footrest ring detail
Marble-look coaster set

9. Add Under-Cabinet LED for an Instant High-End Upgrade

9. Add Under-Cabinet LED for an Instant High-End Upgrade

Vibe: Hushed, a kitchen that shifts from bright and functional to soft and restaurant-like after dinner prep ends.

Why it works: Under-cabinet lighting is a light-layering technique that adds a low, horizontal glow distinct from overhead task lighting; this single addition is one of the highest-return upgrades on this list because it changes the room’s evening atmosphere dramatically for a genuinely modest material and installation cost.

How to get it: Install a warm 2700K LED strip along the full underside of upper cabinets on its own dimmer switch, so the layer can operate independently from the room’s main ceiling lights once task lighting is no longer needed.

💡 Quick Win: A battery-powered adhesive LED strip under $30 achieves the same glow without any electrical wiring.

Shop the Look

Product
Warm 2700K LED under-cabinet strip
Battery-powered adhesive LED strip
In-line dimmer switch
Small ceramic storage canister
Adhesive LED mounting clips

10. Swap Hardware for Brushed Gold for an Immediate Lift

10. Swap Hardware for Brushed Gold for an Immediate Lift

Vibe: Warm a single afternoon’s worth of work that changes the whole room’s perceived cost.

Why it works: Hardware finish is a material-honesty principle with an outsized return relative to its cost because hardware is touched daily and sits at eye level throughout the kitchen; upgrading from builder-grade chrome to brushed gold changes the room’s perceived quality more per dollar spent than almost any other single material swap on this list.

How to get it: Replace every visible cabinet pull, knob, and the faucet simultaneously in the same brushed gold finish (partial swaps read as unfinished), sourcing hardware from a single product line so the gold tone matches consistently across pieces.

Shop the Look

Product
Brushed gold cabinet pull set
Brushed gold single hole faucet
Brushed gold cabinet knob
Small ceramic countertop bowl
Brushed gold cabinet hinge

11. Paint Walls Warm White to Let One Bold Element Shine

11. Paint Walls Warm White to Let One Bold Element Shine

Vibe: Fresh, a neutral backdrop disciplined enough to let one bold choice actually register.

Why it works: Keeping walls in warm white while committing to one saturated material elsewhere is a contrast principle that only works with genuine restraint; introducing a second bold color competes with the first, while a neutral backdrop lets whichever single element you’ve chosen (the glossy tile row, a colored island) carry the room’s entire visual statement.

How to get it: Choose a warm white with a soft yellow undertone for every wall except the one bold material feature elsewhere in the kitchen, resisting the urge to add a second accent color once the first is in place.

Shop the Look

Product
Warm white matte wall paint
Small framed abstract print
Matte black picture frame
Warm white LED ceiling bulb
Painter’s tape edge trim

12. Style a Sculptural Ceramic Vase as the Counter’s Focal Point

12. Style a Sculptural Ceramic Vase as the Counter's Focal Point

Vibe: Layered one object with enough sculptural presence to function as art rather than counter clutter.

Why it works: A single statement vase applies the same restraint principle as the open shelf; scaled to the island, one genuinely sculptural piece carries more visual weight than a grouping of smaller decorative objects, and it keeps the island’s counter surface functionally clear for actual food prep between styled moments.

How to get it: Choose one vase at least 14 inches tall in an organic, non-geometric silhouette, and add a single dried branch rather than a full floral arrangement, refreshing the branch occasionally so the styling stays intentional rather than static.

Shop the Look

Product
Sculptural matte ceramic vase
Single dried branch bundle
Warm cream ceramic finish
Small ceramic coaster set
Matte black counter tray

13. Replace Upper Cabinets With Floating Shelves

13. Replace Upper Cabinets With Floating Shelves

Vibe: Airy, a wall that reads as open even while holding genuine daily storage.

Why it works: Removing upper cabinets in favor of floating shelves is a negative-space principle that opens sightlines across the kitchen; a bank of closed cabinets reads as a heavy, opaque block, while open shelving lets the eye travel past it, making even a compact kitchen feel less enclosed.

How to get it: Mount two or three floating oak shelves on concealed brackets rated for at least 20 lbs each, styling each with no more than four items so the openness doesn’t collapse into visual clutter.

Shop the Look

Product
Floating oak shelf set
Concealed shelf bracket rated
Matte ceramic vessel set
Slim glass bud vase
Single dried stem bundle

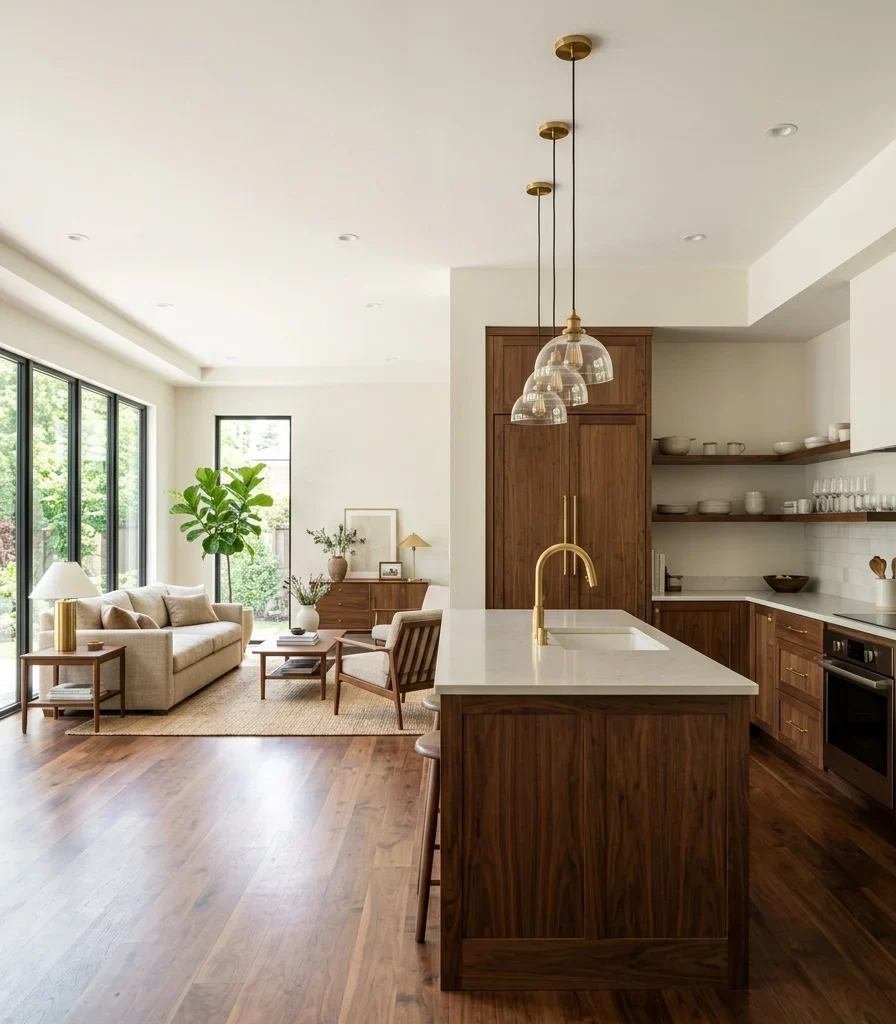
14. Open the Sightline Between Kitchen and Living Space

14. Open the Sightline Between Kitchen and Living Space

Vibe: Airy, a kitchen that visually extends into the room beyond it instead of stopping at a wall.

Why it works: Lowering or removing a peninsula’s upper cabinetry is a traffic-flow and zone-connection layout principle; the moment the sightline opens toward an adjacent living space, both rooms borrow visual square footage from each other, which reads as more luxurious than either room would independently, without adding a single square foot of actual space.

How to get it: Replace any upper cabinetry along a peninsula or half-wall with open shelving or remove it entirely, keeping the counter-height barrier only, and match materials (counter, cabinet color) across both visible zones so the sightline reads as one continuous space.

Shop the Look

Product
Peninsula counter matching material
Open shelf replacement kit
Matte black barstool set
Small ceramic bowl for peninsula
Warm oak accent shelf

15. Achieve the Look in a Galley Kitchen With One Hero Material

15. Achieve the Look in a Galley Kitchen With One Hero Material

Vibe: Still, roof that one confident material choice does more than ten scattered small upgrades.

Why it works: In a genuinely narrow galley kitchen, a single hero material is the small-space adaptation that concentrates the entire budget and visual impact into one high-return choice. Spreading

limited funds across many small updates in a tight space reads as busy, while one glossy backsplash or one curved detail reads as a deliberate luxury statement.

How to get it: Choose the single material or color moment with the most visual return (typically a full-height glossy or patterned backsplash), commit the majority of the budget to that one feature, and keep every other surface in the kitchen deliberately simple and neutral.

💡 Quick Win: A peel-and-stick glossy tile backsplash under $80 tests this hero-material approach in a rental before committing to permanent tile.

Shop the Look

Product
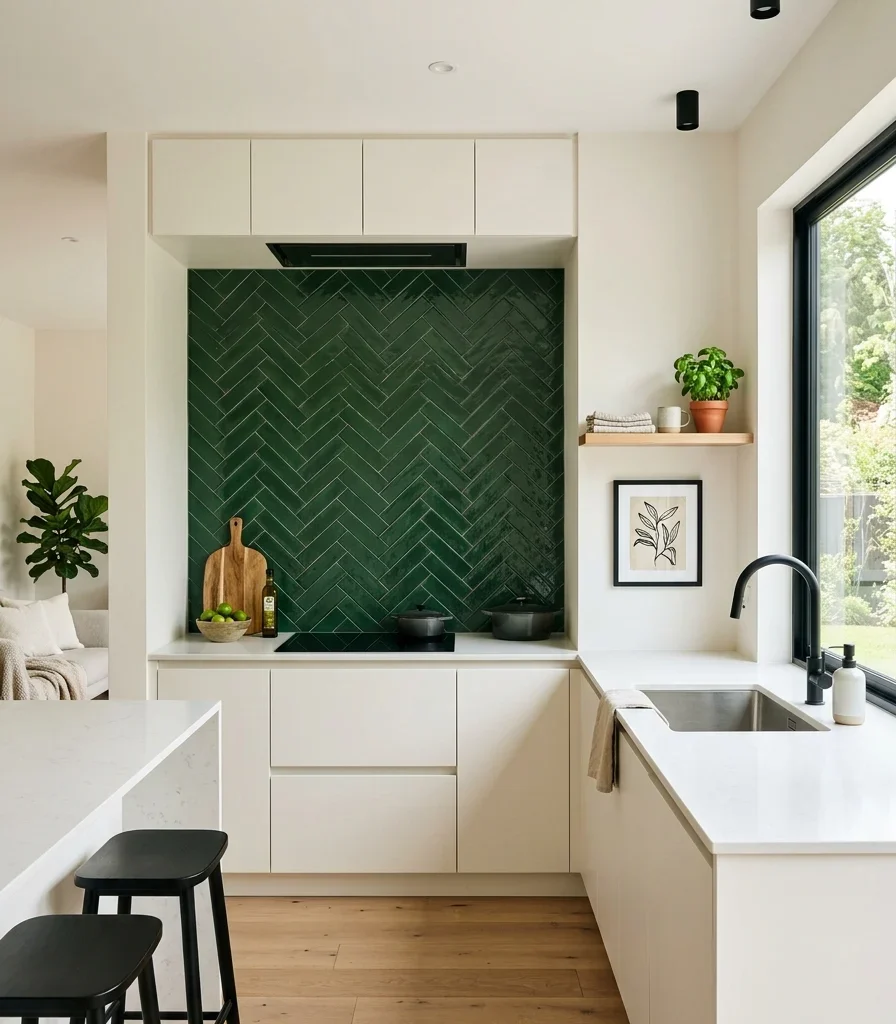
Glossy dark green backsplash tile
Peel and stick glossy tile
Matte black cabinet hardware
Small ceramic canister set
Warm white cabinet paint

How to Start Your Luxurious Contemporary Kitchen Transformation

Your one first move is choosing the single hardware finish, brushed gold or matte black, before any other decision. Since hardware touches every cabinet and the faucet throughout the kitchen, committing to one metal tone first prevents the mismatched-finish problem that undoes an otherwise well-planned contemporary kitchen more than any other single mistake.

The most common mistake is mixing metal finishes: brushed gold cabinet pulls paired with a chrome faucet and a matte black pendant, for example, which reads as unplanned rather than eclectic. The fix is committing to one metal family across every visible fixture before ordering anything else.

Three items under $50 that create immediate impact: a warm 2700K under-cabinet LED strip, a single sculptural matte ceramic vase for the island, and a set of matte black cabinet knobs to test the hardware finish before a full swap.

A weekend refresh of hardware and lighting costs $150–450. A full luxurious contemporary kitchen transformation with a quartz island, two-tone cabinetry, and a mixed-texture backsplash typically runs $12,000–35,000 and takes three to six weeks depending on cabinetry lead times.

Frequently Asked Questions About Luxurious Contemporary Kitchen Design

What is the difference between contemporary and modern kitchen design?

Modern kitchen design refers to the specific mid-century design movement with its fixed vocabulary of clean lines and minimal ornament. Contemporary kitchen design describes whatever style is currently trending, borrowing freely from modern, minimalist, and organic influences at once, which is why contemporary kitchens today favor curved edges and mixed textures that a strictly modern kitchen from the 1960s never would have included.

What color works best for a luxurious contemporary kitchen?

Warm greige paired with matte black is the leading combination right now, sitting between the stark white of the 2010s and the deep, moody tones of traditional luxury. A single bold accent, like a glossy green tile row or a curved terracotta island, works best against an otherwise neutral warm white backdrop.

How much does it cost to achieve a luxurious contemporary kitchen look?

A budget refresh using hardware, lighting, and a peel-and-stick backsplash costs $200–700. A mid-range upgrade with a quartz waterfall island and two-tone cabinetry runs $12,000–25,000, and a full renovation including a curved island and mixed-texture tile typically costs $25,000–45,000 depending on cabinetry and stone fabrication.

Can a rental kitchen achieve a luxurious contemporary look without permanent changes?

Yes, removable hardware swaps, peel-and-stick quartz-look counter film, under-cabinet LED strips, and a single sculptural styling object all deliver genuine visual impact without violating a lease, and all of them can move with the renter to the next apartment.

What is the single highest-impact upgrade for a contemporary kitchen right now?

Hardware finish consistency is the single highest-return change relative to its cost, since replacing mismatched or dated hardware with a unified brushed gold or matte black finish changes the room’s perceived quality more per dollar than almost any other update, according to real estate and design-industry renovation return data.

Ready to Achieve Your Dream Luxurious Contemporary Kitchen?

These 15 ideas move across material, color, lighting, layout, and genuine small-space adaptations from a curved island corner and a mixed-texture backsplash to a single hero material that carries an entire galley kitchen’s luxury statement. None of this needs to happen all at once, and starting with a hardware swap and one lighting upgrade is genuinely the smartest first step, not a smaller version of the full vision. Today’s specific action: pick one metal finish, brushed gold or matte black, and replace every visible cabinet pull and the faucet with it this week, since that single change touches the whole room more directly than any other. Once that unified hardware story is in place, the kitchen stops reading as a collection of separate updates and starts feeling like one confidently edited room. Save the ideas that fit your actual budget and your kitchen’s real footprint; that brushed gold glow and single sculptural vase will still feel just as current a year from now.

You Might Also Like

15 Modern Kitchen Design Luxury 2025 Ideas

15 Modern Kitchen Design Luxury 2026 Ideas

Modern kitchen design luxury in 2025 is a restrained, high-material approach that replaces visible hardware, ornate detailing, and mixed finishes with handleless cabinetry, monolithic stone surfaces, and a single unified metal tone, treating quiet material quality as the actual luxury signal rather than decorative flourish. This article gives you 15 leading modern kitchen design ideas for 2025, covering material, color, lighting, and layout decisions currently defining the top of the high-end kitchen market.

It feels like a room engineered for calm: a waterfall island with no visible seam, cabinetry that opens with a soft push instead of a pull, light traced along a ceiling edge instead of dropped from a fixture overhead. This is modern luxury kitchen design at its most confident right now: pared back, materially rich, built to disappear into its own quiet precision rather than announce itself.

Here are 15 ideas worth saving and stealing.

Why Modern Luxury Kitchen Design Works So Well in 2025

Modern luxury kitchen design in 2025 draws from the “quiet luxury” shift that moved from fashion into interiors, a reaction against the ornate, heavily branded maximalism of the previous decade, favoring materials that communicate quality through texture and craftsmanship rather than visible logos or decorative excess. What separates this year’s version from earlier “modern luxury” kitchens is the near-total disappearance of visible hardware and appliance fronts, a level of integration that requires more precise cabinetry work than a decade ago’s flat-panel modern kitchens attempted.

Core materials are honed quartzite or micro-cement for monolithic counters and waterfall islands, smoked or fumed oak for cabinet fronts, and one unified warm metal brushed nickel or warm bronze carried across every visible fixture. Color has moved toward warm taupe, deep olive green, and smoked charcoal, away from the stark white and grey that defined the 2010s modern kitchen.

This look is trending in 2025 because post-pandemic home spending shifted decisively toward fewer, higher-quality purchases rather than frequent trend-driven updates, a pattern design-industry trend reports and Pinterest search data both confirm under terms like “quiet luxury kitchen” and “handleless kitchen,” which have overtaken more decorative luxury search terms from a few years earlier.

Yes, but the disappearing-hardware detail requires precise measurement regardless of kitchen size; a genuinely small kitchen can achieve this look by concentrating the budget on one hero material (the island stone or a smoked oak wall of cabinetry) rather than spreading it thin across a full renovation.

Style at a Glance

ElementCore Trait 1Core Trait 2
PhilosophyQuality signaled through material restraint, not visible ornamentIntegration and disappearance over decorative statement
MaterialsHoned quartzite, micro-cement, smoked oakUnified brushed nickel or warm bronze metal
Color PaletteWarm taupe, deep olive greenSmoked charcoal, warm bronze accent

15 Modern Kitchen Design Luxury 2025 Ideas

1. Pour a Micro-Cement Waterfall Island Counter

1. Pour a Micro-Cement Waterfall Island Counter

Vibe: Still a surface with no visible seam anywhere across its entire folded form.

Why it works: Micro-cement is a material-honesty and continuity principle taken further than natural stone can achieve because it’s applied as a poured, seamless coating rather than fabricated from cut slabs. A micro-cement island can wrap corners and edges with zero visible joint lines, which reads as more monolithic and considered than even a well-matched stone waterfall.

How to get it: Specify a warm taupe or greige micro-cement finish applied by a fabricator experienced specifically with kitchen-grade cementitious surfaces (not decorative wall-only applicators), and request a sealed matte finish rather than gloss, since matte reads calmer and shows fewer fingerprints on a heavily touched island edge.

💡 Quick Win: A micro-cement-look large-format porcelain slab achieves a similar seamless appearance at a lower cost and faster installation than true poured cement.

Shop the Look

Product
Micro-cement look porcelain slab
Brushed nickel counter stool set
Small sculptural ceramic bowl
Matte sealant for cementitious surface
Brushed nickel pendant light

2. Pair Warm Taupe With Brushed Nickel

2. Pair Warm Taupe With Brushed Nickel

Vibe: Grounded, a palette warm enough to feel inviting without any of the coldness grey once carried.

Why it works: Warm taupe represents the specific color correction the industry has made to the previous decade’s grey-dominated modern kitchens; it retains the same neutral, versatile base that grey offered, but its warmer undertone photographs and reads as more current, paired specifically with brushed nickel rather than the chrome that grey kitchens typically used.

How to get it: Choose a warm taupe with a visible yellow-brown undertone (test it against natural daylight, since taupe shifts more under artificial light than most neutrals), and commit to brushed nickel exclusively across faucet, cabinet hardware, and lighting rather than mixing in chrome or brass.

Shop the Look

Product
Warm taupe cabinet-grade paint
Brushed nickel faucet single hole
Brushed nickel cabinet pull set
Small ceramic countertop vessel
Brushed nickel pendant fixture

3. Install Handleless Push-to-Open Cabinetry

3. Install Handleless Push-to-Open Cabinetry

Vibe: Serene cabinetry with nothing protruding to catch the eye or a passing sleeve.

Why it works: Removing visible hardware entirely is the negative-space principle central to 2025’s version of luxury minimalism  a flat, uninterrupted cabinet front reads as more monolithic and calm than even the slimmest pull, and the push-to-open mechanism achieves full function without sacrificing that visual continuity.

How to get it: Specify a push-to-open (also called touch-latch) mechanism rated for daily heavy use rather than a budget-grade version prone to failure, and pair it with a subtle recessed finger groove at the top edge of lower cabinets for the drawers that still need manual pulling open.

Shop the Look

Product
Push-to-open cabinet latch hardware
Recessed finger groove cabinet profile
Soft-close drawer slide set
Small ceramic countertop bowl
Flat panel cabinet door set

4. Trace an Integrated LED Light Line Along the Island Edge

4. Trace an Integrated LED Light Line Along the Island Edge

Vibe: Hushed, a thin line of light that makes the island appear to float slightly above the floor at night.

Why it works: A light line traced into the underside island edge is a light-layering technique that adds a low, horizontal glow distinct from pendant or overhead lighting  this thin, architectural detail is what currently separates a genuinely current luxury kitchen from an older one, since it requires the light source to be planned into the cabinetry build rather than added afterward.

How to get it: Recess a warm 2700K LED strip into a routed channel along the island’s underside edge, facing the light downward so the source itself stays hidden and only the glow it casts on the floor is visible, wired to a separate switch from the main task lighting.

Shop the Look

Product
Recessed warm LED light channel
Warm 2700K LED strip
In-line dimmer switch
Small ceramic countertop bowl
Brushed nickel switch plate

5. Choose Smoked Oak Cabinet Fronts

Vibe: Warm wood dark enough to feel formal, but with grain still visible enough to read as genuinely natural.

Why it works: Smoking oak (a fuming process that reacts the wood’s tannins with ammonia to deepen its tone) is a material technique distinct from simply staining wood darker  the smoking process darkens the wood evenly through its grain structure rather than sitting on the surface, which is why smoked oak reads as richer and more dimensional than a dark-stained oak veneer under close inspection.

How to get it: Specify genuinely smoked or fumed solid oak (not a dark stain marketed as “smoked”) for at least one bank of cabinetry, and seal it with a matte polyurethane that preserves the visible grain rather than a high-gloss finish that would flatten the wood’s natural texture.

Shop the Look

Product
Smoked oak cabinet panel
Matte polyurethane wood sealant
Brushed nickel finger groove trim
Small ceramic serving tray
Smoked oak edge banding

6. Style the Counter With Sculptural Ceramic Vessels

6. Style the Counter With Sculptural Ceramic Vessels

Vibe: Layered objects with enough sculptural presence to function as art rather than mere counter clutter.

Why it works: Restraint in accessory choice is the styling principle that separates 2025 luxury kitchens from earlier maximalist counter styling. Two or three genuinely sculptural ceramic pieces, chosen for their form rather than as part of a themed collection, carry more visual weight individually than a dozen smaller decorative objects would collectively.

How to get it: Choose no more than two or three ceramic vessels in varied heights and organic (not perfectly geometric) shapes, keeping their glaze finishes within the same warm cream or taupe family as the rest of the kitchen, and leave the majority of the counter surface empty around them.

Shop the Look

Product
Sculptural matte ceramic vessel set
Small dried branch bundle
Warm cream ceramic bowl
Smoked oak counter tray
Brushed nickel candle holder

7. Introduce Deep Olive Green Lower Cabinetry

7. Introduce Deep Olive Green Lower Cabinetry

Vibe: Grounded, a color deep and earthy enough to feel deliberate rather than trend-chasing.

Why it works: Olive green has replaced the more saturated sage and forest greens of a few years earlier as the current leading green in luxury kitchen palettes, applying a proportion principle by staying on lower cabinetry only  the deeper, more muted olive tone reads as more sophisticated and less overtly “trendy” than brighter greens, aligning with the broader quiet-luxury restraint driving this year’s palette shift.

How to get it: Reserve olive green for base cabinetry in a matte finish, keeping upper cabinets in warm white or the same smoked oak used elsewhere in the room, and test the olive against natural daylight before committing, since olive shifts noticeably warmer or cooler depending on a room’s light direction.

💡 Quick Win: Cabinet refacing film in olive green achieves the color commitment on existing cabinets without a full replacement.

Shop the Look

Product
Deep olive green cabinet paint
Brushed nickel finger groove profile
Cabinet refacing film olive
Warm white upper cabinet paint
Small ceramic countertop vessel

8. Add a Disappearing Appliance Garage

8. Add a Disappearing Appliance Garage

Vibe: Still a counter that stays genuinely clear because everyday appliances have their own concealed home.

Why it works: An appliance garage applies negative space and visual weight principles at the room scale  hiding small appliances behind a tambour or lift-up door keeps the main counter surfaces uninterrupted, which is what allows the restrained accessory styling covered earlier to actually read as intentional rather than a staged version of a normally cluttered counter.

How to get it: Build the appliance garage with a vertical tambour door finished to match the surrounding cabinetry exactly, sized to fit a coffee maker and toaster with an integrated outlet inside, and position it at the counter’s end run rather than centered, where it would interrupt prime workspace.

Shop the Look

Product
Vertical tambour appliance garage door
Matching cabinet finish panel
Integrated outlet strip
Small ceramic canister set
Cabinet interior task light

9. Recess Cove Lighting Along the Ceiling Perimeter

9. Recess Cove Lighting Along the Ceiling Perimeter

Vibe: Warm a ceiling that glows softly at its edges instead of relying on a single central fixture.

Why it works: Cove lighting is an architectural light-layering technique that washes the ceiling with indirect light from a hidden recessed channel, raising the perceived ceiling height and adding a soft ambient layer that complements task and pendant lighting rather than competing with it, a detail typically reserved for higher-budget builds because it must be planned into the ceiling structure itself.

How to get it: Recess a warm 2700–3000K LED strip into a routed cove channel set back at least 4 inches from the ceiling edge, angled to wash upward and outward across the ceiling surface, and run it on its own dimmer separate from the room’s other lighting layers.

Shop the Look

Product
Recessed cove LED channel kit
Warm 2700K LED strip
Ceiling cove dimmer switch
Small ceramic decorative vessel
Cove channel trim molding

10. Specify Honed Quartzite With Bold Veining

10. Specify Honed Quartzite With Bold Veining

Vibe: Raw tone with vein movement dramatic enough to function as the room’s focal artwork.

Why it works: A honed (rather than polished) finish is the specific material update that separates 2025’s stone preference from the glossy quartzite of a few years earlier  honing mutes the surface’s reflectivity, which lets the veining pattern itself carry the visual interest instead of competing with a high-shine glare, a texture-and-contrast principle that reads as more current and less showroom-polished.

How to get it: Select a quartzite slab with dramatic, continuous vein movement rather than a busy, scattered pattern, and specify a honed finish explicitly when ordering, since most fabricators default to polished unless told otherwise.

Shop the Look

Product
Honed quartzite slab
Brushed nickel single-hole faucet
Small ceramic countertop bowl
Quartzite penetrating sealer
Brushed nickel soap dispenser

11. Carry Warm Bronze Metal Accents Throughout

11. Carry Warm Bronze Metal Accents Throughout

Vibe: Warm metal with enough depth and patina that it reads as aged rather than freshly manufactured.

Why it works: Warm bronze represents a shift away from the brushed nickel and matte black that dominated the previous several years, applying the same hardware-consistency principle discussed for other finishes but with a metal that develops visible depth and patina over time, which aligns with the quiet-luxury preference for materials that age rather than stay artificially uniform.

How to get it: Choose warm bronze (not the cooler oil-rubbed bronze of a decade ago) across every visible fixture faucet, cabinet hardware, pendant fixtures, and outlet covers  ourced from a single product line where possible, since bronze finishes vary noticeably in warmth between manufacturers.

Shop the Look

Product
Warm bronze cabinet pull set
Warm bronze single hole faucet
Warm bronze pendant light
Small ceramic countertop vessel
Warm bronze outlet cover plate

12. Style Open Shelving With a Single Curated Object Row

12. Style Open Shelving With a Single Curated Object Row

Vibe: Still a shelf edited down to exactly the objects worth looking at and nothing more.

Why it works: Extreme restraint in open shelving styling is a negative-space principle that has intensified in 2025 luxury kitchens compared to the fuller, more layered open shelving popular a few years ago  spacing just three objects evenly across a single shelf, with generous space between each, gives every individual piece more visual weight than a densely styled shelf ever could.

How to get it: Limit the shelf to exactly three objects in varied heights, spaced at roughly equal intervals with visible negative space on both sides, and choose one glass and one ceramic material rather than an all-ceramic grouping for subtle material contrast.

Shop the Look

Product
Smoked oak floating shelf
Matte ceramic vessel small
Slim glass bud vase
Brushed nickel shelf bracket
Single dried stem bundle

13. Build an Integrated Banquette With Hidden Storage

13. Build an Integrated Banquette With Hidden Storage

Vibe: Warm a built-in seat that also quietly solves a storage problem most kitchens can’t hide as gracefully.

Why it works: A banquette with a lift-up storage bench applies dual-function furniture design at the room scale  the seating itself provides the negative-space benefit of built-in furniture over a bulky freestanding bench, while the hidden storage cavity underneath absorbs items (linens, seasonal dishware) that would otherwise need a separate cabinet, keeping the kitchen’s visible cabinetry run cleaner.

How to get it: Build the bench seat as a hinged lid rather than a fixed cushion top, upholstered in a durable performance bouclé that can handle daily use, and size the interior storage cavity to standard bin or basket dimensions so contents stay organized rather than loose.

Shop the Look

Product
Lift-up bench seat hinge hardware
Taupe bouclé upholstery fabric
Smoked oak banquette table
Storage bin for bench interior
Linen throw pillow set

14. Frame an Indoor-Outdoor Pass-Through Window

14. Frame an Indoor-Outdoor Pass-Through Window

Vibe: Airy, a kitchen that extends its own counter surface straight out into the yard or patio.

Why it works: A pass-through window is a traffic-flow and zone-connection layout principle that has become a defining feature of 2025 luxury kitchens with any outdoor access  it visually and functionally links interior and exterior entertaining space, letting food and drinks move directly through rather than requiring a full walk-around path, which changes how the kitchen actually functions during gatherings rather than just how it looks.

How to get it: Extend the same interior quartzite or micro-cement counter material through as the windowsill so the surface reads as one continuous plane from inside to outside, and specify a window that opens fully upward or slides completely away rather than a fixed pane with a smaller cutout.

Shop the Look

Product
Full open pass-through window kit
Matching quartzite sill extension
Small ceramic herb pot
Outdoor bar stool set, weather-resistant
Exterior counter support bracket

15. Design a Compact One-Wall Luxury Kitchen Layout

15. Design a Compact One-Wall Luxury Kitchen Layout

Vibe: Still proof that luxury material quality, not floor plan size, is what actually defines the look.

Why it works: In a genuinely small kitchen without room for an island, the one-wall layout is the small-space adaptation that concentrates every luxury material decision onto a single uninterrupted run  full-height cabinetry to the ceiling, one continuous counter material, and integrated appliances all read as considered rather than compromised, since there’s no secondary surface diluting the material story.

How to get it: Run cabinetry to the ceiling rather than leaving a gap above (which reclaims storage and reads as more intentional), use the same countertop material for the full wall length without a seam if possible, and integrate the refrigerator and dishwasher behind matching cabinet panels so the whole wall reads as one continuous material plane.

💡 Quick Win: Full-height cabinet panels above existing upper cabinets close the ceiling gap affordably without a full cabinetry replacement.

Shop the Look

Product
Full-height smoked oak cabinet panel
Integrated appliance panel kit
Continuous quartzite counter slab
Brushed nickel cabinet hardware set
Small ceramic countertop vessel

How to Start Your Modern Luxury Kitchen 2025 Transformation

Your first move is selecting the hero counter material before any cabinet color or hardware decision. Since a honed quartzite or micro-cement waterfall island carries the most visual weight in the room, its specific tone and veining pattern set the reference point every other finish gets measured against, and it should be chosen first rather than fitted around an already-decided cabinet color.

The most common mistake is mixing metal finishes: brushed nickel hardware paired with a warm bronze faucet and a chrome pendant, for example, which undercuts the cohesive, restrained look this style depends on. The fix is committing to one metal family across every visible fixture before ordering anything else.

Three items under $50 that create immediate impact: a warm 2700K LED strip for under-cabinet or island-edge lighting, a set of sculptural matte ceramic vessels for counter styling, and a single dried branch bundle in a slim glass vase.

A weekend refresh  ighting and hardware swaps costs $200–600. A full modern luxury kitchen renovation with a micro-cement island, smoked oak cabinetry, and integrated appliances typically runs $70,000–180,000 and takes four to seven months depending on custom cabinetry lead times.

Frequently Asked Questions About Modern Kitchen Design Luxury 2025

What is the difference between modern luxury and traditional luxury kitchen design?

Traditional luxury kitchen design uses furniture-grade detailing, turned legs, and visible ornate hardware to signal quality. Modern luxury kitchen design in 2025 signals the same quality through material restraint instead  handleless cabinetry, seamless waterfall counters, and hidden appliance integration  treating the near-total absence of visible hardware and ornament as the actual luxury marker rather than decorative detail.

What color defines modern luxury kitchen design in 2025?

Warm taupe and deep olive green are the leading colors this year, replacing the stark white and cool grey that defined modern kitchens for the previous decade. Both pair specifically with brushed nickel or warm bronze rather than chrome, since the warmer neutral base needs a correspondingly warm metal tone to read as current rather than dated.

How much does a modern luxury kitchen renovation cost in 2025?

A partial refresh using hardware, lighting, and a quartz-look countertop costs $8,000–20,000. A mid-range renovation with handleless cabinetry and a micro-cement island runs $60,000–110,000, and a full high-end renovation with smoked oak cabinetry, integrated appliances, and cove lighting typically costs $110,000–200,000 or more depending on the region and cabinetry lead time.

Can a small kitchen achieve modern luxury design without an island?

Yes, a one-wall layout with full-height smoked oak cabinetry and a single continuous quartzite counter run achieves the same material-quality signal an island-centered kitchen does, since the style’s luxury marker is material restraint and integration rather than square footage or a specific layout shape.

What is the most requested feature in modern luxury kitchens right now?

Handleless push-to-open cabinetry is currently the most requested single detail in modern luxury kitchen design, according to design-industry trend reports, followed closely by micro-cement or honed quartzite waterfall islands and integrated LED light lines along island edges and ceiling coves.

Ready to Create Your Dream Modern Luxury Kitchen?

These 15 ideas move across material, color, lighting, layout, and genuine small-space adaptations, from a seamless micro-cement island and handleless cabinetry to a one-wall layout that proves material quality matters more than floor plan size. None of this needs to happen all at once, and starting with one hero material or a single lighting layer is genuinely the smarter first step, not a scaled-down compromise. Today’s specific action: pull quartzite or micro-cement samples and hold them against smoked oak or taupe cabinet swatches in natural daylight to settle on the one material story the rest of the kitchen will follow. Once that quiet, considered material palette is in place, the kitchen stops reading as decorated and starts reading as genuinely resolved: a room that feels expensive because of what it leaves out, not what it adds on. Save the ideas that match your kitchen’s actual footprint and your project’s actual budget; that seamless waterfall edge and warm bronze glow will still feel just as current years from now.

You Might Also Like

15 Ways to Create a Modern Luxury Kitchen Ceiling Design

15 Ways to Create a Modern Luxury Kitchen Ceiling Design

A modern luxury kitchen ceiling design treats the fifth wall the ceiling as a genuine design surface, using beams, color, texture, and light to finish a kitchen from every angle instead of leaving it as an afterthought painted flat white. This article gives you 15 genuinely striking ways to create a modern luxury kitchen ceiling design, covering material, color, lighting, and layout decisions for the one surface most kitchen renovations skip entirely.

It feels like looking up and realizing the room was finished on purpose: walnut beams catching light at an angle no wall could, a deep charcoal ceiling making the room feel wrapped rather than boxed, a single chandelier hanging like the room’s own piece of jewelry. This is modern luxury kitchen ceiling design at its most complete: considered from the floor to the very top of the room. Every choice earns its place because a ceiling left blank is square footage most kitchens waste entirely.

Here are 15 ideas worth saving and stealing.

Why Modern Luxury Kitchen Ceiling Design Works So Well

Treating the ceiling as a genuine design surface draws from architectural traditions that never left it plain: offered ceilings from classical and Renaissance interiors, exposed timber framing from vernacular and craftsman building, and the more recent architectural lighting movement that integrates cove and recessed detailing directly into the ceiling plane rather than hanging fixtures from a blank one. What makes it distinctly modern luxury is combining these older architectural gestures with clean, current materials and integrated lighting rather than heavy ornamental plasterwork.

Core materials include walnut or white oak beams, tongue-and-groove wood planking, high-gloss lacquer paint, and architectural wallpaper. Color ranges from deep charcoal or warm black for drama to glossy warm white for reflected light, with two-tone splits used to zone specific areas of a large kitchen.

Style at a Glance

ElementCore Trait 1Core Trait 2
PhilosophyThe ceiling finished as a genuine design surface, not left blankArchitectural detail combined with integrated modern lighting
MaterialsWalnut or oak beams, tongue-and-groove plankingHigh-gloss lacquer, architectural wallpaper
Color PaletteDeep charcoal for dramaGlossy warm white for reflected light

15 Ways to Create a Modern Luxury Kitchen Ceiling Design

1. Build a Coffered Ceiling With Walnut Beams

1. Build a Coffered Ceiling With Walnut Beams

Vibe: Grounded, a ceiling with genuine architectural rhythm instead of one flat, uninterrupted plane.

Why it works: A coffered grid applies proportion and visual-weight principles at ceiling scale  the walnut beams create a repeating structural pattern that gives the room’s tallest surface real dimension, and the recessed panels between beams read as deliberately deep rather than simply flat, an effect no applied trim or paint alone can achieve.

How to get it: Specify solid walnut or walnut-veneer beams at least 6 inches deep spaced in a grid no smaller than 4×4 feet per coffer, painting the recessed panels in warm white so the wood beams read as the dominant structural element against a lighter backdrop.

💡 Quick Win: Lightweight faux-wood coffer panels achieve a similar grid pattern at a fraction of the weight and cost of solid beams.

Shop the Look

Product
Solid walnut ceiling beam set
Faux wood coffer panel kit
Warm white ceiling paint
Small pendant for coffer recess
Matte black beam mounting hardware

2. Paint a Deep Charcoal Ceiling for a Dramatic Drop

2. Paint a Deep Charcoal Ceiling for a Dramatic Drop

Vibe: Moody a ceiling dark enough to feel like it’s pulling the whole room in around you.

Why it works: Painting the ceiling in a saturated dark tone is a contrast principle that inverts the usual assumption that dark ceilings shrink a room. In a kitchen with generous ceiling height, a deep charcoal ceiling actually creates a cocooning, intimate effect, drawing the eye upward toward a genuine focal plane instead of letting it disappear into a flat white void.

How to get it: Reserve this technique for kitchens with at least 9-foot ceilings, using a matte (not glossy) warm charcoal that avoids reading as a mistake or an unfinished primer coat, and pair it with warm brass or gold fixtures that catch light against the dark backdrop.

Shop the Look

Product
Warm charcoal matte ceiling paint
Warm brass pendant light
Ceiling paint primer for dark tones
Small ceramic countertop vessel
Brass ceiling canopy trim

3. Hang a Sculptural Pot Rack as a Ceiling Fixture

3. Hang a Sculptural Pot Rack as a Ceiling Fixture

Vibe: Layered cookware turned into ceiling-level decor, doing double duty as function and display.

Why it works: A hanging pot rack applies negative-space and furniture-arrangement thinking specifically to the ceiling plane; rather than cookware occupying cabinet space, it hangs at eye level between the ceiling and counter, using vertical volume most kitchens leave empty above the island.

How to get it: Mount a matte black rack from ceiling joists rated for the combined weight of a full cookware set, positioning it centered over the island at a height that clears the tallest person’s head by at least 12 inches, and hang pots by size for visual order.

Shop the Look

Product
Matte black ceiling pot rack
Ceiling joist mounting hardware
Copper cookware set
Small ceramic countertop bowl
Matte black S-hooks for hanging

4. Recess Cove Lighting Around the Ceiling Perimeter

4. Recess Cove Lighting Around the Ceiling Perimeter

Vibe: Warm a ceiling edge that glows softly instead of relying on a single central fixture to light the whole room.

Why it works: Cove lighting integrated into the ceiling perimeter is an architectural light-layering technique that raises the perceived ceiling height by washing the wall-to-ceiling transition with indirect light; it also complements pendant and task lighting below rather than competing with it, adding a genuine ambient layer most kitchens skip entirely.

How to get it: Recess a warm 2700K LED strip into a routed channel set back at least 4 inches from the ceiling edge, angled to wash upward and outward, wired to its own dimmer separate from the island pendants and under-cabinet task lighting.

Shop the Look

Product
Recessed cove LED channel kit
Warm 2700K LED strip
Ceiling cove dimmer switch
Small ceramic decorative vessel
Cove channel trim molding

5. Wallpaper the Ceiling With a Botanical Print

5. Wallpaper the Ceiling With a Botanical Print

Vibe: Layering a ceiling with genuine pattern, turning an overlooked surface into the room’s unexpected detail.

Why it works: Wallpapering the ceiling is a texture and pattern-layering principle rarely applied above eye level, which is precisely why it reads as a surprising, considered choice. A botanical print overhead references the biophilic pattern trend without requiring any actual plants, and because the ceiling sees no foot traffic or splashing, wallpaper survives there far better than it would on a kitchen wall.

How to get it: Choose a pre-pasted, moisture-resistant wallpaper in a botanical print with a small to medium-scale repeat (large patterns can distort visually overhead), and hire an installer experienced with ceiling application, since hanging paper overhead is more physically demanding than a wall.

💡 Quick Win: Peel-and-stick wallpaper on the ceiling achieves the same visual effect with an easier, more forgiving installation for a first attempt.

Shop the Look

Product
Moisture-resistant botanical wallpaper
Peel and stick botanical ceiling paper
Warm brass pendant light
Wallpaper smoothing tool
Small ceramic countertop vessel

6. Hang a Single Statement Chandelier as Ceiling Jewelry

6. Hang a Single Statement Chandelier as Ceiling Jewelry

Vibe: Warm single fixture with enough scale and detail to function as the whole ceiling’s centerpiece.

Why it works: A genuinely sculptural chandelier applies visual-weight principles the way a statement necklace draws the eye; its scale and detail give the ceiling plane a clear focal point, which matters because kitchens with high or vaulted ceilings otherwise risk that upper volume reading as space rather than an intentional part of the room.

How to get it: Size the chandelier to roughly two-thirds the island’s length, hanging it at least 34 inches above the counter to clear sightlines, and choose warm 2700K bulbs visible through the shades so the fixture itself glows rather than reading as a dark silhouette during the day.

Shop the Look

Product
Multi-arm brass chandelier fixture
Warm 2700K glass shade bulb
Brass ceiling canopy trim
Small ceramic countertop bowl
Adjustable chandelier chain kit

7. Split the Ceiling Two-Tone Between Island and Perimeter

7. Split the Ceiling Two-Tone Between Island and Perimeter

Vibe: Grounded, a ceiling that visually marks exactly where the island’s zone begins and ends, even looking straight up.

Why it works: Painting a defined rectangular zone directly above the island in a contrasting tone is a zone-definition principle applied overhead rather than at floor level; the ceiling itself signals the island’s boundary, reinforcing the room’s layout in a kitchen large enough that floor-level zoning alone doesn’t fully register from every angle.

How to get it: Measure the island’s exact footprint and paint the ceiling section directly above it in charcoal, extending the boundary 6 to 12 inches beyond the island’s edges on all sides, keeping the surrounding ceiling in warm white.

Shop the Look

Product
Warm charcoal ceiling paint
Warm white perimeter ceiling paint
Painter’s tape precision edge
Warm brass pendant light
Small ceramic countertop bowl

8. Suspend a Glass-Front Cabinet From the Ceiling

8. Suspend a Glass-Front Cabinet From the Ceiling

Vibe: Warm storage that appears to float above the island, lit from within like a small display case.

Why it works: A ceiling-suspended cabinet applies negative-space and furniture-arrangement thinking to storage that would normally sit on the floor or against a wall cause it hangs from brass rods rather than standing on legs; the floor beneath stays entirely open, and its glass front with interior lighting turns everyday glassware into genuine ceiling-level display.

How to get it: Suspend the cabinet on four brass rods anchored to ceiling joists rated for its fully loaded weight, wire warm 2700K interior LED lighting on its own switch, and position it above the island rather than a walkway so nothing passes beneath it at head height.

Shop the Look

Product
Ceiling suspended glass cabinet
Brass suspension rod set
Interior LED cabinet light strip
Ceiling joist mounting bracket
Small ceramic countertop bowl

9. Position a Skylight Directly Over the Island

9. Position a Skylight Directly Over the Island

Vibe: Luminous, a pool of genuine daylight landing exactly where the room’s most-used surface sits.

Why it works: Positioning a skylight directly over the island rather than a random ceiling location is a light-behavior principle that puts natural daylight precisely where it matters most for both function and photography; food prep and the room’s central gathering point both benefit from direct overhead daylight in a way ambient window light from the side never fully achieves.

How to get it: Size the skylight to roughly one-third the island’s length for a proportional daylight pool, choosing a fixed (non-operable) unit if ventilation isn’t a priority, since fixed skylights cost less and have fewer potential leak points than operable ones.

Shop the Look

Product
Fixed skylight unit
Skylight flashing kit
Warm white marble island counter
Small ceramic countertop bowl
Matte black skylight interior trim

10. Install a Tongue-and-Groove Wood Plank Ceiling

10. Install a Tongue-and-Groove Wood Plank Ceiling

Vibe: Sun-warmed ceiling with genuine wood grain running overhead instead of flat drywall.

Why it works: Tongue-and-groove planking is a material-honesty principle that gives the ceiling texture and warmth without the structural depth a full coffered grid requires; the plank seams create a directional linear pattern that, run the length of a galley or narrow kitchen, visually elongates the room when viewed from the doorway.

How to get it: Install white oak or pine tongue-and-groove planks running the room’s longest dimension, sealed in a matte finish rather than glossy polyurethane, and recess lighting flush between planks rather than surface-mounting fixtures that would interrupt the linear pattern.

Shop the Look

Product
Tongue and groove white oak plank
Matte wood ceiling sealant
Recessed flush ceiling light
Small ceramic countertop vessel
Wood plank installation clips

11. Paint the Ceiling in Glossy Lacquer to Reflect the Room

11. Paint the Ceiling in Glossy Lacquer to Reflect the Room

Vibe: Fresh ceiling with just enough sheen to subtly double the room’s brightness without becoming a full mirror.

Why it works: A genuine multi-coat lacquer finish applies light-behavior principles at ceiling scale; gloss reflects both ambient light and a soft impression of the room below, brightening a kitchen with limited natural light more effectively than a flat matte ceiling paint, which absorbs rather than bounces available light.

How to get it: Specify a genuine high-gloss lacquer application (multiple thin coats, each sanded between applications) rather than a single-coat glossy enamel, since a properly built-up lacquer finish reflects far more cleanly than a shortcut version.

Shop the Look

Product
High gloss lacquer ceiling paint
Warm brass pendant light
Ceiling gloss primer coat
Small ceramic countertop vessel
Walnut cabinetry accent

12. Add a Decorative Ceiling Medallion Behind the Pendant

12. Add a Decorative Ceiling Medallion Behind the Pendant

Vibe: Layered a small architectural detail that frames the pendant instead of leaving it hanging from a bare ceiling.

Why it works: A ceiling medallion applies accessory-layering directly to the ceiling plane. Most kitchens hang a pendant from a plain electrical box with no surrounding detail, and a carved medallion gives that mounting point genuine architectural presence, referencing classical plasterwork at a scale appropriate for a single fixture rather than the whole ceiling.

How to get it: Choose a medallion between 12 and 18 inches in diameter for proportion with a standard pendant, mounted flush around the existing electrical box, and paint it the same warm white as the surrounding ceiling so its relief detail reads through subtle shadow rather than color contrast.

Shop the Look

Product
Carved plaster ceiling medallion
Warm brass pendant light
Ceiling medallion mounting adhesive
Warm white touch-up paint
Small ceramic countertop vessel

13. Build a Tray Ceiling to Frame the Island Zone

13. Build a Tray Ceiling to Frame the Island Zone

Vibe: Ground a ceiling with a genuine structural step that gives the island zone its own architectural frame.

Why it works: A tray ceiling applies proportion and zone-definition principles through actual construction rather than paint or light alone. The recessed stepped edge, typically 4 to 8 inches deep, creates a physical boundary overhead that echoes the island’s footprint, adding dimensional depth a flat ceiling with only a paint or lighting zone can’t fully replicate.

How to get it: Frame the tray to align with the island’s exact footprint, recessing the center section by at least 6 inches, and run cove lighting inside the tray’s inner edge so the recess is lit rather than shadowed.

Shop the Look

Product
Tray ceiling framing kit
Recessed cove LED strip for tray
Walnut trim molding
Warm brass pendant light
Small ceramic countertop vessel

14. Vary Ceiling Height to Zone Cooking From Dining

14. Vary Ceiling Height to Zone Cooking From Dining

Vibe: Airy two connected zones that feel distinct the moment you look up, without any wall between them.

Why it works: Varying ceiling height between the cooking and dining zones is a layout principle that uses architecture itself to define traffic flow; a lower, more intimate ceiling over the working kitchen contrasts with a taller volume over the dining area, letting an open-concept space read as two purposeful zones rather than one undifferentiated room.

How to get it: If the structure allows (existing soffits or duct routing often already create natural height variation), emphasize the transition with a visible beam or trim line at the height change, and keep the ceiling finish consistent across both zones so the height itself, not a material shift, carries the zoning.

Shop the Look

Product
Walnut transition beam trim
Warm brass pendant lower zone
Recessed lighting taller zone
Small ceramic countertop vessel
Warm white ceiling paint both zones

15. Add a Mirrored Ceiling Strip to Visually Raise a Low Kitchen

15. Add a Mirrored Ceiling Strip to Visually Raise a Low Kitchen

Vibe: Luminous narrow reflective seam that tricks the eye into reading more height than the room actually has.

Why it works: In a genuinely low kitchen ceiling under 8 feet, a full mirrored ceiling would feel disorienting, so the small-space adaptation is a narrow mirrored strip typically 6 to 12 inches wide un along one edge, usually where the ceiling meets an upper cabinet run, reflecting the room’s light and depth without committing to a full mirrored plane.

How to get it: Install a mirrored acrylic or glass strip along the ceiling edge directly above the tallest run of cabinetry, angled flush rather than tilted, since a flush mount reflects the room’s existing light sources rather than creating a distracting distorted angle.

💡 Quick Win: Mirrored ceiling tiles sized to a single strip’s width install without full custom fabrication, keeping the technique accessible for a smaller budget.

Shop the Look

Product
Mirrored acrylic ceiling strip
Mirrored ceiling tile set
Warm brass pendant light
Mirror mounting adhesive strip
Small ceramic countertop vessel

How to Start Your Modern Luxury Kitchen Ceiling Transformation

Your one first move is measuring your actual ceiling height before choosing any technique on this list, since structural options like coffering or a tray ceiling need at least 9 feet to read proportionally, while color and lighting-based techniques work in any kitchen regardless of height. This single measurement determines which category of idea is realistic before any material gets ordered.

The most common mistake is attempting a heavy structural treatment, like deep coffered beams, in a standard 8-foot kitchen, which reduces already-limited headroom and can make the room feel lower rather than more luxurious. The fix is defaulting to paint, lighting, or a shallow tray ceiling in any kitchen under 9 feet, reserving true structural beams for rooms with genuine height to spare.

Three items under $50 that create immediate impact: a warm 2700K LED strip for basic cove lighting, a carved plaster ceiling medallion for an existing pendant, and mirrored ceiling tiles for a small reflective accent strip.

A weekend refresh of cove lighting and a ceiling medallion costs $150–400. A full modern luxury kitchen ceiling transformation with coffered beams and integrated lighting typically runs $8,000–25,000 and takes two to five weeks depending on structural complexity.

Frequently Asked Questions About Modern Luxury Kitchen Ceiling Design

What is the difference between a coffered ceiling and a tray ceiling?

A coffered ceiling uses a full grid of beams creating multiple recessed panels across the entire ceiling. A tray ceiling recesses just one central section, typically above an island or dining area, stepping up or down from the surrounding flat ceiling, which requires less structural depth and cost than a full coffered grid.

What color works best for a modern luxury kitchen ceiling?

Deep charcoal works well in kitchens with at least 9-foot ceilings for a dramatic, cocooning effect, while warm white or a high-gloss lacquer finish works better in standard 8-foot kitchens, since lighter and reflective tones don’t visually lower the ceiling the way a dark matte finish can in a room without height to spare.

How much does a modern luxury kitchen ceiling renovation cost?

A budget refresh using paint and cove lighting costs $300–1,000. A mid-range treatment with a tray ceiling or tongue-and-groove planking runs $5,000–12,000, and a full coffered beam ceiling with integrated lighting typically costs $15,000–30,000 depending on beam material and ceiling square footage.

Can a kitchen with a low, standard ceiling still get a luxury ceiling treatment?

Yes, but structural options are limited: mirrored ceiling strip, glossy lacquer paint, or recessed cove lighting all add genuine visual impact without requiring the 9-plus feet of height that coffering or deep beams need to read proportionally rather than oppressively.

What is the most requested kitchen ceiling feature right now?

Integrated cove lighting is currently the most requested single ceiling feature in kitchen renovations, according to design-industry data, since it works in nearly any ceiling height and budget range, followed by coffered beam ceilings in kitchens with sufficient height and a statement chandelier as a lower-cost focal alternative.

Ready to Create Your Dream Modern Luxury Kitchen Ceiling?

These 15 ideas move across material, color, lighting, layout, and true small-space solutions rom a full walnut coffered grid and a suspended glass cabinet to a narrow mirrored strip that adds perceived height to a genuinely low room. None of this needs to happen all at once, and starting with cove lighting and one statement fixture is genuinely the smartest place to begin, not a smaller version of the full vision. Today’s specific action: measure your kitchen’s actual ceiling height and cross-reference it against the ideas on this list before committing to any structural option, since that single number determines which techniques will actually read as intentional rather than cramped. Once the ceiling finally matches the care given to every surface below it, looking up in that kitchen will feel like discovering a room that was finished on purpose, not one that simply stopped at eye level. Save the ideas that fit your ceiling’s real height and your project’s real budget; that walnut beam grid and warm cove glow will still feel just as considered years from now.

You Might Also Like

15 Ways to Incorporate Italian Kitchen Design Modern Luxury

15 Ways to Incorporate Italian Kitchen Modern Design

Incorporating Italian modern luxury into a kitchen means layering in the style’s signature materials marble, brass, hand-glazed ceramics, saturated lacquer color through accessories, fixtures, and small swaps, without requiring a full cabinetry renovation. This article gives you 15 genuinely achievable ways to incorporate Italian kitchen design modern luxury into a kitchen you already have, covering material, color, lighting, and layout touches that bring real Italian character into an existing room.

It feels like a familiar kitchen suddenly speaking a new language: a marble board catching light on the counter, brass hardware warming under a pendant, a single bold cabinet insert doing more work than an entire repaint would. This is Italian modern luxury incorporated rather than rebuilt: confident, layered, achieved through addition instead of demolition. Every piece earns its place because none of it requires touching the existing cabinetry or floor plan.

Here are 15 ideas worth saving and stealing.

Why Incorporating Italian Modern Luxury Works So Well

Italian modern luxury kitchen design traces to the post-war Milanese furniture movement of the 1950s through 1970s, which treated cabinetry and kitchen objects with the same sculptural ambition as furniture shown at the Salone del Mobile: bold color, hand-blown glass, and warm brass hardware rather than the flatter, purely functional kitchens common elsewhere in Europe. Incorporating the style into an existing kitchen means borrowing its material vocabulary in smaller doses rather than rebuilding the room around it.

The core materials translate easily to accessories: marble for boards and small consoles, brass for hardware and lighting, hand-glazed terracotta and cream ceramics for serveware, and one saturated lacquer color, burgundy or olive, introduced through a single cabinet insert or bar cart rather than a full cabinetry run.

This incremental approach is trending because full kitchen renovations remain expensive and slow, while Pinterest and design-industry search data show sustained interest in “Italian kitchen accessories” and “Italian kitchen decor” as ways to bring the style’s warmth and color into a rental or an otherwise finished kitchen without construction.

Yes, incorporating Italian modern luxury is arguably easier in a small kitchen than a large one, since a single marble board, a brass hardware swap, and one Murano-style pendant already read clearly in a compact room where a large kitchen might need several more touches to register the same way.

Style at a Glance

ElementCore Trait 1Core Trait 2
PhilosophyStyle incorporated through addition, not renovationOne bold color or material moment does the visual work
MaterialsMarble, brass, hand-glazed ceramicTerracotta, cream
Color PaletteBurgundy or olive accentWarm cream base

15 Ways to Incorporate Italian Kitchen Design Modern Luxury

1. Display a Marble Cutting Board and Cheese Board

1. Display a Marble Cutting Board and Cheese Board

Vibe: Still a single object with enough material presence to change how the whole counter reads.

Why it works: A genuine marble board applies material honesty on a scale that requires no renovation; its veining and weight read as unmistakably Italian modern luxury the moment it’s set on the counter, doing more to signal the style than a laminate counter update could without any construction at all.

How to get it: Choose a marble board with a brass handle insert, leaning it against the backsplash rather than laying it flat, since propped upright it functions as a display object as much as a tool.

💡 Quick Win: A marble-look resin board under $30 approximates the material’s visual weight for a fraction of the cost of natural stone.

Shop the Look

Product
Marble cutting board brass handle
Marble cheese board round
Small ceramic accent bowl
Brass board stand
Marble look resin board

2. Add a Single Burgundy Lacquer Cabinet Insert

2. Add a Single Burgundy Lacquer Cabinet Insert

Vibe: Moody one saturated door doing the work of an entire accent wall.

Why it works: Repainting just one cabinet door in a genuine high-gloss lacquer applies color anchoring at the smallest possible scale; a single burgundy door against surrounding white cabinetry reads as a deliberate design choice rather than a full commitment, letting an existing kitchen borrow Italian design’s confidence with saturated color without repainting the whole run.

How to get it: Remove one lower cabinet door (ideally one that’s frequently visible, like an end-of-run panel) and refinish it in a genuine multi-coat lacquer rather than a single-coat enamel, pairing it with a brass pull to match the rest of the kitchen’s hardware.

Shop the Look

Product
High gloss burgundy lacquer paint
Brass cabinet pull replacement
Small ceramic countertop vessel
Cabinet door refinishing kit
Brass cabinet hinge

3. Add a Small Marble-Topped Bar Cart for Espresso and Aperitivo

3. Add a Small Marble-Topped Bar Cart for Espresso and Aperitivo

Vibe: Warm, a small, self-contained corner that feels like its own Italian café moment.

Why it works: A bar cart applies furniture-arrangement thinking as a freestanding, non-permanent addition; its slim brass frame and marble surface introduce two of the style’s signature materials at once, and because it rolls, it requires no fixed installation or permission from a landlord, unlike built-in cabinetry.

How to get it: Choose a cart no wider than 24 inches with a genuine marble (not marble-look laminate) top tier, styling it with an espresso setup and two or three small glasses for aperitivo, positioned in an underused kitchen corner.

Shop the Look

Product
Brass bar cart marble top
Small ceramic espresso cup set
Glass aperitivo tumbler set
Small brass tray insert
Marble coaster set

4. Swap In a Murano-Style Pendant Over One Zone

4. Swap In a Murano-Style Pendant Over One Zone

Vibe: Warm one fixture swap that changes the whole zone’s character without touching a single cabinet.

Why it works: A single pendant swap is a light-behavior and material-honesty principle that requires minimal electrical work. Hand-blown glass with visible swirl texture refracts light unevenly, casting a warmer, more dynamic glow than a standard fixture, referencing the Venetian glassblowing tradition central to Italian lighting design without any structural renovation.

How to get it: Replace one existing pendant or flush-mount fixture over a counter or small island with a single Murano-style swirled glass pendant, keeping the existing electrical box and simply swapping the fixture itself, which most electricians can complete in under an hour.

💡 Quick Win: A plug-in pendant conversion kit lets renters swap the fixture without any hardwiring at all.

Shop the Look

Product
Murano style swirled glass pendant
Brass ceiling canopy trim
Plug-in pendant conversion kit
Warm 2700K bulb for pendant
Small ceramic countertop bowl

5. Display Terracotta Ceramic Serveware on an Open Shelf

5. Display Terracotta Ceramic Serveware on an Open Shelf

Vibe: Layered everyday serveware styled with enough intention to double as decor.

Why it works: Terracotta serveware applies texture layering directly to existing open shelving because the material itself carries the visual signal (hand-glazed earthenware reads as Italian regardless of the shelf beneath it); this incorporation requires no structural change, only a deliberate swap of whatever mismatched serveware currently occupies the shelf.

How to get it: Replace mismatched everyday bowls and a pitcher with hand-glazed terracotta pieces in a consistent warm tone, stacking bowls by size and adding one dried olive branch for a finishing touch that ties the display together.

Shop the Look

Product
Hand-glazed terracotta bowl set
Terracotta ceramic pitcher
Small dried olive branch
Terracotta serving platter
Wood open shelf existing

6. Style a Hand-Painted Ceramic Olive Oil Cruet Set

6. Style a Hand-Painted Ceramic Olive Oil Cruet Set

Vibe: Warm, a small daily-use object that carries genuine craft detail every time it’s reached for.

Why it works: A hand-painted cruet set applies accessory layering at the smallest functional scale because it replaces an object already in daily use (a plain bottle of olive oil); the style incorporation happens without adding any new footprint to the counter, simply upgrading what was already there.

How to get it: Choose a hand-painted ceramic cruet set in a warm cream base with a terracotta or olive pattern, positioning it on a small wood tray near the stove where it’s both genuinely used and visibly styled.

Shop the Look

Product
Hand-painted ceramic cruet set
Small wood tray for cruets
Terracotta pattern ceramic finish
Small ceramic salt cellar
Olive oil funnel brass

7. Paint an Olive Green Accent Behind Open Shelving

7. Paint an Olive Green Accent Behind Open Shelving

Vibe: Grounded, a painted backdrop that makes existing open shelving read as curated rather than incidental.

Why it works: Painting only the wall section directly behind open shelving is a color-anchoring principle that requires a small can of paint and an afternoon rather than a full room repaint; the olive backdrop gives displayed terracotta ceramics a contrasting stage, applying the same visual-weight logic Italian kitchens use at full scale, just concentrated into one wall section.

How to get it: Measure the shelving’s exact width and height, painting only that rectangle in matte olive green (masking the surrounding wall carefully), and restyle the shelf with terracotta or cream ceramics that stand out clearly against the new backdrop.

Shop the Look

Product
Deep olive green matte paint
Painter’s tape precision edge
Terracotta ceramic display set
Small brass hook accent
Small ceramic olive dish

8. Add Vintage-Style Bistro Stools at the Counter

8. Add Vintage-Style Bistro Stools at the Counter

Vibe: Layered seating with genuine café character, swapped in without touching the counter itself.

Why it works: Replacing existing stools with a bentwood-and-cane bistro style applies furniture-arrangement thinking as a straightforward furniture swap; the curved wood frame and woven cane seat reference Italian and European café seating directly, changing the counter’s whole character without any structural work.

How to get it: Choose stools with a genuine bentwood frame (not a flat-panel wood imitation) and a woven cane or rattan seat, matching the counter’s existing height rather than assuming a standard 24- or 30-inch stool fits without measuring first.

Shop the Look

Product
Bentwood bistro stool cane seat
Small ceramic counter bowl
Woven cane seat cushion
Wood stool floor glide
Small brass counter tray

9. Flank the Range With Warm Brass Sconces

9. Flank the Range With Warm Brass Sconces

Vibe: Warm light that flatters the cooking zone the way a single overhead fixture never could.

Why it works: Sconces flanking the range apply light-layering as an addition rather than a replacement. Most kitchens rely entirely on overhead task lighting near the range, and adding warm brass sconces on either side introduces a secondary, softer light source that changes the mood of the cooking zone specifically during evening use.

How to get it: Mount two brass sconces at roughly 60 inches from the floor on either side of the range hood, choosing exposed filament bulbs at a warm 2700K, and wire them to a dimmer if the existing electrical allows.

Shop the Look

Product
Brass wall sconce pair
Warm 2700K filament bulb set
Small ceramic utensil crock
In-wall dimmer switch
Brass sconce mounting hardware

10. Swap Cabinet Hardware for a Brass Italian Touch

10. Swap Cabinet Hardware for a Brass Italian Touch

Vibe: Cohesive, a single hardware swap that changes the whole kitchen’s perceived material story.

Why it works: Hardware finish is a material-honesty principle with the highest return relative to its cost and effort, replacing existing chrome or brushed nickel pulls with warm brass touches every visible cabinet at eye level throughout the day, changing the room’s perceived quality more per dollar than almost any other single incorporation on this list.

How to get it: Replace every visible cabinet pull, knob, and the faucet simultaneously in the same warm brass finish, since a partial swap reads as unfinished, and measure existing hole spacing carefully before ordering to avoid needing to drill new holes.

Shop the Look

Product
Warm brass cabinet pull set
Warm brass cabinet knob
Warm brass faucet single hole
Small ceramic countertop bowl
Brass drawer pull matching

11. Use Cream and Terracotta Linen Tea Towels as a Color Cue

11. Use Cream and Terracotta Linen Tea Towels as a Color Cue

Vibe: Warm, a textile as small as a tea towel, doing genuine color work in the room.

Why it works: Textiles are the lowest-cost, lowest-commitment way to introduce Italian modern luxury’s warm palette. A cream and terracotta linen towel applies tonal layering without any installation at all, and because towels rotate through daily use and laundering, they’re the easiest element on this list to change seasonally or when the mood calls for it.

How to get it: Choose linen (not cotton terry) tea towels in cream and terracotta, draping one over the oven handle and folding a second on the counter, replacing any patterned or mismatched towels currently in rotation.

Shop the Look

Product
Cream linen tea towel set
Terracotta linen tea towel
Small ceramic countertop vessel
Linen napkin matching set
Small wood towel ring

12. Build a Curated Wine and Olive Oil Display Shelf

12. Build a Curated Wine and Olive Oil Display Shelf

Vibe: Layered, a small vignette that turns a shelf into a genuine still-life composition.

Why it works: Styling an existing shelf around wine and olive oil applies accessory layering with a specifically Italian subject matter rather than generic decorative objects; these are ingredients central to Italian cooking and hospitality, which grounds the display in genuine cultural reference rather than purely aesthetic styling.

How to get it: Group one wine bottle, a glass olive oil cruet, and a small ceramic bowl of olives on an existing shelf, keeping the arrangement to three or four objects maximum so it reads as edited rather than cluttered.

Shop the Look

Product
Glass olive oil cruet
Small ceramic olive bowl
Small wood coaster set
Ceramic wine glass holder
Small brass bottle opener

13. Add a Marble-Topped Console for Coffee Service

13. Add a Marble-Topped Console for Coffee Service

Vibe: Still a freestanding piece that adds genuine marble presence without touching a single existing counter.

Why it works: A console table applies furniture-arrangement thinking as an entirely additive move because it’s freestanding rather than built-in;  it introduces real marble and brass into the kitchen’s material story without any construction, and it can be positioned along any wall with enough clearance, regardless of the existing layout.

How to get it: Choose a console no deeper than 14 inches so it doesn’t intrude into the kitchen’s walking path, topped in genuine marble rather than marble-look laminate, and dedicate it specifically to coffee service so its function stays clear.

Shop the Look

Product
Marble top console table brass legs
Small ceramic espresso cup set
Brass coffee tray
Small ceramic sugar bowl
Marble coaster set

14. Create an Aperitivo Corner Near the Window

14. Create an Aperitivo Corner Near the Window

Vibe: Airy, a corner claimed specifically for the ritual of an evening drink, not for cooking or storage.

Why it works: Designating one zone specifically for aperitivo (rather than folding glassware storage into general cabinetry) is a traffic-flow and zone-definition principle that gives an existing kitchen a genuine secondary function beyond meal prep, treating hospitality as its own deliberate use of space the way Italian kitchens traditionally do.

How to get it: Choose the kitchen’s window-adjacent corner if one exists, positioning a small marble tray with two glasses and a bottle within reach of natural light, and add one small potted herb on the sill to reinforce the zone’s distinct, non-cooking purpose.

Shop the Look

Product
Small marble serving tray
Aperitivo glass set
Small potted herb windowsill pot
Small brass bottle stand
Linen cocktail napkin set

15. Incorporate Italian Touches in a Rental Kitchen With No Renovation

15. Incorporate Italian Touches in a Rental Kitchen With No Renovation

Vibe: Still proof that the style translates fully into a kitchen its resident doesn’t own or can’t alter.

Why it works: In a genuinely restricted rental kitchen, the small-space and no-renovation adaptation concentrates every incorporation technique from this list into entirely removable objects: marble trays, adhesive brass hooks, ceramic serveware, and textiles,s none of which require permission, drilling, or repainting, achieving the full material story without a single permanent change.

How to get it: Choose adhesive-mount brass hooks rather than drilled hardware, freestanding marble and console pieces rather than built-ins, and removable peel-and-stick options for any color or pattern element, documenting the kitchen’s original state before making any changes so everything can be restored on move-out.

💡 Quick Win: A single marble tray, one brass hook set, and a terracotta bowl together cost under $60 and deliver a genuinely cohesive incorporation in an afternoon.

Shop the Look

Product
Adhesive mount brass hook set
Small marble serving tray
Terracotta ceramic bowl
Peel and stick accent tile
Removable brass cabinet pull covers

How to Start Incorporating Italian Kitchen Design Modern Luxury

Your one first move is the hardware swap, replacing existing cabinet pulls and the faucet with warm brass before any other addition. Since hardware touches every cabinet at eye level throughout the day, this single change affects the kitchen’s perceived material story more broadly than any single accessory, and it anchors every other brass or marble piece that follows.

The most common mistake is adding too many small Italian-inspired objects at once without a unifying metal or color thread, which reads as scattered decor rather than a considered incorporation. The fix is committing to one consistent metal finish (brass) and one accent color (burgundy or olive) before adding any additional pieces, so every subsequent object reinforces the same story.

Three items under $50 that create immediate impact: a set of cream and terracotta linen tea towels, a hand-painted ceramic olive oil cruet, and a small marble coaster set to test the material before a larger purchase.

A weekend refresh of hardware, textiles, and one accessory vignette costs $150–400. A fuller incorporation including a bar cart, a pendant swap, and a cabinet insert typically runs $800–2,500 and requires no construction, just a single weekend of installation.

Frequently Asked Questions About Incorporating Italian Kitchen Design Modern Luxury

What is the difference between incorporating Italian design and a full Italian kitchen renovation?

A full Italian kitchen renovation replaces cabinetry, countertops, and flooring with lacquer, marble, and terrazzo throughout the room. Incorporating the style means introducing the same materials and colors through accessories, hardware, and freestanding furniture: a marble board, a brass pendant, and one lacquer cabinet door, achieving genuine Italian character without construction or a full material commitment.

What color works best for incorporating Italian modern luxury into an existing kitchen?

Deep burgundy or olive green work best as a single accent, introduced through one cabinet insert, a bar cart, or textiles rather than a full wall or cabinetry run, paired with warm brass rather than chrome or matte black to keep the incorporation feeling warm and cohesive with the style’s other materials.

How much does it cost to incorporate Italian kitchen design without renovating?

A budget refresh using textiles, hardware, and one accessory vignette costs $150–400. A fuller incorporation with a marble bar cart, a Murano-style pendant, and a cabinet insert runs $800–1,800, and a more complete version including a console table and layered lighting typically costs $1,800–3,000, all without construction.

Can a rental kitchen genuinely achieve an Italian modern luxury feel?

Yes, adhesive-mount brass hooks, freestanding marble pieces, removable peel-and-stick accents, and ceramic serveware together deliver the style’s full material story without any drilling, painting, or permanent alteration, all of which can be removed and taken to the next apartment.

What is the single highest-impact way to incorporate Italian design into a kitchen?

A brass hardware swap is the single highest-return change, since cabinet pulls and the faucet are touched and seen constantly throughout the day, and replacing chrome or nickel with warm brass changes the room’s perceived material quality more per dollar spent than almost any other single incorporation on this list.

Ready to Incorporate Italian Kitchen Design Modern Luxury Into Your Home?

These 15 ideas move across material, color, lighting, layout, and true small-space solutions, from a marble board and a brass hardware swap to a rental-friendly version that achieves the full look with nothing permanent at all. None of this needs to happen all at once, and starting with one hardware swap and a linen towel set is genuinely the smartest place to begin, not a scaled-down compromise. Today’s specific action: replace your kitchen’s cabinet pulls and faucet with warm brass this week, since that single change touches the whole room more directly and more often than any other addition on this list. Once that warm brass thread runs through the kitchen, every marble tray and terracotta bowl that follows will feel like it belongs to one considered story instead of scattered decor. Save the ideas that fit your kitchen’s actual constraints and your own appetite for Italian warmth; that brass glow and marble veining will still feel just as genuine a year from now.

You Might Also Like

15 Open Concept Kitchen and Living Room Design Ideas

15 Open Concept Kitchen and Living Room Design Ideas
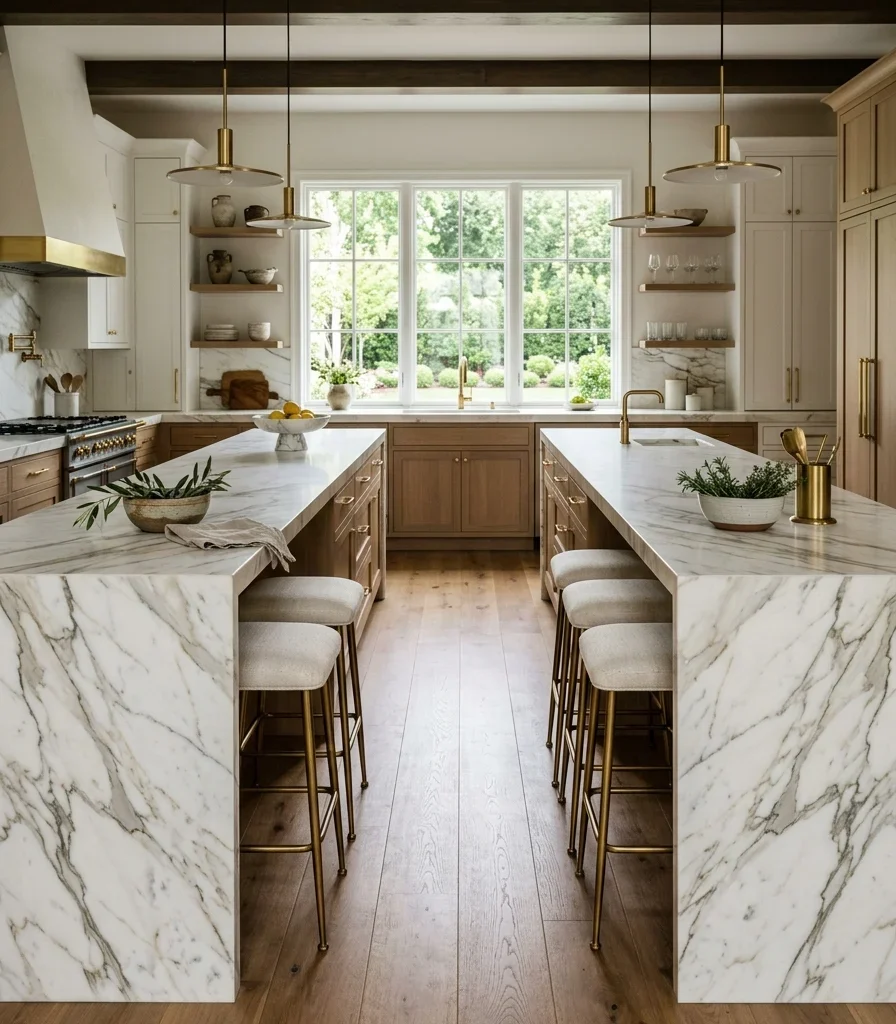
An open concept kitchen and living room design removes the wall between cooking and lounging spaces so both rooms function as one continuous space, unified by matching materials, flooring, and sightlines. This article gives you 15 open concept kitchen and living room ideas that work for full-wall removals, kitchen islands as room dividers, and homes still deciding how open is open enough.

Picture a Saturday morning where the person cooking breakfast never once has their back turned to the conversation happening on the sofa, where the smell of coffee drifts freely into a living room lit by the same warm pendant glow as the island above the stove. Open concept living has a specific kind of energy: the sound of one room reaches the other, light travels uninterrupted from window to window, and nobody standing at the stove misses what’s happening on the television or at the coffee table. It asks for confidence: one continuous floor, one coherent palette, furniture chosen to hold its own against a kitchen instead of hiding from it. Here are 15 ideas worth saving and stealing.

Why Open Concept Kitchen and Living Room Design Works So Well

Open concept design traces back to the mid-century American ranch home, when post-war architects began removing the formal parlor walls that had separated cooking from entertaining, treating the kitchen as a space worth being seen rather than hidden. The concept evolved through the 1990s and 2000s as the kitchen island became a genuine social hub rather than just a work surface, and today the style is defined less by literal wall removal and more by continuous sightlines and a shared material language between zones; a home can be functionally open even with a partial wall or a half-height divider still standing.

The material and color vocabulary centers on continuity. Wide-plank engineered white oak flooring, waterfall-edge quartz islands, matte black or unlacquered brass hardware, and natural stone or stone-look backsplashes repeat across both zones. Color stays warm and restrained: warm white, soft greige, sage green cabinetry, warm charcoal accents, rather than the high-contrast palettes that work in fully separated rooms.

Style at a Glance

ElementTrait 1Trait 2
PhilosophyContinuous sightlines over segmented roomsShared material language ties zones together
MaterialsWaterfall quartz, wide-plank white oak, brass hardwareBoucle and linen upholstery, natural stone backsplash
Color PaletteWarm white, soft greige, sage green cabinetryWarm charcoal, brass accents, terracotta highlights

1. The Island as the Room’s Literal and Visual Anchor

1. The Island as the Room's Literal and Visual Anchor

Vibe: Airy, a floor plan that lets one continuous room breathe instead of two competing ones.

Why it works: Positioning the island as the literal midpoint between the cooking wall and the seating area gives the open floor plan a visual anchor without adding a physical wall one definition through furniture placement rather than architecture. The island’s mass reads as a boundary marker even though sightlines stay completely open above and around it.

How to get it: Center the island roughly eight to ten feet from both the range wall and the sofa’s front edge, leaving a minimum 42-inch walkway on both sides so the space reads as one navigable room rather than two furniture arrangements competing for floor space.

💡 Quick Win: If a full island isn’t possible, a narrow console table or bar cart positioned at the same midpoint creates a lighter-weight version of the same zone marker.

Shop the Look

Product
Waterfall-edge quartz island countertop overlay
Brass counter-height bar stool set of two
Wide-plank warm white oak flooring sample
Woven ceramic fruit bowl
Linen napkin set folded

2. One Continuous Wide-Plank Floor Underfoot

2. One Continuous Wide-Plank Floor Underfoot

Vibe: Grounded floor that makes two rooms behave like one.

Why it works: A single flooring material run in one continuous plank direction from the kitchen through the living room eliminates the transition strip that visually chops an open floor plan into two separate rooms. Material continuity does more to unify an open concept space than paint color or furniture arrangement combined. Water-resistant engineered oak handles the kitchen’s spill exposure while matching the living room’s warmth exactly.

How to get it: Specify engineered white oak in a wide plank (7-9 inches) laid in the same direction throughout both zones, using a waterproof engineered core rather than solid wood directly around the kitchen work zone so one material choice satisfies both rooms’ different durability needs.

Shop the Look

Product
Engineered white oak wide-plank flooring sample
Waterproof flooring underlayment roll
Jute area rug large neutral
Transition-free threshold strip matching finish
Natural wood floor cleaner safe finish

3. A Single Wall Color Carried Through Both Zones

3. A Single Wall Color Carried Through Both Zones

Vibe: Serene, a palette so consistent the eye never registers where one room ends.

Why it works: Painting the kitchen cabinetry and the living room walls in the same or a closely related undertone removes the visual seam where “kitchen” ends and “living room” begins; color continuity is the fastest way to make two functionally different rooms register as one. A shared warm undertone also keeps brass and wood tones from clashing across the open sightline.

How to get it: Choose one warm greige or warm white paint color and use it on every wall visible from the main sightline in both rooms, then let cabinetry, furniture, and accessories introduce the only color variation, keeping the architecture quiet so the eye reads one space.

💡 Quick Win: Test the same paint swatch in both rooms at different times of day before committing; kitchen light and living room light often differ enough to shift how identical paint reads.

Shop the Look

Product
Warm greige interior wall paint sample set
Matte finish paint roller kit
Ceramic table vase warm white
Woven cotton throw blanket neutral
Walnut wood picture frame set

4. A Pendant Cluster That Marks the Kitchen’s Edge

4. A Pendant Cluster That Marks the Kitchen's Edge

Vibe: Warm a pool of light that quietly announces where cooking happens.

Why it works: A cluster of pendant lights hung lower than the surrounding ceiling fixtures creates a light behavior boundary; the pool of warm light beneath the pendants signals “kitchen zone” even without a wall, while softer ambient lighting in the living room signals the shift to a different function. This layered approach lets one open room contain two distinct moods.

How to get it: Hang three pendants in a row above the island, spaced 24-30 inches apart and 30-36 inches above the counter surface, in a warm amber or smoked glass that reads warmer than the flush-mount or recessed lighting used in the living room ceiling.

Shop the Look

Product
Amber glass pendant light set of three
Brass ceiling canopy kit
Small potted herb ceramic planter
Stacked cookbook set for styling
Dimmer switch kit for pendant lighting

5. A Sofa Back Doing the Work of a Wall

5. A Sofa Back Doing the Work of a Wall

Vibe: Layered furniture that carries architectural weight without becoming architecture.

Why it works: Positioning a sofa with its back toward the kitchen, rather than against a wall, uses the piece itself as a soft spatial divider; furniture-as-boundary achieves the room-separating function of a wall without blocking sightlines or light. A console table placed behind the sofa, facing the kitchen, gives that boundary a second functional layer as a landing spot for keys or drinks.

How to get it: Choose a sofa with a back height no taller than 32 inches so it defines the zone without blocking sightlines to the television or the island, and place a slim console table (12-14 inches deep) directly behind it facing the kitchen.

💡 Quick Win: A bench-style ottoman behind the sofa works as a lighter-weight substitute for a full console table in especially tight layouts.

Shop the Look

Product
Cream boucle low-back sofa
Walnut wood console table slim
Ceramic table lamp warm white shade
Woven storage basket for console
Low bench ottoman alternative

6. A Stone Surface That Travels From Backsplash to Fireplace

6. A Stone Surface That Travels From Backsplash to Fireplace

Vibe: Grounded, one material telling two ends of the room they belong together.

Why it works: Repeating one stone or stone-look material across two functionally different surfaces a kitchen backsplash and a living room fireplace surround creates a material echo that ties the two ends of an open room together even when they’re twenty feet apart. The eye recognizes the same veining pattern and registers it as intentional, connecting the spaces without needing a direct sightline association.

How to get it: Select one large-format marble-look porcelain slab tile and specify it for both the kitchen backsplash and the fireplace surround at the time of ordering, since dye lots vary between orders and matching them later is difficult once installation is complete.

Shop the Look

Product
Large-format marble-look porcelain slab tile
Brass fireplace surround trim kit
Firewood log rack iron
Ceramic mantel vase warm white
Stone sealer for porcelain maintenance

7. Two-Tone Cabinetry Echoed in a Living Room Accent Chair

7. Two-Tone Cabinetry Echoed in a Living Room Accent Chair

Vibe: Fresh, a single repeated color doing more work than a whole palette could.

Why it works: Repeating the kitchen’s lower cabinet color as a single upholstered piece in the living room, rather than scattering that color evenly across both rooms, creates color echo without color overload a restrained way to connect two zones through one deliberate repetition instead of matching everything. The sage tone reads as intentional connective tissue rather than a coincidental choice.

How to get it: Choose one accent piece in the living room an armchair, a pair of pillows, or a slim bench in the same paint-matched fabric tone as the kitchen’s lower cabinetry, and keep every other living room color neutral so that the single echo stays legible.

💡 Quick Win: Can’t reupholster? A single sage green throw pillow on an otherwise neutral sofa creates the same color-echo effect for under $40.

Shop the Look

Product
Sage green accent armchair upholstered
Sage green throw pillow cover pair
Brass cabinet pull hardware set
Small potted plant ceramic pot
Woven cream throw blanket

8. Open Shelving That Displays Both Kitchenware and Living Room Objects

8. Open Shelving That Displays Both Kitchenware and Living Room Objects

Vibe: Layered shelf that belongs to both rooms at once.

Why it works: Open shelving placed at the literal seam between kitchen and living room, styled with a deliberate mix of kitchen ceramics and living room objects, uses object juxtaposition to visually announce that this is shared territory rather than exclusively kitchen or living room space; a subtle way to make the room’s dual function feel intentional rather than accidental.

How to get it: Mount two or three walnut shelves on brass brackets at the transition point between zones, and style each shelf with roughly 60% kitchen-adjacent objects (bowls, a cutting board, glassware) and 40% living-room objects (books, a small sculpture, a framed photo) so the mix reads balanced rather than random.

Shop the Look

Product
Walnut open wall shelf set of three
Brass shelf bracket hardware
Stacked ceramic bowl set neutral
Small ceramic sculpture object
Coffee table book stack neutral covers

9. A Kitchen Walkway Wide Enough to Double as a Living Room Path

9. A Kitchen Walkway Wide Enough to Double as a Living Room Path

Vibe: Airy room that moves as easily as it looks.

Why it works: Traffic flow is the layout consideration most open concept plans get wrong first: when the path between the kitchen’s work triangle and the living room’s seating area narrows below 36 inches, the room stops feeling open regardless of how few walls exist. Keeping a clear, consistent walkway width is what makes an open floor plan actually function as one connected space rather than an obstacle course.

How to get it: Map the direct path between the refrigerator, the sink, and the sofa before placing any furniture, and keep that path a minimum of 42 inches wide at every point, pulling coffee tables and console tables at least that distance back from the natural walking line.

💡 Quick Win: Use painter’s tape on the floor to mark out the 42-inch path before buying furniture; it’s the fastest way to catch a layout mistake before it becomes an expensive one.

Shop the Look

Product
Runner rug narrow hallway style
Small entry bench slim profile
Furniture floor protectors for rearranging
Low-profile coffee table space-saving
Floor tape measure kit for planning

10. Exposed Wood Beams That Run Overhead Through Both Rooms

10. Exposed Wood Beams That Run Overhead Through Both Rooms

Vibe: Grounded and an overhead line that stitches the room together from above.

Why it works: Exposed structural or decorative beams running continuously from the kitchen ceiling into the living room ceiling create an overhead sightline that visually stitches the two zones together from above, working the same unifying trick as continuous flooring at eye level’s opposite extreme. The material warmth of walnut against a white ceiling also breaks up an otherwise flat expanse in a large open room.

How to get it: Install hollow decorative walnut beam sleeves spaced evenly across the ceiling’s full span, running perpendicular to the kitchen island’s direction for the strongest visual line, and keep the ceiling paint between them a crisp warm white to maximize the beam’s contrast.

Shop the Look

Product
Decorative walnut beam sleeve set
Ceiling mounting hardware kit for beams
Warm white ceiling paint sample
Integrated pendant light track for beams
Hanging trailing plant in ceramic pot

11. Three Layers of Light That Shift the Room’s Mood by Time of Day

11. Three Layers of Light That Shift the Room's Mood by Time of Day

Via moodydy, a room that knows how to feel like two, depending on the hour.

Why it works: An open concept room without distinct lighting layers reads flat at night, since one bank of overhead lights illuminates the whole space evenly and erases the sense of separate zones that walls used to provide. Layering task lighting over the island, ambient recessed lighting throughout, and a floor or table lamp in the living room recreates that zone distinction through light intensity and color temperature rather than architecture.

How to get it: Put the kitchen’s recessed lighting and pendant lighting on separate dimmer circuits from the living room’s fixtures, and set the living room’s floor lamp to a warmer color temperature (2700K) than the kitchen’s task lighting (3000K) so the two zones feel distinct even at full brightness.

Shop the Look

Product
Dimmer switch kit dual circuit
Brass floor lamp living room
Warm 2700K LED bulb set
Ceramic table lamp neutral shade
Recessed lighting trim kit brass finish

12. An Area Rug That Draws the Living Room’s Boundary on the Floor

12. An Area Rug That Draws the Living Room's Boundary on the Floor

Vibe: Airy, a boundary drawn on the floor instead of built in the air.

Why it works: A large area rug functions as a floor-level boundary marker in an open plan, using the material change underfoot and flooring transitioning to a woven rug to define where the living room zone begins without a wall or a step change in elevation. The rug must be large enough that all the seating furniture’s front legs rest on it, or the boundary reads as too small for the furniture it’s meant to anchor.

How to get it: Size the rug so at minimum the front two legs of every seating piece sit on it, typically requiring an 8×10 or 9×12 rug for a standard living room grouping, and choose a natural fiber like jute or wool that reads as intentional against the kitchen’s hard flooring.

Shop the Look

Product
Taupe jute area rug 9×12
Cream boucle armchair pair
Low walnut coffee table centered
Neutral throw pillow cover set
Rug pad non-slip for hard floors

13. A Statement Range Hood That Becomes the Room’s Color Anchor

13. A Statement Range Hood That Becomes the Room's Color Anchor

Vibe: Grounded one confident color statement instead of a dozen timid ones.

Why it works: A single saturated color concentrated on one architectural element he range hood rather than spread across the whole kitchen gives an open concept room one confident color statement, a principle of controlled color concentration. Because the hood is visible from nearly every point in the living room in an open layout, that one color choice does the work of anchoring the entire room’s palette.

How to get it: Finish the range hood in a plaster or painted deep sage green while keeping surrounding cabinetry in warm white, then repeat that exact sage tone in exactly one living room textile, a row blanket or a single pillow – the color reads as a deliberate anchor.

💡 Quick Win: A range hood color change is one of the highest-impact, lowest-square-footage paint projects in the whole open concept space in a single weekend and under a gallon of paint.

Shop the Look

Product
Plaster-finish paint for range hood
Brass range hood trim strip
Sage green throw blanket matching
Hanging brass cookware rail
Painter’s tape for hood edge lines

14. One Long Art Piece That Spans the Sightline Between Rooms

14. One Long Art Piece That Spans the Sightline Between Rooms

Vibe: Layered, single focal point both rooms are allowed to share.

Why it works: One large piece of art hung where it’s visible from both the kitchen and the living room gives the eye a single shared focal point that both zones reference, rather than each room needing its own separate wall decor, reducing visual competition and reinforcing that the space functions as one room with two purposes. A horizontal format works better here than vertical, echoing the room’s own wide, low sightline.

How to get it: Choose a horizontal art piece at least 48 inches wide, hang it on the wall most visible from the kitchen’s main work zone at 57 inches to the piece’s center, and add a slim picture light above it so it stays a clear focal point even as the room’s ambient lighting shifts to evening mode.

Shop the Look

Product
Large horizontal abstract canvas art
Walnut wood picture frame wide format
Brass picture light fixture
Slim console table beneath art
Small ceramic object for console styling

15. Small-Space Tricks for a Compact Open Kitchen and Living Room

15. Small-Space Tricks for a Compact Open Kitchen and Living Room

Vibe: Airy, a small footprint that borrows every inch of light it can find.

Why it works: In a genuinely small open concept space, the priority shifts from zone definition to light maximization; a mirrored or glossy tile backsplash reflects both the kitchen window’s natural light and the living room’s lamp light into the room, effectively doubling the perceived light source count without adding a single fixture. Furniture scaled down to apartment proportions keeps sightlines open in a footprint too tight for the full-scale versions of ideas earlier in this list.

How to get it: Install a glossy or mirrored subway tile backsplash on the kitchen’s most light-exposed wall, choose a loveseat or apartment-scale sofa no deeper than 34 inches, and use vertical wall shelving rather than floor-standing furniture wherever storage is needed, since vertical storage claims almost no floor footprint.

💡 Quick Win: A single large leaning mirror placed at the seam between the kitchen and living room does almost the same light-bouncing job as a full mirrored backsplash, for a fraction of the installation effort.

Shop the Look

Product
Mirrored glossy subway tile backsplash
Apartment-scale loveseat compact
Tall vertical wall shelving unit
Large leaning floor mirror
Woven storage basket set stackable

How to Start Your Open Concept Kitchen and Living Room Transformation

Start with the flooring. Before choosing paint or buying furniture, decide on one continuous flooring material for both zones, because every other decision- placement, furniture legs, sightlines depends on that floor reading as one surface rather than two. Wide-plank engineered white oak in a warm honey tone is the single most versatile starting choice, pairing equally well with sage green, warm white, and walnut wood tones used across the ideas in this list.

The most common mistake is treating the kitchen and living room as two separately decorated rooms that simply happen to share airspace; mismatched wood tones, a gray-washed kitchen floor against a warm walnut coffee table, for instance, is the specific error that breaks an open concept room’s cohesion fastest. Fix this by choosing one dominant wood undertone, warm or cool, and auditing every wood surface in both zones against it before finalizing any furniture purchase.

Three items under $50 that create immediate impact: a sage green throw pillow cover ($15-$25) that echoes cabinet color into the living room; a roll of painter’s tape and a warm greige paint sample pot ($10-$15) to test wall color continuity between zones before committing to gallons; and a brass cabinet knob or drawer pull set ($20-$40) that upgrades kitchen hardware to match living room lamp and frame finishes.

A cosmetic open concept refresh new paint, one accent piece, updated hardware, a properly sized rug is a genuine two-to-three weekend project costing $500-$1,500. A mid-level transformation involving new flooring, a range hood update, and lighting layers typically runs $5,000-$15,000 and takes three to six weeks with contractors. A full structural renovation involving wall removal starts around $15,000 and climbs quickly depending on whether the wall is load-bearing, often taking two to four months including permitting and structural engineering.

Frequently Asked Questions About Open Concept Kitchen and Living Room Ideas

What’s the difference between an open concept and a “great room” layout?

Both terms describe combined living spaces, but a great room historically refers to a single large room built as one space from the start, often including a fireplace as its focal point, while open concept typically describes a kitchen and living room that were once separated by a wall that has since been removed or was never fully enclosed. In practice, the terms have merged in modern real estate listings, but the distinction matters for renovation planning: a true open concept project usually involves demolition and structural assessment, while a great room is a design and furnishing challenge only, since the architecture is already unified.

What color palette works best for an open kitchen and living room?

A palette built around one warm neutral, such as warm white or greige, used consistently on walls and cabinetry in both zones, with two or three accent colors repeated in small doses, performs best in open concept spaces because it gives the eye one consistent base to travel across without visual interruption. Sage green, warm charcoal, and terracotta are the accent colors currently trending most in open concept kitchens according to recent Pinterest and paint-brand search data. Avoid using more than three distinct wall or cabinet colors across the combined space, since each additional color adds a visual seam the open layout doesn’t have architecture to support.

How much does it cost to open up a kitchen to the living room?

Removing a non-load-bearing wall between a kitchen and living room typically costs $1,000-$3,000 including demolition, patching, and finishing, while removing a load-bearing wall requiring a structural beam and engineering approval runs $4,000-$10,000 or more depending on the span and local permitting costs. Beyond the wall removal itself, most homeowners budget an additional $5,000-$20,000 for the cosmetic work that makes the newly combined space feel intentional, matching flooring, updated lighting, and new paint. Getting a structural engineer’s assessment before budgeting is the only way to know which cost range applies to a specific home.

Does open concept work in an older or traditional-style home?

Open concept layouts can work in older or traditional homes, but the transformation requires more deliberate material bridging than in a home built open from the start, since traditional trim, moldings, and door casings can look abruptly cut off where a wall used to be. The fix is to run matching millwork, such as a picture rail or a consistent baseboard height, uninterrupted through the newly opened sightline, and to choose furniture and lighting finishes, aged brass and walnut wood, that echo the home’s existing traditional character rather than importing a fully modern material palette that clashes with original architectural details.

How big should a kitchen island be for an open concept layout?

A kitchen island intended to also anchor sightlines into an open living room generally needs a minimum of 6 feet in length to read as a substantial architectural element rather than a small prep cart, with 8-10 feet being the more common size in open floor plans of 300 square feet or larger. The island also needs a minimum of 42 inches of clearance on any side used for regular walking, and 36 inches on any side without regular foot traffic, so the size should always be planned against the room’s total footprint rather than chosen for counter space alone.

Ready to Create Your Dream Open Concept Kitchen and Living Room?

These 15 open concept kitchen and living room ideas move across color echoes, material continuity, layered lighting, and layout tricks that make one combined room function like a considered whole rather than two rooms sharing a floor. Nobody needs to remove a wall and renovate every surface in the same month; starting with one continuity move, a shared paint color or a single repeated accent, is a legitimate and genuinely effective place to begin. Today, stand in the spot where your kitchen and living room currently meet and photograph exactly what breaks the sightline first, whether that’s a mismatched floor transition or two unrelated wall colors. Once that seam is resolved, the open concept payoff isn’t just visual; it’s the specific ease of never missing a conversation from the stove, of one room holding an entire evening instead of two rooms taking turns. Save the ideas that solve your own room’s seam first, and let the island, the floor, or that one long horizontal art piece be where your open concept story actually begins.

You Might Also Like

15 Modern Luxury Dry Kitchen Design Ideas
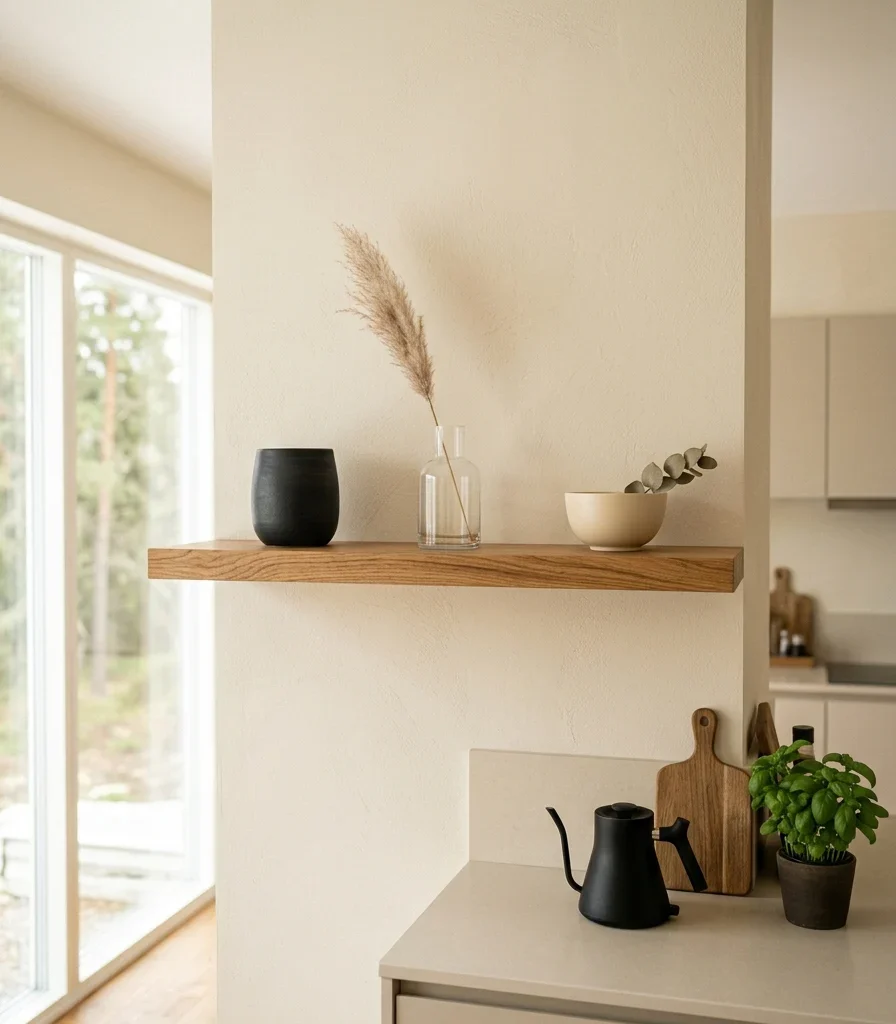
15 Modern Luxury Dry Kitchen Design Ideas
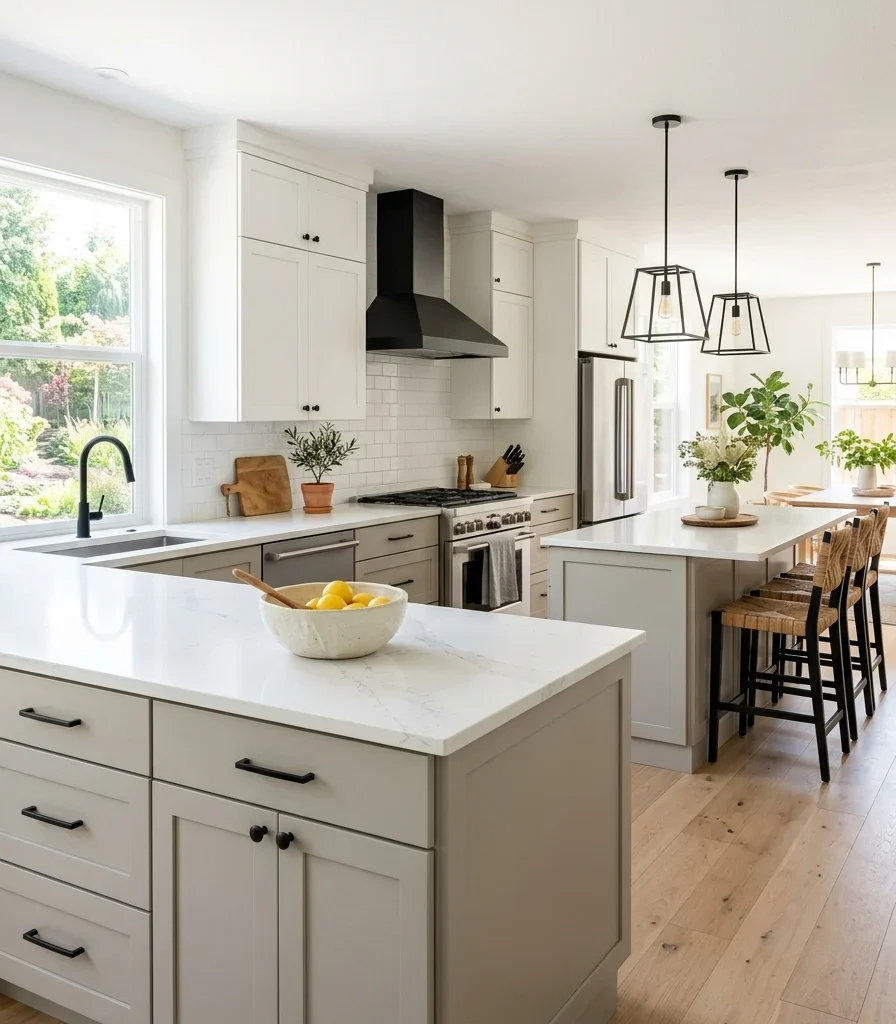
A dry kitchen is the front-facing, display-oriented kitchen in a dual-kitchen home layout used for light prep, coffee, plating, and entertaining, kept separate from a back “wet kitchen” that handles heavy cooking, frying, and wok work. This article gives you 15 genuinely elevated modern luxury dry kitchen design ideas covering material, color, lighting, and layout decisions for a space built to stay beautiful because it was never meant to take on the mess of daily heavy cooking.

It feels like the calmest room in the house: countertops that never carry the smell of last night’s stir-fry, a marble backsplash with nothing splattered against it, light falling evenly across a surface kept intentionally clear. This is the modern luxury dry kitchen at its best: quiet, considered, built to be looked at as much as used. Every material choice can afford to be a little more precious here, because this room was never asked to survive daily heavy use.

Here are 15 ideas worth saving and stealing.

Why Modern Luxury Dry Kitchen Design Works So Well

The dry kitchen concept originates from Southeast Asian and Chinese residential design, where high-heat wok cooking, deep frying, and strong aromatics made a single open kitchen impractical for entertaining homeowners in Singapore, Malaysia, and mainland China began splitting the kitchen into a “wet kitchen” for actual heavy cooking and a “dry kitchen” for display, coffee, baking, and guest-facing tasks, a division now common across modern open-concept homes throughout the region and increasingly adopted elsewhere. What distinguishes it from a Western butler’s pantry is that the dry kitchen is the primary visible kitchen guests see, while the wet kitchen stays fully enclosed and often ventilated separately.

Core materials favor light-reflecting, low-maintenance luxury finishes since the room absorbs minimal grease or splatter: polished or honed marble, seamless quartz, fluted or reeded glass cabinet fronts, and warm brass or champagne gold hardware. Color runs warm cream, soft greige, and champagne gold, chosen specifically because a room without heavy cooking can sustain lighter, more delicate tones than a working kitchen typically could.

This layout is trending in modern luxury homes because open-concept living has made the kitchen the space guests see first, and separating heavy cooking into an enclosed wet kitchen lets homeowners commit to genuinely luxurious, delicate materials in the dry kitchen without worrying about daily wear from actual cooking.

Yes, but a small home without room for two full kitchens can still borrow the philosophy: prioritize keeping the visible counter clear of daily cooking clutter, routing actual meal prep to a smaller enclosed zone or the same counter used more sparingly for guest-facing tasks only.

Style at a Glance

ElementCore Trait 1Core Trait 2
PhilosophyA display and entertaining kitchen kept separate from daily heavy cookingMaterials chosen for visual luxury over heavy-use durability
MaterialsPolished marble, seamless quartz, fluted glassWarm brass, champagne gold hardware
Color PaletteWarm cream, soft greigeChampagne gold accent

15 Modern Luxury Dry Kitchen Design Ideas
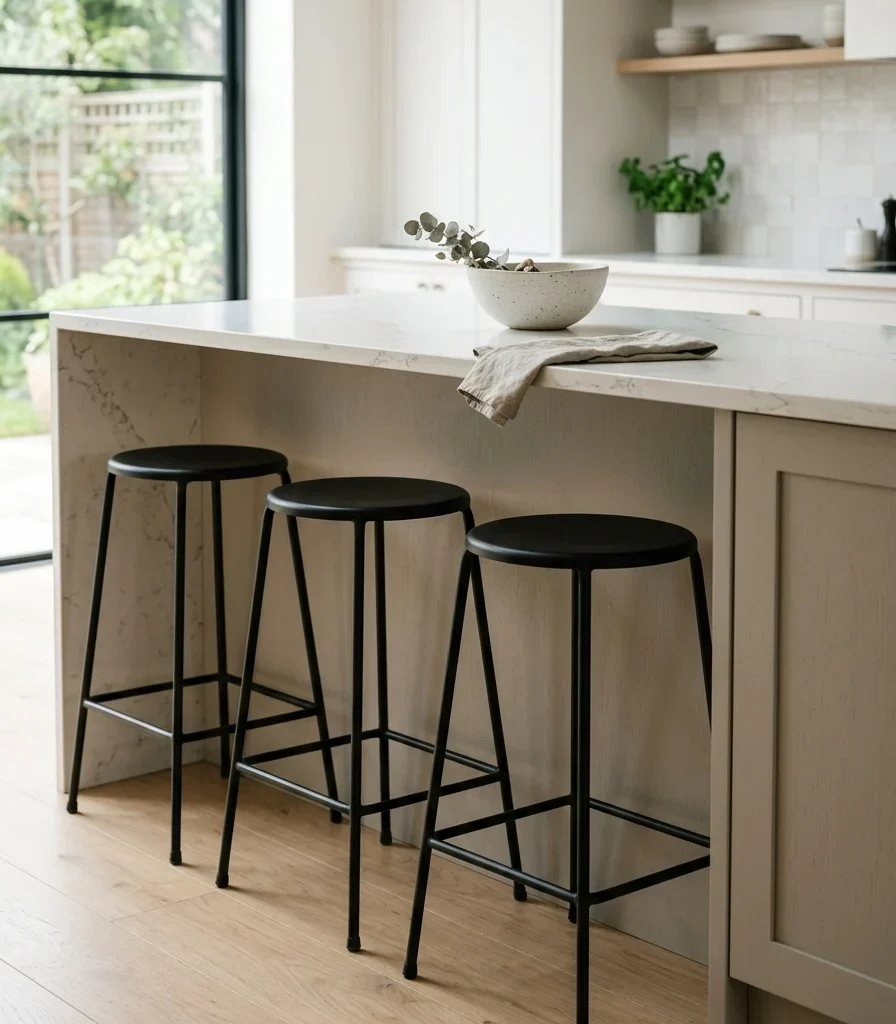
1. Install a Seamless Quartz Waterfall Island

1. Install a Seamless Quartz Waterfall Island

Vibe: Serene, an island surface kept genuinely spotless because it was never asked to handle daily grease.

Why it works: A seamless quartz waterfall is a material-continuity principle that reads as more precious, specifically in a dry kitchen context because engineered quartz resists staining better than natural marble; it can be specified in a bright, light-reflecting warm white without the maintenance anxiety that same tone would carry in a heavy-use wet kitchen.

How to get it: Choose a warm white quartz with subtle grey veining (avoid a stark bright white, which can look clinical), and specify a seamless waterfall fabrication where the fabricator matches the vein pattern across the mitered corner so no visible break interrupts the flow.

💡 Quick Win: A quartz-look large-format porcelain waterfall panel achieves a similar seamless effect at a lower material cost.

Shop the Look

Product
Warm white quartz waterfall slab
Champagne gold counter stool set
Small ceramic countertop bowl
Quartz edge polishing kit
Champagne gold pendant light

2. Pair Warm Cream With Champagne Gold

2. Pair Warm Cream With Champagne Gold

Vibe: Warm, a palette soft enough to photograph beautifully in the natural light most dry kitchens are built to showcase.

Why it works: Warm cream and champagne gold apply a tonal-layering principle that leans deliberately lighter and more delicate than a typical working kitchen palette because the dry kitchen doesn’t absorb daily cooking wear; it can sustain a softer, more reflective color story that would show grease and fingerprints too visibly in a heavy-use wet kitchen.

How to get it: Choose a warm cream with a soft yellow undertone (test against natural daylight, since cream shifts more than a true white under artificial light), and commit to champagne gold exclusively across faucet, cabinet hardware, and lighting rather than mixing in chrome or matte black.

Shop the Look

Product
Warm cream cabinet-grade paint
Champagne gold faucet single hole
Champagne gold cabinet pull set
Small ceramic countertop vessel
Champagne gold pendant fixture

3. Replace Upper Cabinets With Minimal Open Shelving

3. Replace Upper Cabinets With Minimal Open Shelving

Vibe: Layer a wall that displays curated objects instead of hiding everyday dishware behind closed doors.

Why it works: Open shelving is a negative-space principle that works specifically well in a dry kitchen because the room holds fewer daily-use items than a wet kitchen would. With heavy cookware and pantry staples routed to the back kitchen, the dry kitchen’s shelves can display a smaller, more curated set of objects without the clutter a fully stocked working kitchen would introduce.

How to get it: Mount two or three floating oak shelves on champagne gold brackets, styling each with no more than four objects total, and leave meaningful negative space between pieces so the arrangement reads as edited rather than filled.

Shop the Look

Product
Floating oak shelf set
Champagne gold shelf bracket
Matte ceramic vessel set
Slim glass bud vase
Single dried stem bundle

4. Add Recessed Cove Lighting for a Gallery-Like Glow

4. Add Recessed Cove Lighting for a Gallery-Like Glow

Vibe: Warm, a ceiling that glows softly at its edges the way a gallery lights its walls rather than its center.

Why it works: Cove lighting is an architectural light-layering technique that raises the perceived ceiling height and adds a soft, indirect ambient layer appropriate specifically in a dry kitchen where the room’s primary function shifts toward entertaining and display rather than task-heavy cooking, so softer ambient light matters more than the bright, even task lighting a wet kitchen would prioritize.

How to get it: Recess a warm 2700K LED strip into a routed cove channel set back at least 4 inches from the ceiling edge, angled to wash upward and outward, and run it on a separate dimmer so the room can shift from bright daytime coffee-station light to a softer evening entertaining glow.

Shop the Look

Product
Recessed cove LED channel kit
Warm 2700K LED strip
Ceiling cove dimmer switch
Small ceramic decorative vessel
Champagne gold switch plate

5. Use Fluted Glass Cabinet Fronts for the Display Pantry

5. Use Fluted Glass Cabinet Fronts for the Display Pantry

Vibe: Hushed cabinetry that hints at what’s inside without fully exposing it, softened by texture rather than hidden behind a solid door.

Why it works: Fluted glass applies a texture-layering and light-diffusion principle to storage; its ridged surface scatters light and blurs the contents behind it just enough to keep a display pantry looking curated rather than cluttered, which matters in a dry kitchen where the cabinetry itself is part of what guests see and evaluate.

How to get it: Specify fluted or reeded glass with vertical ridging (rather than horizontal, which can read more industrial) framed in champagne gold rather than the more common matte black, and keep only your most visually cohesive dishware behind these fronts specifically, routing mismatched everyday items to closed storage elsewhere.

Shop the Look

Product
Fluted ribbed glass cabinet panel
Champagne gold cabinet frame trim
Coordinated ceramic dishware set
Champagne gold cabinet pull
Small folded linen napkin set

6. Style a Curated Coffee and Tea Station

6. Style a Curated Coffee and Tea Station

Vibe: Layered, a corner dedicated entirely to one small ritual, styled with the same care as the rest of the room.

Why it works: A dedicated coffee and tea station is a functional accessory-layering choice specific to the dry kitchen’s role as an entertaining space, rather than routing coffee-making to the wet kitchen with the rest of daily cooking. Keeping it in the dry kitchen on a styled tray gives guests a natural gathering point that stays visually consistent with the rest of the room.

How to get it: Contain the entire station on a single champagne gold or marble tray no larger than 16×12 inches, using matching matte ceramic canisters for coffee and tea rather than original packaging, and keep the electric kettle or espresso machine in a finish that coordinates with the room’s hardware.

Shop the Look

Product
Champagne gold serving tray
Matte ceramic canister set
Small ceramic teacup set
Linen napkin stack
Champagne gold electric kettle

7. Paint Walls in Soft Greige to Maximize Brightness

7. Paint Walls in Soft Greige to Maximize Brightness

Vibe: Fresh, a room bright enough to photograph well at any hour, which matters for a space built partly for display.

Why it works: Soft greige is a contrast and reflectivity principle that maximizes brightness without the starkness of pure white because the dry kitchen’s role includes being seen by guests and often photographed for the home overall. A warm greige with a subtle undertone reflects natural light effectively while reading as more considered than a flat white.

How to get it: Choose a greige with a visible warm (not cool blue) undertone, testing it in both morning and evening light before committing, since greige shifts more dramatically across the day than most true neutrals.

Shop the Look

Product
Soft greige matte wall paint
Small framed abstract print
Champagne gold picture frame
Warm white LED ceiling bulb
Painter’s tape precision edge

8. Build an Integrated Breakfast Bar With No Bulky Stools

8. Build an Integrated Breakfast Bar With No Bulky Stools

Vibe: Still a casual seating extension that stays visually light rather than bulking up the island’s silhouette.

Why it works: Slim backless stools apply a proportion principle specific to a display-forward room: bulky upholstered stools with visible backs and armrests add visual weight that competes with the island’s clean lines, while a slim, backless profile in the same metal tone as the rest of the room keeps the whole composition reading as one cohesive, uncluttered piece.

How to get it: Choose backless counter stools no wider than 16 inches, with slim champagne-gold legs that tuck fully under the counter overhang when not in use, so the island’s silhouette stays clean between meals.

Shop the Look

Product
Backless champagne gold counter stool
Slim quartz bar overhang extension
Small ceramic countertop bowl
Stool footrest ring detail
Marble coaster set

9. Hang a Statement Pendant Cluster Over the Island

9. Hang a Statement Pendant Cluster Over the Island

Vibe: Warm light fixtures with enough individual character to double as the room’s jewelry.

Why it works: A clustered pendant arrangement at staggered heights is a light-layering and visual-weight principle that gives the dry kitchen a genuine focal point above the island, which matters more here than in a strictly functional wet kitchen, since the dry kitchen’s lighting doubles as a decorative statement guests see immediately upon entering.

How to get it: Hang three glass globe pendants in graduated heights (typically 28, 32, and 36 inches above the counter) in a champagne gold finish, spaced evenly along the island’s length rather than clustered tightly together.

💡 Quick Win: A single oversized pendant centered over the island delivers similar visual impact for a lower cost than a full three-piece cluster.

Shop the Look

Product
Champagne gold glass globe pendant set
Adjustable pendant cord kit
Champagne gold ceiling canopy
Warm 2700K globe bulb set
Small ceramic countertop bowl

10. Specify a Book-Matched Marble Backsplash as the Room’s Art

Vibe: Layered backsplash dramatic enough to function as the room’s primary artwork rather than a purely functional surface.

Why it works: A full-height book-matched marble backsplash makes sense specifically in a dry kitchen because it never faces the grease splatter a wet kitchen’s cooktop would generate; it lets the room commit to a dramatic, symmetrical veining pattern purely for visual impact, treating the wall as art rather than a surface that needs to withstand daily heavy cooking.

How to get it: Extend the book-matched slab pair from counter to ceiling behind the primary display wall, and frame the edges in champagne gold trim to coordinate with the rest of the room’s hardware without competing with the marble’s own pattern.

Shop the Look

Product
Book-matched marble slab pair
Champagne gold backsplash trim
Small ceramic decorative vessel
Marble sealant polish
Champagne gold outlet cover

11. Layer Warm Brass Accents Against a Neutral Base

Vibe: Warm metal warm enough to soften an otherwise very light, neutral room.

Why it works: Layering warm brass consistently across all hardware and lighting elements is a finish-coordination principle that keeps a predominantly light, neutral palette from reading flat or cold. Since the dry kitchen’s material palette leans so heavily toward warm cream and white marble, the brass accent becomes the primary source of visual warmth and depth in the room.

How to get it: Choose warm brass (not the cooler antique brass of a decade ago) across every visible fixture faucet, cabinet hardware, pendant fixtures sourced from a single product line where possible, since brass finishes vary noticeably in warmth between manufacturers.

Shop the Look

Product
Warm brass cabinet pull set
Warm brass single hole faucet
Warm brass pendant light
Small ceramic countertop vessel
Warm brass outlet cover plate

12. Hide Small Appliances in a Concealed Garage

12. Hide Small Appliances in a Concealed Garage

Vibe: Still a counter that stays genuinely bare because even the small appliances that do live in the dry kitchen have a concealed home.

Why it works: An appliance garage applies negative-space and visual-weight principles at the room scale, which matters more in a dry kitchen than a wet kitchen because the entire point of the room is staying visually calm. Hiding even a coffee maker or electric kettle behind a matching tambour door keeps the counter reading as intentionally bare rather than merely tidy.

How to get it: Build the appliance garage with a vertical tambour door finished to match the surrounding cabinetry exactly, sized for one or two small appliances with an integrated outlet inside, positioned at the counter’s end run.

Shop the Look

Product
Vertical tambour appliance garage door
Matching cabinet finish panel
Integrated outlet strip
Small ceramic canister set
Champagne gold cabinet interior light

13. Add a Glass-Front Display Cabinet for Fine China

13. Add a Glass-Front Display Cabinet for Fine China

Vibe: Warm a cabinet that turns fine china into part of the room’s visual story instead of packing it away for special occasions only.

Why it works: A lit glass-front display cabinet applies accessory-layering and furniture-arrangement principles together because the dry kitchen exists specifically for entertaining, showcasing fine china and stemware openly (rather than storing it in the wet kitchen or a separate dining room cabinet) r, which reinforces the room’s hospitality-forward purpose.

How to get it: Install warm 2700K interior LED lighting inside a glass-front cabinet with champagne gold shelf trim and adjustable shelf heights to fit both plates and taller stemware, positioning the cabinet where it’s visible from the main entry to the space.

Shop the Look

Product
Glass front display cabinet
Interior LED cabinet light strip
Champagne gold shelf trim kit
Fine china place setting
Small ceramic serving dish

14. Connect the Dry Kitchen to the Wet Kitchen Through a Hidden Pass-Door

14. Connect the Dry Kitchen to the Wet Kitchen Through a Hidden Pass-Door

Vibe: Still a dry kitchen that stays visually calm because the actual cooking happens entirely out of sight, one door away.

Why it works: A hidden pass-door is the layout principle that makes the entire dry-and-wet kitchen concept function architecturally, routing food and prepared dishes between the two kitchens through a concealed door (rather than an open doorway) keeps cooking smells, steam, and clutter fully contained to the wet kitchen while dishes still move efficiently between the two spaces during actual meal service.

How to get it: Build the pass-door to match the surrounding cabinetry exactly, using a push-latch mechanism with no visible pull so the doorway disappears into the cabinetry run, and size the opening wide enough to pass serving trays and platters through comfortably.

Shop the Look

Product
Push-latch cabinet door mechanism
Matching cabinet panel material
Champagne gold interior door pull
Serving tray set for pass-through
Small ceramic canister set

15. Design a Compact Dry Kitchen Counter for an Open-Concept Condo

15. Design a Compact Dry Kitchen Counter for an Open-Concept Condo

Vibe: Airy proof that the dry kitchen concept scales down to a single counter run without losing its purpose.

Why it works: In a genuinely small condo without room for two full kitchens, a compact dry kitchen counter is the small-space adaptation that preserves the concept’s core function- a slim run dedicated to coffee, light prep, and display, positioned near the living area- while an enclosed kitchenette elsewhere handles actual heavy cooking, achieving the same separation of function in a fraction of the footprint.

How to get it: Limit the dry kitchen counter to 4–6 linear feet with a single small sink or none at all, dedicating the space specifically to a coffee station and display shelving rather than trying to replicate full kitchen function, and route any actual cooking to a separate enclosed kitchenette even if it’s small.

💡 Quick Win: A slim marble-topped bar cart styled as a coffee station approximates the dry kitchen concept in a condo too small for a built-in counter at all.

Shop the Look

Product
Compact marble top counter unit
Champagne gold cabinet hardware
Small ceramic canister set
Slim bar cart marble top
Champagne gold pendant light small

How to Start Your Modern Luxury Dry Kitchen Transformation

Your first move is defining the pass-door or transition point between the dry and wet kitchen before any material or color decision. Since this connection determines how food and dishes physically move between the two spaces, its width, placement, and mechanism shape the layout every other design choice in the dry kitchen has to work around.

The most common mistake is over-equipping the dry kitchen with heavy-duty cooking appliances that belong in the wet kitchen, which undermines the entire concept and invites the mess the separation was meant to prevent. The fix is limiting the dry kitchen’s equipment strictly to coffee, light prep, and display needs, routing anything involving oil, high heat, or strong aromatics to the enclosed wet kitchen.

Three items under $50 that create immediate impact: a champagne gold serving tray for a coffee station, a matte ceramic canister set for visible counter storage, and a single dried stem in a small glass bud vase.

A weekend refresh hardware and styling costs $200–600. A full modern luxury dry kitchen build-out with a marble island, champagne gold fixtures, and a connecting pass-door to an existing wet kitchen typically runs $40,000–90,000 and takes two to four months.

Frequently Asked Questions About Modern Luxury Dry Kitchen Design

What is the difference between a dry kitchen and a wet kitchen?

A dry kitchen is the front-facing, display-oriented space used for coffee, light prep, and entertaining, finished in more delicate materials since it doesn’t absorb heavy cooking wear. A wet kitchen is the enclosed back kitchen where actual cooking, frying, and wok work happen, built with more durable, heat- and grease-resistant materials and stronger ventilation.

What color works best in a modern luxury dry kitchen?

Warm cream and soft greige work best as the base, paired with champagne gold accents, since the dry kitchen’s lighter daily use allows for softer, more reflective tones than a heavy-use wet kitchen could sustain without visible wear. Warm white marble is the most requested single material to pair with this palette.

How much does a modern luxury dry kitchen build-out cost?

A partial refresh using hardware, lighting, and a marble-look counter costs $8,000–20,000. A mid-range build-out with a quartz waterfall island and champagne gold fixtures runs $40,000–70,000, and a full high-end version with a book-matched marble backsplash and a connecting pass-door to a separate wet kitchen typically costs $70,000–120,000 or more.

Can a dry kitchen concept work in a small apartment without a separate wet kitchen?

Yes, a compact dry kitchen counter of 4 to 6 linear feet dedicated to coffee, light prep, and display can sit near the living area while an enclosed kitchenette elsewhere handles actual cooking, preserving the core separation of function even without two full-size kitchens.

What is the most requested feature in modern luxury dry kitchens right now?

A concealed pass-door connecting the dry and wet kitchen is currently the most requested single feature, according to design-industry data from markets where the dual-kitchen layout is most established, followed closely by champagne gold hardware and book-matched marble backsplashes used as the room’s primary visual statement.

Ready to Create Your Dream Modern Luxury Dry Kitchen?

These 15 ideas move across material, color, lighting, layout, and genuine small-space adaptations, from a seamless quartz waterfall island and a book-matched marble backsplash to a compact counter that brings the same dry-and-wet separation into a condo-sized footprint. None of this needs to happen all at once, and starting with the coffee station and one lighting layer is genuinely the smarter first step, not a scaled-down version of the full concept. Today’s specific action: map out where your pass-door or transition point to the wet kitchen (or enclosed kitchenette) will sit before pricing out any marble or cabinetry, since that single decision shapes the whole room’s layout. Once that separation is working the way it’s meant to, the dry kitchen stops feeling like a kitchen you have to maintain and starts feeling like the calmest, most photograph-ready room in the house. Save the ideas that fit your home’s actual floor plan and your entertaining habits; that champagne gold glow and book-matched marble wall will still feel just as considered a year from now.

You Might Also Like

15 Italian Modern Luxury Kitchen Design Ideas
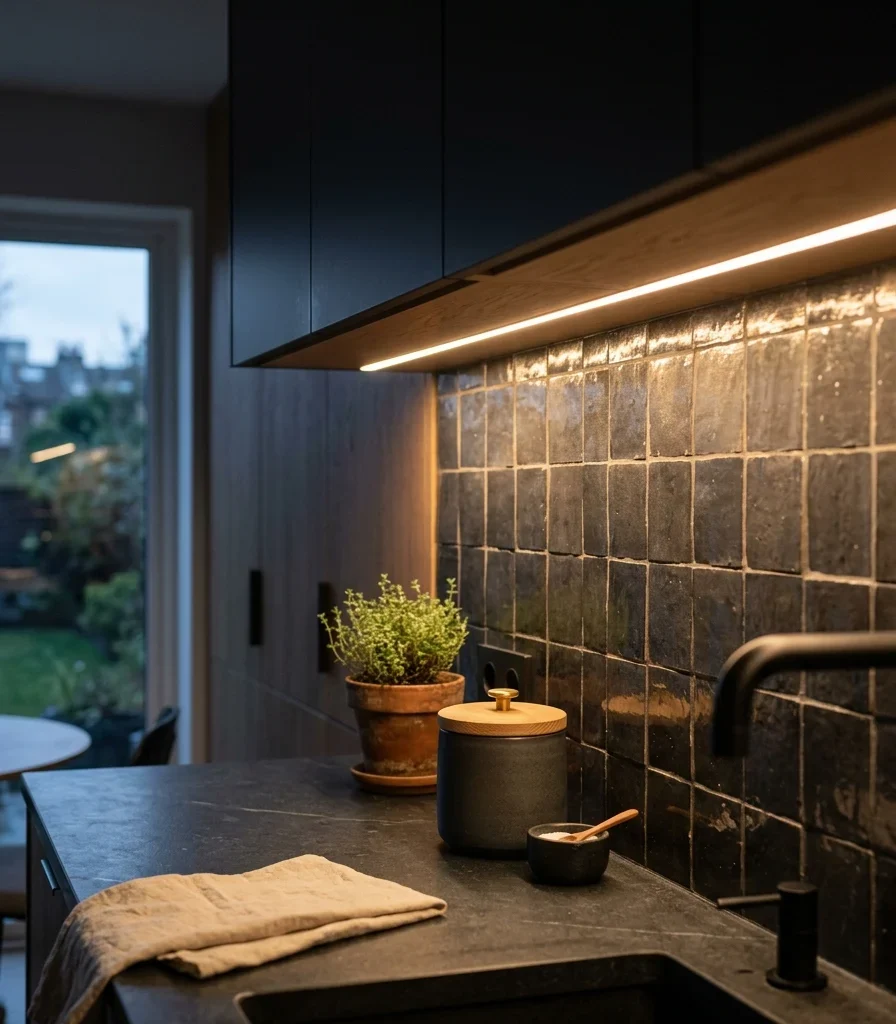
15 Italian Modern Luxury Kitchen Design Ideas

Italian modern luxury kitchen design is a design tradition built on sculptural cabinetry silhouettes, high-gloss lacquer finishes, and bold natural stone, drawing directly from the post-war Italian furniture movement that treated the kitchen as a designed object rather than a purely functional room. This article gives you 15 genuinely striking Italian modern luxury kitchen design ideas covering material, color, lighting, and layout decisions that give a kitchen the confident, sculptural presence this tradition is known for.

It feels like standing inside a piece of considered design rather than a room assembled from a catalog: lacquer catching light with the same depth as a lacquered sports car, marble veining moving across a waterfall edge like brushed ink, brass warming under a Murano-inspired glow. This is Italian modern luxury at its most confident: bold, sculptural, unapologetically expressive with color and form. Every surface behaves like it was designed by someone who trusted their own eye.

Here are 15 ideas worth saving and stealing.

Why Italian Modern Luxury Kitchen Design Works So Well

Italian modern luxury kitchen design traces directly to the post-war Milanese furniture movement of the 1950s through 1970s, when Italian manufacturers began treating kitchen cabinetry with the same sculptural ambition as furniture shown at the Salone del Mobile, prioritizing bold form and high-gloss finish over the flatter, purely functional cabinetry common elsewhere in Europe at the time. What separates it from other modern luxury traditions is its willingness to use saturated, high-gloss color and dramatic curved silhouettes rather than staying strictly neutral and rectilinear.

Core materials are high-gloss lacquer in bold jewel tones, Carrara and Calacatta marble with dramatic veining, terrazzo with visible brass or stone fleck, and warm brass or bronze hardware, often paired with leather-wrapped pulls. Color runs confidently saturated burgundy, deep olive, warm terracotta, a marked departure from the neutral restraint of Scandinavian or quiet-luxury kitchens.

This style is trending because a broader shift toward maximalist color and sculptural form has followed several years of minimalist neutral kitchens, with Pinterest and design-industry trend data both showing rising interest in “Italian kitchen design” and “lacquer kitchen cabinets” as homeowners look for a kitchen with a stronger visual identity than an all-white or all-taupe scheme provides.

Yes, though a genuinely small kitchen should commit its boldest color choice to one cabinetry run rather than the whole room, since a fully saturated high-gloss color across every surface in a tight space can read as overwhelming rather than confident.

Style at a Glance

ElementCore Trait 1Core Trait 2
PhilosophyCabinetry as sculptural, designed object rather than purely functional storageConfident, saturated color over neutral restraint
MaterialsHigh-gloss lacquer, Carrara marble, terrazzoWarm brass, leather-wrapped hardware
Color PaletteBurgundy, deep oliveWarm terracotta, warm white marble

15 Italian Modern Luxury Kitchen Design Ideas
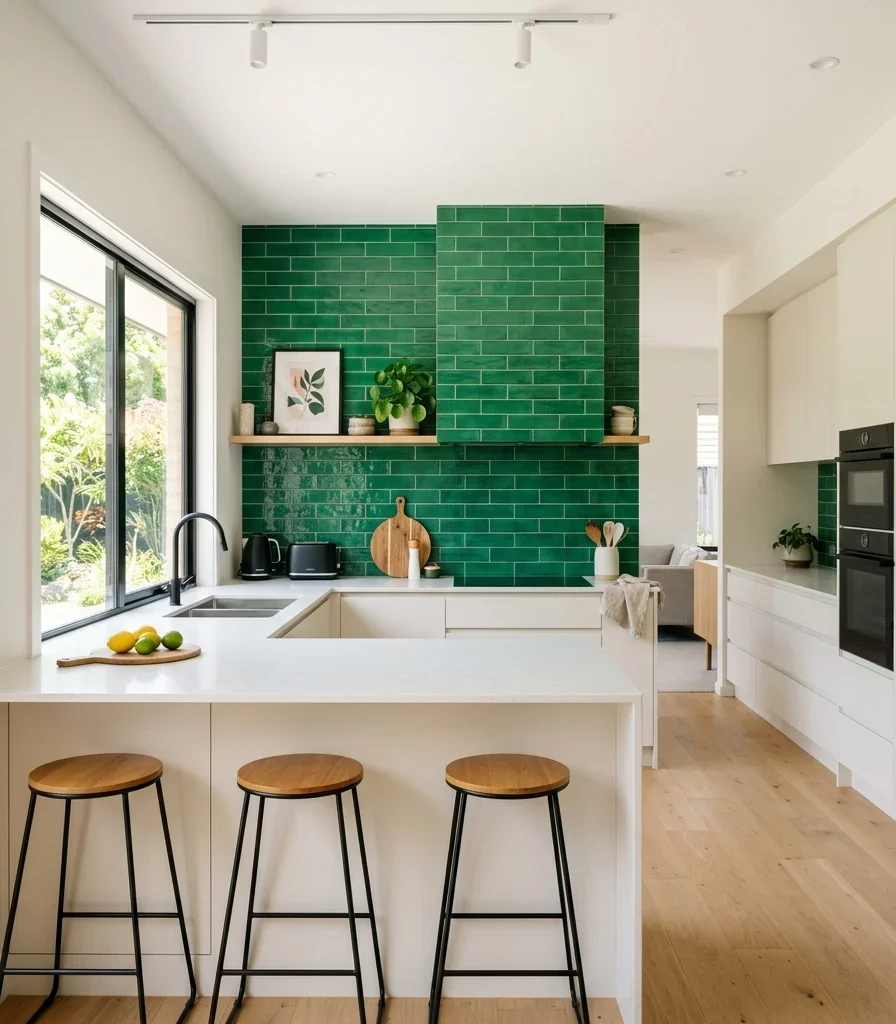
1. Install a Carrara Marble Waterfall Island

1. Install a Carrara Marble Waterfall Island

Vibe: Grounded on an island with enough polished presence to anchor the entire room around it.

Why it works: A polished (rather than honed) marble finish is a deliberate material choice specific to Italian design’s confidence with reflection and shine; the high polish amplifies the veining’s contrast and lets the island catch and bounce light across the room, a visual-weight principle distinct from the muted honed stone favored by more restrained modern traditions.

How to get it: Specify genuine Carrara marble with a high polish finish (not a matte or leathered texture, which mutes the effect this idea depends on), and request the fabricator orient the slab so the most dramatic vein movement runs the length of the waterfall edge rather than across the flat top.

💡 Quick Win: A polished Carrara-look porcelain slab achieves a similar dramatic waterfall effect at a lower cost and with less maintenance than natural marble.

Shop the Look

Product
Polished Carrara marble slab
Warm brass counter stool set
Small ceramic countertop bowl
Marble polish maintenance kit
Brass island pendant light

2. Choose High-Gloss Burgundy Lacquer Cabinetry

2. Choose High-Gloss Burgundy Lacquer Cabinetry

Vibe: Moody cabinetry with a mirror-like depth that shifts color slightly as you move past it.

Why it works: High-gloss lacquer in a saturated jewel tone is the signature material technique of Italian cabinetry design; the mirror-like finish reflects ambient light and color from the rest of the room onto itself, creating a depth and richness that a matte finish in the same burgundy simply can’t replicate, which is why lacquer specifically (not just any glossy paint) defines this look.

How to get it: Specify a genuine multi-coat automotive-grade lacquer finish (the same buildup process used on luxury car paint) rather than a single-coat glossy enamel, and pair it exclusively with warm brass hardware rather than matte black, since brass’s warmth complements burgundy’s depth more than a cool black would.

Shop the Look

Product
High-gloss burgundy lacquer cabinet finish
Warm brass cabinet pull set
Warm brass cabinet hinge hardware
Small ceramic countertop vessel
Brass cabinet knob set

3. Shape a Sculptural Curved Island Silhouette

3. Shape a Sculptural Curved Island Silhouette

Vibe: Layered, an island shaped more like a piece of sculpture than a standard rectangular block.

Why it works: A curved island silhouette applies contrast and proportion principles directly against the room’s typically rectilinear cabinetry and walls; the organic curve breaks up an otherwise boxy kitchen footprint, a design move rooted in Italian furniture design’s long history of curved, sculptural forms rather than the strictly rectangular cabinetry common in other modern traditions.

How to get it: Choose a curved island profile with at least one rounded corner or a fully organic kidney shape, wrapped in a seamless high-gloss lacquer that follows the curve without a visible seam, and finish the toe kick in warm brass trim to emphasize the shape’s edge at floor level.

Shop the Look

Product
Curved island cabinet base
High-gloss lacquer wrap finish
Brass toe kick trim strip
Small ceramic countertop bowl
Brass island pendant light

4. Hang a Statement Murano-Style Glass Pendant

4. Hang a Statement Murano-Style Glass Pendant

Vibe: Warm, a fixture with enough individual artistry to function as the room’s centerpiece sculpture.

Why it works: A Murano-style glass pendant applies light-behavior and material-honesty principles together: hand-blown glass with visible swirl or bubble texture refracts light unevenly, casting a warmer, more dynamic glow across the island than a uniform manufactured glass shade, referencing the centuries-old Venetian glassblowing tradition that has long informed Italian lighting design.

How to get it: Choose a single oversized pendant (18 inches or larger) in swirled amber or smoked glass rather than a cluster of smaller fixtures, hung at 30–34 inches above the island counter, with a brass ceiling canopy to coordinate with the room’s other hardware.

💡 Quick Win: A single mid-scale Murano-style pendant centered over a smaller prep area delivers similar sculptural impact at a lower cost than a full-size island fixture.

Shop the Look

Product
Murano-style swirled glass pendant
Brass ceiling canopy trim
Warm 2700K bulb for pendant
Adjustable pendant cord kit
Small ceramic countertop bowl

5. Lay a Terrazzo Floor With Brass Fleck Inlay

5. Lay a Terrazzo Floor With Brass Fleck Inlay

Vibe: Layered a floor with genuine sparkle and depth underfoot, distinct from a flat stone or tile surface.

Why it works: Terrazzo is a material choice with deep Italian design roots, originally developed by Venetian construction workers using marble chip remnants set in cement, and modern brass-fleck terrazzo continues that same principle of embedding varied material scraps into one poured surface, creating texture and light-catching depth that a uniform stone floor cannot replicate.

How to get it: Choose a cream-base terrazzo with a mix of white marble chips and brass fleck at a medium density (too sparse reads flat, too dense competes with other materials), and specify a matte-honed rather than high-polish sealant on the floor specifically for slip safety, reserving the high shine for countertops instead.

Shop the Look

Product
Cream terrazzo floor tile brass fleck
Matte honed floor sealant
Small woven jute floor mat
Terrazzo baseboard trim
Brass floor transition strip

6. Add Leather-Wrapped Cabinet Pulls and Trays

6. Add Leather-Wrapped Cabinet Pulls and Trays

Vibe: Warm hardware with a tactile softness that contrasts directly against the cabinetry’s hard lacquer shine.

Why it works: Leather-wrapped hardware is a texture-layering principle that introduces a soft, warm material against the room’s otherwise hard, reflective surfaces. The specific pairing of leather and brass draws directly from Italian furniture design’s long history of combining fine leather upholstery with brass or bronze hardware fittings, a material contrast rarely used in other modern kitchen traditions.

How to get it: Choose brass pulls with a genuine stitched leather wrap (not a printed leather-look vinyl) in a cognac or warm tan tone, and extend the same leather material to a serving tray or two on the counter so the texture repeats intentionally rather than appearing only once.

Shop the Look

Product
Leather wrapped brass cabinet pull
Cognac leather serving tray
Brass drawer pull matching set
Leather coaster set
Leather cabinet hinge trim

7. Introduce Deep Olive Green Lacquer on Lower Cabinets

7. Introduce Deep Olive Green Lacquer on Lower Cabinets

Vibe: Grounded, a saturated green deep enough to feel confident rather than trend-driven.

Why it works: Olive green lacquer applies proportion by staying on lower cabinetry only, letting the heavier, more saturated color ground the room visually while lighter marble above keeps the space feeling open. This specific approach to bold color placement, rather than avoiding saturation altogether, is what distinguishes Italian design’s confidence from more restrained modern traditions.

How to get it: Reserve the olive lacquer for base cabinets in a genuine high-gloss finish (matte olive reads more farmhouse than Italian modern), keeping upper surfaces and walls in warm white marble or plaster, and pair with warm brass rather than the brushed nickel more common in Scandinavian-influenced kitchens.

Shop the Look

Product
High-gloss olive green lacquer finish
Warm brass cabinet pull
Warm white marble upper counter
Small ceramic countertop bowl
Brass cabinet hinge set

8. Add a Freestanding Marble-Topped Prep Table

8. Add a Freestanding Marble-Topped Prep Table

Vibe: Still a piece of furniture doing kitchen work, rather than a built-in surface pretending to be furniture.

Why it works: A freestanding prep table applies the furniture-as-object philosophy central to Italian design at a smaller, more flexible scale than the main island; its slim brass legs and marble top read as a genuine standalone piece rather than fixed cabinetry, echoing the mid-century Italian tradition of moveable, sculptural kitchen furniture rather than wall-to-wall built-ins.

How to get it: Choose a marble-topped table on slim tapered brass legs sized to roll or slide easily (casters help in a working kitchen), positioned as a secondary surface near the range or sink rather than replacing the main island, so it functions as genuine extra workspace rather than pure decoration.

Shop the Look

Product
Marble top prep table brass legs
Small ceramic mixing bowl
Marble cutting board
Brass caster wheel set
Small brass utensil holder

9. Add Integrated Linear Lighting Under Floating Shelves

9. Add Integrated Linear Lighting Under Floating Shelves

Vibe: Hushed, a shelf that seems to glow from within rather than being lit from an outside source.

Why it works: Integrated under-shelf lighting is a light-layering technique that treats displayed objects as gallery pieces; the recessed, hidden light source illuminates ceramics or glassware from directly above without a visible fixture competing with the display, a curatorial approach to kitchen lighting consistent with Italian design’s treatment of everyday objects as worth showcasing.

How to get it: Recess a warm 2700K LED strip into a routed channel on the underside of a floating marble or lacquer shelf, angled to wash downward evenly across whatever is displayed on the shelf below, wired to its own switch separate from the room’s main lighting.

Shop the Look

Product
Recessed warm LED shelf light
Floating marble display shelf
Warm 2700K LED strip
Small ceramic vessel collection
Brass shelf bracket hardware

10. Specify a Book-Matched Calacatta Backsplash

10. Specify a Book-Matched Calacatta Backsplash

Vibe: Layer a backsplash with a symmetrical pattern dramatic enough to function as the kitchen’s primary artwork.

Why it works: Book-matching a full-height Calacatta backsplash behind the range concentrates the kitchen’s boldest material moment on a single focal wall rather than spreading marble thin across every surface, a proportion principle that gives the veining’s natural symmetry maximum visual impact exactly where the eye lands first when entering the room.

How to get it: Extend the book-matched slab pair from counter to the underside of a range hood or ceiling, rather than stopping at a standard 18-inch backsplash height, and coordinate the range hood in brass or bronze trim to frame the marble without competing with its pattern.

Shop the Look

Product
Book-matched Calacatta slab pair
Brass range hood trim kit
Small ceramic utensil crock
Marble sealant polish
Brass switch plate cover

11. Pair Two-Tone Lacquer With a Bold Contrast Island

11. Pair Two-Tone Lacquer With a Bold Contrast Island

Vibe: Moody, an island bold enough to function as the room’s clear centerpiece against a calmer perimeter.

Why it works: Two-tone lacquer applies contrast and visual weight distribution together; keeping the perimeter cabinetry in warm white lacquer maximizes reflected daylight across the room’s largest surfaces, while a saturated burgundy island commands attention at the center, a zoning technique that reads as confidently intentional rather than mismatched.

How to get it: Keep both cabinet colors in the same high-gloss lacquer finish (mixing matte and gloss within the same two-tone scheme reads as inconsistent), and use identical brass hardware across both tones to visually unify the contrast into one coordinated scheme.

Shop the Look

Product
Warm white lacquer perimeter cabinet
Deep burgundy lacquer island cabinet
Warm brass cabinet pull set
Small ceramic countertop bowl
Brass cabinet knob matching set

12. Style a Curated Ceramic Still-Life Arrangement

12. Style a Curated Ceramic Still-Life Arrangement

Vibe: Layered, a counter styled the way an Italian still-life painting composes fruit and vessels together.

Why it works: A still-life-inspired counter arrangement is an accessory-layering principle drawn directly from Italian visual art tradition. Grouping a ceramic bowl of citrus with one or two matte vessels and a single olive branch stem creates the same compositional balance found in classical still-life painting, giving the counter genuine visual interest without relying on abstract or purely decorative objects.

How to get it: Group three to four objects of varied height with one citrus fruit bowl as the anchor, keeping the ceramic glazes within a warm cream and terracotta family, and refresh the citrus regularly so the arrangement stays genuinely functional rather than becoming static decoration.

Shop the Look

Product
Matte ceramic fruit bowl warm cream
Small ceramic vessel set
Olive branch stem faux
Brass fruit bowl stand
Ceramic serving platter terracotta

13. Build an Open Wine and Glassware Display Cabinet

13. Build an Open Wine and Glassware Display Cabinet

Vibe: Warm, a cabinet that turns everyday glassware and wine into part of the room’s visual story.

Why it works: An open, lit display cabinet applies furniture-arrangement and accessory-layering principles together; rather than hiding wine and stemware behind solid doors, this treats them as objects worth showing, a hospitality-forward instinct rooted in Italian dining culture’s emphasis on wine and entertaining as central to the kitchen’s identity.

How to get it: Install interior LED lighting on a warm 2700K setting inside a glass-front cabinet, with brass shelf trim and adjustable shelf heights to accommodate both bottles and varied stemware sizes, positioning the cabinet where it’s visible from the main entry to the kitchen.

Shop the Look

Product
Glass front display cabinet
Interior LED cabinet light strip
Brass shelf trim kit
Stemware glass set
Small ceramic wine stopper dish

14. Anchor the Room With a Central Sculptural Island

14. Anchor the Room With a Central Sculptural Island

Vibe: Grounded a layout where every sightline in the room resolves back to one central, sculptural piece.

Why it works: Positioning the island as the room’s literal and visual center is a layout principle distinct from simply placing an island for workflow convenience. Walking paths, cabinetry runs, and even lighting placement all radiate outward from the island’s position, treating it the way a sculpture gallery treats its centerpiece rather than as one workstation among several.

How to get it: Center the island within the room’s total floor plan rather than offsetting it toward one wall, maintain at least 42 inches of clearance on all sides so the island reads as a freestanding piece rather than crowded cabinetry, and orient any pendant lighting symmetrically above it to reinforce the centered composition.

Shop the Look

Product
Marble top island with brass base
Symmetrical pendant light pair
Small ceramic countertop bowl
Brass floor transition trim
Counter stool set brass legs

15. Design a Compact Italian Galley Kitchen With a Mirrored Backsplash

15. Design a Compact Italian Galley Kitchen With a Mirrored Backsplash

Vibe: Still a narrow kitchen that reads twice as wide the moment the mirrored wall catches the light.

Why it works: In a genuinely narrow galley kitchen, a mirrored backsplash is the small-space illusion technique that lets Italian design’s confident color and gloss finishes still read as spacious rather than closed-in. The mirror reflects both natural light and the marble counter’s pattern into the room, doubling the perceived depth without adding a single inch of actual floor area.

How to get it: Install an antiqued or smoked mirror panel (rather than clear mirror, which can feel too stark against warm lacquer) as the backsplash on the galley’s longer wall, and keep the opposing wall’s cabinetry in the same high-gloss color so the reflection shows a continuous, coordinated scene rather than a jarring color mismatch.

💡 Quick Win: A smoked mirror tile panel installed only behind the range achieves a similar light-expanding effect on a smaller budget than a full-wall mirror.

Shop the Look

Product
Antiqued smoked mirror panel
High-gloss burgundy lacquer cabinet
Brass mirror mounting trim
Small ceramic canister set
Marble counter slab narrow run

How to Start Your Italian Modern Luxury Kitchen Transformation

Your first move is choosing the lacquer or marble hero color before any layout or hardware decision. Since Italian design commits to bold, saturated finishes rather than staying neutral, this single color choice burgundy, olive, or a dramatic marble veining pattern sets the emotional tone every other material and metal finish decision in the kitchen gets measured against.

The most common mistake is applying the bold color everywhere at once, covering every cabinet run in the same saturated lacquer, which can overwhelm a room rather than reading as confident. The fix is reserving the boldest color for one element, the island or lower cabinetry, while keeping the remaining surfaces in warm white or marble.

Three items under $50 that create immediate impact: a small terracotta ceramic fruit bowl for the counter, a set of brass drawer pull hardware for an existing cabinet, and a single faux olive branch stem in a small ceramic vessel.

A weekend refresh hardware and styling costs $200–600. A full Italian modern luxury kitchen renovation with lacquer cabinetry, a marble island, and terrazzo flooring typically runs $90,000–220,000 and takes four to eight months depending on custom lacquer and marble fabrication lead times.

Frequently Asked Questions About Italian Modern Luxury Kitchen Design

What is the difference between Italian modern luxury and Scandinavian modern luxury kitchen design?

Scandinavian modern luxury kitchen design favors muted, neutral tones and matte natural wood, prioritizing restraint and calm. Italian modern luxury kitchen design uses saturated, high-gloss lacquer colors like burgundy and olive, dramatic marble veining, and sculptural curved forms, treating bold color and shine as a design strength rather than something to avoid.

What color defines Italian modern luxury kitchen design?

Deep burgundy and olive green lacquer are the leading colors, typically applied to one cabinetry run (often the island) while the remaining surfaces stay in warm white marble or lacquer. These saturated jewel tones pair specifically with warm brass hardware rather than chrome or matte black, since brass’s warmth complements the depth of high-gloss color.

How much does an Italian modern luxury kitchen renovation cost?

A partial refresh using lacquer cabinet refinishing and brass hardware costs $10,000–25,000. A mid-range renovation with a marble waterfall island and lacquer cabinetry runs $70,000–140,000, and a full high-end renovation including terrazzo flooring and a book-matched Calacatta backsplash typically costs $140,000–250,000 or more depending on the region.

Can a small galley kitchen achieve an Italian modern luxury look?

Yes, a mirrored backsplash and one bold lacquer cabinet run achieve the style’s confident color statement even in a narrow footprint without an island, since the mirror reflects both light and the marble counter’s pattern to counteract the visual tightness a saturated color might otherwise create in a small space.

What is the most requested material in Italian modern luxury kitchens right now?

High-gloss lacquer cabinetry is currently the most requested single material in Italian modern luxury kitchen design, according to design-industry trend reports, followed closely by Carrara and Calacatta marble waterfall islands and terrazzo flooring with brass fleck inlay.

Ready to Create Your Dream Italian Modern Luxury Kitchen?

These 15 ideas move across material, color, lighting, layout, and genuine small-space adaptations from a polished Carrara waterfall island and high-gloss burgundy lacquer to a mirrored galley kitchen that proves this style’s confidence travels even into a narrow footprint. None of this needs to happen all at once, and starting with one bold lacquer cabinet run or a single Murano-style pendant is genuinely the smarter first step, not a scaled-down version of the vision. Today’s specific action: pull burgundy or olive lacquer paint chips and hold them against a Carrara marble sample in natural daylight to see which saturated color actually anchors the kitchen you’re imagining. Once that confident color and material story is settled, the kitchen stops feeling like a neutral backdrop and starts feeling like a room designed with the same conviction as a piece of considered Italian furniture. Save the ideas that match your kitchen’s actual footprint and your own appetite for bold color; mirror-gloss lacquer and marble veining will still feel just as expressive years from now.

You Might Also Like

15 Ways to Achieve a Luxurious Contemporary Kitchen Design

15 Ways to Achieve a Luxurious Contemporary Kitchen Design

A luxurious contemporary kitchen pairs current, ever-evolving design language curved forms, mixed materials, hidden technology with genuinely high-end execution, rather than following any single fixed historical rulebook. This article gives you 15 real ways to achieve that exact balance, covering color, material, lighting, furniture, and layout, each one built around a technique current luxury kitchens are actually using rather than a passing trend.

The feel is unmistakable: a waterfall island with a curve instead of a hard edge, appliances that vanish entirely behind matching panels, light treated as sculpture rather than fixture. Contemporary luxury doesn’t look backward for its authority; it earns it through material quality and quiet, confident restraint. Here are 15 ideas worth saving and stealing.

Why Luxurious Contemporary Kitchen Design Works So Well

Contemporary kitchen design describes whatever high-end design language is currently in circulation, evolving roughly every decade, which is what separates it from classic or period-specific styles that follow fixed historical proportion rules. Today’s expression pulls from postmodernism’s comfort mixing references, a renewed interest in curved and organic forms after over a decade of hard-edged minimalism, and a growing “warm minimalism” reaction against the stark, cold, all-white kitchens that dominated the 2010s.

The materials that define genuinely luxurious contemporary kitchens include quartzite and Dekton for curved waterfall surfaces, hand-troweled organic plaster for range hood surrounds, warm white oak cabinetry, and poured microcement flooring for a seamless, joint-free surface. Matte black and brushed brass appear constantly, mixed deliberately rather than matched, while fully integrated panel-ready appliances let refrigeration and dishwashers disappear entirely behind cabinetry rather than announcing themselves as separate equipment.

Contemporary luxury kitchens are trending specifically because biophilic design research the documented psychological benefit of visual connection to natural materials and living elements has moved from academic interest into mainstream renovation planning, alongside a broader cultural fatigue with the stark, showroom-white kitchens that once signaled luxury by default. Search interest in “warm minimalist kitchen” and “organic modern kitchen” has grown steadily as homeowners look for luxury that feels lived-in rather than clinical.

Small kitchens can absolutely achieve genuine contemporary luxury, since many of the style’s core techniques curved edges, integrated appliances, a single sculptural light actually perform better in a compact footprint than a sprawling one, where the same detail might otherwise get visually lost. The priority in a small space is concentrating investment in one or two true material moments, like a curved quartzite waterfall or an organic plaster hood, rather than spreading the budget thin across every surface.

Style at a Glance

ElementCore Trait 1Core Trait 2
PhilosophyWarm minimalism, curved forms over hard edgesHidden technology, seamless integration
MaterialsQuartzite, organic plaster, white oakMicrocement, matte black, brushed brass
Color PaletteWarm greige, matte blackSage green accent, warm white

15 Ways to Achieve Luxurious Contemporary Kitchen Design

1. Warm Greige Cabinetry as a Quiet Luxury Backdrop

1. Warm Greige Cabinetry as a Quiet Luxury Backdrop

Vibe: The kitchen feels refined, with quiet color letting material quality carry the room.

Why it works: Warm greige sits at the exact midpoint between cold minimalist white and heavier traditional browns, which is why it reads as current and considered rather than either clinical or dated. This restraint is deliberate, since contemporary luxury increasingly signals wealth through material quality and craftsmanship rather than bold color statements. Slab-front cabinetry with no visible panel detailing keeps the greige reading as a clean, continuous surface.

How to get it: Choose a greige with a visible warm undertone rather than a cool gray-leaning shade, and pair it with slab-front rather than shaker-style doors, since the flat surface is what lets the color read as genuinely quiet rather than broken up by panel shadow lines.

💡 Quick Win: Testing greige paint on cabinet sample doors under your kitchen’s actual lighting before committing prevents the most common contemporary color mistake: a greige that reads too cool or too pink under artificial light.

Shop the Look

Product
Warm greige cabinet-grade paint
Quartzite countertop slab
Brushed brass cabinet hardware set
Ceramic decorative bowl
Small potted plant

2. A Curved Waterfall Island in Quartzite

2. A Curved Waterfall Island in Quartzite

Vibe: The island feels sculptural, stone curving instead of cutting a hard corner.

Why it works: A curved waterfall edge requires significantly more complex fabrication than a standard mitered corner, since the stone must be cut and polished along a continuous radius rather than a straight seam. This technical difficulty is exactly why curved stonework signals real investment, and it softens the island’s overall geometry in a way that aligns with contemporary design’s broader move away from hard-edged minimalism. Quartzite specifically offers more consistent veining and higher heat resistance than marble, making it a genuinely practical choice for a curved, heavily-used surface.

How to get it: Work with a fabricator experienced specifically in curved stone work, since standard countertop shops without radius-cutting equipment can’t produce a true curved waterfall edge, and request a mockup template before the final cut to confirm the curve’s exact radius.

Shop the Look

Product
Quartzite slab, curved fabrication
Boucle upholstered barstool set
Ceramic fruit bowl
Brushed brass drawer pull set
Stone sealant, quartzite-safe

3. A Sculptural Pendant Light as the Kitchen’s Art Piece

3. A Sculptural Pendant Light as the Kitchen's Art Piece

Vibe: The island feels artful, one light fixture doing the job a sculpture would.

Why it works: Contemporary lighting design increasingly treats fixtures as sculptural objects meant to be looked at even when unlit, a shift reflected in designers who build lamps around organic, asymmetric forms rather than purely functional shapes. Choosing one genuinely sculptural pendant over a matched set of smaller fixtures gives the kitchen a clear emphasis point, the same focal-point principle used elsewhere in lighting design, but expressed through a single striking silhouette rather than repetition.

How to get it: Choose a pendant with a distinct organic or asymmetric form rather than a standard drum or globe shade, and let it stand alone above the island’s center rather than pairing it with matching secondary fixtures that would compete with its sculptural presence.

Shop the Look

Product
Sculptural organic-form pendant light
Dimmer switch for pendant
Warm dimmable bulb, brass-toned glow
Quartzite countertop, island
Boucle barstool set

4. Fully Integrated Panel-Ready Appliances

4. Fully Integrated Panel-Ready Appliances

Vibe: The kitchen feels seamless, appliances disappearing entirely into the cabinetry line.

Why it works: Panel-ready appliances accept custom cabinet-matching door fronts instead of showing their own branded stainless or black finish, which lets a refrigerator or dishwasher disappear visually into the surrounding cabinet run entirely. This uninterrupted surface is a specifically contemporary luxury signal, since it prioritizes an unbroken material story over displaying the appliance itself as a status object the way visible professional-grade equipment does in more traditional luxury kitchens.

How to get it: Confirm your chosen appliance model explicitly supports panel-ready installation before ordering cabinetry, and match the panel’s exact door style, finish, and hardware placement to the surrounding cabinet run so the seam reads as continuous rather than merely close.

Shop the Look

Product
Panel-ready refrigerator, custom front
Matching cabinet panel, appliance-fitted
Brushed brass appliance pull, matching cabinetry
Warm white oak cabinet fronts
Quartzite countertop

5. Cantilevered Floating Shelves With No Visible Brackets

5. Cantilevered Floating Shelves With No Visible Brackets

Vibe: The shelf feels refined, wood appearing to hover with no visible means of support.

Why it works: True cantilevered shelving uses an internal steel rod system recessed entirely within the wood, rather than the visible L-bracket most floating shelves actually rely on, which is why genuinely bracket-free shelves cost significantly more and read as noticeably more refined. The illusion of a thick, heavy wood plank floating unsupported depends entirely on that hidden engineering being done correctly. This is negative space and material honesty working together: nothing visible is doing the supporting work you’d expect to see.

How to get it: Specify true cantilevered mounting hardware rather than a standard bracket system when ordering, and confirm wall stud placement can accommodate the rod’s required depth before installation, since cantilevered systems typically need more secure anchoring than surface-mounted brackets.

Shop the Look

Product
Walnut floating shelf, cantilevered mount
Hidden rod bracket system
Ceramic vessel set
Glassware set, clear
Stud finder tool

6. Matte Black Used as a Contemporary Neutral Throughout

6. Matte Black Used as a Contemporary Neutral Throughout

Vibe: The kitchen feels grounded, black doing quiet structural work rather than shouting for attention.

Why it works: Contemporary design increasingly treats matte black the way earlier eras treated white or beige as a foundational neutral rather than a bold statement color, used in thin, structural doses across window frames, faucets, and cabinet hardware rather than as a dominant wall or cabinet color. This works because black distributed at a small, consistent scale reads as definition and structure, the same principle governing charcoal accents elsewhere in minimalist design, rather than as visual weight.

How to get it: Apply matte black specifically to hardware, faucet, and window or door frames rather than large cabinet surfaces, keeping the palette otherwise warm and light so the black reads as considered structural detail rather than a heavy dominant choice.

Shop the Look

Product
Matte black kitchen faucet
Matte black cabinet hardware set
Matte black window frame paint
Warm white oak cabinet fronts
Quartzite countertop

7. An Organic Plaster Range Hood Surround

7. An Organic Plaster Range Hood Surround

Vibe: The range wall feels sculptural, plaster texture doing what flat drywall never could.

Why it works: A hand-troweled organic plaster hood surround has microscopic surface variation that catches and scatters light differently across its own contour, giving the range wall genuine dimensional presence rather than the flat, uniform finish a standard drywall or tile hood surround provides. This technique has deep roots in Mediterranean plastering traditions, and its current resurgence in contemporary kitchens reflects the broader shift toward materials that show the maker’s hand rather than a perfectly factory-uniform surface.

How to get it: Apply plaster in overlapping, slightly irregular trowel strokes rather than uniform passes, since the intentional inconsistency is what produces the light-catching texture this technique depends on, and seal it with a protective topcoat given its proximity to cooking heat and grease.

Shop the Look

Product
Venetian plaster wall finish kit
Wide trowel or putty knife
Plaster sealant, heat-resistant
Brass range hood trim
Warm white oak cabinetry, surrounding

8. A Hidden Prep Kitchen Behind Pocket Doors

8. A Hidden Prep Kitchen Behind Pocket Doors

Vibe: The kitchen feels discreet, a second workspace vanishing entirely when it’s not needed.

Why it works: A hidden prep kitchen a secondary work zone with its own sink, small appliances, and prep surface concealed behind pocket doors that slide fully into the wall rather than swinging open, keeps the main kitchen’s showpiece surfaces clear of everyday mess and food prep clutter during entertaining. Unlike a hinged door, a pocket door leaves zero visible presence when open, reinforcing the seamless, uninterrupted quality contemporary luxury design prioritizes throughout.

How to get it: Confirm adequate wall cavity depth for the pocket door track during initial construction planning, since retrofitting a pocket door into an existing wall is significantly more disruptive than installing one during a full renovation.

Shop the Look

Product
Pocket door track and hardware kit
Small prep sink and faucet
Open shelving, prep kitchen
Quartzite counter, prep-sized
Brass cabinet hardware, matching main kitchen

9. An Oversized Single Pendant Instead of a Cluster

9. An Oversized Single Pendant Instead of a Cluster

Vibe: The island feels confident, one substantial light doing what three smaller ones usually attempt.

Why it works: Clustered pendant groupings became the default kitchen island lighting choice largely through repetition rather than necessity, and a single oversized fixture instead delivers the same total light coverage while reading as a more deliberate, contemporary design decision one substantial statement rather than a matched set. This is the same emphasis principle behind a single statement art piece over a gallery wall, applied here to lighting specifically.

How to get it: Size the single pendant to roughly one-third to one-half the island’s total length, and confirm its light output measured in lumens matches or exceeds what a three-pendant cluster would have provided, since one larger fixture needs to work harder to cover the same surface area.

Shop the Look

Product
Oversized statement pendant light
Dimmer switch for pendant
Warm dimmable bulb, high lumen output
Quartzite island countertop
Boucle barstool set

10. Boucle Upholstered Barstools for Textural Softness

10. Boucle Upholstered Barstools for Textural Softness

Vibe: The island feels tactile, soft texture softening an otherwise hard-surfaced room.

Why it works: Kitchens are dominated by hard, reflective materials stone, tile, metal, glass more than almost any other room, which is exactly why boucle’s looped, textural upholstery reads as a deliberate and welcome counterpoint rather than a mismatched addition. This texture-layering principle is the same one governing material choices throughout contemporary design, applied specifically to seating, which is often the only genuinely soft surface a kitchen contains.

How to get it: Choose boucle in a warm cream or oatmeal tone rather than a stark white, and pair the upholstery with a curved rather than angular stool frame, since the rounded silhouette reinforces the same soft, organic quality the fabric introduces.

Shop the Look

Product
Boucle upholstered barstool, curved frame
Brass footrest ring
Quartzite island countertop
Sculptural pendant light
Ceramic fruit bowl

11. Poured Microcement Flooring for a Seamless Look

11. Poured Microcement Flooring for a Seamless Look

Vibe: The floor feels seamless, one continuous surface with nowhere for the eye to catch a seam.

Why it works: Microcement is applied as a thin, poured coating directly over an existing subfloor, curing into one entirely continuous surface with zero grout lines or tile joints. This seamlessness is a specifically contemporary material choice, since it removes the visible grid pattern that even the most premium large-format tile still carries. The uninterrupted surface also extends visually into adjoining rooms when the same material continues past the kitchen’s boundary, reinforcing an open, continuous floor plan.

How to get it: Work with an installer experienced specifically in microcement application, since the material requires precise multi-coat layering and sealing that standard tile or flooring installers typically aren’t trained in, and budget for professional application rather than treating it as a DIY project.

Shop the Look

Product
Microcement flooring system, warm gray
Microcement sealant, high-traffic rated
Walnut island base
Brushed brass cabinet hardware
Quartzite countertop

12. A Living Herb Wall for Biophilic Contrast

12. A Living Herb Wall for Biophilic Contrast

Vibe: The wall feels grounded, real green life set against otherwise hard, polished surfaces.

Why it works: A living herb wall introduces genuine biophilic contrast real, growing plant material set directly against stone, metal, and plaster which research on biophilic design links to measurable stress reduction and a stronger sense of connection to a space. This is functional as well as decorative, since fresh herbs positioned directly beside the range solve a real cooking need while delivering the same organic material contrast contemporary luxury design increasingly prioritizes over purely hard, polished surfaces.

How to get it: Choose a vertical planter system with individual watering access for each herb pot, and position it near a window or supplement with a small grow light, since most culinary herbs need more direct light than an interior kitchen wall alone typically provides.

Shop the Look

Product
Vertical herb planter wall system
Small potted herb set, culinary varieties
Brass planter mounting brackets
Small grow light, discreet
Ceramic herb snip scissors

13. A Single Sage Green Accent Amid Neutral Stone

13. A Single Sage Green Accent Amid Neutral Stone

Vibe: The kitchen feels considered, one calm color note against an otherwise neutral stone palette.

Why it works: Sage green sits close enough to gray on the color wheel to function almost like a neutral, which is exactly why it reads as calming rather than bold when confined to a single lower cabinet run against an otherwise neutral quartzite and white oak palette. This restrained accent approach reflects contemporary luxury’s broader preference for controlled, singular color moments over the saturated, room-wide color commitments more common in classic or maximalist kitchen styles.

How to get it: Confine sage green to one specific cabinet run, typically lower cabinets away from the main sightline, rather than distributing it across multiple surfaces, keeping the remaining palette in warm white and stone tones so the green reads as a deliberate single note.

Shop the Look

Product
Sage green cabinet-grade paint
Quartzite countertop
Warm white oak upper cabinetry
Brushed brass hardware set
Ceramic decorative bowl

14. Mixed-Height Island for Cooking and Casual Dining

14. Mixed-Height Island for Cooking and Casual Dining

Vibe: The island feels functional, with two distinct heights each doing their own clear job.

Why it works: A mixed-height island separates the messier, functional work of food prep at standard counter height from a raised bar-height section dedicated to casual seating, which solves the same functional conflict a double-island layout addresses but within a single connected piece rather than two separate islands a more space-efficient solution for kitchens without the square footage for two full islands. The height change itself also visually signals the transition between zones without requiring any additional material or color cue.

How to get it: Set the raised dining section 4–6 inches above the standard 36-inch counter height, and finish both levels in the same stone material for visual continuity, letting the height difference alone carry the zoning distinction.

Shop the Look

Product
Quartzite countertop, mixed-height island
Boucle counter-height barstool set
Brushed brass cabinet hardware
Sculptural pendant light, above raised section
Ceramic serving tray

15. Scaled-Down Contemporary Luxury for a Small Kitchen

15. Scaled-Down Contemporary Luxury for a Small Kitchen

Vibe: The kitchen feels efficient, contemporary material quality standing in for square footage.

Why it works: A small kitchen can’t accommodate a mixed-height island or a hidden prep kitchen, but it can absolutely support the same core contemporary luxury techniques at a concentrated scale. A single curved stone backsplash moment and fully integrated panel-ready appliances deliver the same seamless, high-end signal in a fraction of the space. This is the small-space application of contemporary luxury’s “quality over quantity” philosophy, prioritizing one or two genuinely well-executed details over spreading a limited budget thin.

How to get it: Concentrate your material and technique investment on the one or two surfaces with the most visual presence in a small kitchen, typically the backsplash and appliance integration, rather than attempting curved islands or mixed-height zones that genuinely require more square footage than a small kitchen has.

Shop the Look

Product
Curved quartzite backsplash panel
Panel-ready appliance front, small kitchen scale
Brushed brass cabinet hardware
Small open walnut shelf
Ceramic kitchen canister set

How to Start Your Luxurious Contemporary Kitchen Transformation

Your single first move should be choosing your metal finish matte black or brushed brass before any other decision, since every hardware piece, faucet, and light fixture in the kitchen gets selected against that one consistent metal, and starting anywhere else risks an inconsistent mix accumulated across separate purchases.

The most common mistake is mixing genuinely classic architectural detail, like raised-panel cabinetry or ornate corbels, with contemporary elements like curved waterfall edges and integrated appliances, which creates visual conflict rather than a cohesive look. Fix it by committing fully to slab-front or minimally detailed cabinetry throughout, since contemporary design’s core techniques seamless surfaces, hidden hardware, curved forms depend on flat, uninterrupted cabinet fronts to read correctly.

Three specific items under $50 that create immediate impact: a single boucle-covered barstool cushion to preview the texture against your existing seating, a small potted herb set for testing a future herb wall concept, and a ceramic canister set in warm greige to match your intended cabinet color.

A cosmetic contemporary refresh using hardware, paint, and lighting typically takes one to two weeks and costs $2,000–$5,000. A fuller transformation including quartzite counters and panel-ready appliances runs $35,000–$75,000 and takes two to four months, while a complete custom contemporary luxury build realistically spans five to eight months and costs $100,000–$220,000 depending on curved fabrication and integration complexity.

Frequently Asked Questions About Luxurious Contemporary Kitchens

What is the difference between contemporary and classic luxury kitchen design?

Contemporary kitchen design describes whatever high-end design language is currently in circulation, evolving roughly every decade with curved forms, seamless surfaces, and hidden technology, while classic kitchen design follows fixed Georgian and Victorian architectural proportion rules like raised-panel cabinetry and decorative corbels that don’t change with passing trends. A contemporary kitchen prioritizes concealment and material seamlessness: hidden appliances, no visible hardware, while classic design displays its architectural detail openly and formally.

What colors define a luxurious contemporary kitchen?

Warm greige and warm white oak form the dominant neutral base, with matte black used in thin structural doses across hardware and window frames rather than as a full cabinet color. A single confined color accent, often sage green, applied to just one cabinet run or surface reflects contemporary luxury’s preference for controlled, singular color moments over the room-wide saturated palettes more common in bolder or more traditional kitchen styles.

How much does a luxurious contemporary kitchen renovation cost?

A cosmetic refresh using hardware, paint, and lighting updates typically costs $2,000–$5,000 and takes one to two weeks. A fuller transformation including quartzite counters and panel-ready integrated appliances generally runs $35,000–$75,000 and takes two to four months, while a complete custom-built contemporary luxury kitchen with curved stone fabrication and full appliance integration realistically falls between $100,000 and $220,000 depending on the complexity of curved elements specified.

Can a small kitchen achieve genuine contemporary luxury?

Yes, and several core contemporary techniques curved backsplash moments, integrated panel-ready appliances, a single sculptural pendant actually read more clearly in a compact footprint than a sprawling one, where the same detail can get visually lost. The main limitation is square footage-dependent features like a mixed-height island or a hidden prep kitchen, which genuinely require more room than most small kitchens have available, making concentrated investment in one or two techniques the smarter small-space approach.

What is the most requested contemporary kitchen feature right now?

Fully integrated panel-ready appliances and curved waterfall islands consistently rank among the most searched contemporary luxury kitchen features, reflecting the style’s core preference for seamless, uninterrupted material stories over visible equipment and hard angles. Organic plaster range hoods and living herb walls are also seeing significant search growth, both driven by increasing interest in biophilic, tactile materials as a counterpoint to the stark minimalism that defined the previous decade’s luxury kitchen trends.

Ready to Achieve Your Dream Luxurious Contemporary Kitchen?

These 15 ways to achieve luxurious contemporary kitchen design span color, material, lighting, furniture, and layout, from a curved quartzite waterfall island and an organic plaster range hood to a hidden prep kitchen and a single sculptural pendant treated as real art, so there’s a genuinely fitting starting point here whether you’re planning a full custom build or one high-impact upgrade. You don’t need every technique at once, and choosing your metal finish and committing to slab-front cabinetry before anything else is not a smaller version of the vision; it’s the sequence that keeps every later contemporary detail reading as intentional rather than accidental. Today’s specific action: choose matte black or brushed brass as your kitchen’s single metal finish, and audit every existing fixture against it before any other purchase. Once that one consistent thread runs through the room, every curved edge, integrated appliance, and sculptural light layered on top of it will finally read as one considered contemporary kitchen rather than a collection of trend-chasing choices. Save the techniques that matched your own kitchen’s potential today: that curved waterfall island, that hidden prep kitchen, because in contemporary luxury design, the details no one else sees working are exactly what make the space feel effortlessly, quietly expensive.

You Might Also Like

15 Latest Trends Luxury Kitchen Design Ideas
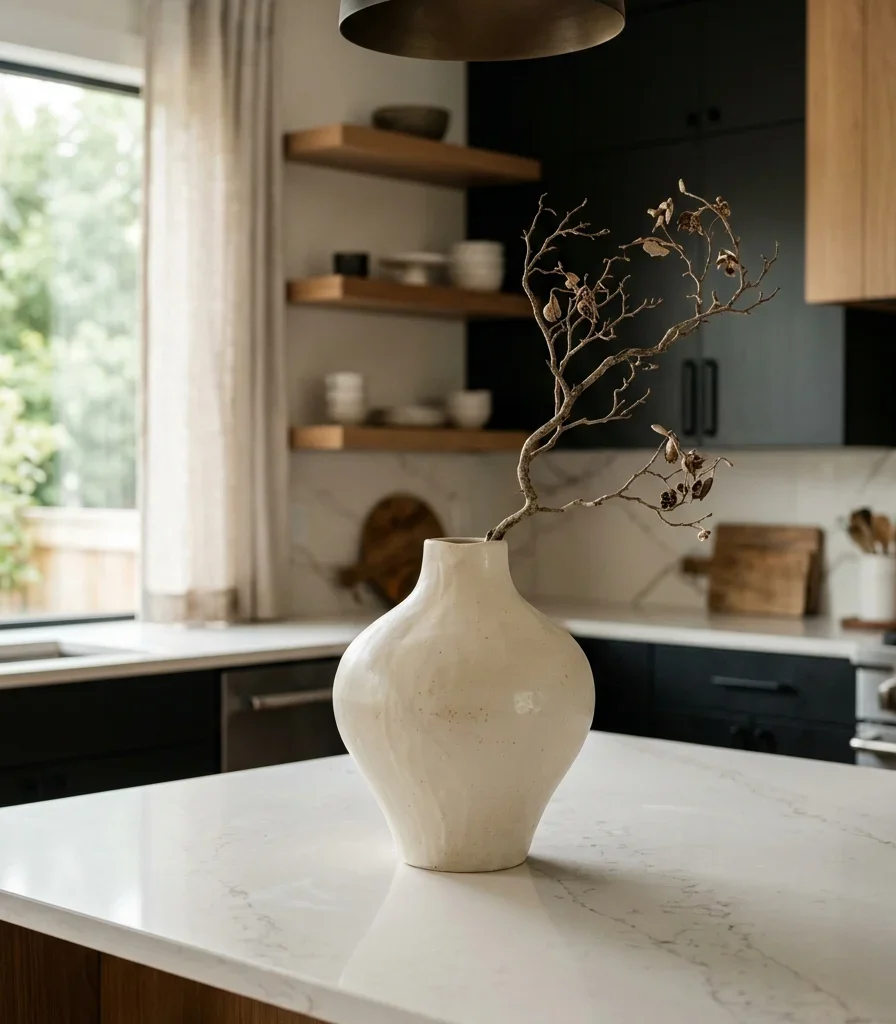
15 Latest Trends Luxury Kitchen Design Ideas
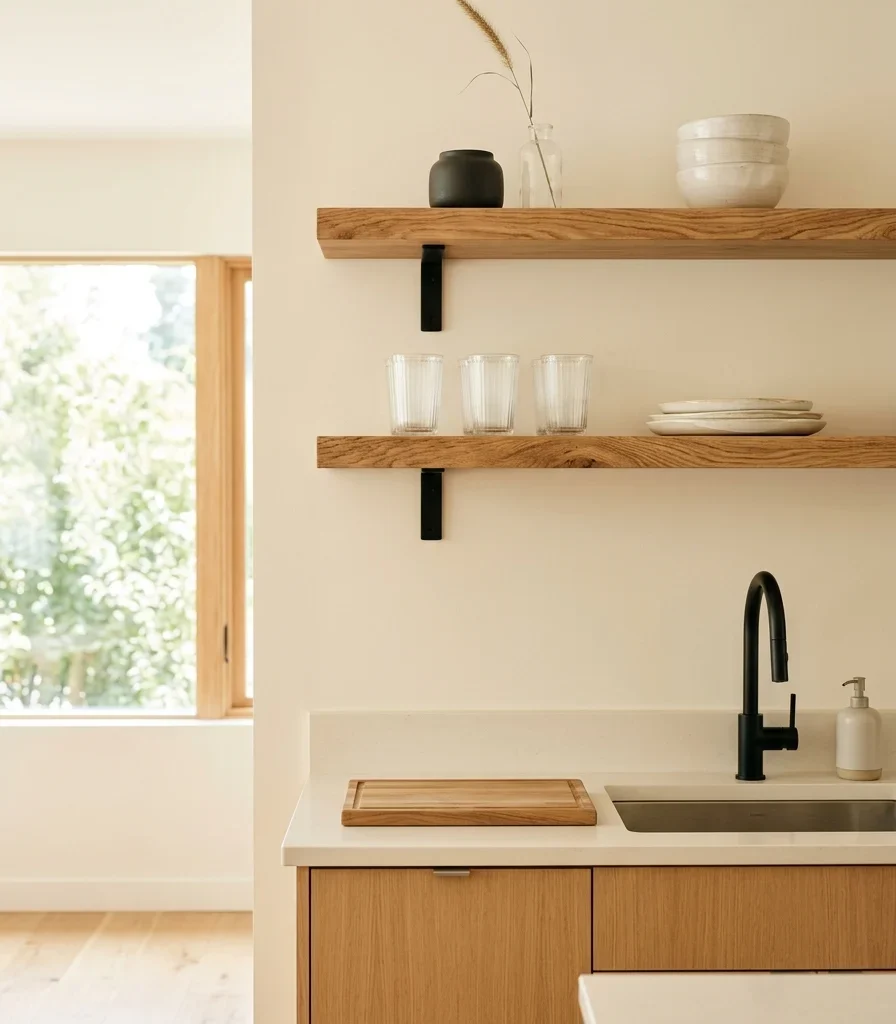
Luxury kitchen design is a high-end approach to kitchen planning that prioritizes book-matched natural materials, furniture-grade cabinetry, and layered architectural lighting over mass-produced finishes, treating the kitchen as the home’s most considered room rather than its most utilitarian. This article gives you 15 of the latest trends in luxury kitchen design, covering material, color, lighting, and layout decisions currently defining the top of the market.

It feels like walking into a room that was designed, not assembled: veined marble catching the light exactly where it should, brass warming to the touch under a cluster of sculptural pendants, cabinetry with the weight and grain of real furniture instead of flat-panel boxes. This is luxury kitchen design at its most confident: quietly expensive, materially honest, built to be looked at as closely as it’s used.

Here are 15 ideas worth saving and stealing.

Why Luxury Kitchen Design Works So Well

Luxury kitchen design draws from two converging traditions: the European atelier kitchen movement, which treats cabinetry as bespoke furniture built by cabinetmakers rather than assembled from flat-pack boxes, and the American open-concept kitchen’s evolution into the home’s primary entertaining space. What separates it from a simply “updated” or “modern” kitchen is material investment: luxury design spends its budget on a small number of genuinely high-grade materials rather than spreading it evenly across many mid-range finishes.

The core materials are book-matched natural stone (Calacatta or Taj Mahal quartzite, bookmatched so the veining mirrors across a seam), fluted or reeded solid wood cabinetry, unlacquered or hand-hammered brass, and integrated paneled appliances that disappear into the cabinetry line. Color has shifted toward deep espresso, warm terracotta lacquer, and two-tone cabinetry pairings, moving away from the all-white kitchens that dominated the previous decade.

This look is trending because post-pandemic home use shifted the kitchen from a transitional cooking space into the room where people work, entertain, and spend the majority of their at-home hours, which has pushed homeowners toward materials and lighting layers previously reserved for living rooms. Pinterest and design-industry search data both show sustained growth in “luxury kitchen” and “furniture-style kitchen island” searches as this shift continues.

Yes, but with real limits, a genuinely small kitchen can’t replicate every element here, and a full waterfall island or dual-zone layout may simply not fit. Prioritize one hero material (the island stone or the range hood) and the lighting layer first; those two choices carry the most visual weight per square foot.

Style at a Glance

ElementCore Trait 1Core Trait 2
PhilosophyMaterial investment concentrated on fewer, higher-grade choicesFurniture-grade detailing over flat-panel efficiency
MaterialsBook-matched marble or quartzite, fluted wood, hand-hammered brassPaneled integrated appliances, unlacquered metal
Color PaletteDeep espresso, warm terracottaTwo-tone cabinetry, warm brass accents

15 Latest Luxury Kitchen Design Trends

1. Install a Book-Matched Marble Waterfall Island

1. Install a Book-Matched Marble Waterfall Island

Vibe: Grounded on an island with enough material presence that it reads as sculpture before it reads as furniture.

Why it works: Book-matching is a material honesty and contrast principle unique to natural stone: two adjacent slabs are cut from the same block and mirrored so the veining pattern reflects across the seam, creating a continuous, almost symmetrical pattern down the waterfall edge that no engineered material can fully replicate, since it depends on the specific vein movement of that individual block.

How to get it: Specify book-matched slabs explicitly when ordering (not just “matching” stone, which can mean same lot rather than mirrored cut), and request the fabricator lay out the veining before cutting so the pattern’s most dramatic movement lands at the island’s most visible front face.

💡 Quick Win: A book-matched marble backsplash behind the range achieves a similar dramatic effect at a fraction of full waterfall-island cost.

Shop the Look

Product
Book-matched marble slab pair
Brushed brass counter stool set
Small ceramic fruit bowl
Marble edge polishing kit
Brass island pendant light

2. Pair Deep Espresso Cabinetry With Warm Brass

2. Pair Deep Espresso Cabinetry With Warm Brass

Vibe: Moody cabinetry dark enough to feel formal, warmed just enough by brass to avoid feeling cold.

Why it works: Deep espresso cabinetry marks a direct departure from the all-white kitchen era through contrast and visual weight; a saturated dark cabinet color grounds the room and photographs with far more depth than white, while brass hardware and fixtures introduce the warmth needed to keep the palette from reading heavy or somber.

How to get it: Choose a high-gloss or semi-gloss espresso lacquer finish rather than matte, since gloss reflects ambient light into the room and prevents dark cabinetry from absorbing too much brightness, and pair it exclusively with brushed or unlacquered brass hardware rather than mixing in chrome or nickel.

Shop the Look

Product
Espresso lacquer cabinet finish
Brushed brass cabinet pull set
Brass range hood trim kit
Small ceramic vase warm glaze
Brass cabinet knob set

3. Choose a Furniture-Style Island With Turned Legs

3. Choose a Furniture-Style Island With Turned Legs

Vibe: Layered island that looks like a standalone piece of furniture rolled into the kitchen rather than built-in cabinetry.

Why it works: Furniture-style detailing applies a contrast principle at the scale of the whole room; turned legs, a furniture apron, and visible joinery distinguish the island from the flat, built-in cabinetry lining the perimeter, which is precisely the atelier-kitchen tradition of treating the island as its own freestanding piece rather than matching cabinetry.

How to get it: Specify hand-turned solid walnut or white oak legs with a furniture-grade apron rail rather than a flat panel base, and finish the legs with brass foot caps to protect the wood and add a coordinating metal detail at floor level.

Shop the Look

Product
Turned walnut table leg set
Brass furniture foot cap set
Linen napkin set neutral
Walnut wood island apron trim
Brass drawer pull furniture style

4. Layer a Sculptural Brass Pendant Cluster Over the Island

4. Layer a Sculptural Brass Pendant Cluster Over the Island

Vibe: Warm light fixtures with enough individual character that they function as the room’s jewelry.

Why it works: A clustered pendant arrangement at varied heights is a light-layering and visual-weight principle that replaces the single centered fixture standard in most kitchens. Three pendants at staggered heights create visual movement and cast overlapping pools of light across the island, which reads as considerably more dynamic than one symmetrical fixture centered above the counter.

How to get it: Hang three pendants in graduated heights (typically 28, 32, and 36 inches above the counter) spaced evenly along the island’s length, choosing unlacquered brass so the fixtures develop a natural patina that ages alongside the rest of the room’s brass hardware.

💡 Quick Win: A single oversized brass pendant centered over the island delivers similar sculptural impact for a fraction of the cost of a full cluster.

Shop the Look

Product
Unlacquered brass globe pendant set
Adjustable pendant cord kit
Brass ceiling canopy trim
Warm 2700K globe bulb set
Small ceramic countertop bowl

5. Specify Fluted Wood Cabinet Fronts

5. Specify Fluted Wood Cabinet Fronts

Vibe: Sun-warmed cabinet fronts with a dimensional texture that shifts visibly as the light moves through the room.

Why it works: Fluted or reeded wood paneling is a texture-layering material choice that gives an otherwise flat cabinet surface genuine three-dimensional depth; the vertical ridges catch and shadow light differently throughout the day, which flat-panel cabinetry, no matter how high-quality the wood veneer, simply cannot replicate.

How to get it: Specify solid white oak or walnut fluted panels for at least the island or one bank of lower cabinets (fluting the entire kitchen can read as busy), with fluting spaced at a consistent 1-inch interval, and pair with a slim brass edge pull rather than a bulky knob that would interrupt the vertical lines.

Shop the Look

Product
Fluted white oak cabinet panel
Slim brass edge pull hardware
Wood grain matching stain
Folded linen kitchen towel
Brass cabinet hinge set

6. Curate Open Shelving With a Small Ceramic Collection

6. Curate Open Shelving With a Small Ceramic Collection

Vibe: Layered on a shelf, edited down to a handful of genuinely considered objects rather than everyday dishware.

Why it works: Curated open shelving applies restraint as a styling principle distinct from the fuller, more eclectic open shelving seen in farmhouse kitchens. Luxury styling uses negative space between fewer, higher-quality ceramic pieces, letting each object register individually rather than blending into a dense collection.

How to get it: Style each shelf with no more than four to five objects total, mixing heights and one or two glaze finishes maximum, and leave at least 30% of each shelf’s visible depth empty so the arrangement reads as edited rather than filled.

Shop the Look

Product
Matte ceramic vessel set
Walnut floating shelf pair
Brass shelf bracket hardware
Linen napkin stack neutral
Dried botanical stem single

7. Introduce Warm Terracotta Lacquer Cabinetry

7. Introduce Warm Terracotta Lacquer Cabinetry

Vibe: Warm a color choice bold enough to be described as a “moment,” contained carefully to the lower cabinetry alone.

Why it works: Terracotta lacquer represents the current shift away from strictly neutral luxury kitchens toward controlled color saturation. Applying it only to lower cabinetry (a proportion principle) keeps the room from feeling overwhelming, since the eye naturally weights lower, larger surfaces more heavily than upper cabinets closer to eye level.

How to get it: Reserve the terracotta lacquer for base cabinets only, keeping upper cabinets and walls in warm white or cream, and specify a high-gloss finish rather than matte, since gloss lacquer is what gives the terracotta its jewel-toned, expensive appearance rather than a flatter, more casual read.

Shop the Look

Product
Terracotta high-gloss lacquer finish
Brushed brass cabinet pull
Warm white upper cabinet paint
Small ceramic bowl terracotta
Brass cabinet hinge hardware

8. Hide a Butler’s Pantry Behind Paneled Doors

Vibe: Still a main kitchen that stays visually calm because everyday clutter lives entirely out of sight.

Why it works: A hidden butler’s pantry is a furniture-arrangement and negative-space principle applied at the room level, routing small appliances, everyday dishware, and food storage into a separate concealed space; keeping the visible kitchen’s counters and open shelving genuinely clear is what allows the curated styling in ideas like the open shelving above to actually read as intentional rather than staged.

How to get it: Build the pantry door to match the surrounding cabinetry exactly, including matching hardware or a push-latch mechanism with no visible pull, so the doorway disappears into the cabinetry run rather than announcing itself as a separate room.

Shop the Look

Product
Push-latch cabinet door mechanism
Matching cabinet panel material
Interior pantry shelving unit
Small ceramic canister set
Brass interior task light strip

9. Add Under-Cabinet Warm LED for Ambient Glow

9. Add Under-Cabinet Warm LED for Ambient Glow

Vibe: Hushed, a kitchen that shifts from bright task lighting to a soft, restaurant-like glow after dinner prep ends.

Why it works: Under-cabinet lighting is a light-layering technique that adds a low, horizontal light source distinct from overhead task lighting or pendants above the island; this lower light plane illuminates the backsplash and counter edge specifically, creating the same layered lighting effect high-end restaurants use to make a room feel considered after dark rather than simply lit.

How to get it: Install a warm 2700K LED strip along the full underside of the upper cabinets on a separate dimmer switch from the main ceiling lights, so the under-cabinet layer can operate independently as ambient evening lighting once task lighting is no longer needed.

💡 Quick Win: A battery-powered warm LED strip with adhesive backing under $30 achieves the ambient glow without any electrical wiring.

Shop the Look

Product
Warm 2700K LED under-cabinet strip
Battery-powered adhesive LED strip
In-line dimmer switch
Small brass storage canister
Marble backsplash tile

10. Install a Hand-Hammered Brass Range Hood

10. Install a Hand-Hammered Brass Range Hood

Vibe: Warm, a range hood substantial enough to function as the kitchen’s sculptural centerpiece rather than a hidden appliance.

Why it works: A hand-hammered brass hood applies material honesty at architectural scale; its dimpled surface catches and scatters light unevenly, developing a natural patina exactly like the smaller brass hardware throughout the kitchen, which unifies the whole room’s metal finish story around one material that visibly ages rather than staying artificially uniform.

How to get it: Specify a genuine hand-hammered brass hood (not a stamped brass-look finish) sized to extend at least 3 inches beyond the range’s cooktop on each side, and let it develop its patina naturally rather than lacquering it, since the unlacquered finish is what gives it the same aged character as unlacquered brass hardware.

Shop the Look

Product
Hand-hammered brass range hood
Unlacquered brass hood trim
Small ceramic utensil crock
Walnut range surround trim
Brass hood mounting hardware

11. Pair Two-Tone Cabinetry With a Contrasting Island

11. Pair Two-Tone Cabinetry With a Contrasting Island

Vibe: Grounded, an island dark enough to function as the room’s clear anchor point against lighter surrounding cabinetry.

Why it works: Two-tone cabinetry uses contrast and visual weight distribution to define the island as a distinct zone within an otherwise open kitchen; keeping the perimeter light maximizes reflected daylight across the largest wall surfaces, while the darker island grounds the center of the room, a proportion trick that reads as intentional zoning rather than mismatched cabinetry.

How to get it: Keep the tonal contrast between the two cabinet colors substantial (a light warm white against a deep charcoal or espresso, not two similar mid-tones), and use the same brass hardware finish across both to visually tie the two tones together as one coordinated scheme.

Shop the Look

Product
Warm white perimeter cabinet paint
Deep charcoal island cabinet paint
Brushed brass cabinet pull set
Small ceramic countertop bowl
Brass cabinet knob matching set

12. Add a Statement Art Piece Above the Range

12. Add a Statement Art Piece Above the Range

Vibe: Layered kitchen wall treated with the same intentionality as a living room gallery wall.

Why it works: Placing genuine art above the range or on an open wall applies accessory layering at a scale rarely used in kitchen design most kitchens reserve wall space for storage or a backsplash, but treating one wall as a place for a single large-scale piece signals that the room is designed for more than function alone, echoing the “kitchen as living space” shift driving the whole luxury trend.

How to get it: Choose a piece with warm, muted tones that complement rather than compete with the cabinetry’s wood and brass, framed in a slim brass or walnut frame matching the room’s existing metal finish, and mount it high enough to clear any splatter zone near active cooking surfaces.

Shop the Look

Product
Large abstract canvas art piece
Slim brass picture frame
Walnut wood picture frame
Small ceramic decorative vessel
Picture hanging hardware brass

13. Build an Integrated Banquette Seating Nook

13. Build an Integrated Banquette Seating Nook

Vibe: Warm, a built-in seat that turns an underused window wall into the kitchen’s most comfortable corner.

Why it works: A banquette nook applies negative-space and furniture-arrangement principles by converting a wall that would otherwise hold only cabinetry or space into functional seating, which reinforces the broader shift of the kitchen into a genuine living and gathering space rather than a room people pass through only to cook.

How to get it: Build the banquette bench along a window wall with a seat depth of at least 20 inches for genuine lounging comfort, upholster it in a durable bouclé or performance velvet rather than a delicate fabric, and pair with a single pedestal walnut table rather than a leg-heavy design to keep the footprint efficient.

💡 Quick Win: A freestanding bench with a fitted cushion approximates the built-in look without structural carpentry.

Shop the Look

Product
Built-in banquette bench cushion
Taupe bouclé upholstery fabric
Walnut pedestal dining table
Linen throw pillow set
Brass pendant light over table

14. Design Zoned Prep and Entertaining Islands

14. Design Zoned Prep and Entertaining Islands

Vibe: Airy, a kitchen large enough to separate cooking mess from guest seating entirely, and laid out to make that separation obvious.

Why it works: Zoning through two distinct islands is a traffic-flow and layout principle that solves the fundamental tension in open-concept luxury kitchens: guests naturally gather near food, but a working cook needs counter space clear of onlookers, so a dedicated prep island near the range and a separate entertaining island with bar seating lets both functions happen simultaneously without competing for the same surface.

How to get it: Position the prep island closer to the range and sink with minimal seating, and place a second, larger island with counter-height stools at least 6 feet away to maintain a clear walking path, reserving the entertaining island’s surface for serving rather than active food prep.

Shop the Look

Product
Marble prep island surface
Walnut entertaining island base
Brushed brass counter stool set
Small ceramic serving bowl
Brass pendant light pair

15. Bring Luxury Details Into a Compact Galley Kitchen

15. Bring Luxury Details Into a Compact Galley Kitchen

Vibe: Still proof that material quality, not square footage, is what actually reads as luxury.

Why it works: In a genuinely narrow galley kitchen under 100 square feet, an island simply isn’t feasible, so the small-space adaptation is concentrating luxury materials on the two things a galley kitchen does have plenty of: wall surface and cabinet fronts, carrying marble full-height as a backsplash and using fluted cabinetry to add the same textural depth an island would otherwise provide.

How to get it: Run the marble backsplash floor-to-ceiling on at least one wall rather than stopping at standard counter height, and mount a mirrored end panel on the galley’s short wall to reflect light down the narrow room, which reads as spacious without adding a single inch of actual floor area.

💡 Quick Win: A single slab of marble-look porcelain (a fraction of natural stone cost) achieves the full-height backsplash effect on a tighter budget.

Shop the Look

Product
Full-height marble backsplash slab
Marble-look porcelain slab panel
Mirrored end wall panel
Fluted walnut cabinet front
Slim brass cabinet pull

How to Start Your Luxury Kitchen Transformation

Your first move is selecting the hero stone for the island or backsplash before any cabinet color or hardware decision. Since natural stone veining varies dramatically between slabs, this single material choice  Calacatta marble, Taj Mahal quartzite, or another book-matched option sets the color temperature and visual tone every other finish in the kitchen gets measured against.

The most common mistake is mixing too many metal finishes: brass hardware paired with a chrome faucet and a nickel pendant, for example, which undercuts the cohesive, considered look luxury kitchens depend on. The fix is committing to one metal family, ideally unlacquered or brushed brass, across every visible fixture before ordering anything.

Three items under $50 that create immediate impact: a warm 2700K under-cabinet LED strip, a set of matte ceramic canisters for open shelving, and a single dried botanical stem in a small brass bud vase.

A weekend refresh lighting and hardware swaps costs $200–600. A full luxury kitchen renovation with a marble island, fluted cabinetry, and a hand-hammered range hood typically runs $80,000–200,000 and takes four to eight months depending on custom cabinetry lead times.

Frequently Asked Questions About Luxury Kitchen Design

What is the difference between a luxury kitchen and a standard modern kitchen?

A standard modern kitchen typically uses engineered quartz counters, semi-custom cabinetry, and a single mixed metal finish. A luxury kitchen design invests in book-matched natural stone, furniture-grade or fully custom cabinetry with details like fluting or turned legs, and a single unified metal finish (usually brass) carried consistently across every hardware and lighting piece.

What color works best for a luxury kitchen right now?

Deep espresso and warm terracotta are currently the leading colors, replacing the all-white kitchens that dominated the previous decade, though two-tone pairings a warm white perimeter with a deep charcoal or espresso island remain equally popular for kitchens that want contrast without committing to full-color cabinetry.

How much does a luxury kitchen renovation cost?

A partial refresh using new hardware, lighting, and a marble-look backsplash costs $5,000–15,000. A mid-range luxury renovation with custom cabinetry and a natural stone island runs $60,000–120,000, and a full high-end renovation with book-matched marble, a hand-hammered brass hood, and fully custom furniture-style cabinetry typically costs $120,000–250,000 or more depending on the region.

Can a small kitchen achieve a genuinely luxury look?

Yes, but the approach differs. A small galley kitchen can’t support a waterfall island or dual-zone layout, so the strategy shifts to concentrating luxury materials on backsplash and cabinet fronts instead, running marble floor-to-ceiling on one wall and using fluted cabinetry to add texture an island would otherwise provide.

What is the most requested feature in luxury kitchen design right now?

Book-matched natural stone islands are currently the most searched and most specified feature in luxury kitchen design, according to Pinterest and design-industry trend data, followed closely by furniture-style islands with turned legs and hand-hammered brass range hoods as the room’s sculptural centerpiece.

Ready to Create Your Dream Luxury Kitchen?

These 15 trends move across material, color, lighting, layout, and genuine small-space adaptations, from a book-matched marble waterfall island and a hand-hammered brass hood to fluted cabinetry that brings the same material richness into a narrow galley kitchen. None of this needs to happen all at once, and starting with a single hero material or a lighting layer is genuinely the smarter first step, not a scaled-down compromise. Today’s specific action: pull marble or quartzite slab options from a stone yard and hold them against your cabinetry samples in natural daylight to see which veining pattern actually anchors the room you’re imagining. Once that material story is settled and carried through, the kitchen stops feeling like a room you cook in and starts feeling like the one guests linger in long after the meal is over. Save the ideas that match your kitchen’s actual footprint and your project’s actual budget; that book-matched veining and warm brass glow will still feel just as considered a decade from now.

You Might Also Like

15 Ways to Maximize Space in an Open Plan Kitchen Room

15 Ways to Maximize Space in an Open Plan Kitchen Room

Maximizing space in an open-plan kitchen means solving a different problem than a cramped kitchen faces. The challenge isn’t too little room; it’s giving an unbroken, connected space enough definition that the kitchen still reads as its own zone. This article gives you 15 real ways to do exactly that, covering color, material, lighting, furniture, and layout, each one built for a kitchen that flows directly into a living or dining area without walls to lean on.

The feel you’re after is unmistakable: a kitchen that feels like a distinct place to cook even with no door separating it from the sofa twenty feet away, sightlines that stay open without the whole plan blurring into one undefined room. Here are 15 ideas worth saving and stealing.

Why Maximizing Space in an Open Plan Kitchen Works So Well

Open-plan kitchen design traces back to mid-20th-century modernist architecture, when architects began removing load-bearing walls between kitchens and living spaces, a trend that accelerated through postwar American “great room” homes and again through the renovation-television boom of the 2000s, which made knocking down the kitchen wall a default recommendation for nearly every remodel. What makes maximizing an open kitchen different from optimizing a small, enclosed one is the core problem being solved: instead of fitting function into limited square footage, the challenge is giving an abundant, connected space enough visual structure that the kitchen doesn’t simply dissolve into the surrounding room.

The materials and techniques that solve this best include continuous flooring that runs unbroken from the kitchen into the living zone, a waterfall island countertop substantial enough to function as a genuine anchor point, and consistent cabinet or wall color that echoes tones already present in the adjoining furniture. Open shelving in place of upper cabinets keeps sightlines flowing through the space rather than boxing the kitchen off visually, even while the room itself remains functionally distinct.

Open-concept living remains one of the most searched real estate and renovation terms, though the design conversation has shifted in recent years toward “broken plan” thinking using furniture, flooring, and zoning rather than full walls to reintroduce some definition into spaces that opened up entirely. Pinterest search data reflects this shift directly, with “kitchen zoning” and “open concept kitchen ideas” both climbing as homeowners look for ways to define space without giving up the openness they removed a wall to get.

Even within a large open floor plan, the kitchen’s actual working footprint can still be genuinely tight, and the priority there is vertical storage; a floor-to-ceiling pantry wall does more for a compact kitchen zone than any amount of surrounding open space can compensate for.

Style at a Glance

ElementZone Definition TechniquesVisual Continuity Techniques
PhilosophyGive the kitchen a defined edge without wallsKeep sightlines and materials flowing through
MaterialsWaterfall island, rug boundary, pendant lightingContinuous flooring, matched color, open shelving
Color PaletteA confident island color as an anchorOne consistent wall tone across zones

15 Ways to Maximize Space in Your Open Plan Kitchen

1. Carrying One Wall Color Through Kitchen and Living Zones

1. Carrying One Wall Color Through Kitchen and Living Zones

Vibe: The whole plan feels cohesive, one wall color removing any visual seam between rooms.

Why it works: A color change at the exact spot where kitchen meets living space creates an unintentional boundary line that can make an open plan feel choppy rather than genuinely connected, while one continuous wall color lets the eye read the full space as a single considered room instead of two adjacent, competing ones. This works because color continuity is what makes an open floor plan actually deliver the spaciousness it was designed for in the first place.

How to get it: Choose one warm white or greige for every wall across the connected kitchen and living zones, reserving any bolder color exclusively for the kitchen island or cabinetry rather than the surrounding walls.

💡 Quick Win: If the two zones already have mismatched wall colors, repainting just the kitchen to match the living room’s existing tone is usually the smaller, faster fix.

Shop the Look

Product
Warm white interior paint, multi-gallon
Walnut cabinet hardware, matching living room finishes
Brushed brass light fixtures throughout
Neutral area rug, living zone
Walnut console table

2. Continuous Flooring to Visually Expand the Whole Plan

2. Continuous Flooring to Visually Expand the Whole Plan

Vibe: The plan feels expansive, floor material carrying the eye clear across the whole space.

Why it works: A material transition at the kitchen’s edge tile stopping where hardwood begins  reates a visible line the eye reads as a boundary, which works against the openness an open floor plan is specifically designed to deliver. Running the same flooring material continuously through both zones removes that visual stop point entirely, letting the space read as genuinely larger than it would with a material break partway through.

How to get it: Choose a durable, kitchen-appropriate flooring material rated for both wet-adjacent use and general living-space wear, since the single material now needs to perform well in both contexts rather than each zone getting its ideal purpose-specific surface.

Shop the Look

Product
Wide-plank white oak flooring, water-resistant finish
Floor sealant, high-traffic rated
Walnut kitchen island base
Neutral area rug, living zone
Felt furniture floor pads

3. Pendant Lighting to Lower the Visual Ceiling Over the Kitchen Zone

3. Pendant Lighting to Lower the Visual Ceiling Over the Kitchen Zone

Vibe: The kitchen feels zoned, light hanging low enough to claim its own defined pocket of space.

Why it works: An open floor plan often shares one tall, uniform ceiling across kitchen and living areas, which removes one of the most basic architectural cues  owered ceiling  th traditionally signals a distinct room. Hanging pendant lighting low specifically over the kitchen island recreates that same sense of a lowered zone using light fixtures instead of actual ceiling height, giving the kitchen area a defined visual boundary the architecture alone doesn’t provide.

How to get it: Hang pendants with their bottom edge 28–32 inches above the island surface, and keep any living-room lighting at a noticeably different height or style so the kitchen zone’s lower light reads as intentional rather than accidental.

Shop the Look

Product
Brass pendant light set, three-fixture
Dimmer switch for pendant circuit
Walnut kitchen island
Warm white dimmable bulb set
Barstool set, matching finish

4. An Island With Seating to Replace a Separate Breakfast Table

4. An Island With Seating to Replace a Separate Breakfast Table

Vibe: The island feels efficient, one piece of furniture doing what two separate ones used to.

Why it works: An open kitchen with both a full island and a separate breakfast table nearby often ends up with two competing casual-dining zones doing largely the same job, which uses more of the connected floor plan’s square footage than necessary. Building seating directly into the island consolidates that function into one furniture footprint, freeing the remaining open floor area for genuine living-space use rather than a redundant eating zone.

How to get it: Size the island’s seating overhang to at least 12 inches for comfortable knee clearance, and choose stools that tuck fully beneath the counter when not in use to keep the surrounding floor area clear.

Shop the Look

Product
Kitchen island with seating overhang
Counter-height barstool set
Pendant light set, above island
Walnut floating shelf, nearby wall
Ceramic fruit bowl

5. A Rug to Define the Kitchen’s Floor Boundary

5. A Rug to Define the Kitchen's Floor Boundary

Vibe: The kitchen feels defined, a rug doing the zoning work walls would in a divided home.

Why it works: A rug beneath the kitchen’s island and seating signals a distinct functional zone the same way flooring material changes do elsewhere, without requiring any actual construction. This is the same soft-zoning principle used across open floor plans generally, applied specifically to the kitchen’s working footprint within a larger connected space. This works even when the flooring material itself stays continuous throughout the plan, since the rug provides the boundary cue on its own.

How to get it: Choose a low-pile, kitchen-safe rug material specifically, sizing it so all island seating sits fully on it, and keep the surrounding living zone’s rug in a different but complementary texture or tone.

Shop the Look

Product
Low-pile kitchen area rug
Rug pad, non-slip
Walnut kitchen island
Barstool set
Neutral area rug, living zone

6. A Contrasting Island Color to Anchor the Kitchen Zone

6. A Contrasting Island Color to Anchor the Kitchen Zone

Vibe: The kitchen feels anchored, one confident color telling the eye exactly where the room’s center sits.

Why it works: In a large, continuously colored open plan, a single confidently colored island functions as the kitchen’s clear focal point and functional anchor, the same emphasis principle used in any room needing a defined center of gravity, applied here specifically to counteract an open plan’s tendency toward visual sameness. This works because the surrounding walls and living space stay neutral, letting the island’s color read as a deliberate zone marker rather than competing with anything else in the space.

How to get it: Choose one bold, confident color for the island exclusively, keeping every wall and adjacent cabinet surface in the same neutral used throughout the rest of the open plan, so the color contrast reads as intentional rather than random.

Shop the Look

Product
Forest green cabinet-grade paint
Brushed brass cabinet hardware set
White marble-look countertop
Pendant light set, above island
Barstool set, matching finish

7. Open Shelving Instead of Upper Cabinets for Sightline Flow

7. Open Shelving Instead of Upper Cabinets for Sightline Flow

Vibe: The kitchen feels connected, shelving letting the eye travel straight through into the next room.

Why it works: Solid upper cabinets create a visual wall at eye level even in a room with no actual walls dividing it, which can undercut an open plan’s intended sense of connection between the kitchen and adjoining living space. Open shelving keeps sightlines passing through at that same height, letting someone in the living area see clearly into and past the kitchen rather than facing a bank of closed cabinet doors.

How to get it: Replace upper cabinets specifically on the wall facing the living zone with open shelving, keeping any remaining enclosed storage on walls that don’t interrupt the primary sightline between the two spaces.

Shop the Look

Product
Walnut open shelving unit
Ceramic dishware set, displayed
Hidden bracket mounting kit
Small potted plant, shelf-styled
Glassware set, clear

8. Positioning the Island Along the Kitchen’s Natural Work Triangle

8. Positioning the Island Along the Kitchen's Natural Work Triangle

Vibe: The kitchen feels functional, every step between sink, stove, and fridge staying genuinely short.

Why it works: The classic kitchen work triangle efficient distances between sink, range, and refrigerator  ecomes easy to accidentally break in an open plan, where the temptation to place the island wherever looks best visually can disrupt the actual cooking workflow. Positioning the island specifically to preserve that triangle, rather than purely for its appearance from the living room, keeps the kitchen’s core function intact even as the space serves a much larger connected room.

How to get it: Map your sink, range, and refrigerator positions before finalizing island placement, keeping at least 42 inches of clearance on all sides of the island for comfortable movement between all three points.

Shop the Look

Product
Walnut kitchen island, functional footprint
Prep sink, island-mounted
Pendant light set, above island
Barstool set
Ceramic utensil crock

9. Under-Cabinet Lighting to Reduce Reliance on Overhead Fixtures

9. Under-Cabinet Lighting to Reduce Reliance on Overhead Fixtures

Vibe: The counter feels functional, warm task light doing its job without flooding the whole open room.

Why it works: Bright overhead kitchen lighting in an open plan doesn’t stay contained to the kitchen the way it would behind a wall  ; spills into the connected living space, which can make evening ambiance harder to control across the whole area. Under-cabinet lighting delivers focused task light exactly where food prep happens, letting the kitchen function well without requiring the overhead fixtures to run at full brightness and affect the entire open room’s mood.

How to get it: Install warm white 2700K LED strips along the full underside of upper cabinets, and put them on a separate switch from the overhead fixtures so task lighting and ambient room lighting can be controlled independently.

Shop the Look

Product
Warm white LED strip lighting kit
Plug-in dimmer switch for strips
Adhesive cable clips
Ceramic kitchen canister set
Under-cabinet mounting channel

10. A Peninsula Instead of a Full Island for Tighter Plans

10. A Peninsula Instead of a Full Island for Tighter Plans

Vibe: The kitchen feels connected, a peninsula doing an island’s job without needing the same clearance.

Why it works: A full island requires walking clearance on all four sides, which isn’t always available even in an open plan if the kitchen’s actual working footprint is tighter than the surrounding room suggests; a peninsula, attached to one run of cabinetry rather than freestanding, needs clearance on only three sides, delivering similar seating and counter function within a smaller required footprint. This distinction matters specifically when a kitchen’s connected living space is generous, but its actual cabinetry run is more constrained.

How to get it: Extend the peninsula from your longest wall of cabinetry, maintaining at least 36 inches of clearance on the open sides for both seating and walking traffic.

Shop the Look

Product
Peninsula countertop extension
Counter-height barstool set
Pendant light, above peninsula
Walnut cabinet hardware, matching
Ceramic fruit bowl

11. A Waterfall Island Countertop as a Room-Defining Anchor

11. A Waterfall Island Countertop as a Room-Defining Anchor

Vibe: The island feels substantial, stone flowing to the floor giving the whole zone real weight.

Why it works: A waterfall edge extends the countertop material down the island’s sides to the floor in one continuous piece, which gives the island significantly more visual mass and presence than a standard countertop edg. Inn an open plan, specifically, this added substance helps the kitchen hold its own as a defined zone against the visual pull of a large connected living space. The material continuity from top to floor also reinforces the same continuous-material principle used in flooring transitions elsewhere in open-plan design.

How to get it: Work with a fabricator who can book-match the stone’s veining pattern across the waterfall seam, since a properly matched edge is what makes the island read as substantial rather than simply tall.

Shop the Look

Product
Marble waterfall countertop, island
Barstool set, counter height
Pendant light set, above island
Brass cabinet hardware, matching
Stone sealant, marble-safe

12. Sound-Dampening Textiles for an Acoustically Open Room

12. Sound-Dampening Textiles for an Acoustically Open Room

Vibe: The open plan feels softened, fabric absorbing the echo hard kitchen surfaces usually create.

Why it works: Open kitchens combine hard, sound-reflective surfaces tile, stone, glass, cabinetry with an unusually large connected volume of air, which is a specific acoustic combination that makes conversation and general noise carry and echo more than in a smaller, enclosed kitchen. Distributing textiles across the open plan a substantial area rug, upholstered barstools, curtains absorbs sound the way the same materials would in a living room, addressing a genuine functional problem open-plan kitchens create that a fully enclosed kitchen never has to solve.

How to get it: Prioritize soft materials specifically in the zones where kitchen and living space meet, since that transition area is where sound most freely travels between the hard kitchen surfaces and the open room beyond.

Shop the Look

Product
Large area rug, open-plan sized
Upholstered barstool set
Linen curtain panels, living zone
Fabric-covered acoustic panel, discreet
Woven throw blanket, living area

13. Matching Cabinet Tone to Adjacent Living Room Furniture

13. Matching Cabinet Tone to Adjacent Living Room Furniture

Vibe: The whole plan feels considered, one wood tone quietly connecting kitchen and living furniture.

Why it works: Repeating one dominant wood tone across both the kitchen cabinetry and the visible living room furniture creates rhythm, the same core design principle used to unify open-concept homes generally, which is what keeps an open plan from reading as two separately furnished rooms that happen to share a floor. This works especially well in genuinely open layouts where both zones are visible from most vantage points in the home.

How to get it: Choose one wood species and finish before furnishing either zone, and check every major piece  abinetry, console tables, shelving against that reference tone before purchasing, even if furniture styles vary between the two spaces.

Shop the Look

Product
Walnut kitchen cabinetry
Walnut console table, living zone
Walnut open shelving, living zone
Brass hardware set, matching throughout
Neutral area rug, living zone

14. Keeping a Clear Sightline From the Front Door Through to the Kitchen

14. Keeping a Clear Sightline From the Front Door Through to the Kitchen

Vibe: The plan feels welcoming, one clear sightline connecting the front door straight to the heart of the home.

Why it works: A genuinely open plan’s biggest advantage is the sense of connection it creates across a home, and that benefit depends entirely on furniture placement not accidentally blocking the primary sightlines between key points, especially the path from a front entry through to the kitchen, which is often the first full view a guest gets of the home’s layout. Positioning furniture and any zone dividers to preserve this specific sightline maximizes the open plan’s intended sense of flow rather than working against it.

How to get it: Stand at your front door and identify what’s directly in your line of sight toward the kitchen, removing or repositioning any furniture piece taller than counter height that currently blocks that specific view.

Shop the Look

Product
Low console table, entry-adjacent
Walnut kitchen island, sightline-clear
Pendant light set, above island
Runner rug, entry to kitchen path
Small wall mirror, entry

15. A Vertical Pantry Wall to Avoid Floor-Level Clutter

15. A Vertical Pantry Wall to Avoid Floor-Level Clutter

Vibe: The kitchen feels efficient, storage climbing the wall instead of spreading across an open floor.

Why it works: Even within a spacious open floor plan, a kitchen’s actual cabinetry footprint can remain genuinely tight, and a floor-to-ceiling pantry wall claims vertical storage capacity that a standard-height cabinet run leaves unused. This matters specifically in open-plan homes, where adding more freestanding storage furniture into the connected living space to compensate for insufficient kitchen storage would undercut the open room’s overall sense of space.

How to get it: Choose pantry cabinetry that extends to the ceiling rather than stopping at standard upper-cabinet height, using a pull-out step stool or ladder for the topmost shelves rather than sacrificing that vertical storage capacity.

Shop the Look

Product
Floor-to-ceiling pantry cabinetry
Pull-out step stool, kitchen-sized
Pantry organization bin set
Walnut cabinet hardware, matching
Label tag set, pantry shelving

How to Start Maximizing Your Open Plan Kitchen

Your single first move should be establishing one continuous wall color across the entire connected kitchen and living space, because this single decision affects the whole plan’s sense of cohesion more than any furniture or lighting choice that follows it, and repainting later after other decisions are locked in is far more disruptive than starting here.

The most common mistake is placing the kitchen island purely for how it looks from the living room, without checking that it still preserves efficient distances between the sink, range, and refrigerator. Fix it by mapping your kitchen’s actual work triangle before finalizing island placement, treating cooking function as the non-negotiable constraint furniture arrangement has to work around, not the other way around.

Three specific items under $50 that create immediate impact: a set of adhesive under-cabinet LED strip lights to control kitchen task lighting independently from the open room’s ambiance, a runner rug to define the sightline path from your entry to the kitchen, and a set of matching brass cabinet pulls to visually unify kitchen hardware with nearby living-room lighting fixtures.

A basic zoning refresh using paint, a rug, and lighting adjustments typically takes one weekend and costs $300–$700. A fuller transformation including a new island and open shelving generally runs $15,000–$40,000 and takes four to eight weeks, while a complete open-plan kitchen renovation realistically spans two to four months and costs $40,000–$90,000 depending on the scope of cabinetry and structural work involved.

Frequently Asked Questions About Maximizing Open Plan Kitchens

What is the difference between maximizing a small kitchen and an open plan kitchen?

Maximizing a small kitchen focuses on fitting genuine function into limited square footage through vertical storage and multi-functional furniture, while maximizing an open plan kitchen focuses on giving an abundant, connected space enough definition that the kitchen still reads as its own distinct zone. The two challenges can actually coexist, since an open-plan home’s kitchen cabinetry footprint may still be genuinely tight even while the surrounding room feels spacious, which is why vertical storage remains relevant in both contexts.

What colors work best for maximizing an open plan kitchen?

Warm white or greige carried continuously across both the kitchen and living zone walls creates the cohesive backdrop that lets an open plan feel like one considered space rather than two separately colored rooms sharing a floor. A single confident accent color reserved specifically for the kitchen island often forest green or a deep charcoal then functions as the zone’s clear anchor point without disrupting that overall color continuity.

How much does it cost to maximize space in an open plan kitchen?

A basic zoning refresh using paint, a defining rug, and lighting adjustments typically costs $300–$700 and takes a weekend. A fuller transformation adding a new island with seating and open shelving generally runs $15,000–$40,000, while a complete open-plan kitchen renovation involving new cabinetry, flooring continuity, and structural adjustments usually falls between $40,000 and $90,000 depending on the extent of work required.

Does zoning an open plan kitchen require removing the open concept?

No, the goal is adding definition through non-structural techniques like rugs, lighting, and color rather than rebuilding walls, which is precisely what the current “broken plan” design trend addresses. A well-zoned open kitchen keeps every benefit of the open layout, including sightlines and natural light flow, while still reading as a distinct functional area rather than an undefined extension of the living room.

What is the most important layout consideration in an open plan kitchen?

Preserving the kitchen’s work triangle efficient distances between the sink, range, and refrigerator matters more than any single zoning or decor decision, since a beautifully zoned kitchen that’s genuinely inconvenient to cook in fails at its primary job regardless of how well it looks from the living room. Island placement should always be checked against this functional triangle first, with visual and zoning considerations layered in afterward rather than driving the initial layout decision.

Ready to Maximize Your Open Plan Kitchen?

These 15 ways to maximize space in an open plan kitchen span color, material, lighting, furniture, and layout from one continuous wall color running through both zones to a waterfall island substantial enough to anchor the whole room and a vertical pantry wall that solves real storage limits within an otherwise spacious plan so there’s a genuinely useful technique here whatever’s currently making your open kitchen feel undefined or inefficient. You don’t need every idea at once, and establishing one consistent wall color across the full connected space before tackling furniture or lighting is not a smaller first step,;it’s the decision every other zoning technique on this list depends on reading correctly. Today’s specific action: stand at your home’s front entry and check whether your sightline runs clearly through to the kitchen, removing or repositioning anything currently blocking that view. Once the plan’s core sightlines and color story are working together, every rug, pendant, and island choice layered on top will finally read as one well-considered space instead of a kitchen and living room that simply happen to share a floor. Save the techniques that fit your own open plan’s real shape today that lowered pendant zone, that waterfall island  ecause in open-concept design, the space that flows well is the space that was actually planned, not just opened up.

You Might Also Like

18 Modern Cottage Kitchen Ideas for a Warm, Livable Heart of the Home
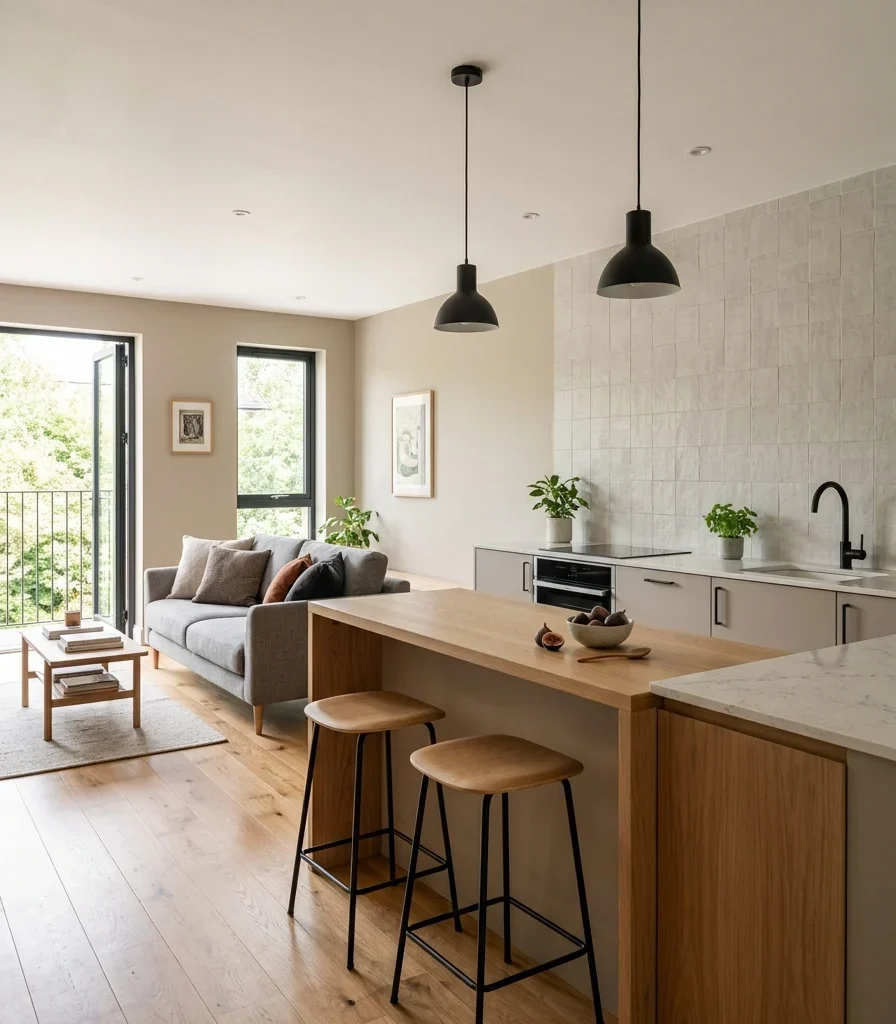
18 Modern Cottage Kitchen Ideas for a Small Home
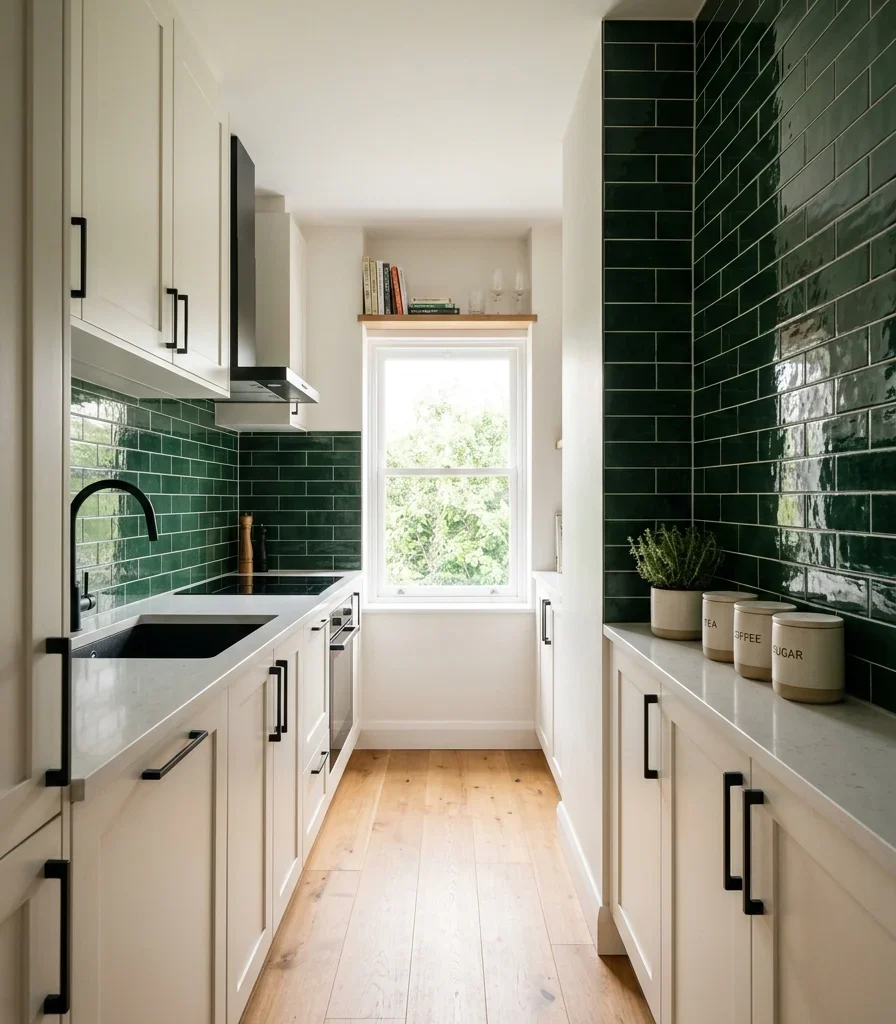
Modern cottage kitchen design blends the soft, hand-me-down charm of cottage interiors with the clean lines and quiet palette of contemporary spaces. This guide gives you 18 modern cottage kitchen ideas covering color, materials, lighting, and layout so your kitchen feels as considered as it does functional.
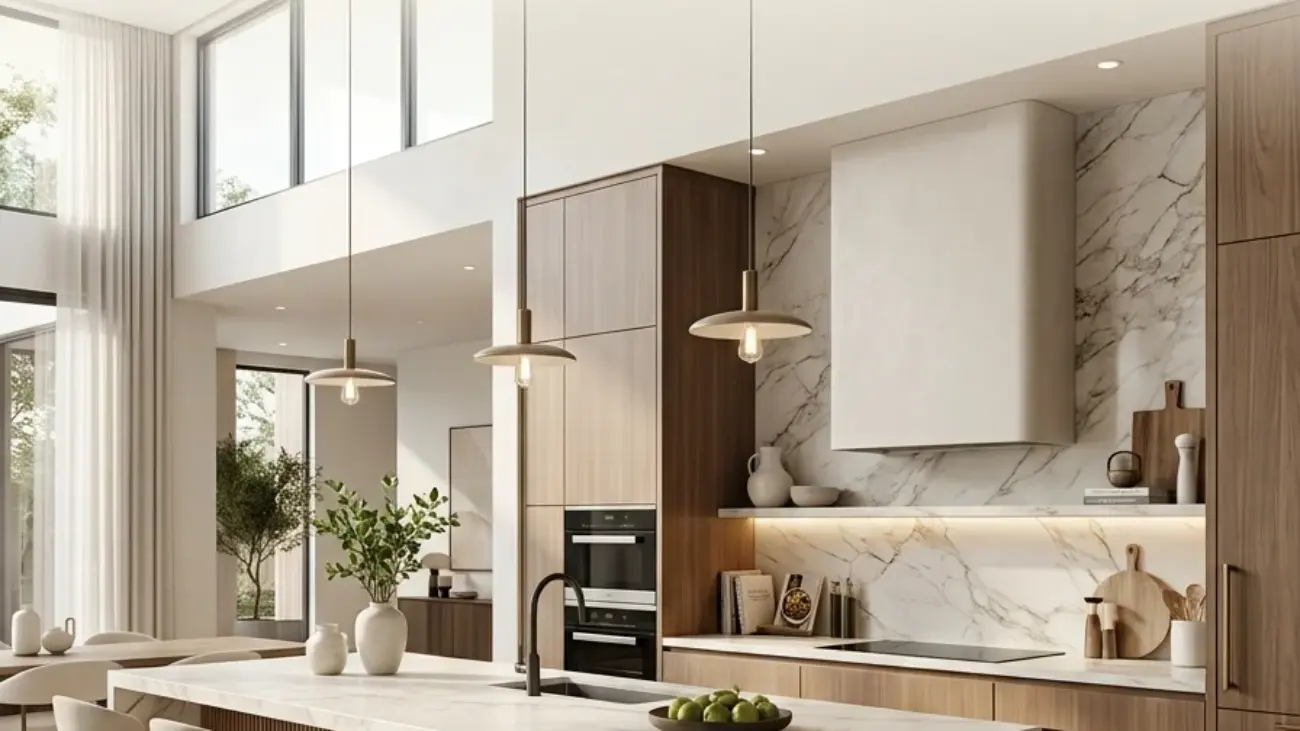
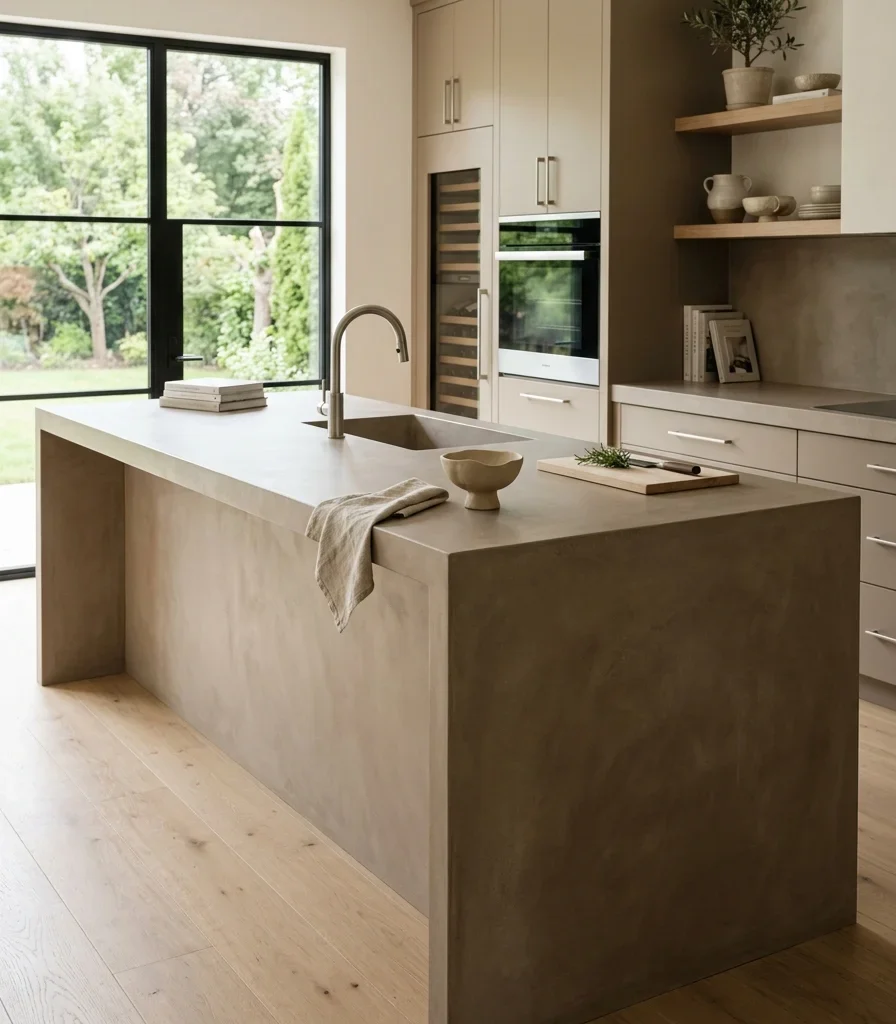
Picture a kitchen where morning light lands on whitewashed shaker cabinets, where open shelves hold real crockery instead of styled props, and where the whole room feels like it’s been used and loved for years. It’s a look built on warmth without fuss sage, oat, and worn brass carried across every surface you actually cook on. Modern cottage kitchens turn the most-used room in the house into the one that feels the most like home. Here are 18 ideas worth saving and stealing.

Why Modern Cottage Kitchen Ideas Work So Well

What is it? Modern cottage kitchen design applies the informal warmth of English and American cottage kitchens  en shelving, apron sinks, worn wood  t the streamlined cabinetry and restrained palettes of contemporary design. It differs from farmhouse kitchens, which lean on heavier black hardware and shiplap, by staying softer and lighter in both color and material weight.

Materials and colors. Expect warm white, dusty sage, oat, and terracotta blush against whitewashed oak, unfinished butcher block, handmade subway tile, rattan, and brushed brass. Shaker-style cabinet doors, woven pendant shades, and stoneware crockery carry the style across counters and shelves alike.

Why it’s trending now. Kitchens became the room people spent the most time in during the shift toward home cooking and slower mornings, and Pinterest searches for “cottage kitchen” and “modern farmhouse kitchen” have climbed steadily as that habit stuck. Sustainability-minded shoppers are also favoring reclaimed wood and handmade tile over mass-produced finishes.

Can small spaces achieve this? Yes, with priorities. A galley or small kitchen should focus first on open shelving instead of upper cabinets and a single warm-white palette, since large islands and full pantry hutches need more square footage than compact kitchens usually have.

Style at a Glance

ElementCottageModern
PhilosophyWarmth, nostalgia, hand-me-down charmRestraint, clean lines, functional simplicity
MaterialsWhitewashed oak, rattan, handmade tile, brushed brassShaker cabinetry, streamlined hardware, matte finishes
Color paletteWarm white, oat, terracotta blushDusty sage, warm charcoal, soft greige

18 Modern Cottage Kitchen Ideas

1. Shaker Cabinets in Whitewashed Oak

1. Shaker Cabinets in Whitewashed Oak

Vibe: Serene  the cabinetry reads as quiet architecture, not furniture.

Why it works: Shaker doors have a single recessed panel that creates just enough shadow line to add dimension without ornamentation, and the thin whitewash lets oak grain show through, keeping the surface textured rather than flat and painted.

How to get it: Choose solid oak shaker doors and apply a 1:1 white paint-to-water wash with a dry brush, wiping excess so the grain stays visible underneath.

💡 Quick Win: Swapping only the cabinet pulls to unlacquered brass changes the entire feel of existing white cabinets in an afternoon.

Shop the Look

Product
Unlacquered brass cabinet pull
Whitewash stain finish oak
Ceramic kitchen canister set
Brass cabinet knob small
Wood cutting board display stand

2. Warm White Cabinets with a Sage Green Island

2. Warm White Cabinets with a Sage Green Island

Vibe: Still, th, room feels calm even with two colors in play.

Why it works: Reserving the accent color for the island alone, while keeping the perimeter neutral, uses color-blocking to make the island the room’s focal point without requiring a full-color kitchen commitment.

How to get it: Paint perimeter cabinets in warm white and the island in a dusty sage like Farrow & Ball’s Pigeon, keeping the countertop material consistent across both to unify the two tones.

Shop the Look

Product
Dusty sage cabinet paint
Warm white cabinet paint
Brass kitchen faucet
Small potted herb planter
Ceramic utensil crock

3. Woven Rattan Pendants Over the Island

3. Woven Rattan Pendants Over the Island

Vibe: Warm  the light falls in broken, dappled patterns across the island.

Why it works: Rattan’s open weave diffuses light unevenly rather than casting a flat pool, giving the island a warm, textured light quality that a plain glass or metal pendant can’t replicate, while the repeated row of three reinforces the island’s length.

How to get it: Hang three matching rattan pendants spaced 24 to 30 inches apart, with the bottom of each shade roughly 30 inches above the island counter.

Shop the Look

Product
Woven rattan pendant light set of three
Brass ceiling canopy kit
Counter-height bar stool woven seat
Ceramic fruit bowl large
Ceiling hook mounting hardware

4. Butcher Block Island with Turned Legs

4. Butcher Block Island with Turned Legs

Vibe: Grounded; the island feels like furniture that happens to hold a sink.

Why it works: Turned wood legs give the island a freestanding-furniture silhouette rather than a built-in cabinet block, adding the negative space beneath it that keeps a kitchen from feeling like a wall of solid cabinetry.

How to get it: Choose a butcher block top with a visible end-grain pattern over a base with turned or tapered legs, leaving at least 6 inches of visible leg beneath the counter overhang.

Shop the Look

Product
Butcher block countertop slab
Turned wood table leg set
Ceramic mixing bowl large
Wood cutting board set
Brass drawer pull small

5. Open Shelving Styled with Ceramic Crockery

5. Open Shelving Styled with Ceramic Crockery

Vibe: Layered; the shelves show real daily use, not staged props.

Why it works: Open shelving replaces the visual bulk of upper cabinets with the negative space of exposed wall, and stacking real dinnerware in a single glaze color keeps the display from reading as clutter despite being fully functional.

How to get it: Install oak shelves at 15-inch depth and style with dinnerware in one or two glaze tones only, stacking plates by size and grouping mugs on hooks beneath.

💡 Quick Win: Removing just one upper cabinet door and styling the interior like open shelving tests the look before committing to full demolition.

Shop the Look

Product
Oak open shelf bracket set
Stoneware dinner plate set
Ceramic mug set glazed
Mug hook rail brass
Small trailing plant pot

6. Handmade Subway Tile Backsplash

6. Handmade Subway Tile Backsplash

Vibe: Raw; the wall has visible handmade imperfection.

Why it works: Handmade tile has slight variation in edge and glaze thickness that machine-cut tile lacks, creating subtle light-catching texture across the backsplash that reads as material depth rather than a flat, uniform surface.

How to get it: Choose a handmade ceramic subway tile in warm white and lay it in a classic running-bond pattern with a slightly darker warm gray grout to define each tile’s edge.

Shop the Look

Product
Handmade ceramic subway tile
Warm gray sanded grout
Brass pot rail rack
Glass herb storage jar
Small ceramic spoon rest

7. Terracotta Blush Tile on the Range Wall

7. Terracotta Blush Tile on the Range Wall

Vibe: Warm; the cooking wall becomes the kitchen’s focal point.

Why it works: Concentrating a saturated terracotta tone behind the range alone treats that wall as a distinct feature, the same way a fireplace surround gets special material treatment, without requiring a full-kitchen color commitment.

How to get it: Tile only the wall directly behind the range in matte terracotta blush, extending to the underside of the range hood, and keep surrounding cabinetry in warm white.

💡 Quick Win: A terracotta ceramic backsplash runner tile behind the stovetop alone offers the same warmth at a fraction of the material cost.

Shop the Look

Product
Terracotta blush ceramic tile
Warm white cabinet paint
Brass range hood trim strip
Ceramic olive oil bottle
Small terracotta spice jar set

8. Zoned Coffee Station on an Open Shelf Wall

8. Zoned Coffee Station on an Open Shelf Wall

Vibe: Cozy; one corner does a single job and does it well.

Why it works: Grouping coffee equipment on its own shelf, physically apart from cooking tools, uses zone definition to separate two different kitchen activities, which keeps the main counter clear during meal prep and the coffee corner functional every morning.

How to get it: Dedicate one open shelf and a small section of counter to coffee equipment only, using a wood tray to visually contain the grouping within its own boundary.

Shop the Look

Product
Wood serving tray large
Glass coffee canister set
Ceramic mug set stacked
Small oak shelf bracket
Brass spoon holder

9. Vintage Cane Counter Stools

9. Vintage Cane Counter Stools

Vibe: Layered ld furniture sits comfortably against clean cabinetry.

Why it works: Cane’s curved, woven silhouette contrasts directly against the island’s straight lines and flat surfaces, a shape contrast that keeps a streamlined kitchen from feeling sterile or showroom-new.

How to get it: Choose counter stools with cane or rattan seat backs in a warm honey wood tone, matching the finish loosely to the island’s wood rather than exactly to avoid a matched-set look.

Shop the Look

Product
Cane back counter stool set
Linen napkin set
Small ceramic condiment bowl
Wood footrest bar stool
Woven seat cushion round

10. Brass Picture Light Over Open Shelves

10. Brass Picture Light Over Open Shelves

Vibe: Intimate  ; e shelf display gets gallery-quality light.

Why it works: A dedicated picture light gives open shelving its own warm light source instead of relying on overhead kitchen lighting- the specific light behavior that makes stacked ceramics and glassware glow rather than sit in flat, even light.

How to get it: Mount a slim brass picture light directly above the shelf’s center point, angled down to wash light evenly across the display without glare.

Shop the Look

Product
Brass articulated picture light
Warm LED bulb 2200K
Ceramic jug small
Stacked stoneware plate set
Wall anchor mounting kit

11. Café Curtains on the Sink Window

11. Café Curtains on the Sink Window

Vibe: Air; the window keeps its light while gaining softness.

Why it works: A café curtain covers only the lower half of the window, blocking sightlines to a neighboring yard or sidewalk while leaving the upper half fully open, so the room keeps most of its natural daylight instead of losing it to a full-length panel.

How to get it: Mount a slim brass rod at the window’s midpoint and hang a natural linen curtain with a simple rod-pocket top, sized to cover only the lower sash.

💡 Quick Win: A single yard of linen fabric hemmed at home costs less than a pre-made curtain and fits most standard sink windows.

Shop the Look

Product
Natural linen café curtain panel
Slim brass curtain rod
Potted herb windowsill planter
Ceramic soap dispenser
Brass curtain ring set

12. Reclaimed Wood Range Hood

12. Reclaimed Wood Range Hood

Vibe: Rustic; the range wall gets real material presence.

Why it works: A wood hood cover adds a large, textured focal point above the range, using visual weight to balance a kitchen that might otherwise be dominated by flat cabinet fronts and smooth countertops.

How to get it: Build or source a wood hood surround in reclaimed oak with visible saw marks, adding thin brass strapping across the front for a detail that echoes cabinet hardware elsewhere.

Shop the Look

Product
Reclaimed wood hood cover kit
Brass strapping hardware detail
Ceramic spice jar set
Wood utensil holder
Small brass hook rail

13. Dusty Sage Lower Cabinets with Warm White Uppers

13. Dusty Sage Lower Cabinets with Warm White Uppers

Vibe: Grounded, heavier color below, light above.

Why it works: Placing the darker sage tone on lower cabinets and warm white above uses value contrast the same way a wainscoted wall does, visually anchoring the room at floor level while keeping the upper half light and airy.

How to get it: Paint lower cabinets in dusty sage and upper cabinets in warm white, using the same brass hardware finish throughout to unify the two-tone scheme.

💡 Quick Win: Painting only the island in sage while leaving all other cabinets white achieves a similar effect with far less painting.

Shop the Look

Product
Dusty sage cabinet paint
Warm white cabinet paint
Brass cabinet hardware set
Ceramic canister trio
Brass drawer pull

14. Galley Kitchen with a Fold-Down Table

14. Galley Kitchen with a Fold-Down Table

Vibe: Airy a tight galley kitchen still has room to sit down.

Why it works: A fold-down table gives a narrow galley kitchen a dining surface without permanently occupying floor space, tanillusion technique that makes a compact kitchen feel functional rather than cramped when it isn’t in use.

How to get it: Mount a hinged drop-leaf table on the least-trafficked wall, choosing a wood tone that matches existing shelving so it reads as built-in rather than added on.

Shop the Look

Product
Wall-mounted fold-down table
Hinge hardware kit heavy duty
Small ceramic vase
Linen napkin set
Wall bracket support

15. Freestanding Pantry Hutch Cabinet

15. Freestanding Pantry Hutch Cabinet

Vibe: Layered storage becomes a genuine furniture piece.

Why it works: A freestanding hutch adds furniture character and additional storage without requiring built-in cabinetry, letting a kitchen borrow the negative space and visual variety of a furniture piece rather than a continuous wall of cabinets.

How to get it: Choose a hutch with glass-front upper doors to display dinnerware and closed lower cabinets for pantry goods, positioning it against the one wall without built-in cabinetry.

Shop the Look

Product
Wood pantry hutch cabinet
Glass-front cabinet hardware
Woven storage basket
Ceramic plate display set
Brass hutch door pull

16. Under-Cabinet Warm LED Task Lighting

16. Under-Cabinet Warm LED Task Lighting

Vibe: Warm  he counter finally has light to actually cook by.

Why it works: Under-cabinet lighting eliminates the shadow a cook’s own body casts across the counter from overhead fixtures, a light-behavior fix that’s purely functional but also gives the backsplash tile a warm evening glow it doesn’t get from ceiling light alone.

How to get it: Install a 2700K warm LED strip in a hidden aluminum channel along the underside of upper cabinets, wired to its own switch separate from overhead lighting.

Shop the Look

Product
Warm LED strip light 2700K
Aluminum LED channel hidden
Ceramic utensil crock
Wood cutting board
Under-cabinet switch dimmer

17. Wood Plate Rack Above the Sink

17. Wood Plate Rack Above the Sink

Vibe: Quiet  chore turns into part of the room’s charm.

Why it works: A wall-mounted plate rack keeps dish drying visible and functional at once, the same design honesty as an open shelf  w: t’s stored there is what’s actually being used, not a styled prop collection.

How to get it: Mount a solid oak dowel plate rack directly above the sink, sized to hold four to six plates, leaving enough drip clearance to the sink basin below.

Shop the Look

Product
Wood dowel plate rack
Farmhouse apron sink
Linen dish towel set
Ceramic soap dish
Brass sink faucet

18. Checkerboard Floor in Warm Charcoal and Cream

18. Checkerboard Floor in Warm Charcoal and Cream

Vibe: Grounded  the floor gives the whole kitchen a visual base.

Why it works: A checkerboard floor introduces a graphic pattern on the one surface large enough to carry it without overwhelming the room, using scale and repetition to add visual interest below eye level while cabinetry above stays quiet and neutral.

How to get it: Lay 12-inch matte tile in a two-tone checkerboard using warm charcoal and cream rather than stark black and white, which softens the pattern’s contrast to match the room’s warm palette.

💡 Quick Win: A checkerboard-pattern vinyl floor runner achieves the same visual effect over existing flooring with no demolition.

Shop the Look

Product
Matte checkerboard floor tile
Warm charcoal grout
Woven jute kitchen runner
Ceramic pet bowl set
Floor tile spacer kit

How to Start Your Modern Cottage Kitchen Transformation

Your first move should be the cabinet hardware, not the cabinets themselves. Swapping existing pulls and knobs for unlacquered brass instantly shifts the room’s tone toward warmth, and because hardware touches every drawer and door, it anchors the palette every other change will build from.

The most common mistake is mixing warm and cool wood tones  a gray-washed floor paired with honey-toned open shelves, for example  which breaks the material coherence this style depends on. Fix it by choosing one wood family, either whitewashed or warm oak, and carrying it across shelving, island, and any visible trim.

Three items under $50 that create real impact fast: a set of unlacquered brass cabinet knobs (around $28 for six), a linen café curtain panel for the sink window (around $32), and a stoneware canister for the counter (around $22).

A weekend refresh hardware, curtain, and open shelving styling  osts $150–$350. A full kitchen transformation with cabinet paint, tile, and lighting runs $3,000–$12,000 and typically takes four to twelve weeks depending on whether cabinets are replaced or refinished.

Frequently Asked Questions About Modern Cottage Kitchen Ideas

What is the difference between a modern cottage kitchen and a farmhouse kitchen?

Modern cottage kitchens lean softer, using rattan, brass, and lighter wood tones, while farmhouse kitchens favor black iron hardware, shiplap, and heavier reclaimed wood details. Farmhouse styling often includes barn-style sliding pantry doors and darker stains that modern cottage generally skips in favor of whitewashed or honey-toned finishes. Both share open shelving and apron sinks, but modern cottage adds terracotta and sage where farmhouse stays closer to black and white.

What colors work best in a modern cottage kitchen?

Warm white as the base cabinet color, with dusty sage reserved for an island or lower cabinets and terracotta blush limited to a single tile accent, is the most reliable palette. Avoid stark, cool-toned whites, which read as clinical rather than warm under kitchen task lighting. Pairing warm white uppers with a sage lower cabinet is one of the most searched two-tone combinations for this style.

How much does it cost to decorate a modern cottage kitchen?

A budget refresh using hardware, curtains, and open shelving runs $150–$500. A mid-range update adding a tile backsplash and new pendant lighting lands between $1,500–$4,000. A full renovation with new cabinetry, an island, and flooring typically costs $8,000–$25,000 depending on kitchen size and whether plumbing or electrical work is required.

Does modern cottage style work in a small kitchen?

Yes, with adjustments. Prioritize open shelving over upper cabinets to keep walls visually light, choose a single warm-white palette rather than a two-tone scheme, and add a wall-mounted fold-down table instead of a full island. Avoid a bulky pantry hutch or oversized island, which can make a small galley kitchen feel more cramped rather than more functional.

What kind of lighting is best for a modern cottage kitchen?

A row of woven rattan pendants over the island, paired with warm 2700K under-cabinet LED strips for task lighting, is the most reliable modern cottage kitchen lighting combination. This avoids the flat, shadowed counters that overhead lighting alone always leaves behind. Adding a brass picture light above open shelving gives dinnerware displays their own warm glow separate from the room’s main fixtures.

Ready to Create Your Dream Modern Cottage Kitchen?

These 18 ideas cover color, material, lighting, furniture, and layout, so there’s a genuine entry point whether you’re renovating from scratch or refreshing what’s already there. Starting small is not a lesser version of this style  ; w hardware or one styled open shelf is a legitimate first step, not a placeholder for a full renovation later. Today, take down one upper cabinet door, style the shelf inside with the dinnerware you actually use, and see how the room feels with a little more open, breathing space. Once the kitchen comes together, cooking in it should feel less like a task and more like the daily ritual this style was always meant to hold. Save the ideas that matched your cabinets, your light, and the wood tone you keep circling back to, and start with the hardware, the curtain, or the shelf  whichever one you can’t stop picturing.

You Might Also Like

10 Open Kitchen Partition Ideas Worth Saving

10 Open Kitchen Partition Ideas Worth Saving

Open kitchen partition ideas use structural or visual dividers waterfall islands, reeded glass walls, slatted wood screens, half-walls to separate a kitchen from an adjoining living or dining space without fully closing it off. This article gives you 10 open kitchen partition ideas covering color, materials, lighting, furniture, layout, and small-space fixes, each with a shoppable “Steal the Look” list.

Picture a kitchen that feels contained without ever feeling cut off; you can still hear the conversation in the next room, still catch the light moving across the floor, but there’s a clear sense of where cooking ends and living begins. Steam and smells stay mostly in their lane. Sightlines stay open. The room reads as two spaces working together instead of one undefined blob of square footage. Here are 10 ideas worth saving and stealing.

Why Open Kitchen Partition Ideas Work So Well

Open kitchen partition ideas grew directly out of the open-concept renovation wave of the 2000s and 2010s, which knocked down full walls between kitchens and living rooms in the name of connection, nd then, a decade later, homeowners started missing having any separation at all. This style sits in the middle: it keeps the openness but reintroduces just enough structure to define where each function lives, distinct from a fully closed galley kitchen and from a totally undivided great room.

The materials that do this work are specific: reeded or fluted glass, slatted white oak or walnut screens, waterfall quartz or butcher-block islands, rattan and cane panels, and steel-framed openings finished in matte black or brushed brass. Colors stay practical rather than decorative: warm white cabinetry, soft greige walls, and one contrasting material, usually the island’s waterfall edge, carrying the room’s visual weight.

This approach is trending because Zillow and Pinterest search data both show rising interest in “broken plan” and “zoned open concept” layouts, a direct response to remote work and multi-generational households needing acoustic and visual separation that a fully open floor plan can’t provide. People want connection without losing the ability to cook without an audience.

Small kitchens can absolutely use partial partitions, but full walls or floor-to-ceiling glass are usually the wrong call; they eat visual volume a small room can’t spare. Small-space decorators should prioritize partitions that stop at counter or shoulder height, keeping sightlines open above while still defining the floor plan below.

ElementStructural PartitionVisual Partition
PhilosophyZone definition through built structureZone definition through sightlines and light
MaterialsWhite oak, quartz waterfall islands, drywall knee wallsReeded glass, rattan screens, pendant fixtures
Color PaletteWarm white, oak, matte blackSoft greige, brushed brass, smoky glass

1. Two-Tone Paint to Mark the Kitchen Zone

1. Two-Tone Paint to Mark the Kitchen Zone

Vibe: Airy, a boundary you feel before you consciously notice it.

Why it works: Color-blocking two adjoining walls in different tones creates a visual boundary without any structural change, applying a basic value-contrast principle; the eye registers the shift in tone as a dividing line even though the floor plan remains fully open. This is the lowest-commitment way to define zones in a rental or a kitchen where knocking anything down isn’t an option.

How to get it: Paint the kitchen walls in a warm white like Sherwin-Williams “Alabaster” and the adjoining living space in a soft greige such as Benjamin Moore “Edgecomb Gray,” meeting the color change exactly at the point where the kitchen counter or island ends.

💡 Quick Win: No repainting needed if you’re renting; a single peel-and-stick wallpaper panel on the living-room side of the boundary achieves the same visual break.

Shop The Look

Product
Warm white kitchen paint sample
Soft greige wall paint sample
Open oak shelving bracket set
Ceramic canister set warm white
Brass shelf hardware kit

2. Slatted Wood Screen Partition

2. Slatted Wood Screen Partition

Vibe: Layered divider you can see light and movement through.

Why it works: Slatted screens apply a permeability principle: solid at close range but visually open from an angle; they block direct sightlines into a messy counter while still letting light and sound pass freely between rooms. Evenly spaced white oak slats add material warmth that a solid drywall partition can’t provide.

How to get it: Build or install a floor-to-ceiling slatted screen using 1×2-inch white oak battens spaced roughly 2 inches apart, mounted to a top and bottom track rather than a full stud wall, which keeps the installation reversible.

Shop The Look

Product
White oak slat wall panel kit
Wood slat mounting track set
Pendant light warm brass finish
Wood stain natural oak finish
Wall-mount bracket for screen panel

3. Pendant Light Row Marking the Boundary

3. Pendant Light Row Marking the Boundary

Vibe: Glowing light that draws an invisible line across the ceiling.

Why it works: A row of matching pendants creates a visual boundary at ceiling height without touching the floor plan at all, using a light-behavior principle: the eye reads a repeated, evenly spaced element as a marker of where one zone ends and another begins, even when nothing below it is physically divided.

How to get it: Hang three pendants in a straight line directly above the island or counter that separates the two zones, spaced evenly and hung at 30–36 inches above the counter surface, all on a dedicated dimmer switch.

💡 Quick Win: A plug-in pendant light kit lets you test the placement and spacing before committing to any electrical work.

Shop The Look

Product
Brushed brass pendant light set of three
Pendant light dimmer switch
Plug-in pendant light conversion kit
Warm white LED bulb 2700K set
Bar stool set counter height

4. Contrasting Flooring Transition

4. Contrasting Flooring Transition

Vibe: Grounded and a divide you feel underfoot before you see it.

Why it works: Changing flooring material at the exact boundary between kitchen and living space is a practical zone-definition technique. Tile handles spills and heat in the cooking zone while wood signals a softer, seating-oriented space next door, and the material shift itself reads as a clear dividing line even in a fully open floor plan.

How to get it: Install a warm-toned porcelain tile in the kitchen and engineered white oak flooring in the living space, using a low-profile metal transition strip exactly where the counter or island footprint ends.

Shop The Look

Product
Warm-toned porcelain floor tile
Engineered white oak flooring
Metal floor transition strip
Jute area rug natural
Floor tile grout sealant

5. Waterfall Island as the Partition

5. Waterfall Island as the Partition

Vibe: Sculptural furniture doing the job a wall usually would.

Why it works: A waterfall island uses visual weight and negative space as its dividing tool; the solid vertical edge facing the living room reads as a boundary line, while the open floor beneath keeps the plan from feeling closed off. It’s the single most common partition solution because it does double duty as storage, prep space, and seating.

How to get it: Choose a waterfall island with the mitered quartz edge facing the living room rather than the kitchen, so the dividing “wall” effect is visible from the seating side, and orient bar seating to face into the kitchen for the clearest zone separation.

Shop The Look

Product
Waterfall edge quartz countertop
Kitchen island cabinet base
Bar stool set backless modern
Brass cabinet pull hardware
Under-island pendant light pair

6. Reeded Glass Partition Wall

6. Reeded Glass Partition Wall

Vibe: Luminous a wall that blurs rather than blocks.

Why it works: Reeded glass diffuses light and softens direct sightlines without sacrificing brightness, a material principle that solid partitions can’t offer. You get full acoustic and visual separation of countertop clutter while still passing most of the room’s natural light through to the other side.

How to get it: Install floor-to-ceiling reeded glass panels in a slim matte black steel frame, positioned along the edge of the kitchen where full visual openness isn’t necessary, such as behind a prep counter facing a dining room.

Shop The Look

Product
Reeded glass panel with black frame
Matte black steel frame track
Glass panel mounting hardware
Black cabinet pull set
Frosted glass cleaner spray

7. Hanging Plants as a Living Divider

7. Hanging Plants as a Living Divider

Vibe: Fresh; a boundary made of something alive instead of built.

Why it works: A row of hanging plants introduces organic, irregular shapes at eye level, which the eye reads as a soft, permeable boundary. This is a contrast principle, where living, moving greenery breaks up the hard lines of cabinetry and countertops on either side without blocking any light or sightline.

How to get it: Mount a ceiling track or tension rod above the counter edge and hang three to five trailing plants pothos, string of pearls, or spider plant in ceramic or woven hangers at slightly varied heights.

💡 Quick Win: A single large trailing plant on a tall plant stand at the counter’s end achieves a similar soft boundary with zero ceiling installation.

Shop The Look

Product
Ceiling-mounted plant hanger track
Ceramic hanging planter set
Macrame plant hanger natural
Trailing pothos plant faux or live
Tall wood plant stand

8. Half-Wall Knee Wall With Bar Seating

8. Half-Wall Knee Wall With Bar Seating

Vibe: Considered wall low enough to talk over, tall enough to hide the mess.

Why it works: A half-wall applies zone definition at exactly the height needed to block sightlines to a cluttered counter while keeping ceiling-height openness intact. This specific layout choice preserves the airy feeling of an open floor plan while still giving the kitchen side genuine visual privacy from the seating area.

How to get it: Frame a knee wall at 42 inches high, tall enough to screen countertop clutter from someone seated on the other side, and cap it with a butcher-block or quartz overhang extending 12 inches to allow bar stool seating.

Shop The Look

Product
Butcher block countertop cap
Bar stool set counter height
Knee wall corner trim molding
Warm white wall paint
Outlet cover plate brass finish

9. Under-Shelf LED Strip on Open Shelving Dividers

9. Under-Shelf LED Strip on Open Shelving Dividers

Vibe: Glowing a shelf divider that becomes a light source after dark.

Why it works: Open shelving used as a partition needs its own light source to avoid becoming a dark, cluttered-looking barrier at night. Under-shelf LED strips solve this by lighting the display items directly, applying the same layered-lighting principle used elsewhere in a well-lit kitchen, just scaled down to a single divider unit.

How to get it: Mount a warm 2700K LED strip beneath each shelf of an open oak shelving divider, wired to a small in-line dimmer, and style each shelf with no more than three or four ceramic pieces so the light has room to do its job.

Shop The Look

Product
Open oak shelving divider unit
Warm white LED strip light kit
In-line LED dimmer switch
Ceramic bowl set stackable
Small potted plant for shelf styling

10. Rolling Partition Cart for Small Kitchens

10. Rolling Partition Cart for Small Kitchens

Vibe: A flexible partition that moves when the room needs to change its mind.

Why it works: A rolling cart provides zone definition without any of the permanence a fixed wall or built-in island requires, which matters most in a small kitchen where the “right” partition location may change depending on whether you’re cooking, entertaining, or need the full floor open for cleaning.

How to get it: Choose a rolling kitchen cart with a slatted or solid wood back panel tall enough to block sightlines to the stovetop when parked at the zone boundary, fitted with locking caster wheels so it stays put during use.

Shop The Look

Product
Rolling kitchen cart with wood back
Locking caster wheel set
Butcher block cart top
Hanging utensil rail for cart side
Small potted herb planter

How to Start Your Open Kitchen Partition Transformation

Start with the island. Before considering glass, screens, or any built structure, evaluate whether your current island or counter is doing enough visual dividing work on its own. Extending a waterfall edge or adding a taller counter overhang is often the single change that defines the zone without any new construction, and it anchors every other partition decision that follows.

The most common mistake homeowners make is choosing a full floor-to-ceiling solid wall when a half-wall or screen would solve the problem. A full wall cuts natural light and makes both rooms feel smaller, especially in homes under 1,200 square feet. The fix is measuring sightlines first: stand at the spot you’re trying to screen from and test whether a 42-inch or 66-inch partition already blocks the view before committing to full height.

Three items under $50 that make an immediate impact: a single peel-and-stick wallpaper panel ($25–$40) to color-block one wall section; a tension-rod plant hanger ($15–$25) for a quick green divider; and a warm white LED strip light kit ($12–$20) to light an existing open shelf.

Realistic expectations: A no-construction version paint, lighting, plants takes a weekend and costs $100–$300. A full structural partition with a knee wall or glass panel runs $2,000–$8,000 and takes four to eight weeks i, including any electrical or framing work.

Frequently Asked Questions About Open Kitchen Partition Ideas

What is an open kitchen partition, and how is it different from just having an open floor plan?

An open kitchen partition is a structural or visual element- a half-wall, a glass panel, or a waterfall island that defines where the kitchen ends and the next room begins, while a fully open floor plan has no dividing element at all. The partition version, sometimes called a “broken plan” layout, keeps the connection an open concept provides while reintroducing enough boundary to contain kitchen mess and noise.

What color works best for a partition wall or divider in an open kitchen?

Warm white or soft greige tones work best because they let the partition read as an architectural element rather than a bold design statement competing with the kitchen’s cabinetry color. If a partition includes a wood element, white oak in a natural or lightly whitewashed finish keeps the divider from visually darkening either room.

How much does it cost to add a partition to an existing open kitchen?

A no-construction option using paint, lighting, and plants runs $100–$300 and can be done in a weekend. A structural option like a knee wall, waterfall island extension, or glass partition typically costs $2,000–$8,000 depending on materials and whether electrical or plumbing lines need to move.

Will a partition make my open kitchen feel smaller or more closed in?

Not if it’s chosen correctly. Partitions that stop at counter or shoulder height (like a 42-inch knee wall) or that use transparent materials (like reeded glass or slatted screens) preserve the ceiling-height openness that makes a room feel large. Full floor-to-ceiling solid walls are the version that actually shrinks a space, which is why most designers recommend a partial-height or see-through solution instead.

What’s the most popular type of partition for open kitchens right now?

The waterfall-edge island is currently the most common partition solution because it requires no additional construction beyond the island itself and does triple duty as storage, seating, and a visual boundary. Reeded glass partitions are the fastest-growing alternative, appearing frequently in recent kitchen renovations because they add separation without blocking the natural light an open floor plan depends on.

Ready to Create Your Dream Open Kitchen Partition?

These 10 ideas cover the full range of what a partition can do, from the low-commitment power of two-tone paint and pendant lighting, to the structural weight of a waterfall island or knee wall, to small-space solutions like a rolling cart that moves whenever the room needs it to. Adding a partition doesn’t require a full renovation on day one; testing with paint, plants, or lighting first is a genuinely smart way to find out what your space actually needs before committing to anything structural. If you’re starting today, measure the sightline from your main living seat to your stovetop and note exactly where a screen or half-wall would need to sit to block it. Once the boundary is in place, this is the kind of kitchen that lets you cook in peace without ever losing the sound of the room next door. Save the ideas that match your layout and your willingness to build, and start sketching your zone line tonight.

You Might Also Like

15 Ways to Create a Modern Luxury Kitchen Ceiling Design

15 Ways to Create a Modern Luxury Kitchen Ceiling Design

A modern luxury kitchen ceiling design treats the fifth wall the ceiling as a genuine design surface, using beams, color, texture, and light to finish a kitchen from every angle instead of leaving it as an afterthought painted flat white. This article gives you 15 genuinely striking ways to create a modern luxury kitchen ceiling design, covering material, color, lighting, and layout decisions for the one surface most kitchen renovations skip entirely.

It feels like looking up and realizing the room was finished on purpose: walnut beams catching light at an angle no wall could, a deep charcoal ceiling making the room feel wrapped rather than boxed, a single chandelier hanging like the room’s own piece of jewelry. This is modern luxury kitchen ceiling design at its most complete: considered from the floor to the very top of the room. Every choice earns its place because a ceiling left blank is square footage most kitchens waste entirely.

Here are 15 ideas worth saving and stealing.

Why Modern Luxury Kitchen Ceiling Design Works So Well

Treating the ceiling as a genuine design surface draws from architectural traditions that never left it plain: coffered ceilings from classical and Renaissance interiors, exposed timber framing from vernacular and craftsman building, and the more recent architectural lighting movement that integrates cove and recessed detailing directly into the ceiling plane rather than hanging fixtures from a blank one. What makes it distinctly modern luxury is combining these older architectural gestures with clean, current materials and integrated lighting rather than heavy ornamental plasterwork.

Core materials include walnut or white oak beams, tongue-and-groove wood planking, high-gloss lacquer paint, and architectural wallpaper. Color ranges from deep charcoal or warm black for drama to glossy warm white for reflected light, with two-tone splits used to zone specific areas of a large kitchen.

This approach is trending because open-concept kitchens now function as the primary room guests see from every angle, including looking up, and design-industry data shows rising specification of coffered and beamed kitchen ceilings as homeowners look for a genuine architectural detail that a flat popcorn or drywall ceiling can’t provide.

Yes, with real limits, a kitchen with a standard 8-foot ceiling can’t support heavy coffering or deep beams, which need ceiling height to read proportionally. Prioritize color and lighting first in a lower-ceiling kitchen; they add drama without stealing headroom the way structural beams do.

Style at a Glance

ElementCore Trait 1Core Trait 2
PhilosophyThe ceiling finished as a genuine design surface, not left blankArchitectural detail combined with integrated modern lighting
MaterialsWalnut or oak beams, tongue-and-groove plankingHigh-gloss lacquer, architectural wallpaper
Color PaletteDeep charcoal for dramaGlossy warm white for reflected light

15 Ways to Create a Modern Luxury Kitchen Ceiling Design

1. Build a Coffered Ceiling With Walnut Beams

1. Build a Coffered Ceiling With Walnut Beams

Vibe: Grounded, a ceiling with genuine architectural rhythm instead of one flat, uninterrupted plane.

Why it works: A coffered grid applies proportion and visual-weight principles at ceiling scale; the walnut beams create a repeating structural pattern that gives the room’s tallest surface real dimension, and the recessed panels between beams read as deliberately deep rather than simply flat, an effect no applied trim or paint alone can achieve.

How to get it: Specify solid walnut or walnut-veneer beams at least 6 inches deep spaced in a grid no smaller than 4×4 feet per coffer, painting the recessed panels in warm white so the wood beams read as the dominant structural element against a lighter backdrop.

💡 Quick Win: Lightweight faux-wood coffer panels achieve a similar grid pattern at a fraction of the weight and cost of solid beams.

Shop the Look

Product
Solid walnut ceiling beam set
Faux wood coffer panel kit
Warm white ceiling paint
Small pendant for coffer recess
Matte black beam mounting hardware

2. Paint a Deep Charcoal Ceiling for a Dramatic Drop

2. Paint a Deep Charcoal Ceiling for a Dramatic Drop

Vibe: Moody, a ceiling dark enough to feel like it’s pulling the whole room in around you.

Why it works: Painting the ceiling in a saturated dark tone is a contrast principle that inverts the usual assumption that dark ceilings shrink a room. In a kitchen with generous ceiling height, a deep charcoal ceiling actually creates a cocooning, intimate effect, drawing the eye upward toward a genuine focal plane instead of letting it disappear into a flat white void.

How to get it: Reserve this technique for kitchens with at least 9-foot ceilings, using a matte (not glossy) warm charcoal that avoids reading as a mistake or an unfinished primer coat, and pair it with warm brass or gold fixtures that catch light against the dark backdrop.

Shop the Look

Product
Warm charcoal matte ceiling paint
Warm brass pendant light
Ceiling paint primer for dark tones
Small ceramic countertop vessel
Brass ceiling canopy trim

3. Hang a Sculptural Pot Rack as a Ceiling Fixture

3. Hang a Sculptural Pot Rack as a Ceiling Fixture

Vibe: Layered cookware turned into ceiling-level decor, doing double duty as function and display.

Why it works: A hanging pot rack applies negative-space and furniture-arrangement thinking specifically to the ceiling plane; rather than cookware occupying cabinet space, it hangs at eye level between the ceiling and counter, using vertical volume most kitchens leave empty above the island.

How to get it: Mount a matte black rack from ceiling joists rated for the combined weight of a full cookware set, positioning it centered over the island at a height that clears the tallest person’s head by at least 12 inches, and hang pots by size for visual order.

Shop the Look

Product
Matte black ceiling pot rack
Ceiling joist mounting hardware
Copper cookware set
Small ceramic countertop bowl
Matte black S-hooks for hanging

4. Recess Cove Lighting Around the Ceiling Perimeter

4. Recess Cove Lighting Around the Ceiling Perimeter

Vibe: Warm, a ceiling edge that glows softly instead of relying on a single central fixture to light the whole room.

Why it works: Cove lighting integrated into the ceiling perimeter is an architectural light-layering technique that raises the perceived ceiling height by washing the wall-to-ceiling transition with indirect light; it also complements pendant and task lighting below rather than competing with it, adding a genuine ambient layer most kitchens skip entirely.

How to get it: Recess a warm 2700K LED strip into a routed channel set back at least 4 inches from the ceiling edge, angled to wash upward and outward, wired to its own dimmer separate from the island pendants and under-cabinet task lighting.

Shop the Look

Product
Recessed cove LED channel kit
Warm 2700K LED strip
Ceiling cove dimmer switch
Small ceramic decorative vessel
Cove channel trim molding

5. Wallpaper the Ceiling With a Botanical Print

5. Wallpaper the Ceiling With a Botanical Print

Vibe: Layered a ceiling with genuine pattern, turning an overlooked surface into the room’s unexpected detail.

Why it works: Wallpapering the ceiling is a texture and pattern-layering principle rarely applied above eye level, which is precisely why it reads as a surprising, considered choice. A botanical print overhead references the biophilic pattern trend without requiring any actual plants, and because the ceiling sees no foot traffic or splashing, wallpaper survives there far better than it would on a kitchen wall.

How to get it: Choose a pre-pasted, moisture-resistant wallpaper in a botanical print with a small to medium-scale repeat (large patterns can distort visually overhead), and hire an installer experienced with ceiling application, since hanging paper overhead is more physically demanding than a wall.

💡 Quick Win: Peel-and-stick wallpaper on the ceiling achieves the same visual effect with an easier, more forgiving installation for a first attempt.

Shop the Look

Product
Moisture-resistant botanical wallpaper
Peel and stick botanical ceiling paper
Warm brass pendant light
Wallpaper smoothing tool
Small ceramic countertop vessel

6. Hang a Single Statement Chandelier as Ceiling Jewelry

6. Hang a Single Statement Chandelier as Ceiling Jewelry

Vibe: Warm, a single fixture with enough scale and detail to function as the whole ceiling’s centerpiece.

Why it works: A genuinely sculptural chandelier applies visual-weight principles the way a statement necklace draws the eye; its scale and detail give the ceiling plane a clear focal point, which matters because kitchens with high or vaulted ceilings otherwise risk that upper volume reading as space rather than an intentional part of the room.

How to get it: Size the chandelier to roughly two-thirds the island’s length, hanging it at least 34 inches above the counter to clear sightlines, and choose warm 2700K bulbs visible through the shades so the fixture itself glows rather than reading as a dark silhouette during the day.

Shop the Look

Product
Multi-arm brass chandelier fixture
Warm 2700K glass shade bulb
Brass ceiling canopy trim
Small ceramic countertop bowl
Adjustable chandelier chain kit

7. Split the Ceiling Two-Tone Between Island and Perimeter

7. Split the Ceiling Two-Tone Between Island and Perimeter

Vibe: Grounded, a ceiling that visually marks exactly where the island’s zone begins and ends, even looking straight up.

Why it works: Painting a defined rectangular zone directly above the island in a contrasting tone is a zone-definition principle applied overhead rather than at floor level; the ceiling itself signals the island’s boundary, reinforcing the room’s layout in a kitchen large enough that floor-level zoning alone doesn’t fully register from every angle.

How to get it: Measure the island’s exact footprint and paint the ceiling section directly above it in charcoal, extending the boundary 6 to 12 inches beyond the island’s edges on all sides, keeping the surrounding ceiling in warm white.

Shop the Look

Product
Warm charcoal ceiling paint
Warm white perimeter ceiling paint
Painter’s tape precision edge
Warm brass pendant light
Small ceramic countertop bowl

8. Suspend a Glass-Front Cabinet From the Ceiling

8. Suspend a Glass-Front Cabinet From the Ceiling

Vibe: Warm storage that appears to float above the island, lit from within like a small display case.

Why it works: A ceiling-suspended cabinet applies negative-space and furniture-arrangement thinking to storage that would normally sit on the floor or against a wall because it hangs from brass rods rather than standing on legs; the floor beneath stays entirely open, and its glass front with interior lighting turns everyday glassware into genuine ceiling-level display.

How to get it: Suspend the cabinet on four brass rods anchored to ceiling joists rated for its fully loaded weight, wire warm 2700K interior LED lighting on its own switch, and position it above the island rather than a walkway so nothing passes beneath it at head height.

Shop the Look

Product
Ceiling suspended glass cabinet
Brass suspension rod set
Interior LED cabinet light strip
Ceiling joist mounting bracket
Small ceramic countertop bowl

9. Position a Skylight Directly Over the Island

9. Position a Skylight Directly Over the Island

Vibe: Luminous, a pool of genuine daylight landing exactly where the room’s most-used surface sits.

Why it works: Positioning a skylight directly over the island rather than a random ceiling location is a light-behavior principle that puts natural daylight precisely where it matters most for both function and photography; food prep and the room’s central gathering point both benefit from direct overhead daylight in a way ambient window light from the side never fully achieves.

How to get it: Size the skylight to roughly one-third the island’s length for a proportional daylight pool, choosing a fixed (non-operable) unit if ventilation isn’t a priority, since fixed skylights cost less and have fewer potential leak points than operable ones.

Shop the Look

Product
Fixed skylight unit
Skylight flashing kit
Warm white marble island counter
Small ceramic countertop bowl
Matte black skylight interior trim

10. Install a Tongue-and-Groove Wood Plank Ceiling

10. Install a Tongue-and-Groove Wood Plank Ceiling

Vibe: Sun-warmed ceiling with genuine wood grain running overhead instead of flat drywall.

Why it works: Tongue-and-groove planking is a material-honesty principle that gives the ceiling texture and warmth without the structural depth a full coffered grid requires. The plank seams create a directional linear pattern that, when run the length of a galley or narrow kitchen, visually elongates the room when viewed from the doorway.

How to get it: Install white oak or pine tongue-and-groove planks running the room’s longest dimension, sealed in a matte finish rather than glossy polyurethane, and recess lighting flush between planks rather than surface-mounting fixtures that would interrupt the linear pattern.

Shop the Look

Product
Tongue and groove white oak plank
Matte wood ceiling sealant
Recessed flush ceiling light
Small ceramic countertop vessel
Wood plank installation clips

11. Paint the Ceiling in Glossy Lacquer to Reflect the Room

11. Paint the Ceiling in Glossy Lacquer to Reflect the Room

Vibe: Fresh a ceiling with just enough sheen to subtly double the room’s brightness without becoming a full mirror.

Why it works: A genuine multi-coat lacquer finish applies light-behavior principles at ceiling scale; the gloss reflects both ambient light and a soft impression of the room below, brightening a kitchen with limited natural light more effectively than a flat matte ceiling paint, which absorbs rather than bounces available light.

How to get it: Specify a genuine high-gloss lacquer application (multiple thin coats, each sanded between applications) rather than a single-coat glossy enamel, since a properly built-up lacquer finish reflects far more cleanly than a shortcut version.

Shop the Look

Product
High gloss lacquer ceiling paint
Warm brass pendant light
Ceiling gloss primer coat
Small ceramic countertop vessel
Walnut cabinetry accent

12. Add a Decorative Ceiling Medallion Behind the Pendant

12. Add a Decorative Ceiling Medallion Behind the Pendant

Vibe: Layered a small architectural detail that frames the pendant instead of leaving it hanging from a bare ceiling.

Why it works: A ceiling medallion applies accessory-layering directly to the ceiling plane. Most kitchens hang a pendant from a plain electrical box with no surrounding detail, and a carved medallion gives that mounting point genuine architectural presence, referencing classical plasterwork at a scale appropriate for a single fixture rather than the whole ceiling.

How to get it: Choose a medallion between 12 and 18 inches in diameter for proportion with a standard pendant, mounted flush around the existing electrical box, and paint it the same warm white as the surrounding ceiling so its relief detail reads through subtle shadow rather than color contrast.

Shop the Look

Product
Carved plaster ceiling medallion
Warm brass pendant light
Ceiling medallion mounting adhesive
Warm white touch-up paint
Small ceramic countertop vessel

13. Build a Tray Ceiling to Frame the Island Zone

13. Build a Tray Ceiling to Frame the Island Zone

Vibe: Ground a ceiling with a genuine structural step that gives the island zone its own architectural frame.

Why it works: A tray ceiling applies proportion and zone-definition principles through actual construction rather than paint or light alone. The recessed stepped edge, typically 4 to 8 inches deep, creates a physical boundary overhead that echoes the island’s footprint, adding dimensional depth a flat ceiling with only a paint or lighting zone can’t fully replicate.

How to get it: Frame the tray to align with the island’s exact footprint, recessing the center section by at least 6 inches, and run cove lighting inside the tray’s inner edge so the recess is lit rather than shadowed.

Shop the Look

Product
Tray ceiling framing kit
Recessed cove LED strip for tray
Walnut trim molding
Warm brass pendant light
Small ceramic countertop vessel

14. Vary Ceiling Height to Zone Cooking From Dining

14. Vary Ceiling Height to Zone Cooking From Dining

Vibe: Airy two connected zones that feel distinct the moment you look up, without any wall between them.

Why it works: Varying ceiling height between the cooking and dining zones is a layout principle that uses architecture itself to define traffic flow; a lower, more intimate ceiling over the working kitchen contrasts with a taller volume over the dining area, letting an open-concept space read as two purposeful zones rather than one undifferentiated room.

How to get it: If the structure allows (existing soffits or duct routing often already create natural height variation), emphasize the transition with a visible beam or trim line at the height change, and keep the ceiling finish consistent across both zones so the height itself, not a material shift, carries the zoning.

Shop the Look

Product
Walnut transition beam trim
Warm brass pendant lower zone
Recessed lighting taller zone
Small ceramic countertop vessel
Warm white ceiling paint both zones

15. Add a Mirrored Ceiling Strip to Visually Raise a Low Kitchen

15. Add a Mirrored Ceiling Strip to Visually Raise a Low Kitchen

Vibe: Luminous, a narrow reflective seam that tricks the eye into reading more height than the room actually has.

Why it works: In a genuinely low kitchen ceiling under 8 feet, a full mirrored ceiling would feel disorienting, so the small-space adaptation is a narrow mirrored strip, typically 6 to 12 inches wide, run along one edge, usually where the ceiling meets an upper cabinet run, reflecting the room’s light and depth without committing to a full mirrored plane.

How to get it: Install a mirrored acrylic or glass strip along the ceiling edge directly above the tallest run of cabinetry, angled flush rather than tilted, since a flush mount reflects the room’s existing light sources rather than creating a distracting distorted angle.

💡 Quick Win: Mirrored ceiling tiles sized to a single strip’s width install without full custom fabrication, keeping the technique accessible for a smaller budget.

Shop the Look

Product
Mirrored acrylic ceiling strip
Mirrored ceiling tile set
Warm brass pendant light
Mirror mounting adhesive strip
Small ceramic countertop vessel

How to Start Your Modern Luxury Kitchen Ceiling Transformation

Your one first move is measuring your actual ceiling height before choosing any technique on this list, since structural options like coffering or a tray ceiling need at least 9 feet to read proportionally, while color and lighting-based techniques work in any kitchen regardless of height. This single measurement determines which category of idea is realistic before any material gets ordered.

The most common mistake is attempting a heavy structural treatment, like deep coffered beams, in a standard 8-foot kitchen, which reduces already-limited headroom and can make the room feel lower rather than more luxurious. The fix is defaulting to paint, lighting, or a shallow tray ceiling in any kitchen under 9 feet, reserving true structural beams for rooms with genuine height to spare.

Three items under $50 that create immediate impact: a warm 2700K LED strip for basic cove lighting, a carved plaster ceiling medallion for an existing pendant, and mirrored ceiling tiles for a small reflective accent strip.

A weekend refresh of cove lighting and a ceiling medallion costs $150–400. A full modern luxury kitchen ceiling transformation with coffered beams and integrated lighting typically runs $8,000–25,000 and takes two to five weeks depending on structural complexity.

Frequently Asked Questions About Modern Luxury Kitchen Ceiling Design

What is the difference between a coffered ceiling and a tray ceiling?

A coffered ceiling uses a full grid of beams creating multiple recessed panels across the entire ceiling. A tray ceiling recesses just one central section, typically above an island or dining area, stepping up or down from the surrounding flat ceiling, which requires less structural depth and cost than a full coffered grid.

What color works best for a modern luxury kitchen ceiling?

Deep charcoal works well in kitchens with at least 9-foot ceilings for a dramatic, cocooning effect, while warm white or a high-gloss lacquer finish works better in standard 8-foot kitchens, since lighter and reflective tones don’t visually lower the ceiling the way a dark matte finish can in a room without height to spare.

How much does a modern luxury kitchen ceiling renovation cost?

A budget refresh using paint and cove lighting costs $300–1,000. A mid-range treatment with a tray ceiling or tongue-and-groove planking runs $5,000–12,000, and a full coffered beam ceiling with integrated lighting typically costs $15,000–30,000 depending on beam material and ceiling square footage.

Can a kitchen with a low, standard ceiling still get a luxury ceiling treatment?

Yes, but structural options are limited; a mirrored ceiling strip, glossy lacquer paint, or recessed cove lighting all add genuine visual impact without requiring the 9-plus feet of height that coffering or deep beams need to read proportionally rather than oppressively.

What is the most requested kitchen ceiling feature right now?

Integrated cove lighting is currently the most requested single ceiling feature in kitchen renovations, according to design-industry data, since it works in nearly any ceiling height and budget range, followed by coffered beam ceilings in kitchens with sufficient height and a statement chandelier as a lower-cost focal alternative.

Ready to Create Your Dream Modern Luxury Kitchen Ceiling?

These 15 ideas move across material, color, lighting, layout, and true small-space solutions, from a full walnut coffered grid and a suspended glass cabinet to a narrow mirrored strip that adds perceived height to a genuinely low room. None of this needs to happen all at once, and starting with cove lighting and one statement fixture is genuinely the smartest place to begin, not a smaller version of the full vision. Today’s specific action: measure your kitchen’s actual ceiling height and cross-reference it against the ideas on this list before committing to any structural option, since that single number determines which techniques will actually read as intentional rather than cramped. Once the ceiling finally matches the care given to every surface below it, looking up in that kitchen will feel like discovering a room that was finished on purpose, not one that simply stopped at eye level. Save the ideas that fit your ceiling’s real height and your project’s real budget; that walnut beam grid and warm cove glow will still feel just as considered years from now.

You Might Also Like

15 Benefits of Open Shelving in the Kitchen

15 Open Shelving in the Kitchen | Kitchen Storage Ideas

Open shelving in the kitchen replaces some or all upper cabinets with exposed shelves, trading concealed storage for visible display, better light, and a lighter overall feel in the room. This article gives you 15 genuine benefits of open shelving in the kitchen, covering material, color, lighting, and layout advantages that explain why homeowners keep choosing exposed shelves over closed cabinet doors, even knowing the trade-offs involved.

It feels like a kitchen that breathes a little easier: daylight traveling further across the room without a bank of cabinets blocking it, everyday ceramics finally doing double duty as decor. This corner used to sit empty, now holding genuine storage. This is open shelving at its most convincing: practical benefits dressed up as good design, not the other way around. Every advantage earns its place because open shelving asks something real in return: genuine organization, which is exactly what makes its benefits worth understanding before committing.

Here are 15 ideas worth saving and stealing.

Why Open Shelving in the Kitchen Works So Well

Open shelving traces to two converging influences: he practical pantry and larder shelving common in working kitchens before built-in cabinetry became standard in the mid-20th century, and the more recent minimalist and Scandinavian design movements that favor visible, functional objects over concealed storage. What makes open shelving distinct from simply removing cabinet doors is that it requires a genuinely different relationship with kitchen organization, since everything on it is visible daily rather than hidden behind a door.

Core materials that suit open shelving include warm oak or walnut boards, matte black or brass brackets, and ceramics chosen specifically for their glaze and shape since they’re on permanent display. Color benefits come from the flexibility to introduce trend colors through swappable dishware rather than a full cabinet repaint, and from the visual lightness pale wood or painted shelves bring compared to a solid wall of cabinet doors.

Style at a Glance

ElementCore Trait 1Core Trait 2
PhilosophyVisible, functional storage over concealed cabinetryGenuine organizational commitment required for the look to work
MaterialsWarm oak or walnut shelving, matte black or brass bracketsCeramics chosen for display, not just storage
Color PaletteFlexible, swappable through dishware rather than fixed cabinetryPale wood or painted shelves read lighter than solid cabinet doors

15 Benefits of Open Shelving in the Kitchen

1. Open Oak Shelves Make the Kitchen Feel Larger

1. Open Oak Shelves Make the Kitchen Feel Larger

Vibe: An airy kitchen wall that reads as open even while holding genuine daily storage.

Why it works: Removing a solid bank of upper cabinets in favor of open shelving is a negative-space principle that measurably changes how large a kitchen feels. A wall of closed cabinet doors reads as a heavy, opaque block, while open shelving lets the eye travel past the shelf edges to the wall behind, which is the single biggest visual benefit open shelving offers over standard upper cabinetry.

How to get it: Replace at least one full run of upper cabinets with two or three floating oak shelves on concealed brackets, keeping the wall paint behind them light so the visible wall space reinforces the openness rather than competing with a dark backdrop.

💡 Quick Win: Removing just the cabinet doors from an existing upper cabinet run (leaving the boxes as open shelving) tests the benefit without any new construction.

Shop the Look

Product
Floating oak shelf set
Concealed shelf bracket rated
Small ceramic decorative vessel
Warm white wall paint
Matte black shelf trim

2. A Painted Backsplash Behind Shelves Becomes a Design Statement

2. A Painted Backsplash Behind Shelves Becomes a Design Statement

Vibe: Grounded a wall that becomes genuinely visible design real estate once it’s not hidden behind cabinet doors.

Why it works: Open shelving reveals wall space that closed cabinets would otherwise cover entirely, which is a color-anchoring benefit unique to the format. A painted backsplash color behind open shelves gets seen constantly and does real design work, whereas the same wall behind solid cabinets would be permanently hidden and essentially wasted as a color opportunity.

How to get it: Paint the wall section directly behind the shelving in a deliberate accent color like deep sage, choosing a matte finish so ceramics displayed in front read clearly against a non-reflective backdrop.

Shop the Look

Product
Deep sage green matte paint
Warm oak floating shelf
Small brass wall hook
Painter’s tape precision edge
Small ceramic display vessel

3. Removing Upper Cabinets Frees the Room’s Sightlines

3. Removing Upper Cabinets Frees the Room's Sightlines

Vibe: Airy, a kitchen that visually extends into the next room instead of stopping at a wall of cabinet fronts.

Why it works: In an open-concept home specifically, replacing upper cabinets with shelving is a negative-space benefit that matters at the scale of the whole floor plan. Solid cabinetry creates a visual stopping point between the kitchen and adjacent living space, while open shelving lets sightlines continue past it, borrowing visual square footage from the connected room.

How to get it: Prioritize removing upper cabinets specifically on the wall facing an adjacent open living space (rather than an interior wall), since that’s where the sightline benefit registers most directly for anyone in either room.

Shop the Look

Product
Warm oak open shelf set
Matte black bracket hardware
Small ceramic decorative vessel
Warm white wall paint
Small trailing plant accent

4. Under-Shelf Lighting Turns Storage Into Ambient Light

4. Under-Shelf Lighting Turns Storage Into Ambient Light

Vibe: Warm storage that doubles as the kitchen’s evening ambient light source.

Why it works: Because open shelving has no door to block light, it’s the one storage format that can genuinely incorporate under-shelf lighting as a functional design layer. This benefit is structurally unavailable to closed cabinetry, where any interior light would be invisible until the door opens, making open shelving uniquely suited to this specific light-layering technique.

How to get it: Install a warm 2700K LED strip along the underside of each shelf, wired to its own dimmer separate from the kitchen’s main task lighting, so the shelves can glow softly during evening hours independent of overhead brightness.

Shop the Look

Product
Warm 2700K LED shelf strip
Open oak floating shelf
In-line dimmer switch
Small ceramic display vessel
Adhesive LED mounting clips

5. Open Shelving Lets You Rotate Ceramics Seasonally

5. Open Shelving Lets You Rotate Ceramics Seasonally

Vibe: Layered a kitchen that can shift its whole color mood with a simple dishware swap.

Why it works: Because the ceramics on open shelving are visible rather than hidden, swapping them seasonally is a genuine color-flexibility benefit closed cabinetry doesn’t offer. Changing a kitchen’s color story through cabinet paint requires real commitment, while rotating displayed dishware from warm terracotta in fall to cooler tones in summer costs nothing structurally and takes an afternoon.

How to get it: Keep one set of everyday ceramics in daily rotation and a second seasonal set stored elsewhere, swapping the displayed set roughly twice a year to keep the open shelving’s color story feeling current without repainting anything.

Shop the Look

Product
Warm terracotta ceramic set
Warm cream ceramic seasonal set
Small dried wheat stem
Open oak shelf
Small ceramic seasonal bowl

6. Displaying Cookbooks Turns a Practical Collection Into Decor

6. Displaying Cookbooks Turns a Practical Collection Into Decor

Vibe: Layered, a working collection that does genuine decorative duty instead of hiding in a drawer.

Why it works: Open shelving gives a practical, frequently used collection like cookbooks a visible home that doubles as styling; this is an accessory-layering benefit specific to open storage, since a closed cabinet would store the same books just as functionally but without any of the visual return an open shelf provides simply by existing in the room’s sightline.

How to get it: Group cookbooks loosely by spine color rather than alphabetically for a more visually composed display, bookending the row with a ceramic or wood bookend to keep the stack upright and intentional-looking.

Shop the Look

Product
Ceramic bookend pair
Walnut open shelf
Small dried stem accent
Cookbook stand riser
Small ceramic vessel

7. Open Shelves Introduce Trend Color Without Full Commitment

7. Open Shelves Introduce Trend Color Without Full Commitment

Vibe: Fresh a color trend tested through dishware instead of a wall that’s harder to undo.

Why it works: Because open shelving displays whatever’s placed on it, it functions as a low-risk way to test a trending color dusty rose, sage, or any other current hue through easily replaceable ceramics rather than a full cabinet repaint, a genuine cost and commitment benefit for anyone hesitant to commit a whole kitchen to a color that might feel dated in a few years.

How to get it: Keep the kitchen’s cabinetry and walls in a stable neutral, introducing any trend color exclusively through the displayed ceramics on open shelving, so the color experiment stays contained and reversible.

Shop the Look

Product
Dusty rose ceramic vessel set
Warm white cabinet paint
Open oak shelf
Small ceramic bowl matching
Neutral countertop accent

8. Corner Open Shelving Claims Dead Kitchen Corner Space

8. Corner Open Shelving Claims Dead Kitchen Corner Space

Vibe: Tidy storage claiming the one spot a standard cabinet run almost always leaves empty.

Why it works: Corner geometry is consistently the most underused space in kitchen design, since standard cabinetry is built for flat walls; open shelving specifically shaped for a corner is a furniture benefit closed cabinets struggle to match at the same cost, since custom corner cabinets are notoriously expensive relative to a simple triangular open shelf unit.

How to get it: Measure the corner’s actual angle before ordering (most are a true 90 degrees, but older homes vary), choosing a unit with at least two shelves so the corner’s full height gets used rather than just its base footprint.

Shop the Look

Product
Triangular corner open shelf unit
Small ceramic vessel set
Matte black corner bracket
Glassware set for display
Small ceramic catchall dish

9. Daylight Reaches Deeper Into the Room Without Upper Cabinets

9. Daylight Reaches Deeper Into the Room Without Upper Cabinets

Vibe: Luminous, a kitchen where the window’s light actually reaches the far end of the room.

Why it works: Upper cabinets, particularly on a wall perpendicular to a window, can physically block a meaningful portion of a kitchen’s available daylight from reaching deeper into the room; removing them for open shelving is a light-behavior benefit that lets that same daylight travel further, since shelving occupies far less physical volume than a solid cabinet box.

How to get it: Prioritize converting the cabinet run closest to or perpendicular to the kitchen’s main window first, since that’s where the daylight-blocking effect of solid cabinetry is most pronounced.

Shop the Look

Product
Warm oak open shelf near window
Small ceramic decorative vessel
Matte black shelf bracket
Sheer window curtain
Small trailing plant accent

10. Mixed Materials on Open Shelves Add Texture Cabinets Can’t

10. Mixed Materials on Open Shelves Add Texture Cabinets Can't

Vibe: Layer a shelf with genuine textural range instead of one flat material repeated endlessly.

Why it works: A closed cabinet door is one uniform material and finish across its whole surface, but open shelving is a material-layering benefit specifically because every object placed on it introduces its own texture; ceramic, glass, and woven basket together create visual richness a single cabinet material could never achieve regardless of how nice that one material is.

How to get it: Style each shelf with at least two different materials (a ceramic vessel plus a woven basket, for instance) rather than an all-matching set, keeping the overall color palette cohesive even as the materials vary.

Shop the Look

Product
Matte ceramic vessel set
Small glass storage jar
Woven seagrass basket small
Small dried stem accent
Open oak shelf

11. A Two-Tone Kitchen Reads Lighter With Open Shelves on Top

11. A Two-Tone Kitchen Reads Lighter With Open Shelves on Top

Vibe: A fresh kitchen with a dark, grounded base and an open, light-filled top instead of feeling boxed in on both levels.

Why it works: Pairing dark lower cabinets with open shelving above (rather than matching dark upper cabinets) is a proportion benefit that keeps a bold two-tone kitchen from feeling heavy overhead; the visual weight of a saturated lower cabinet color stays grounded at floor level, while open shelving above keeps the upper half of the room reading light regardless of how dark the base cabinets go.

How to get it: Keep lower cabinets in the saturated color of choice, replacing upper cabinets entirely with warm oak open shelving rather than painting them the same dark tone, letting the contrast between solid and open do the proportion work.

Shop the Look

Product
Deep charcoal cabinet paint
Warm oak open shelf set
Matte black shelf bracket
Small ceramic decorative vessel
Warm white ceiling paint

12. Everyday Items Get Curated Instead of Hidden

12. Everyday Items Get Curated Instead of Hidden

Vibe: Tidy mugs and glasses arranged with the same care usually reserved for decorative objects.

Why it works: Open shelving creates an organizational benefit through visibility itself because everyday items are seen constantly rather than hidden behind a door; there’s a natural incentive to keep them genuinely organized and matched, which often results in better daily kitchen tidiness than closed cabinets, where mismatched mugs can pile up unseen indefinitely.

How to get it: Replace mismatched everyday glassware and mugs with a coordinated set in one or two finishes, arranging by height and type on the shelf so the display stays legible and intentional rather than simply stacked.

Shop the Look

Product
Coordinated ceramic mug set
Glassware set matching
Open oak shelf
Small ceramic organizing tray
Matte black shelf bracket

13. Open Shelves Cost Less Than Upper Cabinets to Install

13. Open Shelves Cost Less Than Upper Cabinets to Install

Vibe: Still storage that requires a fraction of the material and labor a full cabinet box does.

Why it works: A material and furniture-arrangement benefit of open shelving is straightforward cost: a solid wood board and a pair of brackets require far less material, hardware, and installation labor than a fully boxed, doored, and hinged upper cabinet, which is why open shelving remains one of the most accessible kitchen upgrades for a limited renovation budget.

How to get it: Choose solid wood boards (not a full manufactured shelving system) mounted on simple concealed brackets, which most homeowners with basic tools can install in an afternoon without hiring a cabinet installer.

💡 Quick Win: A single 36-inch oak shelf with brackets typically costs a fraction of even one small upper cabinet box, making it the lowest-cost entry point on this list.

Shop the Look

Product
Solid oak shelf board
Concealed bracket set
Small ceramic decorative vessel
Wall anchor mounting kit
Wood sealant finish

14. Open Shelving Keeps Sightlines Open in a Galley Kitchen

14. Open Shelving Keeps Sightlines Open in a Galley Kitchen

Vibe: Airy, a narrow room that avoids the tunnel-like feeling two walls of upper cabinets can create.

Why it works: In a galley kitchen specifically, upper cabinets on both walls can create a compressed, tunnel-like traffic-flow effect, since the eye has nowhere to travel but straight down the narrow corridor; open shelving on one or both walls is a layout benefit that keeps sightlines traveling past the shelves to the walls behind, softening the narrow room’s proportions.

How to get it: Convert at least one wall of a galley kitchen’s upper cabinets to open shelving, prioritizing the wall opposite the room’s main light source so daylight bounces off the visible wall behind the shelves.

Shop the Look

Product
Warm oak open shelf for galley
Matte black bracket set
Small ceramic vessel
Warm white wall paint
Small woven basket accent

15. A Single Open Shelf Adds Storage Without Bulk in a Tiny Kitchen

15. A Single Open Shelf Adds Storage Without Bulk in a Tiny Kitchen

Vibe: Still one shelf doing meaningful storage work without adding a single ounce of visual weight to a tiny room.

Why it works: In a genuinely small kitchen, even one additional upper cabinet can feel like too much visual mass for the room to absorb; a single open shelf is the small-space adaptation that adds real storage capacity while keeping the wall’s visual footprint minimal, since an open board reads as far less bulky than even a small cabinet box in the same spot.

How to get it: Choose one shelf no deeper than 8 inches, styling it with no more than three or four items so it stays genuinely light in a small kitchen where every additional object registers more heavily than it would in a larger room.

💡 Quick Win: A single 24-inch shelf above the sink adds a functional soap-and-dish-brush spot without requiring any cabinet at all.

Shop the Look

Product
Slim narrow oak shelf 24-inch
Small ceramic soap dispenser
Matte black shelf bracket
Small ceramic vessel
Small dish brush holder

How to Start Adding Open Shelving to Your Kitchen

Your first move is testing the concept on a single cabinet before removing any others; specifically, take the doors off one existing upper cabinet and live with it open for two weeks. This single, reversible test tells you honestly whether you’ll actually keep the shelf organized before committing to a full wall of exposed storage.

The most common mistake is converting an entire kitchen’s upper cabinets to open shelving all at once without this test period, then discovering the daily maintenance of keeping everything visibly tidy isn’t sustainable for the household’s actual habits. The fix is starting with one shelf, evaluating honestly after a few weeks, and expanding only if the format genuinely works for how the kitchen gets used.

Three items under $50 that create immediate impact: a set of coordinated ceramic mugs to replace mismatched ones, a small woven basket for loose items, and a ceramic bookend pair if displaying cookbooks.

A weekend project removing doors from one cabinet or installing a single shelf costs $50–200. A full open shelving conversion across multiple cabinet runs typically runs $500–2,000 depending on shelf material and whether under-shelf lighting is included, and can usually be completed in a single weekend.

Frequently Asked Questions About Open Shelving Benefits in the Kitchen

What is the difference between open shelving and removing cabinet doors?

Open shelving typically refers to purpose-built shelves (a board on brackets) designed from the start to be seen, often shallower and more minimal than a cabinet box. Removing doors from an existing cabinet achieves a similar open effect using the original cabinet box, which is deeper and often has visible hinge holes, making it a good low-cost test but not identical to purpose-built shelving.

What color works best for open kitchen shelving?

Warm oak or walnut works well as a neutral base that lets displayed ceramics carry the room’s color story, while the wall behind the shelves is where a bolder color choice, like deep sage or warm terracotta, gets the most visual return, since that wall is only visible because the shelving is open.

How much does open shelving cost compared to upper cabinets?

Open shelving typically costs $50–300 per section including brackets, compared to $150–600 or more per section for a comparable upper cabinet box with doors and hinges. A full kitchen’s worth of open shelving generally runs $500–2,000, meaningfully less than the equivalent run of built-in upper cabinetry.

Can open shelving work in a kitchen with a lot of daily cooking mess?

Yes, but it requires realistic placement, keeping open shelving away from the direct splash zone of the stove and sink, and reserving it for items that don’t need frequent washing between uses, which helps the display stay genuinely clean without demanding constant wiping the way shelving directly above a busy cooktop would.

What is the most common concern people have about open shelving?

Dust and visible clutter are the most commonly cited concerns about open shelving, according to design-industry and homeowner survey data, which is why the honest recommendation is testing the format on a single cabinet first, since the format’s real success depends more on a household’s actual tidiness habits than on any specific styling choice.

Ready to Add Open Shelving to Your Kitchen?

These 15 benefits move across material, color, lighting, layout, and true small-space advantages, from daylight reaching further into the room to a single narrow shelf that adds storage without a single ounce of visual bulk. None of this needs to happen all at once, and testing the concept on one cabinet before converting the whole kitchen is genuinely the smartest way to begin, not a smaller version of the full commitment. Today’s specific action: remove the doors from just one upper cabinet this week and use it exactly as-is for the next two weeks, since that honest trial will tell you more about whether open shelving suits your kitchen than any amount of browsing inspiration photos. Once you know the format genuinely fits how your household actually cooks and cleans, expanding it will feel like a confirmed decision instead of a gamble. Save the ideas that fit your kitchen’s real light, layout, and your own honest tidiness habits, so that daylight reaching the far wall and that one curated shelf will still be earning their keep a year from now.

You Might Also Like

15 Ways to Achieve a Luxurious Contemporary Kitchen Design

15 Ways to Achieve a Luxurious Contemporary Kitchen Design

A luxurious contemporary kitchen design is an ever-current, of-the-moment style that mixes clean lines with softer curves, matte and glossy textures, and warm neutrals, distinct from “modern,” which refers to a fixed mid-century movement; contemporary design simply means whatever reads as current right now. This article gives you 15 genuinely achievable ways to bring a luxurious contemporary kitchen design into a real budget, covering material, color, lighting, and layout techniques that create a high-end look without requiring a full custom renovation.

It feels like a kitchen that’s been edited rather than decorated: one sculptural pendant instead of five accessories, a single curved island corner softening an otherwise straight room, light catching a mixed-texture backsplash at just the right angle. This is luxurious contemporary kitchen design at its most attainable: confident, current, built from a handful of well-chosen upgrades rather than a gut renovation. Every choice reads as intentional because there are fewer of them.

Here are 15 ideas worth saving and stealing.

Why Luxurious Contemporary Kitchen Design Works So Well

Contemporary design differs from modern design in a specific, often-confused way: modern” refers to the mid-century movement of the 1930s through 1960s with its fixed vocabulary of clean lines and function-first form, while “contemporary” describes whatever design language is current at any given moment, borrowing freely from modern, minimalist, and organic influences without being locked to one era. What makes a contemporary kitchen read as luxurious specifically is editing fewer, better-chosen elements rather than more decoration.

Core materials mix textures deliberately: matte quartz or porcelain alongside a glossy tile accent, warm greige cabinetry paired with matte black or brushed gold hardware, and at least one curved or organic profile breaking up an otherwise rectilinear room. Color stays warm and neutral greige, warm white, and matte black with one bold material or color moment doing the visual work a whole room of saturated color would otherwise need to do.

This approach is trending because homeowners increasingly want a luxury look achievable through targeted upgrades rather than full renovations, and Pinterest and design-industry search data both show “affordable luxury kitchen” and “high-end kitchen on a budget” climbing as searches, reflecting real demand for attainable versions of high-end style.

Yes, a small or rental kitchen can achieve this look, and arguably benefits from the same editing principle even more: one hero material change (a backsplash, a hardware swap, a pendant) does more for a small kitchen’s perceived luxury than several smaller changes spread thin.

Style at a Glance

ElementCore Trait 1Core Trait 2
PhilosophyEditing and restraint signal luxury more than added decorationMixed textures over a single flat finish
MaterialsMatte quartz/porcelain, curved cabinetry profilesMatte black or brushed gold hardware
Color PaletteWarm greige, warm whiteMatte black accent

15 Ways to Achieve a Luxurious Contemporary Kitchen Design

1. Choose an Engineered Quartz Waterfall Island That Mimics Marble

1. Choose an Engineered Quartz Waterfall Island That Mimics Marble

Vibe: Serene, a waterfall edge with the visual drama of marble and none of its maintenance anxiety.

Why it works: Engineered quartz applies material honesty differently than natural stone; its manufactured veining pattern is more consistent and stain-resistant than marble, letting a real waterfall island exist on a mid-range budget without the sealing and etching concerns natural stone requires in daily use.

How to get it: Choose a quartz with veining printed through the slab (not just surface-applied) for a more convincing marble read, and specify a seamless waterfall fabrication at the corner so the pattern continues unbroken down both sides.

💡 Quick Win: A quartz-look peel-and-stick counter film refreshes an existing laminate island for under $60 while saving for a full replacement.

Shop the Look

Product
Marble look engineered quartz slab
Matte black counter stool set
Small ceramic countertop bowl
Quartz edge polishing kit
Matte black pendant light

2. Pair Warm Greige Cabinetry With Matte Black

2. Pair Warm Greige Cabinetry With Matte Black

Vibe: Grounded palette warm enough to feel current, contrasted just enough to feel intentional.

Why it works: Warm greige paired with matte black is a contrast principle that reads as contemporary specifically because it avoids both the stark white-and-chrome of the 2010s and the deep, moody tones of traditional luxury; the pairing sits in a confident middle ground that photographs current without chasing a narrower trend.

How to get it: Choose a greige with a visible warm undertone (test against natural daylight, since greige shifts more than most neutrals), and commit to matte black exclusively across hardware, faucet, and any lighting rather than mixing in chrome or brass.

Shop the Look

Product
Warm greige cabinet-grade paint
Matte black faucet single hole
Matte black cabinet pull set
Small ceramic countertop vessel
Matte black pendant fixture

3. Soften One Island Corner Into a Curve

3. Soften One Island Corner Into a Curve

Vibe: Layered a single soft edge that breaks up an otherwise entirely rectilinear room.

Why it works: Curved silhouettes are one of contemporary design’s most consistent current signals, and rounding just one island corner (rather than the whole perimeter) applies contrast at a manageable scale; it introduces the softer, organic-modern line trending across furniture and architecture right now without requiring a fully custom curved cabinet run.

How to get it: Specify a rounded corner radius of at least 8 inches on the island’s most visible end (typically facing the main walking path), wrapped in seamless quartz or laminate that follows the curve without a visible seam.

Shop the Look

Product
Curved corner island cabinet base
Seamless quartz wrap finish
Small ceramic countertop bowl
Matte black toe kick trim
Matte black island pendant

4. Hang a Statement Pendant Trio at Varied Heights

4. Hang a Statement Pendant Trio at Varied Heights

Vibe: Warm three fixtures doing the visual work of an entire accessory collection.

Why it works: A staggered pendant cluster is a light-layering and visual-weight principle that gives an island genuine focal presence without requiring any additional decor. Three pendants at varied heights (rather than one centered fixture) create movement and depth, which is precisely the kind of single high-impact upgrade the “editing over decorating” philosophy depends on.

How to get it: Hang three matte black pendants in graduated heights (typically 28, 32, and 36 inches above the counter), spaced evenly along the island’s length, using warm 2700K bulbs for genuine ambient glow.

💡 Quick Win: A single oversized pendant centered over the island delivers similar visual impact for a lower cost than a full three-piece cluster.

Shop the Look

Product
Matte black glass pendant set
Warm 2700K bulb for pendants
Adjustable pendant cord kit
Matte black ceiling canopy
Small ceramic countertop bowl

5. Mix a Matte Tile Field With One Glossy Accent Row

5. Mix a Matte Tile Field With One Glossy Accent Row

Vibe: Fresh a backsplash with genuine texture contrast instead of one uniform finish top to bottom.

Why it works: Mixing matte and glossy finishes within the same material family is a texture-layering principle that reads as more considered than a single finish throughout, since the glossy row catches and reflects light differently than the surrounding matte field, adding visual depth without introducing a second color or pattern.

How to get it: Run a matte white subway or square tile as the primary field, breaking it with a single 4 to 6-inch glossy accent row in a deep color at eye level, positioned where it catches the room’s main light source most directly.

Shop the Look

Product
Matte white square backsplash tile
Glossy dark green accent tile
Tile edge trim matte black
Small ceramic soap dispenser
Grout sealer penetrating

6. Curate an Open Shelf With Exactly Three Objects

6. Curate an Open Shelf With Exactly Three Objects

Vibe: Still a shelf edited down to exactly the objects worth looking at.

Why it works: Extreme restraint in open shelving is the negative-space principle at the heart of this whole approach: three objects with generous space between them carry more visual weight individually than a dozen items crowded onto the same shelf, and this specific discipline is what separates a “styled” shelf from one that simply looks tidy.

How to get it: Limit the shelf to exactly three objects in varied heights, spaced at roughly equal intervals, choosing one glass and one ceramic material rather than an all-matching set for subtle contrast.

Shop the Look

Product
Floating oak shelf
Matte ceramic vessel small
Slim glass bud vase
Matte black shelf bracket
Single dried stem bundle

7. Split Cabinetry Two-Tone on a Budget-Friendly Line

7. Split Cabinetry Two-Tone on a Budget-Friendly Line

Vibe: Fresh two tones split at exactly the height that costs the least to repaint.

Why it works: Splitting color at the counter line (rather than an irregular pattern) is the most budget-efficient version of two-tone cabinetry, since it only requires repainting the lower run. Proportion principle that still delivers the visual contrast of a full two-tone kitchen while limiting the material and labor cost to half the cabinetry.

How to get it: Keep existing upper cabinets in their current warm white (or repaint if needed) and repaint only the lower cabinets in warm greige, using the same matte black hardware across both to visually unify the split.

Shop the Look

Product
Warm greige cabinet-grade paint
Matte black cabinet pull set
Warm white upper cabinet paint
Small ceramic countertop bowl
Matte black cabinet hinge

8. Choose Slim Profile Bar Stools With No Bulk

8. Choose Slim Profile Bar Stools With No Bulk

Vibe: Still seating that stays visually quiet instead of competing with the island beneath it.

Why it works: Slim, backless stools apply a proportion principle that matters specifically in a smaller or mid-size kitchen; bulky upholstered stools with visible backs and armrests add visual weight that can make the whole island composition read as cluttered, while a slim profile in a single consistent metal tone keeps the space feeling edited.

How to get it: Choose backless stools no wider than 16 inches with slim matte black legs, tucked fully under the counter overhang between uses so the island’s silhouette stays clean.

Shop the Look

Product
Backless matte black counter stool
Slim quartz bar overhang extension
Small ceramic countertop bowl
Stool footrest ring detail
Marble-look coaster set

9. Add Under-Cabinet LED for an Instant High-End Upgrade

9. Add Under-Cabinet LED for an Instant High-End Upgrade

Vibe: Hushed a kitchen that shifts from bright and functional to soft and restaurant-like after dinner prep ends.

Why it works: Under-cabinet lighting is a light-layering technique that adds a low, horizontal glow distinct from overhead task lighting ; his single addition is one of the highest-return upgrades on this list because it changes the room’s evening atmosphere dramatically for a genuinely modest material and installation cost.

How to get it: Install a warm 2700K LED strip along the full underside of upper cabinets on its own dimmer switch, so the layer can operate independently from the room’s main ceiling lights once task lighting is no longer needed.

💡 Quick Win: A battery-powered adhesive LED strip under $30 achieves the same glow without any electrical wiring.

Shop the Look

Product
Warm 2700K LED under-cabinet strip
Battery-powered adhesive LED strip
In-line dimmer switch
Small ceramic storage canister
Adhesive LED mounting clips

10. Swap Hardware for Brushed Gold for an Immediate Lift

10. Swap Hardware for Brushed Gold for an Immediate Lift

Vibe: Warm a single afternoon’s worth of work that changes the whole room’s perceived cost.

Why it works: Hardware finish is a material-honesty principle with an outsized return relative to its cost  ecause hardware is touched daily and sits at eye level throughout the kitchen, ;pgrading from builder-grade chrome to brushed gold changes the room’s perceived quality more per dollar spent than almost any other single material swap on this list.

How to get it: Replace every visible cabinet pull, knob, and the faucet simultaneously in the same brushed gold finish (partial swaps read as unfinished), sourcing hardware from a single product line so the gold tone matches consistently across pieces.

Shop the Look

Product
Brushed gold cabinet pull set
Brushed gold single hole faucet
Brushed gold cabinet knob
Small ceramic countertop bowl
Brushed gold cabinet hinge

11. Paint Walls Warm White to Let One Bold Element Shine

11. Paint Walls Warm White to Let One Bold Element Shine

Vibe: Fresh, a neutral backdrop disciplined enough to let one bold choice actually register.

Why it works: Keeping walls in warm white while committing to one saturated material elsewhere is a contrast principle that only works with genuine restraint introducing a second bold color competes with the first, while a neutral backdrop lets whichever single element you’ve chosen (the glossy tile row, a colored island) carry the room’s entire visual statement.

How to get it: Choose a warm white with a soft yellow undertone for every wall except the one bold material feature elsewhere in the kitchen, resisting the urge to add a second accent color once the first is in place.

Shop the Look

Product
Warm white matte wall paint
Small framed abstract print
Matte black picture frame
Warm white LED ceiling bulb
Painter’s tape edge trim

12. Style a Sculptural Ceramic Vase as the Counter’s Focal Point

12. Style a Sculptural Ceramic Vase as the Counter's Focal Point

Vibe: Layered  ne object with enough sculptural presence to function as art rather than counter clutter.

Why it works: A single statement vase applies the same restraint principle as the open shelf; scaled to the island, one genuinely sculptural piece carries more visual weight than a grouping of smaller decorative objects, and it keeps the island’s counter surface functionally clear for actual food prep between styled moments.

How to get it: Choose one vase at least 14 inches tall in an organic, non-geometric silhouette, and add a single dried branch rather than a full floral arrangement, refreshing the branch occasionally so the styling stays intentional rather than static.

Shop the Look

Product
Sculptural matte ceramic vase
Single dried branch bundle
Warm cream ceramic finish
Small ceramic coaster set
Matte black counter tray

13. Replace Upper Cabinets With Floating Shelves

13. Replace Upper Cabinets With Floating Shelves

Vibe: Airy a wall that reads as open even while holding genuine daily storage.

Why it works: Removing upper cabinets in favor of floating shelves is a negative-space principle that opens sightlines across the kitchen  bank of closed cabinets reads as a heavy, opaque block, while open shelving lets the eye travel past it, making even a compact kitchen feel less enclosed.

How to get it: Mount two or three floating oak shelves on concealed brackets rated for at least 20 lbs each, styling each with no more than four items so the openness doesn’t collapse into visual clutter.

Shop the Look

Product
Floating oak shelf set
Concealed shelf bracket rated
Matte ceramic vessel set
Slim glass bud vase
Single dried stem bundle

14. Open the Sightline Between Kitchen and Living Space

14. Open the Sightline Between Kitchen and Living Space

Vibe: Airy  kitchen that visually extends into the room beyond it instead of stopping at a wall.

Why it works: Lowering or removing a peninsula’s upper cabinetry is a traffic-flow and zone-connection layout principle  t; moment the sightline opens toward an adjacent living space, both rooms borrow visual square footage from each other, which reads as more luxurious than either room would independently, without adding a single square foot of actual space.

How to get it: Replace any upper cabinetry along a peninsula or half-wall with open shelving or remove it entirely, keeping the counter-height barrier only, and match materials (counter, cabinet color) across both visible zones so the sightline reads as one continuous space.

Shop the Look

Product
Peninsula counter matching material
Open shelf replacement kit
Matte black barstool set
Small ceramic bowl for peninsula
Warm oak accent shelf

15. Achieve the Look in a Galley Kitchen With One Hero Material

15. Achieve the Look in a Galley Kitchen With One Hero Material

Vibe: Still roof that one confident material choice does more than ten scattered small upgrades.

Why it works: In a genuinely narrow galley kitchen, a single hero material is the small-space adaptation that concentrates the entire budget and visual impact into one high-return choice  ; reading limited funds across many small updates in a tight space reads as busy, while one glossy backsplash or one curved detail reads as a deliberate luxury statement.

How to get it: Choose the single material or color moment with the most visual return (typically a full-height glossy or patterned backsplash), commit the majority of the budget to that one feature, and keep every other surface in the kitchen deliberately simple and neutral.

💡 Quick Win: A peel-and-stick glossy tile backsplash under $80 tests this hero-material approach in a rental before committing to permanent tile.

Shop the Look

Product
Glossy dark green backsplash tile
Peel and stick glossy tile
Matte black cabinet hardware
Small ceramic canister set
Warm white cabinet paint

How to Start Your Luxurious Contemporary Kitchen Transformation

Your one first move is choosing the single hardware finish rushed gold or matte black  fore any other decision. Since hardware touches every cabinet and the faucet throughout the kitchen, committing to one metal tone first prevents the mismatched-finish problem that undoes an otherwise well-planned contemporary kitchen more than any other single mistake.

The most common mistake is mixing metal finishes  b shed gold cabinet pulls paired with a chrome faucet and a matte black pendant, for example  wh h reads as unplanned rather than eclectic. The fix is committing to one metal family across every visible fixture before ordering anything else.

Three items under $50 that create immediate impact: a warm 2700K under-cabinet LED strip, a single sculptural matte ceramic vase for the island, and a set of matte black cabinet knobs to test the hardware finish before a full swap.

A weekend refresh  har of are and lighting costs $150–450. A full luxurious contemporary kitchen transformation with a quartz island, two-tone cabinetry, and a mixed-texture backsplash typically runs $12,000–35,000 and takes three to six weeks depending on cabinetry lead times.

Frequently Asked Questions About Luxurious Contemporary Kitchen Design

What is the difference between contemporary and modern kitchen design?

Modern kitchen design refers to the specific mid-century design movement with its fixed vocabulary of clean lines and minimal ornament. Contemporary kitchen design describes whatever style is currently trending, borrowing freely from modern, minimalist, and organic influences at once, which is why contemporary kitchens today favor curved edges and mixed textures that a strictly modern kitchen from the 1960s never would have included.

What color works best for a luxurious contemporary kitchen?

Warm greige paired with matte black is the leading combination right now, sitting between the stark white of the 2010s and the deep, moody tones of traditional luxury. A single bold accent, like a glossy green tile row or a curved terracotta island, works best against an otherwise neutral warm white backdrop.

How much does it cost to achieve a luxurious contemporary kitchen look?

A budget refresh using hardware, lighting, and a peel-and-stick backsplash costs $200–700. A mid-range upgrade with a quartz waterfall island and two-tone cabinetry runs $12,000–25,000, and a full renovation including a curved island and mixed-texture tile typically costs $25,000–45,000 depending on cabinetry and stone fabrication.

Can a rental kitchen achieve a luxurious contemporary look without permanent changes?

Yes , emovable hardware swaps, peel-and-stick quartz-look counter film, under-cabinet LED strips, and a single sculptural styling object all deliver genuine visual impact without violating a lease, and all of them can move with the renter to the next apartment.

What is the single highest-impact upgrade for a contemporary kitchen right now?

Hardware finish consistency is the single highest-return change relative to its cost, since replacing mismatched or dated hardware with a unified brushed gold or matte black finish changes the room’s perceived quality more per dollar than almost any other update, according to real estate and design-industry renovation return data.

Ready to Achieve Your Dream Luxurious Contemporary Kitchen?

These 15 ideas move across material, color, lighting, layout, and genuine small-space adaptations rom a curved island corner and a mixed-texture backsplash to a single hero material that carries an entire galley kitchen’s luxury statement. None of this needs to happen all at once, and starting with a hardware swap and one lighting upgrade is genuinely the smartest first step, not a smaller version of the full vision. Today’s specific action: pick one metal finish, brushed gold or matte black, and replace every visible cabinet pull and the faucet with it this week, since that single change touches the whole room more directly than any other. Once that unified hardware story is in place, the kitchen stops reading as a collection of separate updates and starts feeling like one confidently edited room. Save the ideas that fit your actual budget and your kitchen’s real footprint  ; at brushed gold glow and single sculptural vase will still feel just as current a year from now.

You Might Also Like

15 Ways to Decorate an Open Plan Kitchen Dining Space

15 Ways to Decorate an Open Plan Kitchen Dining Space

An open plan kitchen dining space is a kitchen and dining area sharing one uninterrupted room, where the dining table has to visually and functionally connect to the kitchen instead of standing as its own separate room. This article gives you 15 genuinely effective ways to decorate an open plan kitchen dining space, covering material, color, lighting, and layout decisions that make the dining zone feel like a considered extension of the kitchen rather than furniture parked nearby.

It feels like a table that belongs exactly where it sits, wood tone echoing the island a few feet away, a pendant hanging low enough to claim its own space in the room’s sightline, a sideboard holding the extra dishware the kitchen cabinets ran out of room for. This is open-plan kitchen dining decorating at its best: connected, intentional, never an afterthought bolted onto the kitchen’s leftover space. Every choice earns its place because the dining zone in an open plan has to work twice as hard with no wall to define it.

Here are 15 ideas worth saving and stealing.

Why Decorating an Open Plan Kitchen Dining Space Works So Well

Open plan kitchen-dining layouts became the default in North American homes through the late 20th century’s open-concept renovation wave, which removed the formal, separate dining room in favor of one connected space for cooking and eating. What makes decorating this specific zone distinct from a standalone dining room is that every choice has to read correctly from the kitchen’s vantage point too; the dining area is never seen in isolation.

Core materials favor a wood tone that echoes the kitchen island or cabinetry, ceramic dinnerware that can be displayed on shelving visible from both zones, and metal hardware finishes matched to the kitchen’s existing fixtures. Color stays anchored to the kitchen’s palette, with dining chairs often the one place a different hue or material gets introduced, since chairs are easier to change than cabinetry if a household’s taste shifts.

This approach is trending because open floor plans remain the dominant layout in new construction and renovation alike, and Pinterest and design-industry search data both show sustained interest in “open concept dining table styling” and “kitchen dining decor ideas” as homeowners look for ways to make the dining zone feel deliberately furnished rather than simply placed in whatever space was left over.

Style at a Glance

ElementCore Trait 1Core Trait 2
PhilosophyDining zone decorated to read as an extension of the kitchen, not a separate roomEvery choice evaluated from the kitchen’s vantage point too
MaterialsWood tone matched to kitchen cabinetry or islandCeramic dinnerware, matched metal hardware
Color PaletteKitchen’s existing palette carried throughDining chairs as the one place for a color shift

15 Ways to Decorate an Open Plan Kitchen Dining Space

1. Choose a Dining Table That Echoes the Island’s Wood Tone

1. Choose a Dining Table That Echoes the Island's Wood Tone

Vibe: Grounded, a table that reads as part of the same material story as the kitchen instead of a separate purchase.

Why it works: Matching the dining table’s wood tone to the kitchen island is a material-continuity principle that matters more in an open plan than a separated dining room, since both pieces sit in the same sightline. Mismatched wood species or undertones (a cherry table against a white oak island) create a visible seam between zones that a closed dining room would never expose.

How to get it: Bring a wood sample or photo of the island when shopping for the dining table, matching the undertone family (warm yellow-brown versus cool grey-brown) rather than just the general color name, since “walnut” varies significantly between manufacturers.

💡 Quick Win: A matching wood stain applied to an existing mismatched table can bring it into the same tone family without a full furniture replacement.

Shop the Look

Product
Walnut dining table
Matte black dining chair set
Wood tone matching stain kit
Small ceramic centerpiece bowl
Walnut chair leg caps

2. Bridge Kitchen Cabinetry to the Table With Chair Color

2. Bridge Kitchen Cabinetry to the Table With Chair Color

Vibe: Fresh chairs that pick up a color already established in the kitchen, so the two zones visibly agree.

Why it works: Repeating a kitchen’s cabinet color in the dining chairs is a color-layering principle that ties the two functions together without repainting anything because chairs are the most visible upholstered or painted surface at the dining table. Using them to echo an existing kitchen color creates a deliberate visual link across the open sightline.

How to get it: Identify the kitchen’s most saturated existing color (often the island or lower cabinets) and specify that same color for dining chair upholstery or paint, keeping the table itself in a neutral wood tone so the color connection reads clearly through the chairs alone.

Shop the Look

Product
Sage green upholstered dining chair
Walnut dining table
Small ceramic table vessel
Sage chair cushion set
Matte black chair hardware

3. Add a Sideboard as the Dining Zone’s Own Storage Piece

3. Add a Sideboard as the Dining Zone's Own Storage Piece

Vibe: Still a piece of furniture that gives the dining zone its own storage instead of borrowing from kitchen cabinets.

Why it works: A dedicated sideboard applies furniture-arrangement thinking specifically to overflow storage extra dinnerware, table linens, and serving pieces that don’t fit in already-full kitchen cabinets get a genuine home in the dining zone, which also gives that area its own furniture anchor distinct from the kitchen’s built-in cabinetry.

How to get it: Choose a sideboard in the same wood tone as the dining table, positioned along the wall closest to the table rather than against the kitchen’s cabinetry run, styling its top surface with a lamp and one or two objects.

Shop the Look

Product
Walnut sideboard cabinet
Brass sideboard hardware
Small ceramic table lamp
Stacked dinnerware set
Small ceramic decorative vessel

4. Size and Hang a Pendant to Anchor the Table

4. Size and Hang a Pendant to Anchor the Table

Vibe: Warm, a fixture placed with enough intention that the table beneath it reads as its own defined zone.

Why it works: Correct pendant sizing and height is a proportion principle that gives the dining table a visual anchor from any point in the open room a pendant that’s too small or hung too high fails to claim the table as its own space, while one sized to roughly one-third the table’s length and hung 30–34 inches above the surface clearly marks the dining zone even without walls.

How to get it: Measure the table’s length and choose a pendant roughly one-third that width, hanging it so its bottom edge sits 30–34 inches above the tabletop, adjusting for ceiling height in rooms taller than the standard 8 feet.

Shop the Look

Product
Brass pendant light for dining
Adjustable pendant cord kit
Warm 2700K bulb set
Small ceramic centerpiece bowl
Brass ceiling canopy trim

5. Add a Table Runner That Echoes the Kitchen Counter Material

5. Add a Table Runner That Echoes the Kitchen Counter Material

Vibe: Layered,  small textile detail that visually references the kitchen’s hero material without repeating it in full.

Why it works: A table runner echoing the kitchen’s counter material (marble veining printed on linen, for instance) is a texture-layering principle that connects the two zones through pattern rather than requiring an actual matching stone table, giving the dining area a visual nod to the kitchen’s material story at a fraction of the cost.

How to get it: Choose a linen or cotton runner with a printed or woven pattern that references the kitchen counter’s specific material (marble veining, wood grain, or terrazzo fleck), positioned centered on the table rather than a full tablecloth that would hide the wood beneath.

Shop the Look

Product
Marble print linen table runner
Walnut dining table
Small ceramic table vessel
Linen napkin matching set
Matte black napkin ring set

6. Style a Rotating Seasonal Centerpiece Off the Counter

6. Style a Rotating Seasonal Centerpiece Off the Counter

Vibe: Fresh a centerpiece that changes with the seasons instead of sitting as static, permanent decor.

Why it works: Coordinating the dining table’s centerpiece with a matching styled moment on the kitchen counter is an accessory-layering principle that reinforces the two zones as one connected story. Using the same ceramic bowl style and seasonal produce (citrus in winter, stone fruit in summer) in both places ties the room together through a repeated, changeable detail rather than a fixed decorative object.

How to get it: Choose one low, wide ceramic bowl style and use it in both the kitchen and dining zones, filling each with the same seasonal fruit so the pairing reads as intentional, refreshing the produce regularly to keep the styling genuinely functional.

💡 Quick Win: A single bowl of lemons in a matte ceramic bowl works as an instant, low-cost centerpiece that doubles as usable kitchen produce.

Shop the Look

Product
Matte ceramic fruit bowl set
Small dried stem accent
Walnut trivet for hot dishes
Ceramic serving spoon
Small ceramic salt cellar

7. Unify Mixed Dining Chairs With One Fabric Color

7. Unify Mixed Dining Chairs With One Fabric Color

Vibe: Layered chairs with genuinely different silhouettes that still read as one coordinated set.

Why it works: Mixing chair styles at a dining table is a popular contemporary technique, but it only reads as intentional (rather than mismatched) when one consistent element ties them together. A single cushion fabric color across every chair, regardless of frame material or shape, applies color-layering as the unifying thread the varied silhouettes need.

How to get it: Choose one cushion or upholstery color and apply it to every chair at the table, whether they’re wood, metal, or a mix of both, so the variety in shape reads as a deliberate design choice rather than an accidental mismatch.

Shop the Look

Product
Warm cream chair cushion set
Wood frame dining chair
Metal frame dining chair
Small ceramic table vessel
Chair cushion tie set

8. Add a Bench on One Side to Save Floor Space

8. Add a Bench on One Side to Save Floor Space

Vibe: Airy seating that tucks flush against the wall, freeing walking space the kitchen side of the room actually needs.

Why it works: A bench on the wall side of the table applies negative-space thinking specifically to an open kitchen-dining combo, where the kitchen side needs clear walking room for cooking traffic while the dining side can push flush to a wall. Chairs on only one side (the side facing the open room) keep the kitchen-facing traffic path clear.

How to get it: Position the bench against the wall farthest from the kitchen work zone, sized to the table’s exact length, and use chairs only on the side facing the kitchen so that the traffic path stays genuinely unobstructed during meal prep.

Shop the Look

Product
Walnut dining bench
Bench seat cushion
Matte black dining chair pair
Small folded cushion accent
Bench floor protector pads

9. Add Dimmable Dining Light Separate From Kitchen Task Light

9. Add Dimmable Dining Light Separate From Kitchen Task Light

Vibe: Warm, a dining table that can go soft and intimate even while the kitchen a few feet away stays brightly lit for cleanup.

Why it works: Wiring the dining pendant to its own dimmer separate from the kitchen’s task lighting is a light-layering principle essential to an open plan specifically because the two zones share one room with no wall to contain each other’s light; independent controls let the dining area shift to a warm evening mood while the kitchen continues its brighter, functional lighting for dishes and cleanup.

How to get it: Wire the dining pendant to a dedicated dimmer switch on its own circuit from the kitchen’s overhead and under-cabinet lighting, using a warm 2700K bulb so the dimmed setting reads genuinely warm rather than simply dark.

Shop the Look

Product
In-wall dimmer switch for pendant
Warm 2700K dimmable bulb
Brass pendant light dining
Small ceramic table vessel
Dimmer switch plate cover

10. Display Ceramic Dinnerware on Shelving Visible From Both Zones

10. Display Ceramic Dinnerware on Shelving Visible From Both Zones

Vibe: Layered dinnerware styled with enough intention to function as decor for both rooms at once.

Why it works: Open shelving positioned at the boundary between kitchen and dining is a material-continuity principle that gives one storage solution double visual duty; the same stacked ceramic plates read as kitchen storage from one angle and dining room styling from the other, which is only possible because the two zones share sightlines in an open plan.

How to get it: Mount open oak shelves at the architectural transition point between the two zones (near a peninsula or half-wall if one exists), styling with a consistent ceramic dinnerware set rather than mismatched everyday dishes.

Shop the Look

Product
Open oak shelving unit
Warm cream ceramic dinnerware set
Small dried stem accent
Matte black shelf bracket
Ceramic serving bowl stack

11. Paint a Beam or Medallion Over the Dining Table Only

11. Paint a Beam or Medallion Over the Dining Table Only

Vibe: Grounded, a single ceiling detail that marks the dining zone’s boundary from directly overhead.

Why it works: Adding one architectural ceiling element specifically above the dining table (rather than treating the whole open ceiling uniformly) is a zone-definition principle applied overhead; a single beam or painted medallion gives the dining area a marked boundary the way a chandelier alone sometimes can’t, reinforcing the table’s zone from an angle most decorating overlooks.

How to get it: Install one walnut beam spanning the width of the table’s zone, hanging the dining pendant directly from it, and leave the surrounding open-plan ceiling in its existing finish so the beam reads as a deliberate zone marker rather than a full room treatment.

Shop the Look

Product
Walnut ceiling beam single
Brass pendant light for beam
Beam mounting hardware kit
Small ceramic table bowl
Warm white ceiling paint

12. Position a Bar Cart as a Serving Bridge Between Zones

12. Position a Bar Cart as a Serving Bridge Between Zones

Vibe: Warm, a rolling piece that physically and visually connects the cooking zone to the dining table.

Why it works: A bar cart positioned in the transition space between the island and dining table applies furniture-arrangement thinking to the specific function of serving because it’s mobile; it can roll toward whichever zone needs it during a meal, physically bridging the two spaces rather than requiring guests to walk back to the kitchen for drinks or serving pieces.

How to get it: Position the cart in the open pathway between island and table, styling its lower tier with everyday glassware and the top tier with a rotating serving item, moving it as needed rather than fixing it permanently in one spot.

Shop the Look

Product
Brass bar cart glass tiers
Glassware set for cart
Small ceramic serving tray
Cart wheel lock set
Small ceramic coaster set

13. Choose an Extendable Table for Flexible Zone Use

13. Choose an Extendable Table for Flexible Zone Use

Vibe: Functional: a table that shrinks back down for daily use and expands the moment more people show up.

Why it works: An extendable table applies dual-function furniture thinking to an open kitchen-dining zone specifically because the space often has to serve both daily family meals and occasional larger gatherings without a separate formal dining room to handle the overflow. Keeping the table at its compact size daily preserves the kitchen’s walking clearance, while the extension leaf accommodates guests when needed.

How to get it: Choose a table with a built-in extension leaf stored within the table itself (rather than a separate leaf requiring storage elsewhere), matched to the same wood tone as the kitchen island so the extended size doesn’t introduce a visible seam in the room’s material story.

Shop the Look

Product
Walnut extendable dining table
Matte black dining chair set
Small ceramic centerpiece bowl
Table leaf storage cover
Chair floor glide set

14. Angle the Table to Ease Traffic Flow Around the Island

14. Angle the Table to Ease Traffic Flow Around the Island

Vibe: Airy, a table positioned to actually ease movement through the room instead of blocking the most direct path.

Why it works: Angling the dining table slightly relative to the island, rather than defaulting to a perfectly parallel or perpendicular placement, is a traffic-flow principle that can open up a more natural walking path in an oddly shaped open room. A straight-on placement sometimes forces an awkward, narrow gap on one side, while a slight angle can distribute the available floor space more evenly around both pieces.

How to get it: Test the table at a 10 to 15-degree angle relative to the island using painter’s tape on the floor to map both furniture footprints before committing, checking that the narrowest walking gap on any side still clears at least 36 inches.

Shop the Look

Product
Walnut dining table
Floor placement tape kit
Small ceramic table vessel
Matte black chair set
Rug for angled table zone

15. Use a Drop-Leaf Table for a Tight Kitchen-Dining Combo

15. Use a Drop-Leaf Table for a Tight Kitchen-Dining Combo

Vibe: Still a table that shrinks to a fraction of its size the moment a meal is finished.

Why it works: In a genuinely tight kitchen-dining combo, a drop-leaf table is the small-space adaptation that reclaims floor space between meals. Folding one or both leaves down against the wall turns a full dining table into a narrow console, freeing the walking path the rest of the day for a footprint a fixed-size table simply couldn’t offer in the same room.

How to get it: Choose a drop-leaf table that folds down to at least half its extended width, positioning it against the wall closest to the kitchen so the folded position doubles as a slim console when not set up for a meal.

💡 Quick Win: A wall-mounted fold-down table achieves an even smaller footprint than a freestanding drop-leaf for genuinely micro kitchen-dining combos.

Shop the Look

Product
Walnut drop leaf dining table
Folding dining chair set
Small ceramic bowl for table
Wall mount fold down table
Chair wall storage hooks

How to Start Decorating Your Open Plan Kitchen Dining Space

Your one first move is matching the dining table’s wood tone to the kitchen island or cabinetry before choosing chairs, lighting, or any accessory. Since the table sits in constant view of the kitchen with no wall to separate the two, this single material decision anchors every other choice that follows and prevents the visible seam a mismatched tone creates.

The most common mistake is choosing dining furniture as if the space were a separate, enclosed dining room, picking a formal dark-stained table that clashes with a lighter kitchen just a few feet away. The fix is always evaluating dining furniture from the kitchen’s vantage point before purchasing, holding a sample or photo up to the actual room rather than judging it in a showroom alone.

Three items under $50 that create immediate impact: a marble-print linen table runner, a matte ceramic fruit bowl to coordinate with kitchen counter styling, and a set of matching napkin rings in the kitchen’s existing metal finish.

A weekend refresh: a runner, a centerpiece, and lighting adjustment costs $80–250. A full open plan kitchen dining decorating project including a matched table, chairs, and a sideboard typically runs $2,500–7,000 and takes two to four weeks including furniture delivery.

Frequently Asked Questions About Decorating an Open Plan Kitchen Dining Space

What is the difference between decorating an open plan dining area and a separate dining room?

A separate dining room can be styled entirely on its own terms, since it’s seen independently of the kitchen. An open plan dining area has to be decorated with the kitchen’s material and color choices in mind at every step, since the two zones share one continuous sightline and any mismatch between them is visible from both sides at once.

What color works best for dining chairs in an open plan kitchen dining space?

Repeating a color already established in the kitchen often the island or lower cabinet color works best, since it visually ties the dining zone back to the kitchen rather than introducing an unrelated new hue. A neutral wood tone table paired with chairs in that repeated accent color keeps the connection clear without overdoing the color story.

How much does it cost to decorate an open plan kitchen dining space?

A budget refresh using a runner, centerpiece, and lighting adjustment costs $80–300. A mid-range update with new dining chairs and a sideboard runs $1,500–4,000, and a full furniture replacement including a matched table and pendant lighting typically costs $4,000–8,000 depending on furniture quality.

Can a small open kitchen-dining combo still feel properly decorated?

Yes, a drop-leaf or extendable table, a correctly sized pendant, and a rotating seasonal centerpiece all apply at a smaller scale just as effectively as in a larger room, and a compact space actually benefits more from consistent material choices since any mismatch is visible at closer range than in a bigger open plan.

What is the most important single decorating decision for an open plan kitchen dining zone?

Matching the dining table’s wood tone to the kitchen’s island or cabinetry matters most, since this single material choice determines whether the two zones read as one connected space or two separately furnished areas that happen to share a floor plan, more than any lighting, color, or accessory decision that follows it.

Ready to Decorate Your Open Plan Kitchen Dining Space?

These 15 ideas move across material, color, lighting, layout, and true small-space solutions, from a table matched to the island’s wood tone to a drop-leaf design that reclaims floor space in a genuinely tight combo. None of this needs to happen all at once, and starting with a table runner and one coordinated centerpiece is genuinely the smartest place to begin, not a smaller version of the full plan. Today’s specific action: stand in your kitchen and look toward the dining table, noting the first thing that feels visually disconnected between the two zones, since that’s the detail worth fixing before anything else on this list.

Once the dining area finally reads as part of the same considered room as the kitchen, sitting down to eat will feel less like using leftover space and more like settling into a zone that was actually designed to hold you. Save the ideas that fit your room’s real layout and your household’s actual routines; that matched wood tone and coordinated centerpiece will still be doing their quiet work a year from now.

You Might Also Like

15 Luxurious Classic Kitchen Design Ideas With Real Architectural Detail
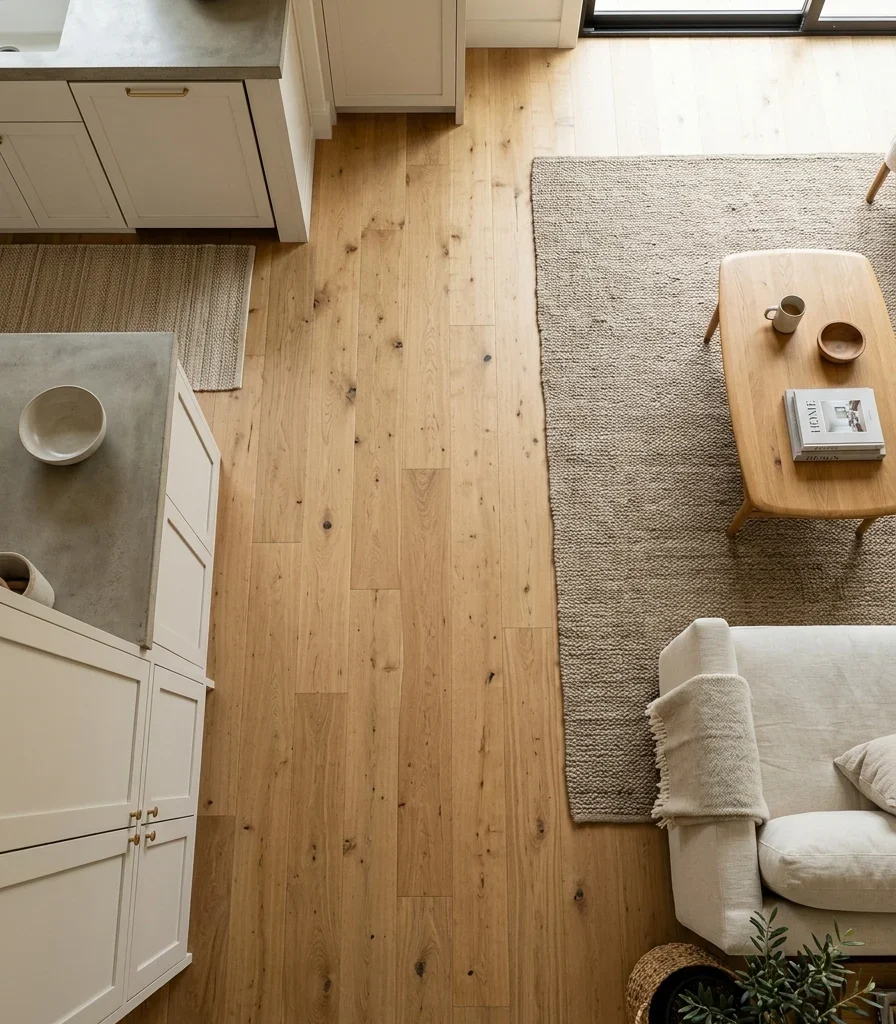
15 Luxurious Classic Kitchen Design Ideas With Real Architectural Detail
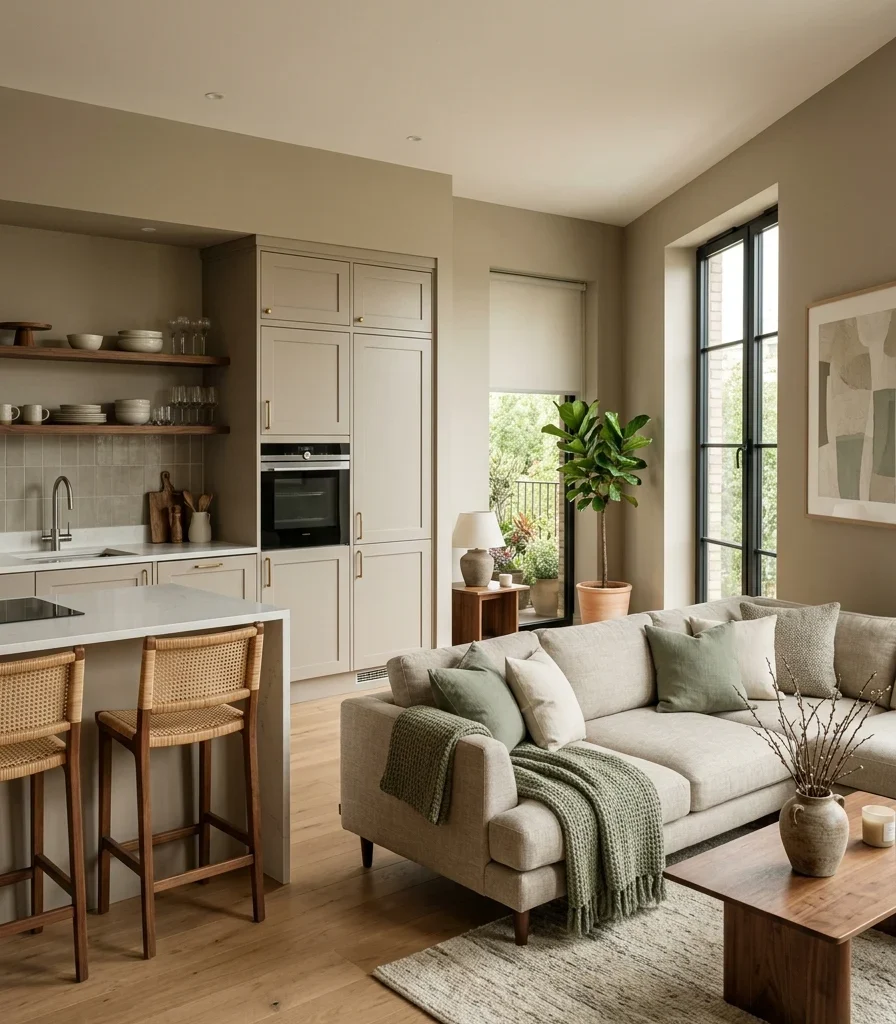
A luxurious classic kitchen draws on formal Georgian and Victorian architectural tradition: raised-panel cabinetry, decorative moldings, careful symmetry, executed in genuinely high-end materials rather than reproduced in flat, budget millwork. This article gives you 15 real luxurious classic kitchen design ideas covering color, material, lighting, furniture, and layout, each one built around the specific architectural detail that separates true classic design from a generically “traditional” kitchen.

The feel is unmistakable: crown molding meeting the ceiling at a crisp, deliberate line, a chandelier casting warm light across marble, cabinetry carved with the same care a formal dining room would receive. Classic kitchens don’t chase trends; they’re built on proportion rules old enough to have already outlasted several design cycles. Here are 15 ideas worth saving and stealing.

Why Luxurious Classic Kitchen Design Works So Well

Classic kitchen design draws directly from Georgian architectural proportion and the formal symmetry of English country house kitchens, later refined through French Provincial tradition, where raised-panel cabinetry, decorative corbels, and careful moldings were built with the same architectural seriousness given to a home’s formal rooms. This is what separates true classic design from generic “traditional” styling: classic follows specific historical proportion rules, column-style pilasters, crown molding profiles, symmetrical cabinet runs, rather than simply using warm wood tones and calling it done.

The materials that define this look include raised-panel or beaded-inset cabinetry in soft dove gray or warm ivory, hand-carved corbels and fluted pilasters, hexagon or basketweave marble mosaic flooring, and classic brass hardware like cup pulls and swing-arm faucets. Crystal chandeliers and leaded glass cabinet fronts round out the material palette, both chosen because they reference specific decorative traditions rather than purely functional needs.

Style at a Glance

ElementCore Trait 1Core Trait 2
PhilosophyFormal symmetry, historical proportionGenuine architectural detail over flat panels
MaterialsRaised-panel cabinetry, carved corbelsMarble, brass hardware, crystal lighting
Color PaletteSoft dove gray, warm ivoryDark stained wood accents

15 Luxurious Classic Kitchen Design Ideas
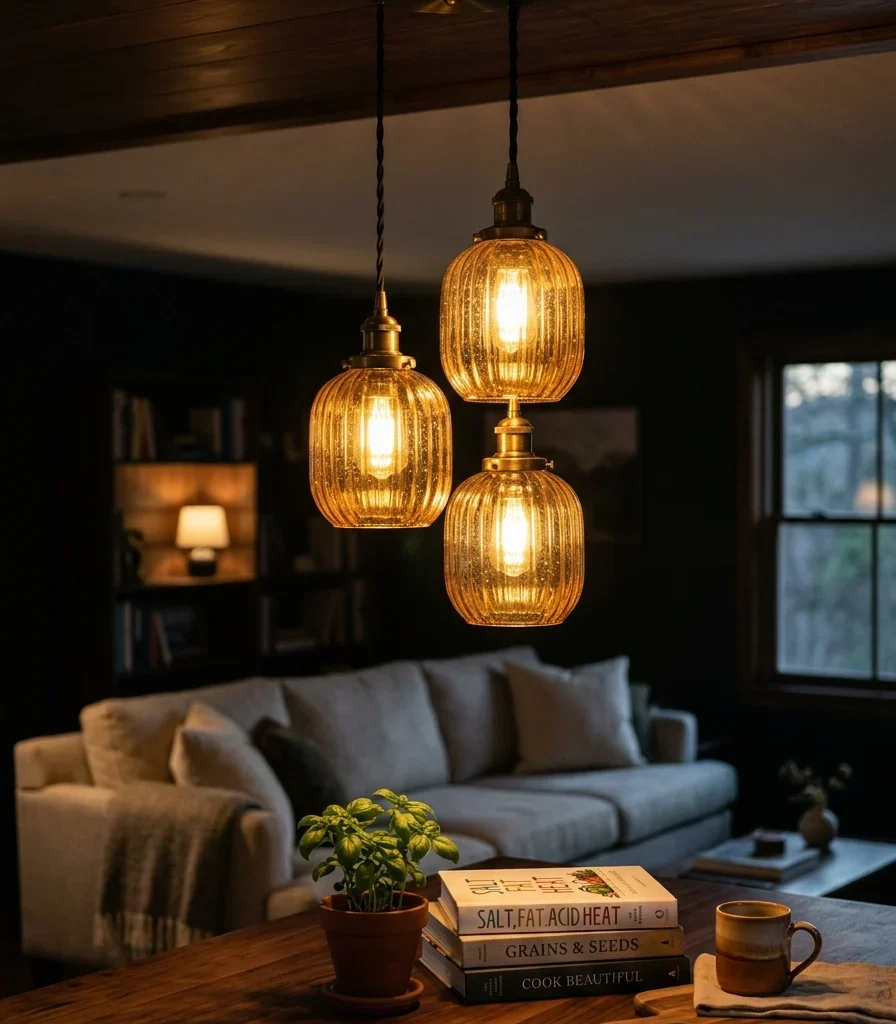
1. Soft Dove Gray Cabinetry With Classic White Trim

1. Soft Dove Gray Cabinetry With Classic White Trim

Vibe: The kitchen feels formal, soft gray settling into quiet, considered elegance.

Why it works: Dove gray sits at a specific value between true gray and greige, carrying enough warmth to avoid feeling cold while remaining neutral enough to let architectural detail raised panels, molding profiles read clearly without color competing for attention. Trimming the cabinetry in crisp white crown molding at the ceiling references classical column capital detailing, giving the cabinetry a formal, finished edge rather than simply stopping at the ceiling line.

How to get it: Choose a dove gray with a visible warm undertone rather than a cool blue-gray, and finish the cabinetry’s top edge with a genuine crown molding profile rather than a flat cap, since the molding’s dimensional shadow line is what signals real millwork investment.

💡 Quick Win: Adding crown molding to existing flat-top cabinets is a lower-cost way to introduce this classic detail without a full cabinetry replacement.

Shop the Look

Product
Dove gray cabinet-grade paint
Crown molding trim, cabinet-height
Brushed brass cabinet hardware set
White marble-look countertop
Ceramic kitchen canister set

2. Raised-Panel Cabinetry With Decorative Corbels

2. Raised-Panel Cabinetry With Decorative Corbels

Vibe: The cabinetry feels architectural, carved detail doing what flat panels never could.

Why it works: Decorative corbels carved brackets traditionally used to support an overhanging structural element reference classical column and cornice detailing directly, and while modern countertops rarely need the actual structural support corbels once provided, including them purely for their visual weight is a specific marker of genuine classic design intent. Raised-panel doors, with their carved recessed center panel, similarly reference formal millwork traditions that flat slab or shaker cabinetry deliberately moves away from.

How to get it: Choose corbels sized proportionally to your countertop overhang, typically 10 to 12 inches for a standard island overhang, and install them at consistent spacing beneath any exposed counter edge for the most architecturally convincing result.

Shop the Look

Product
Carved wood corbel pair
Raised-panel cabinet doors
Brushed brass cabinet hardware
Wood stain, walnut tone
Corbel mounting hardware kit

3. A Crystal Chandelier as the Kitchen’s Centerpiece

3. A Crystal Chandelier as the Kitchen's Centerpiece

Vibe: The kitchen feels formal, light-treated with the same seriousness as a dining room.

Why it works: A crystal chandelier positioned at the kitchen’s true center, rather than only over an island, signals that the entire room is being treated as formal space worthy of the same lighting investment a dining room would receive, which is a distinctly classic design choice compared to the more function-first pendant lighting common in contemporary kitchens. The crystal facets scatter light across marble and painted cabinetry in a way that reinforces the room’s overall sense of formality.

How to get it: Center the chandelier on the kitchen’s true geometric midpoint rather than simply over the island, and choose a scale proportional to the room’s overall square footage; roughly one inch of chandelier diameter per foot of room width is a common professional guideline.

Shop the Look

Product
Brass and crystal chandelier
Dimmer switch for chandelier
Warm dimmable candelabra bulb set
White marble countertop
Brass cabinet hardware, matching

4. A Furniture-Style Hutch for China Display

4. A Furniture-Style Hutch for China Display

Vibe: The hutch feels collected, china displayed the way a formal dining room would show it off.

Why it works: A freestanding hutch, built and finished as genuine furniture rather than fitted cabinetry, references the pre-built-in-kitchen era when storage pieces were literal furniture moved room to room. Reintroducing one in a classic kitchen signals the same furniture-forward luxury detail used elsewhere in high-end kitchen design, while giving good china and glassware the formal display treatment a built-in cabinet typically doesn’t offer. The glass-paned doors specifically let the displayed contents contribute to the room’s visual richness.

How to get it: Choose a hutch with true divided-light glass doors, multiple small panes rather than one large sheet, since the divided pattern is the specific detail that reads as classic rather than merely glass-fronted.

Shop the Look

Product
Furniture-style china hutch, glass front
China dinnerware set, formal
Glassware set, cut crystal
Brass hutch hardware
Small brass display stand

5. Leaded Glass Cabinet Fronts for Traditional Detail

5. Leaded Glass Cabinet Fronts for Traditional Detail

Vibe: The cabinets feel historic, glass patterned the way old windows once were.

Why it works: Leaded glass, with its diamond or rectangular mullion pattern held together by thin metal leading, was originally a window technology later adapted for formal cabinetry, and using it on kitchen cabinet fronts specifically references that architectural lineage more directly than plain glass ever could. The pattern also softens the view into the cabinet’s contents, letting displayed dishware read as a considered vignette rather than fully exposed storage.

How to get it: Choose leaded glass inserts with a diamond mullion pattern for the most traditionally accurate look, and style the cabinet interior deliberately, since the glass makes the contents genuinely visible even through the pattern’s partial obstruction.

Shop the Look

Product
Leaded glass cabinet insert panels
Ceramic dishware set, cream glaze
Brass cabinet hardware
Cabinet interior lighting, small
Glass cleaning cloth, lint-free

6. A Traditional Two-Tone Kitchen With Painted Perimeter and Stained Island

6. A Traditional Two-Tone Kitchen With Painted Perimeter and Stained Island

Vibe: The kitchen feels formal, one dark stained piece grounding an otherwise light room.

Why it works: Pairing a painted perimeter with a stained wood island rather than two different paint colors is a specifically classic take on the two-tone kitchen technique, since the stained wood’s natural grain reads as more traditionally furniture-like than a second painted color would. This distinguishes the approach from more contemporary two-tone kitchens, which typically use two paint colors rather than mixing paint and natural wood finish.

How to get it: Choose a dark walnut or mahogany stain for the island specifically, keeping every other cabinet surface in painted ivory or dove gray, and unify both finishes with the same brass hardware throughout so the two-material approach reads as one cohesive plan.

Shop the Look

Product
Warm ivory cabinet-grade paint
Dark walnut wood stain
Brushed brass hardware set, matching
White marble countertop
Brass pendant light pair

7. A Hexagon Marble Mosaic Floor

7. A Hexagon Marble Mosaic Floor

Vibe: The floor feels historic, small tiles building a pattern with real period authenticity.

Why it works: Hexagon marble mosaic flooring references early 20th-century formal kitchen and bathroom tiling directly, and the small tile scale creates a fine, detailed pattern underfoot that reads as considerably more labor-intensive and premium than larger-format tile genuine marble specifically, rather than a printed look-alike, carries subtle veining variation between individual hexagons that reinforces the material’s authenticity. This is a classic-specific flooring choice distinct from the herringbone wood flooring more common in general luxury kitchen design.

How to get it: Choose genuine marble hexagon mosaic in sheet form for consistent installation, and introduce a contrasting gray or black accent hexagon in a repeating border pattern for the most period-accurate detail.

Shop the Look

Product
White marble hexagon mosaic tile
Gray marble accent hexagon tile
Marble sealant, penetrating formula
Walnut island base
Brass counter-height barstool set

8. A Symmetrical Galley Layout With Mirrored Upper Cabinets

8. A Symmetrical Galley Layout With Mirrored Upper Cabinets

Vibe: The kitchen feels ordered, both walls mirroring each other with formal precision.

Why it works: True architectural symmetry matching cabinet runs, evenly spaced windows, a centered range references the same balance principle that governed formal Georgian room layouts, where every element on one side of a room’s central axis was mirrored on the other. This is a layout-level commitment to classic design rather than a surface-level styling choice, requiring the kitchen’s plumbing and electrical to be planned around the symmetry from the start rather than retrofitted around existing utility placement.

How to get it: Center the range or a single focal appliance on the room’s true midpoint, then plan cabinet runs, windows, and lighting fixtures in mirrored pairs extending equally in both directions from that centerline.

Shop the Look

Product
Matching brass pendant light pair
Dove gray cabinet-grade paint
Brushed brass cabinet hardware set
White marble countertop
Ceramic decorative bowl, centered display

9. Classic Brass Picture Lights Over Open Plate Racks

9. Classic Brass Picture Lights Over Open Plate Racks

Vibe: The plate rack feels curated, lit the way a formal painting would be in a gallery.

Why it works: A picture light mounted above an open plate rack treats displayed china the same way fine art gets treated elsewhere in a formal home, using focused, directional light to make the plates the room’s clear point of visual interest rather than leaving them under general ambient lighting alone. This is emphasis through lighting applied specifically to a classic kitchen’s most decorative storage element.

How to get it: Mount the picture light 6–8 inches above the plate rack’s top shelf, angled slightly downward, and choose a warm dimmable bulb so the display can shift from bright daytime visibility to a softer evening glow.

Shop the Look

Product
Brass picture light, plug-in
Walnut open plate rack shelving
China plate set, formal pattern
Warm white dimmable bulb
Brass wall mounting hardware

10. A Traditional Apron-Front Sink in a Carved Wood Surround

10. A Traditional Apron-Front Sink in a Carved Wood Surround

Vibe: The sink feels formal, carved wood framing it like a piece of architecture.

Why it works: An apron-front sink exposes its full front face rather than tucking behind a cabinet door, and framing that exposed face with carved wood detailing fluted panels, a decorative apron skirt extends the same architectural seriousness given to cabinetry elsewhere in the room to the sink specifically, which is often left as purely functional in less classic-focused kitchens. A brass swing-arm faucet, with its visible pivoting joint, reinforces the period-appropriate hardware detail this style depends on throughout.

How to get it: Choose a fireclay or cast iron apron-front sink for genuine material weight and durability, and have the surrounding cabinet panel carved or routed with a fluted or beaded detail rather than left flat.

Shop the Look

Product
White fireclay apron-front sink
Brass swing-arm kitchen faucet
Carved wood cabinet panel, sink surround
Ceramic soap dispenser
Brass sink hardware, matching

11. Fluted Pilasters Flanking the Range

11. Fluted Pilasters Flanking the Range

Vibe: The range wall feels architectural, columns standing guard on either side.

Why it works: Fluted pilasters are flat, column-like pieces with vertical carved grooves- reference classical Greek and Roman column orders directly, and flanking the range with them frames the kitchen’s functional centerpiece the same way a formal doorway or fireplace surround would be framed in a classic home’s other rooms. This detail transforms the range wall from a purely functional cooking zone into the room’s clear architectural focal point.

How to get it: Size pilasters proportionally to your range hood’s height, with a carved capital detail at the top where the pilaster meets the hood surround, since that transition point is what completes the classical column reference.

Shop the Look

Product
Fluted wood pilaster pair
Carved capital trim detail
Brass range hood trim
Wood stain, walnut tone
Pilaster mounting hardware

12. A Toile or Chinoiserie Wallpaper Accent

12. A Toile or Chinoiserie Wallpaper Accent

Vibe: The nook feels layered, pattern doing the work paint alone couldn’t achieve.

Why it works: Toile and chinoiserie wallpaper patterns carry direct historical lineage to 18th-century European decorative arts, when European makers began producing pattern designs inspired by imported Chinese porcelain and textiles. Using either pattern in a classic kitchen’s breakfast nook or accent wall extends the room’s historical references beyond cabinetry and millwork into a genuinely period-appropriate textile art form. This works best confined to one contained area, like a nook, rather than a full kitchen application, since the pattern’s visual density is substantial.

How to get it: Reserve the wallpaper for a contained breakfast nook or single accent wall away from cooking splash zones, and choose a pattern in a two-color scheme; blue and white remains the most traditional chinoiserie combination for the most historically accurate result.

Shop the Look

Product
Chinoiserie print wallpaper, blue and white
Walnut breakfast table
Brass pendant light, above table
Upholstered dining chairs, classic
Wallpaper smoothing tool

13. Warm Ivory Walls to Set Off Dark Wood Millwork

13. Warm Ivory Walls to Set Off Dark Wood Millwork

Vibe: The kitchen feels contrasted, light walls letting dark wood carry real presence.

Why it works: Warm ivory provides enough value contrast against dark stained wood to let carved detail, panel profiles, and molding shadow lines all read clearly, while still carrying enough warmth to avoid the stark, cold feeling a pure white wall would create against rich wood tones. This value-contrast principle is what allows genuinely dark, formal wood cabinetry to feel grounded rather than visually heavy within the room.

How to get it: Choose an ivory with a visible warm undertone rather than a cool or gray-leaning white, testing it directly against your wood tone’s actual stain sample before committing to a full room, since the pairing’s success depends on both colors sharing compatible warmth.

Shop the Look

Product
Warm ivory interior wall paint
Dark walnut stained cabinetry
Brushed brass hardware set
White marble countertop
Brass wall sconce pair

14. Scaled-Down Classic Symmetry for a Small Kitchen

14. Scaled-Down Classic Symmetry for a Small Kitchen

Vibe: The kitchen feels refined, formal detail scaled down without losing its seriousness.

Why it works: A small kitchen can’t accommodate full-scale corbels or a substantial crown molding profile without the detail overwhelming the room’s limited surface area, but proportionally scaling every architectural element down together narrower molding, smaller corbels, a more compact chandelier preserves the same formal symmetry principle at a size that fits. This is the small-space application of classic design’s core philosophy: the historical proportion rules themselves scale, even when the room can’t be large.

How to get it: Reduce every architectural detail’s scale by a consistent proportion relative to a standard-sized version; roughly two-thirds scale is a reliable starting point, rather than omitting some details entirely while keeping others at full size, which breaks the room’s overall proportional harmony.

Shop the Look

Product
Narrow crown molding, scaled profile
Small carved corbel pair
Compact brass chandelier
White marble backsplash tile
Brushed brass cabinet hardware, small scale

15. Classic Brass Cup Pulls Throughout

15. Classic Brass Cup Pulls Throughout

Vibe: The drawers feel cohesive, one classic hardware shape repeating with quiet consistency.

Why it works: The cup pull, with its half-circle brass shape recessed slightly into the drawer front, is one of the most historically consistent hardware styles across two centuries of formal cabinetry, which is why it remains the default choice for genuinely classic kitchens rather than the bar-style pulls common in more contemporary design. Using this single hardware style consistently across every drawer in the kitchen reinforces the room’s overall commitment to period-appropriate detail down to its smallest touchpoints.

How to get it: Choose cup pulls in an unlacquered or aged brass finish specifically, and maintain consistent vertical centering on every drawer front, typically centered both horizontally and at roughly one-third down from the top edge for the most visually uniform result across the full cabinetry run.

Shop the Look

Product
Classic brass cup pull set
Raised-panel cabinet drawer fronts
Brass drawer pull template, spacing guide
Cabinet installation screwdriver set
Brass polish, patina-safe

How to Start Your Luxurious Classic Kitchen Transformation

Your first move should be adding crown molding to your existing cabinetry, since this single detail introduces genuine architectural seriousness to the room’s largest surface area and anchors every other classic detail that follows it, from hardware to lighting.

The most common mistake is mixing flat, contemporary slab-front cabinets with classic hardware and lighting, which creates visual conflict rather than a cohesive look, since classic design depends on raised-panel or beaded-inset door profiles carrying the same formal character as the fixtures around them. Fix it by prioritizing cabinet door replacement or refacing to a raised-panel profile before investing further in classic-style hardware and lighting that would otherwise sit awkwardly against flat doors.

Three specific items under $50 that create immediate impact: a single classic brass cup pull to test against your existing cabinet drawers, a small carved wood corbel to preview beneath a counter overhang, and a ceramic canister set in a warm ivory glaze matching your intended wall color.

A cosmetic classic refresh using crown molding, hardware, and paint typically takes two to three weeks and costs $2,000–$5,000. A fuller transformation including raised-panel cabinetry and marble flooring runs $30,000–$70,000 and takes two to three months, while a complete custom classic kitchen build realistically spans four to seven months and $90,000–$180,000 depending on the extent of carved millwork and material tier.

Frequently Asked Questions About Luxurious Classic Kitchens

What is the difference between classic and traditional kitchen design?

Classic kitchen design refers specifically to formal Georgian and Victorian architectural proportion rules, symmetrical layouts, raised-panel cabinetry, decorative corbels and pilasters, while “traditional” is a broader, less precise term often used for any kitchen with warm wood tones and non-modern styling. A genuinely classic kitchen follows historical architectural conventions closely enough that a design historian could identify the specific proportion rules at work, whereas traditional design borrows the general feeling without necessarily following those same formal rules.

What colors work best for a luxurious classic kitchen?

Soft dove gray and warm ivory remain the most reliable classic cabinet colors, both chosen because they carry enough warmth to avoid feeling cold while staying neutral enough to let architectural detail like raised panels and molding profiles read clearly. Dark walnut or mahogany stain is the most common classic accent, typically reserved for an island or a single furniture-style piece like a hutch, rather than applied across full cabinetry runs the way bolder paint colors are used in more contemporary luxury kitchens.

How much does a luxurious classic kitchen renovation cost?

A cosmetic refresh using crown molding, classic hardware, and paint updates typically costs $2,000–$5,000 and takes two to three weeks. A fuller transformation including raised-panel cabinetry and marble mosaic flooring generally runs $30,000–$70,000 and takes two to three months, while a complete custom-built classic kitchen with carved corbels, pilasters, and full architectural millwork realistically falls between $90,000 and $180,000 depending on the extent of hand-carved detail specified.

Can a small kitchen achieve genuine classic luxury?

Yes, though the room’s formal symmetry and architectural detail need to be scaled down proportionally rather than included at full size. A narrower crown molding profile, smaller corbels, and a compact chandelier all preserve the same classic design philosophy in a fraction of the square footage a grand estate kitchen would use. The key limitation is that a small kitchen usually can’t support a full symmetrical galley layout with mirrored cabinet runs, so priority typically shifts to concentrated architectural detail on one or two focal elements instead.

What is the most requested classic kitchen detail right now?

Raised-panel cabinetry with decorative corbels remains the most consistently requested classic kitchen feature, reflecting sustained interest in genuine carved architectural detail over flat, minimalist cabinet profiles. Crystal chandeliers positioned as a kitchen’s central light source, rather than confined to a dining room, are also seeing renewed interest as more homeowners treat the kitchen as a formal space worthy of the same lighting investment as any other room in the home.

Ready to Design Your Dream Luxurious Classic Kitchen?

These 15 luxurious classic kitchen design ideas span color, material, lighting, furniture, and layout  from raised-panel cabinetry with hand-carved corbels to a hexagon marble floor and a crystal chandelier treated as the room’s true centerpiece, so there’s a genuinely fitting starting point here whether you’re planning a full custom build or a single architectural upgrade. You don’t need every detail at once, and adding crown molding before investing in hardware or lighting is not a smaller version of the vision; it’s the sequence that gives every later classic detail something proportionally serious to build on. Today’s specific action: measure your existing cabinetry’s top edge and research a crown molding profile scaled correctly to your kitchen’s ceiling height, before any other purchase. Once that first genuine architectural line is in place, every carved corbel, brass cup pull, and marble tile layered on top of it will finally read as one considered classic kitchen rather than a collection of traditional-adjacent choices. Save the details that matched your own kitchen’s proportions today that fluted pilaster, that leaded glass cabinet front because in classic kitchen design, the proportion rules that have already outlasted a dozen passing trends are exactly what make the room feel timeless rather than dated.

You Might Also Like

14 Coastal Kitchen Decor Ideas for a Breezy, Sunlit Space
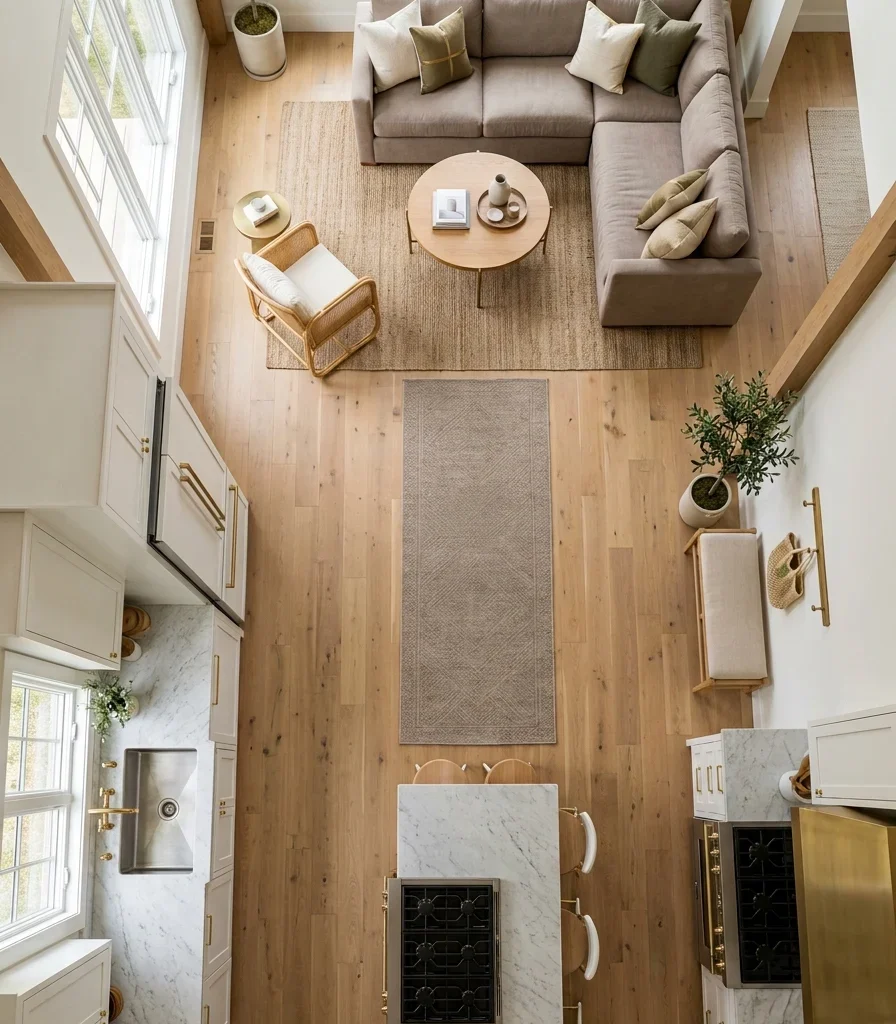
14 Coastal Kitchen Decor Ideas for a Breezy, Sunlit Space
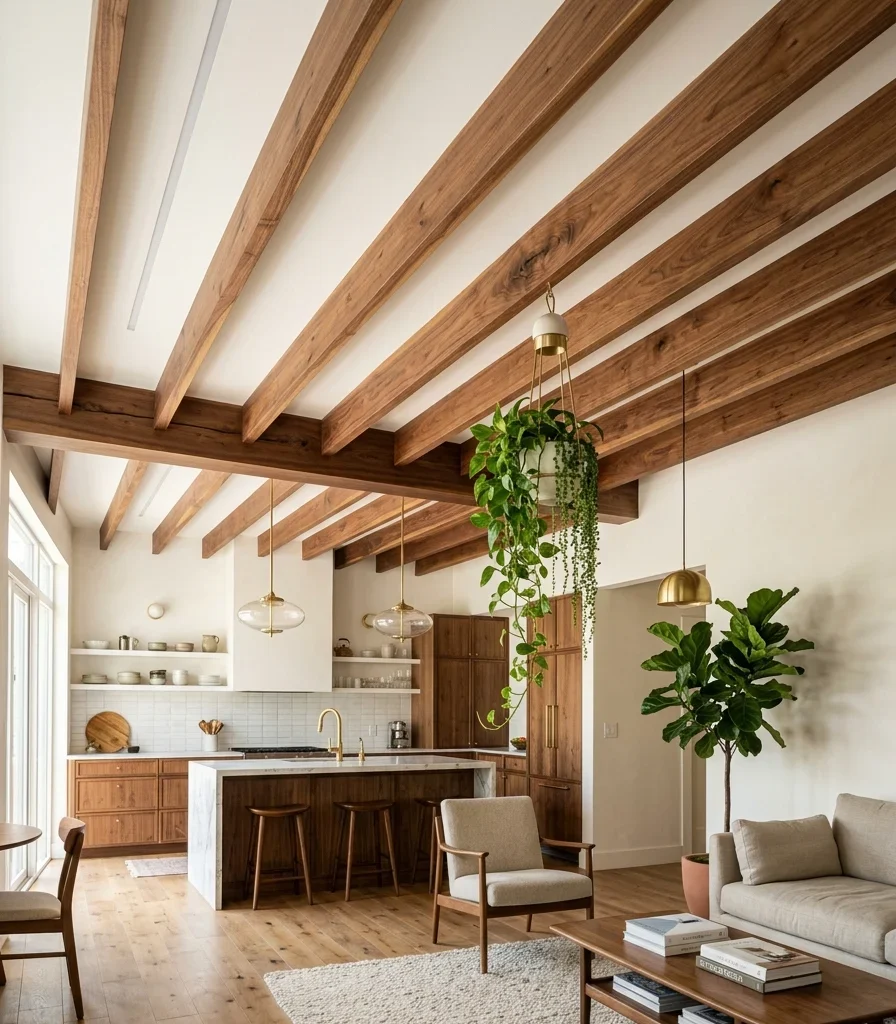
Coastal kitchen decor takes its cues from weathered shingle-style beach cottages sun-bleached wood, sea-glass color, and light that bounces rather than sits still. This article gives you 14 coastal kitchen decor ideas, from cabinet color to lighting to layout tricks, built for a room you actually cook in.

The feeling is unmistakable: morning light hitting whitewashed shelves, linen curtains lifting slightly at an open window, the quiet hum of a kitchen that never feels heavy no matter how much is happening in it. Coastal doesn’t chase a theme it chases air and worn texture instead. Here are 14 ideas worth saving and stealing.
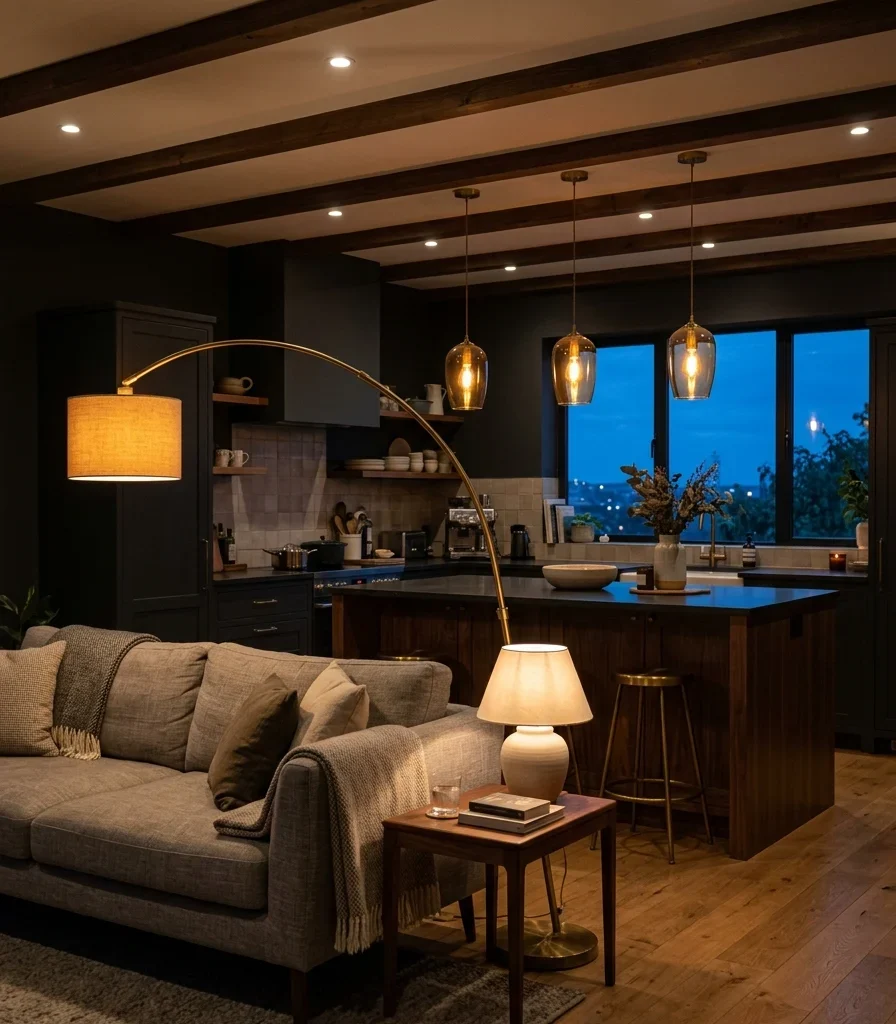
Why Coastal Kitchen Decor Ideas Work So Well
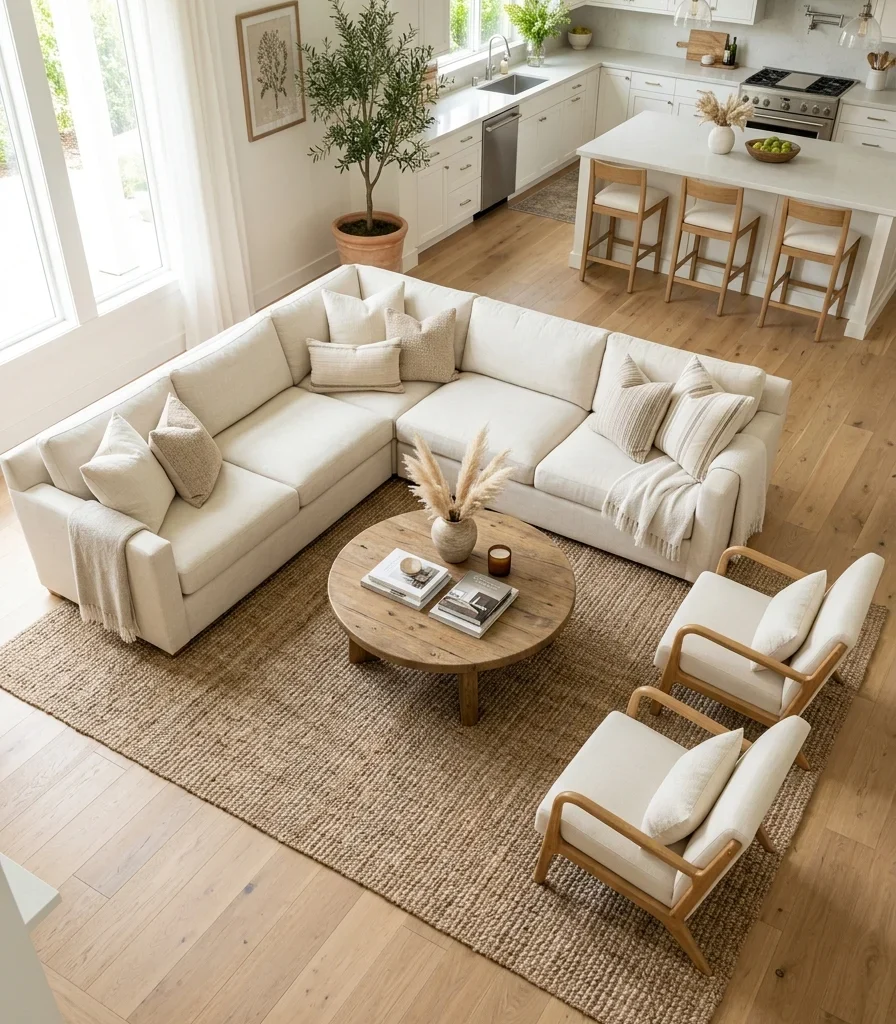
What is it? Coastal style traces to the late-19th-century shingle-style cottages of New England’s Cape Cod and Nantucket, where salt air, sun exposure, and practical seaside living shaped homes built for light and easy upkeep rather than formality. It differs sharply from “nautical” decor no anchors, rope trim, or navy-and-red stripes leaning instead on bleached wood, worn stone, and a palette pulled from sand and sea rather than a ship’s flag.

What are its core materials and colors? The palette runs warm white, sea-glass blue-green, sandy beige, and driftwood grey. Materials stay tactile and light-catching: whitewashed oak, honed soapstone or marble, woven rattan, linen, and unglazed ceramic. Nothing is dark or glossy every surface is chosen to reflect light rather than absorb it.

Why is it trending now? Coastal search volume climbed sharply through 2022–2024 as the “coastal grandmother” aesthetic merged the style’s classic calm with a slower, more textural approach to daily life, part of the broader post-pandemic shift toward homes built for comfort over display. Sustainability trends have also pushed reclaimed and driftwood-finish materials back into favor.
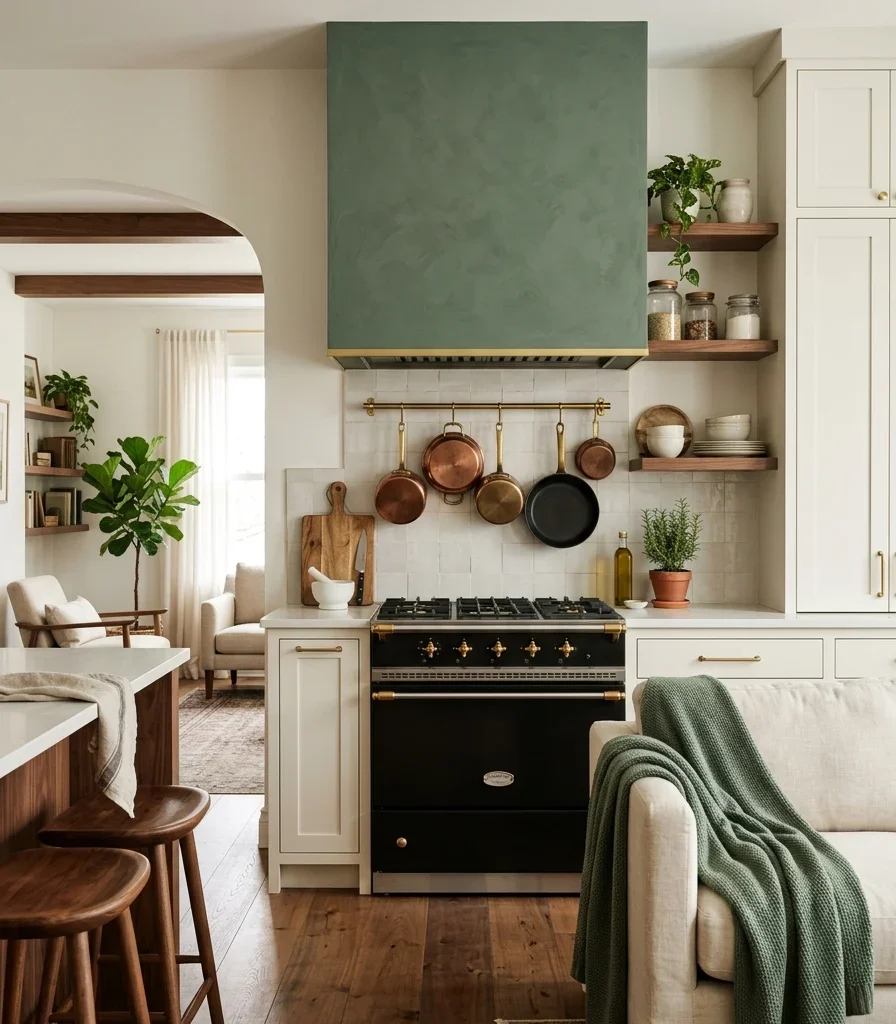
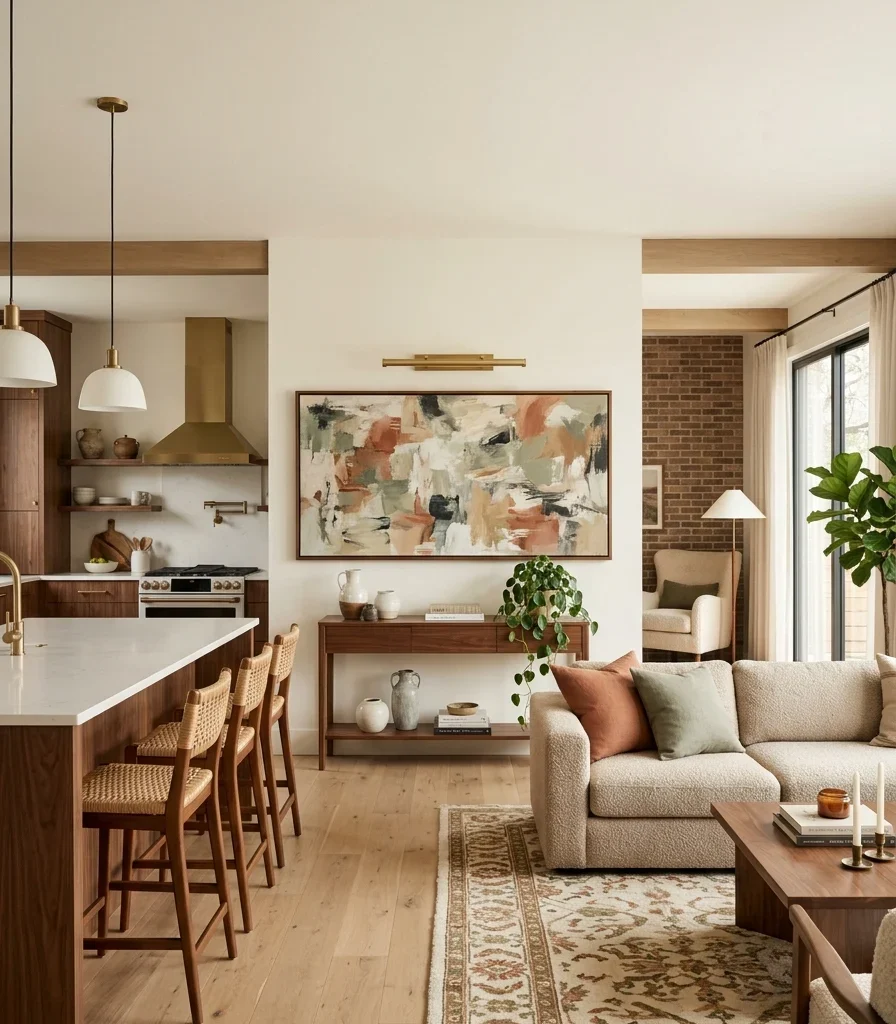
Can small spaces achieve this style? Yes — coastal actually favors small kitchens, since light-reflecting whites and open shelving (rather than heavy upper cabinets) are the style’s default move anyway. Prioritize removing visual weight from eye level first.

ElementPhilosophyKey Colors
Core valueLight and worn texture over polishWarm white, sea-glass blue
Material approachReflective, tactile, salt-air-wornSandy beige, driftwood grey

14 Coastal Kitchen Decor Ideas

1. Whitewashed Oak Open Shelving

Vibe: The wall feels luminous, dishware doing the decorating instead of cabinet doors.

Why it works: Removing upper cabinet doors in favor of open shelving increases light reflection at eye level. This technique makes a kitchen feel larger by letting the wall color continue uninterrupted behind the shelves. Whitewashed oak retains the grain’s visibility under a thin paint wash, which is what distinguishes authentic coastal whitewash from a flat-painted board.

How to get it: Mount two or three floating oak shelves with a diluted white paint wash (roughly 1:1 paint to water, wiped with the grain), and style them with no more than five objects each so the openness reads as intentional.

💡 Quick Win: Removing just one cabinet door and whitewashing the interior back panel gives the open-shelf effect without a full renovation.

Shop the Look

Product
Whitewashed oak floating shelf set
Ceramic pitcher with ribbed white glaze
Stacked ceramic mixing bowl set
Small terracotta herb pot
Brass shelf bracket set

2. Soft Sea-Glass Blue Cabinetry

2. Soft Sea-Glass Blue Cabinetry

Vibe: The cabinets feel calm, color pulled straight from shallow water rather than a paint chart.

Why it works: Sea-glass blue-green sits at a low enough saturation to function as a neutral rather than a bold color choice, which is why it pairs easily with warm white counters without competing for attention. Farrow & Ball’s Green Blue No. 84 and Benjamin Moore’s Palladian Blue HC-144 are both reference points landing squarely in this tonal range.

How to get it: Paint only the lower cabinets in a soft sea-glass tone, keeping upper cabinets or open shelving in warm white, and finish with brushed brass or unlacquered brass pulls to avoid a cool, sterile contrast.

Shop the Look

Product
Sea-glass blue cabinet paint matte
Brushed brass cabinet pull set
Woven seagrass basket small
Ceramic bud vase white
Linen kitchen towel set

3. Woven Rattan Pendant Lights Over the Island

3. Woven Rattan Pendant Lights Over the Island

Vibe: The island feels sun-warmed, light filtering through woven fiber instead of falling flat.

Why it works: Rattan pendants diffuse light through their open weave, casting soft shadow patterns rather than a direct beam — a lighting behavior that echoes natural sunlight moving through a woven beach hat. Hanging two fixtures rather than one also balances an island’s horizontal length, a basic proportion rule for pendant spacing.

How to get it: Hang two rattan pendants 30 inches apart and 30–32 inches above the island surface, fitted with warm 2700K bulbs so the woven shadow reads amber rather than white.

💡 Quick Win: Swapping only the pendant shades on an existing fixture to rattan clip-on shades achieves the texture change in under an hour.

Shop the Look

Product
Woven rattan pendant light fixture
Warm 2700K LED bulb dimmable
Ceramic fruit bowl, white glaze
Linen napkin set natural
Wood cutting board, oak

4. Ceramic Pitchers and Stoneware Styled on Open Shelves

4. Ceramic Pitchers and Stoneware Styled on Open Shelves

Vibe: The shelf feels collected, as it grew slowly rather than arriving all at once.

Why it works: Grouping ceramics in varied but tonally related glazes creates texture-based visual interest without introducing new color, keeping the coastal palette intact while avoiding a matched, showroom look. Uneven, hand-thrown rims catch light differently than uniform manufactured dishware, adding the worn-in quality central to the style.

How to get it: Choose three to five ceramic pieces in warm white to sandy beige glazes with visible handmade texture, and group them by height rather than by type so the arrangement reads as curated, not stocked.

Shop the Look

Product
Ceramic stoneware pitcher set
Handmade ceramic bowl warm white
Dried coastal grass stem bundle
Small wood catchall bowl
Linen table runner natural

5. Rattan Counter Stools with Woven Backs

5. Rattan Counter Stools with Woven Backs

Vibe: The stools feel light, open weave, letting the island counter stay visually uncluttered behind them.

Why it works: Rattan’s open weave keeps counter stools from visually blocking the island the way solid upholstered seating would, preserving sightlines through the kitchen — a proportion consideration especially important in open-plan layouts. The natural fiber also repeats the texture established in pendant lighting or shelving, tying the room together without matching colors exactly.

How to get it: Choose stools with woven rattan backs and light wood or metal legs rather than fully upholstered seats, sized so the seat sits 10–12 inches below the counter surface for comfortable knee clearance.

💡 Quick Win: Adding a single linen seat cushion to existing plain wood stools introduces softness without replacing the furniture.

Shop the Look

Product
Rattan back counter stool set
Linen seat cushion natural
Small potted plant ceramic pot
Ceramic mug with warm white glaze
Woven placemat set of natural fiber

6. Warm White Walls with Sandy Beige Backsplash

6. Warm White Walls with Sandy Beige Backsplash

Vibe: The backsplash feels sun-warmed, tile catching light unevenly like sand at low tide.

Why it works: Handmade zellige or subway tile in sandy beige introduces subtle tonal variation across the wall, a texture effect that flat single-tone tile can’t replicate, and this variation is what keeps a mostly white kitchen from feeling sterile. Warm white walls surrounding it maintain the light-reflecting quality that coastal kitchens depend on.

How to get it: Choose a handmade zellige-style tile in sandy beige for the backsplash only, laid in a simple stacked or brick pattern, and keep grout in a matching warm tone so the tile’s texture stays the focal point rather than the grout lines.

Shop the Look

Product
Sandy beige zellige-style backsplash tile
Wood utensil holder crock
Ceramic olive oil bottle
Small potted plant, terracotta
Warm white interior wall paint

7. Honed Marble or Soapstone Countertops

7. Honed Marble or Soapstone Countertops

Vibe: The counter feels grounded, its matte surface absorbing light instead of throwing it back.

Why it works: A honed (matte) finish on marble or soapstone diffuses reflection rather than mirroring it the way a polished counter would, which keeps the material from reading as formal or cold — an important distinction for a style built on ease rather than showroom polish. Soapstone in particular develops a natural patina over time, aligning with coastal’s appreciation for worn material.

How to get it: Choose a honed rather than polished finish when selecting marble or soapstone, and let any natural etching or patina develop rather than resealing aggressively, since that wear is part of the material’s coastal character.

💡 Quick Win: A honed quartz counter with a marble-look veining pattern offers a lower-maintenance stand-in if natural stone isn’t in budget.

Shop the Look

Product
Honed soapstone-look quartz countertop sample
Ceramic mixing bowl, warm white
Wood cutting board round
Linen kitchen towel natural
Marble pastry board honed finish

8. Galley Kitchen Zoned by a Butcher-Block Island

8. Galley Kitchen Zoned by a Butcher-Block Island

Vibe: The galley feels efficient, one warm wood zone anchoring a narrow room without crowding it.

Why it works: In a galley layout, a rolling butcher-block island creates a defined prep zone within an otherwise long, narrow footprint, a layout technique that adds counter space without a permanent build-out. Keeping it on wheels also preserves the traffic flow a galley kitchen depends on, since it can shift out of the walkway when not in use.

How to get it: Choose an island no wider than 24 inches for a galley under 8 feet across, with locking caster wheels so it can roll clear of the main walkway during cooking and cleanup.

Shop the Look

Product
Butcher block rolling kitchen island
Ceramic utensil crock warm white
Woven produce basket, natural
Small terracotta herb pot
Wood cutting board set

9. Linen Café Curtains Instead of Blinds

9. Linen Café Curtains Instead of Blinds

Vibe: The window feels open, light pouring over a curtain that covers just enough.

Why it works: Café curtains cover only the lower half of a window, preserving natural light through the upper pane while still providing counter-level privacy — a light-behavior solution far better suited to coastal kitchens than blinds, which block the window’s full height even half-closed. Sheer linen also filters rather than blocks light, keeping the glow soft rather than dim.

How to get it: Mount a slim wood or brass rod at the window’s midpoint and hang a sheer linen panel gathered loosely, rather than pleated tightly, so it moves slightly with air from an open window.

💡 Quick Win: An existing curtain panel can be cut and hemmed to café length in under 20 minutes with no sewing machine needed if using fusible hem tape.

Shop the Look

Product
Sheer linen café curtain panel
Slim wood curtain rod natural
Ceramic windowsill vase small
Small potted herb terracotta pot
Brass curtain rod bracket set

10. Driftwood Grey Lower Cabinets with White Uppers

10. Driftwood Grey Lower Cabinets with White Uppers

Vibe: The kitchen feels balanced, weight sitting low while the top half stays light and open.

Why it works: Two-tone cabinetry with a deeper driftwood grey below and warm white above follows a visual weight principle — darker tones read as heavier, so keeping them at floor level grounds the room while the paler upper cabinets keep the ceiling plane feeling tall and open. This is a more restrained alternative to painting all cabinetry the same saturated color.

How to get it: Paint lower cabinets in a warm-toned driftwood grey such as Sherwin-Williams Anew Grey SW 7030, keeping upper cabinets or open shelving in warm white so the contrast stays soft rather than stark.

Shop the Look

Product
Driftwood grey cabinet paint matte
Warm white cabinet paint eggshell
Brushed nickel cabinet pull set
Ceramic kitchen canister set
Woven storage basket small

11. Skylight or Solar Tube for Overhead Daylight

11. Skylight or Solar Tube for Overhead Daylight

Vibe: The counter feels lit from within, daylight arriving from directly overhead instead of through a side window.

Why it works: A solar tube or skylight introduces overhead daylight that side windows can’t reach into the center of a kitchen, a light-behavior solution especially useful in interior or north-facing kitchens where natural light typically falls short of coastal’s airy requirement. Overhead daylight also shifts color temperature through the day, keeping the room feeling alive rather than static.

How to get it: Install a 10–14-inch solar tube directly above the island or main prep area, positioned where roof access allows a straight run to the attic, for daylight without the cost of a full skylight.

💡 Quick Win: Swapping a flush ceiling fixture to a daylight-mimicking 4000K LED is a same-day substitute if a solar tube isn’t feasible yet.

Shop the Look

Product
Solar tube skylight kit 10 inch
Daylight LED flush mount fixture
Ceramic serving bowl white
Wood serving tray round
Small potted plant ceramic pot

12. Open Plate Rack Instead of Upper Cabinets

12. Open Plate Rack Instead of Upper Cabinets

Vibe: The wall feels functional and layered at once, dishware turned into visible texture.

Why it works: A slatted wood plate rack replaces the visual bulk of a closed upper cabinet with open, rhythmic lines, letting light and wall color show through — the same negative-space logic as open shelving, applied specifically to daily-use dishware. The repeated plate edges also create a pattern the coastal palette otherwise avoids through paint or tile.

How to get it: Mount a slatted oak plate rack directly above the sink or prep counter, sized to hold your most-used dinner plates only, so the display stays functional rather than purely decorative.

Shop the Look

Product
Wood slatted wall plate rack
Ceramic dinner plate set, warm white
Ceramic pitcher ribbed
Linen hand towel natural
Dried grass stem, small bundle

13. Woven Seagrass Baskets for Pantry Storage

13. Woven Seagrass Baskets for Pantry Storage

Vibe: The pantry feels organized without feeling clinical, with a woven texture softening what could be a purely functional shelf.

Why it works: Seagrass baskets hide visual clutter from loose packaging while keeping the material language natural rather than plastic, which matters because pantry storage is one of the few coastal zones prone to breaking the palette with printed boxes and bags. The open weave also allows quick visual identification of contents without needing to lift a lid.

How to get it: Decant dry goods into glass jars or fabric bags first, then group them inside uniform seagrass baskets by category, labeling each basket with a small wood tag rather than adhesive labels.

💡 Quick Win: Two baskets for the most-used shelf (grains and snacks) is enough to visually calm a pantry without redoing the whole space at once.

Shop the Look

Product
Woven seagrass storage basket set
Glass pantry storage jar set
Wood basket label tag set
Ceramic flour canister warm white
Small potted plant terracotta pot

14. Fold-Down Breakfast Nook Table

14. Fold-Down Breakfast Nook Table

Vibe: The nook feels efficient, a full table appearing only when the room needs it.

Why it works: In small coastal kitchens, a wall-mounted fold-down table solves the tension between wanting a dedicated eating spot and needing open floor space most of the day — when folded flat, it returns the full footprint to the room, which keeps a small kitchen from feeling permanently cramped by furniture used only twice a day.

How to get it: Mount a folding oak table at standard dining height (28–30 inches) against an underused wall, paired with two lightweight folding or stacking chairs that can be stored elsewhere when not in use.

Shop the Look

Product
Fold-down wall-mounted wood table
Stacking wood folding chair pair
Ceramic mug with warm white glaze
Small potted plant ceramic pot
Linen placemat set natural

How to Start Your Coastal Kitchen Transformation

Start with wall color, not cabinetry. A warm white, such as Benjamin Moore White Dove on the main walls, is the single move that anchors every other decision, because it sets the light-reflecting base against which every cabinet color, tile, and wood tone in a coastal kitchen is chosen to sit.

The most common mistake is leaning too hard into “nautical” theming — rope trim, anchor motifs, navy-and-red stripes. This breaks the look because coastal’s calm comes from worn, natural materials and light, not literal beach props; fix it by removing any themed decor item and replacing it with one made of an honest material like linen, rattan, or ceramic.

Three items under $50 that create immediate impact: a ribbed ceramic pitcher in warm white glaze, a sheer linen café curtain panel for one window, and a small woven seagrass basket for the counter.

A full coastal kitchen transformation with new cabinetry, tile, and lighting realistically takes 6–10 weeks and costs $8,000–$20,000. A weekend refresh using paint, textiles, and open shelving costs $200–$600 and delivers the atmosphere immediately, even before any structural changes happen.

Frequently Asked Questions About Coastal Kitchen Decor

What’s the difference between coastal and nautical kitchen decor?

Coastal decor draws on weathered natural materials and light whitewashed wood, linen, sea-glass color while nautical decor relies on literal beach symbols like anchors, rope, and navy-and-red stripe patterns. Coastal is closer to a lived-in Nantucket cottage; nautical leans toward themed novelty decor. Most modern coastal kitchens intentionally avoid nautical motifs altogether.

What color should I paint a coastal kitchen?

Warm white with a soft undertone, such as Benjamin Moore White Dove or Sherwin-Williams Alabaster, is the standard base wall color. Sea-glass blue-green (Farrow & Ball Green Blue No. 84) or sandy beige are common cabinet accent choices layered on top. Avoid cool, stark blue-whites, which read more clinical than coastal.

How much does a coastal kitchen makeover cost?

A budget refresh using paint, textiles, and open shelving typically runs $200–$800. A mid-range update adding new cabinet paint and lighting costs $2,500–$6,000. A full renovation with new cabinetry, stone counters, and tile backsplash can reach $15,000–$25,000 depending on square footage and material choices.

Does coastal kitchen style work with a modern or farmhouse home?

Yes — coastal blends naturally with modern through its clean lines and light palette, and with farmhouse through shared materials like whitewashed wood and open shelving. It pairs less easily with heavily traditional or dark academia interiors, where deep wood tones and formal symmetry conflict with coastal’s intentionally relaxed, sun-bleached character.

What’s the most important element in coastal kitchen decor?

Natural light behavior is the most important element more than any single color or material, how light moves through the room via open shelving, sheer curtains, and reflective warm-white surfaces is what makes a coastal kitchen decor scheme read as airy rather than simply beachy in color alone. A kitchen with the right palette but heavy blinds and closed cabinets will still feel dim.

Ready to Create Your Dream Coastal Kitchen?

These 14 ideas move through cabinet color, natural materials, overhead light, and small-space layout tricks, showing that coastal kitchen decor is built from many small, honest choices rather than one big theme purchase. Starting with a single whitewashed shelf or one sea-glass cabinet is not a lesser version of the style it’s exactly how these rooms are meant to come together. Today, hang one sheer linen café curtain on your kitchen window and notice how the light changes by evening. Done right, the space will start to feel like the exhale at the end of a long day, unhurried no matter what’s cooking. Save the ideas that matched your own light and your own walls that ribbed ceramic pitcher, that driftwood grey cabinet because coastal kitchen decor rewards the room built slowly, one worn, natural material at a time.

You Might Also Like