
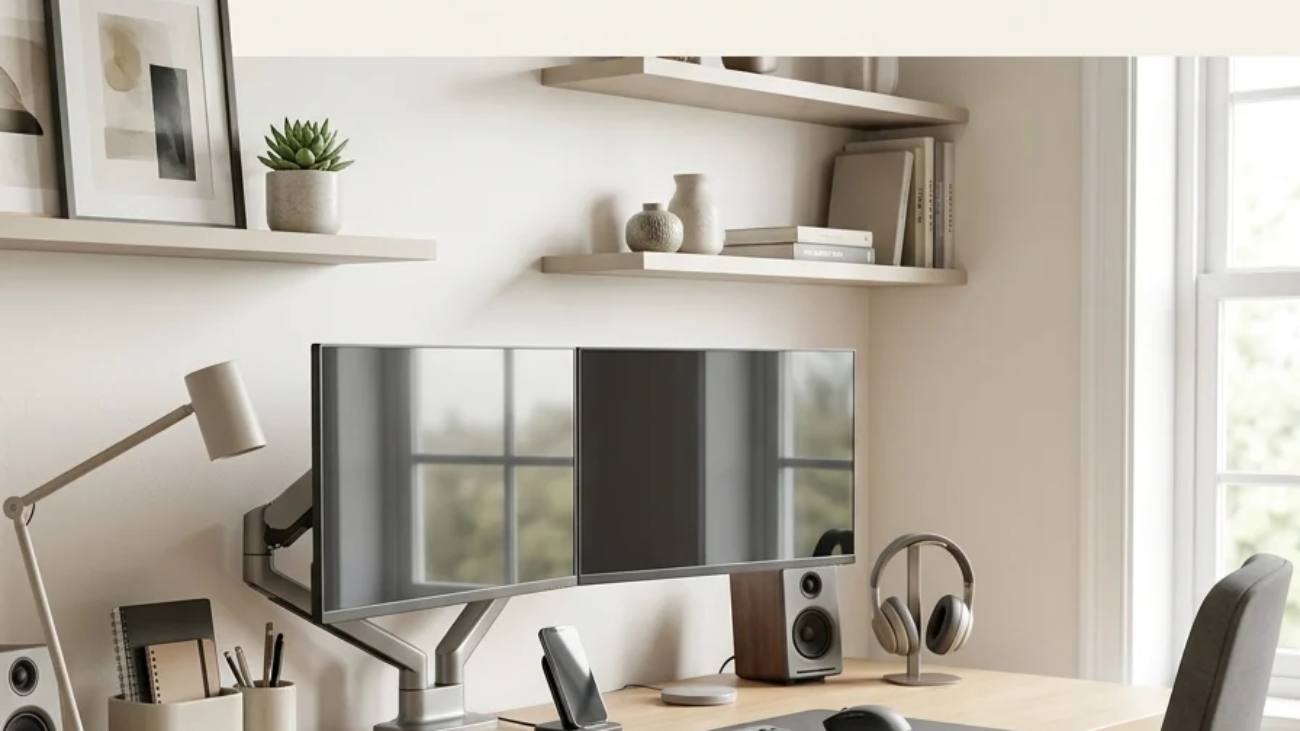
A productive home office computer setup is a desk arrangement built specifically around focus and screen work, monitor position, cable management, task lighting, and seating chosen to reduce physical strain and visual distraction rather than purely for decoration. This article gives you 15 genuinely effective productive home office computer setup ideas covering furniture, lighting, material, and layout decisions that turn a desk into a space you can actually concentrate at for hours.
It feels like sitting down and immediately settling in: no glare bouncing off the monitor, no tangle of cords catching your eye mid-task, no chair that needs adjusting five times before it feels right. This is a productive computer setup at its most resolved: quiet, considered, built around how attention actually works. Light falls where it should. Every surface earns its place instead of collecting clutter.
Here are 15 ideas worth saving and stealing.
Why a Productive Home Office Computer Setup Works So Well
A productive computer setup draws from two combined disciplines: ergonomics research from the corporate office design movement of the 1990s, which established the physical measurements (monitor height, chair support, keyboard distance) that reduce strain over long sitting sessions, and the more recent minimalist desk-setup culture that emerged from remote work, which treats visual clutter as a direct cost to focus rather than a purely aesthetic issue. What distinguishes a genuinely productive setup from a merely stylish one is that every decision is tested against a functional question first: does this reduce strain or distraction, or just look good?
The core materials favor matte, non-reflective surfaces: walnut or white oak desks, felt or wool desk pads, matte black or brushed aluminum hardware, and cork or acoustic panel wall treatments. Color leans toward warm charcoal or sage green as a focus-wall accent, paired with warm white walls elsewhere, since the wall directly behind a monitor affects screen glare and eye strain more than most people realize.
Style at a Glance
| Element | Core Trait 1 | Core Trait 2 |
| Philosophy | Every surface and object justified by function, not decoration alone | Visual clutter treated as a direct cost to focus |
| Materials | Matte walnut or oak, felt desk pads, matte black hardware | Cork or acoustic wall panels, brushed aluminum |
| Color Palette | Warm charcoal or sage focus wall | Warm white surrounding walls |
15 Productive Home Office Computer Setup Ideas
1. Choose a Walnut Desk With Built-In Cable Management
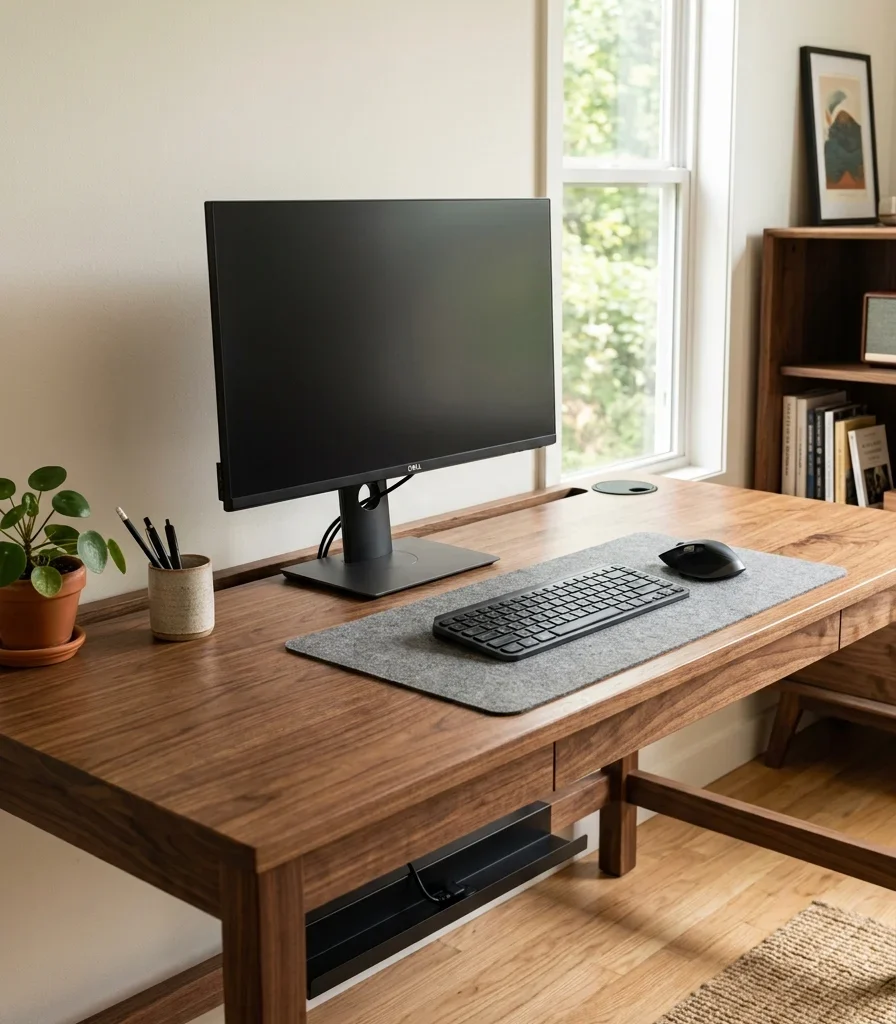
Vibe: Still a desk surface with nothing on it competing for attention except the work itself.
Why it works: Material and functional design converge here: a desk with a built-in rear channel and grommet hole routes power and monitor cables below the visible surface, which matters for focus because visual clutter (a nest of cords in peripheral vision) has been shown to draw low-level attention even when a person isn’t consciously looking at it, quietly taxing concentration over a long session.
How to get it: Choose a solid walnut or walnut-veneer desk with a rear cable channel at least 2 inches deep and a single grommet hole positioned behind the monitor, and route every cable monitor, charger, desk lamp through that one channel rather than letting any of them run loose across the desktop.
💡 Quick Win: A clip-on cable channel tray under $25 retrofits an existing flat desk without requiring a new one.
Shop the Look
| Product |
| Walnut desk with cable channel |
| Clip-on under-desk cable tray |
| Matte black cable grommet cover |
| Small ceramic pen cup |
| Cable sleeve organizer set |
2. Paint a Warm Charcoal Focus Wall Behind the Monitor
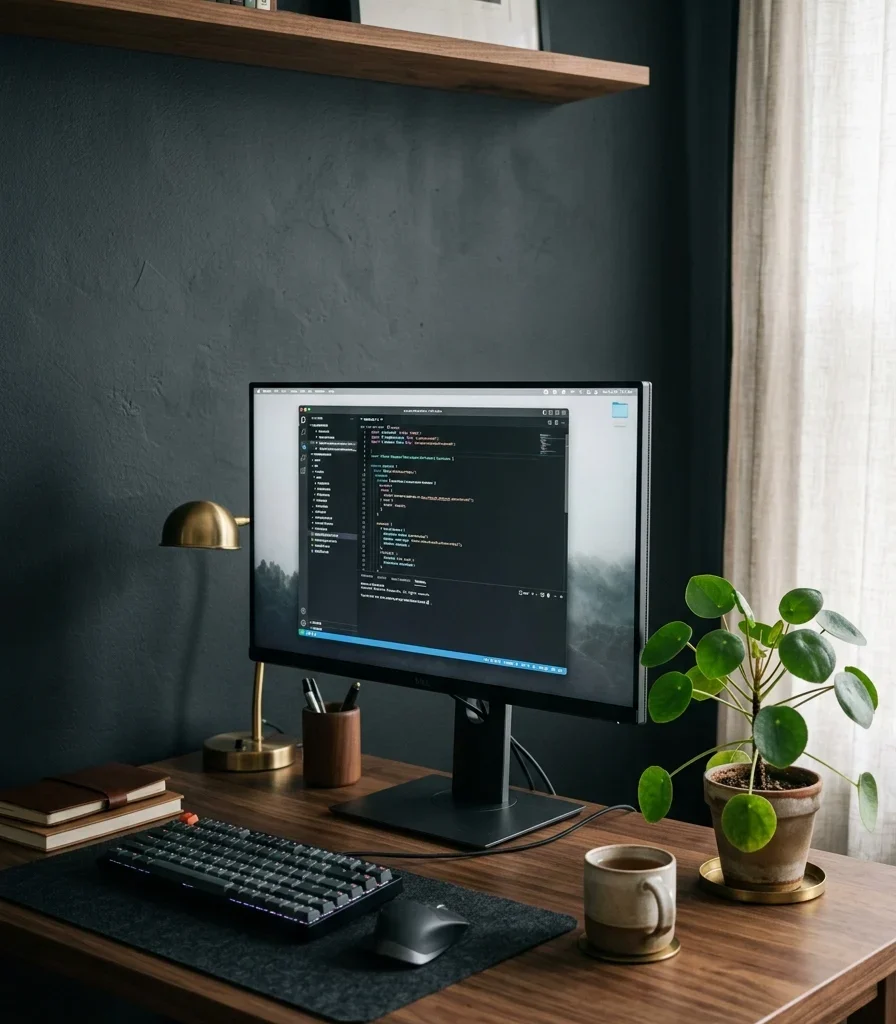
Vibe: Grounded a wall dark enough to disappear behind the screen instead of competing with it.
Why it works: Wall color directly behind a monitor affects screen contrast perception through a light-behavior principle: a bright white wall reflects ambient light into peripheral vision and increases the contrast the eye has to adjust for when looking at a darker screen, while a matte warm charcoal wall absorbs more of that reflected light, reducing the visual adjustment strain over a full workday.
How to get it: Paint just the wall section directly behind and slightly wider than the monitor setup in a matte warm charcoal (avoid gloss, which reintroduces reflection), keeping the rest of the office in a lighter tone so the charcoal reads as a deliberate focus zone rather than a full dark room.
Shop the Look
| Product |
| Warm charcoal matte wall paint |
| Small desk plant ceramic pot |
| Matte black monitor stand |
| Painter’s tape precision edge |
| Anti-glare monitor mount arm |
3. Add a Dual-Monitor Arm to Reclaim Desk Surface
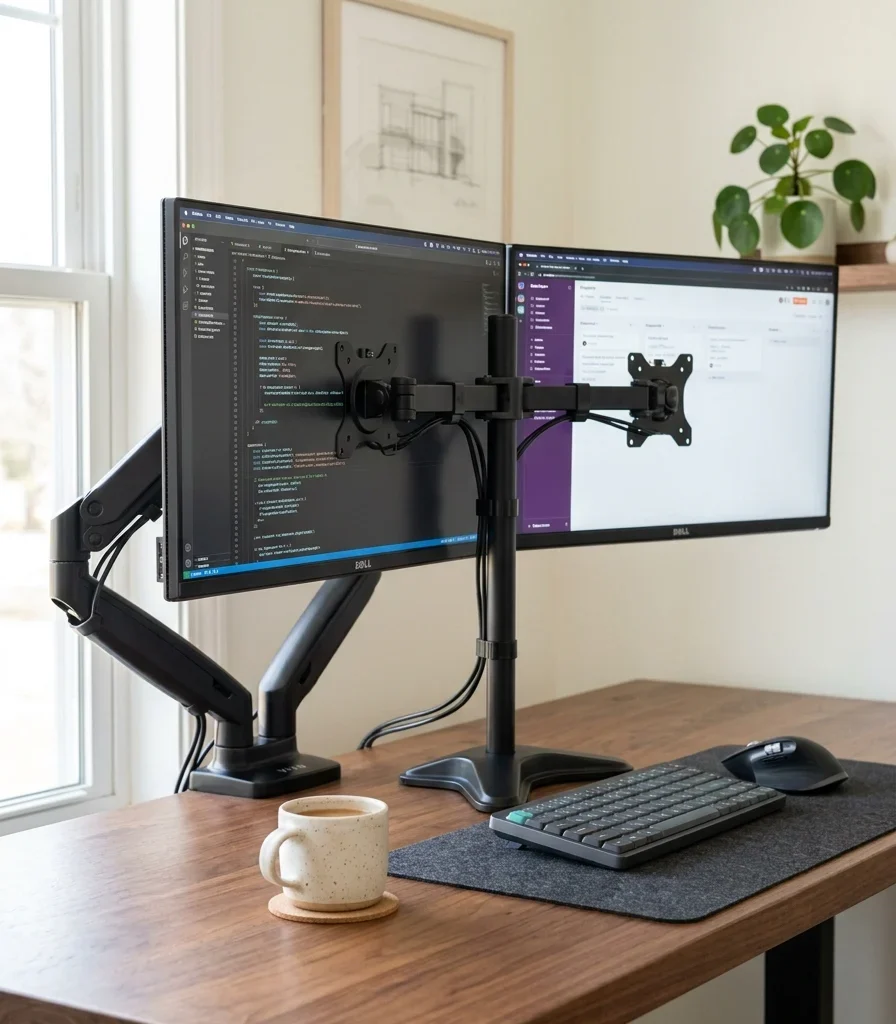
Vibe: Functional two full-size monitors floating above a desk that still has room left to actually work on.
Why it works: A monitor arm applies negative space and proportion principles directly to ergonomics : ounting monitors on an articulated arm rather than their factory stands reclaims roughly 6 to 8 inches of desk depth per monitor, space that stacks up meaningfully in a dual-monitor setup, while also allowing precise height and distance adjustment that fixed stands can’t offer.
How to get it: Choose a dual-monitor arm rated for your specific screen weight, and set the top of each monitor at or just below eye level with the top edge roughly an arm’s length away, adjusting the arm rather than stacking books or a monitor riser underneath.
Shop the Look
| Product |
| Dual monitor articulated arm mount |
| VESA mount adapter plate |
| Small ceramic coffee mug |
| Cable clip for monitor arm |
| Anti-fatigue desk mat |
4. Install Bias Lighting Behind the Monitor for Eye Comfort
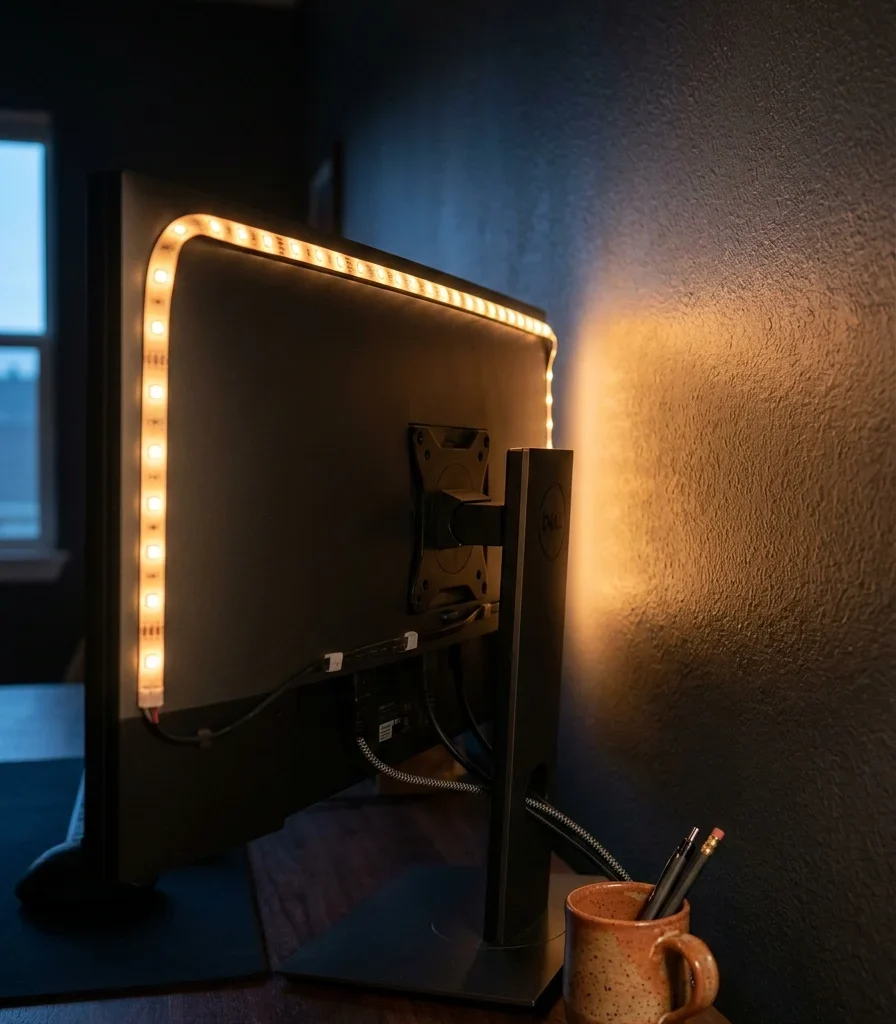
Vibe: Hushed, a soft glow behind the screen that quietly reduces how hard the eyes have to work in a dim room.
Why it works: Bias lighting is a light-behavior principle borrowed directly from film and photo editing studios; placing a warm, low-intensity LED strip behind the monitor reduces the contrast between a bright screen and a dark surrounding wall, which is the specific contrast differential that causes eye strain during long evening or low-light work sessions.
How to get it: Mount a warm 2700–3000K LED strip along the back edge of the monitor (not the desk), set to roughly 10% of the monitor’s own brightness, since bias lighting that’s too bright defeats its purpose by adding its own glare rather than softening the screen’s contrast.
💡 Quick Win: An adhesive-backed USB bias light strip under $15 plugs directly into the monitor’s USB port with no separate power supply needed.
Shop the Look
| Product |
| USB-powered LED bias light strip |
| Warm 2700K adhesive LED strip |
| Small ceramic desk mug |
| Monitor-mount cable clip |
| Dimmable LED controller |
5. Add a Felt Desk Pad for a Quiet, Tactile Surface
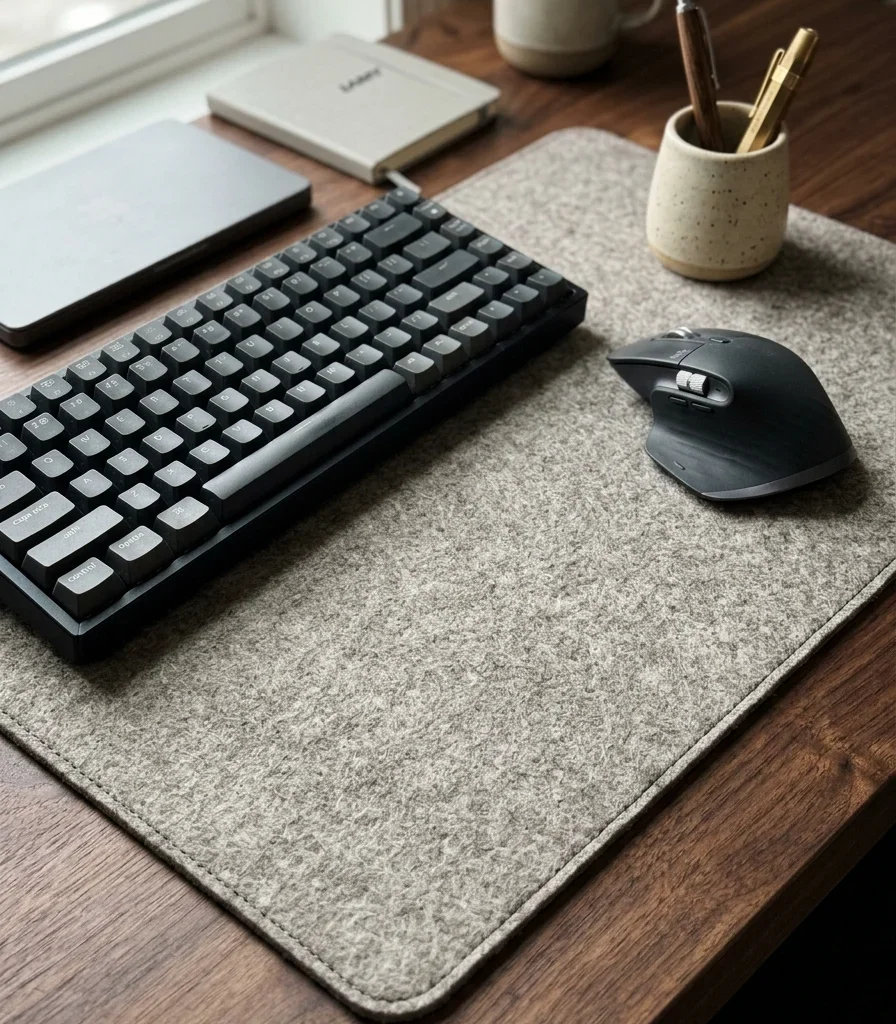
Vibe: Still a desk surface that softens sound and touch in a way bare wood or laminate never does.
Why it works: Felt applies a texture-layering and sensory-comfort principle specific to long-session typing ; ts dense wool fiber absorbs the sharp click of a mechanical keyboard and mouse clicks that bare desk surfaces amplify, which reduces a low-level auditory distraction most people don’t consciously register but that compounds over hours of use.
How to get it: Choose a felt pad in a thickness of at least 3mm for genuine cushioning and sound dampening, sized to cover the keyboard and mouse zone specifically (roughly 30×15 inches) rather than the entire desk, so the wood grain remains visible around the edges as a material contrast.
Shop the Look
| Product |
| Warm grey felt desk pad |
| Wool blend mouse pad matching |
| Small ceramic pen holder |
| Felt cable management sleeve |
| Matching felt wrist rest |
6. Add a Vertical Cable Organizer and Ceramic Cord Clips
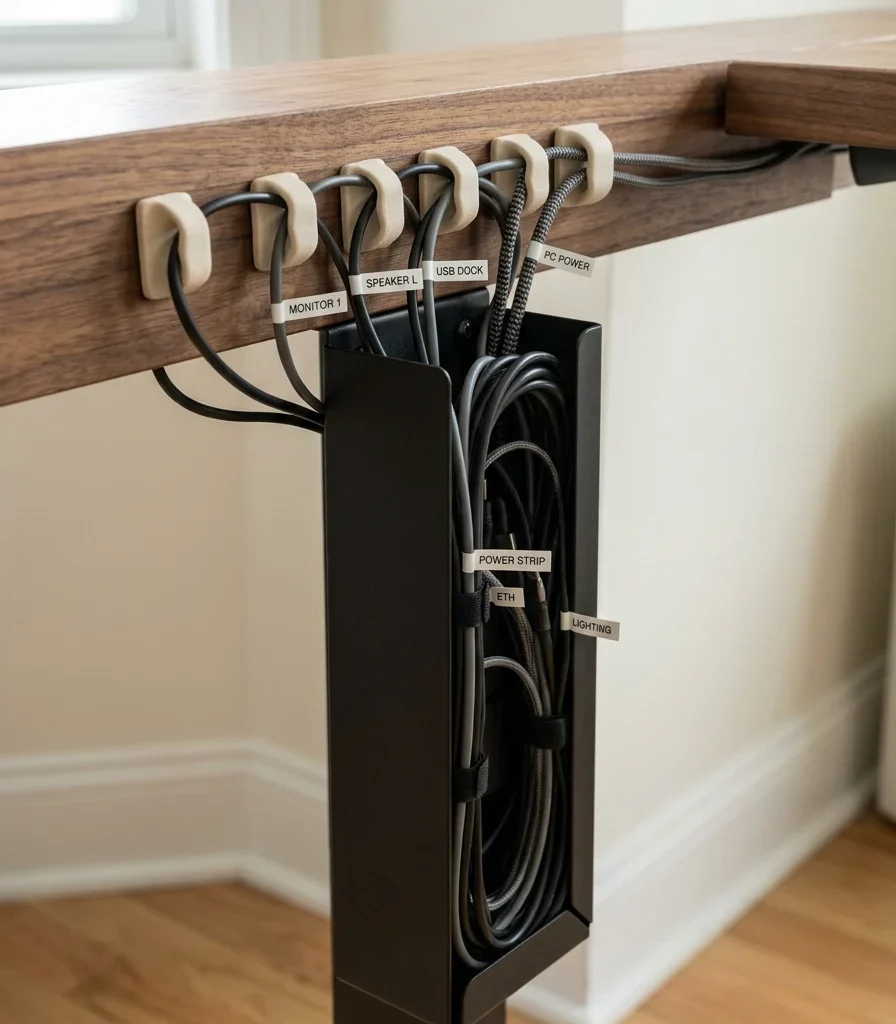
Vibe: Tidy every cable with a fixed, visible path instead of drifting loose across the floor or desk edge.
Why it works: A vertical organizer tray combined with individual cord clips applies the storage principle of routing rather than hiding; unlike a single cable box that conceals a tangle without solving it, individually clipped cords each have a defined path from device to outlet, which keeps the system functional (easy to trace and troubleshoot) rather than just visually tidy for a moment.
How to get it: Mount a vertical mesh or fabric cable tray to the underside of the desk near the back edge, and clip each cable monitor, charger, desk lamp to the desk edge with its own small ceramic or silicone clip so cables stay separated rather than bundling into one mass.
Shop the Look
| Product |
| Under-desk vertical cable tray |
| Matte ceramic cord clip set |
| Cable label tag set |
| Velcro cable tie set |
| Power strip cable box |
7. Add Sage Green for a Calm Focus Zone
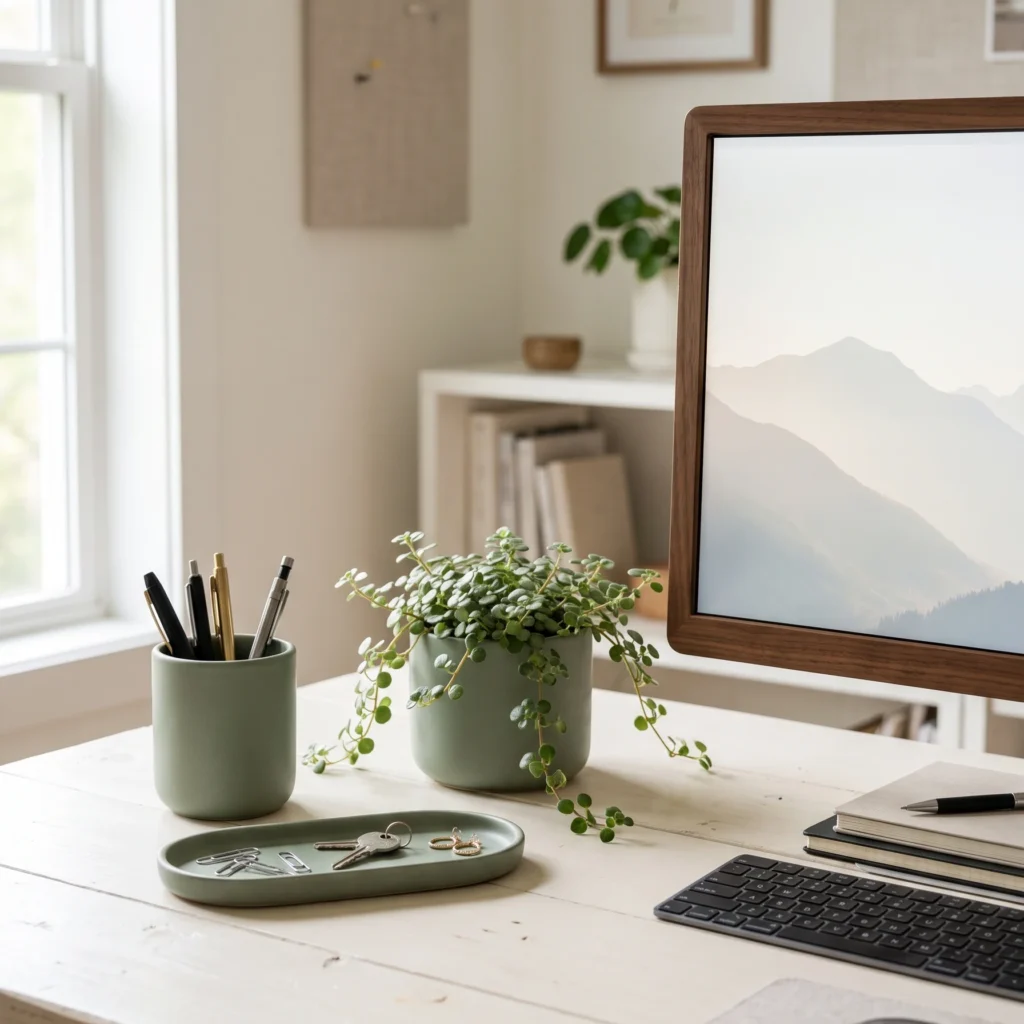
Vibe: Calm , color chosen specifically because it doesn’t compete for visual attention the way a bright accent would.
Why it works: Color psychology research consistently associates muted greens with lower arousal and sustained attention compared to high-saturation colors like red or orange, which is why sage functions well as a focus-zone accent rather than merely a decorative choice; it adds warmth without introducing the visual stimulation a brighter color would.
How to get it: Limit sage to two or three small desk objects: a pen cup, a catchall tray, and a small plant rather than a full accent wall, since a large sage surface directly in the monitor’s peripheral vision can become its own mild distraction over a long session.
Shop the Look
| Product |
| Sage green ceramic pen cup |
| Sage ceramic catchall tray |
| Small trailing plant sage pot |
| Warm white desk mat |
| Sage linen coaster |
8. Choose an Ergonomic Chair Scaled to the Desk
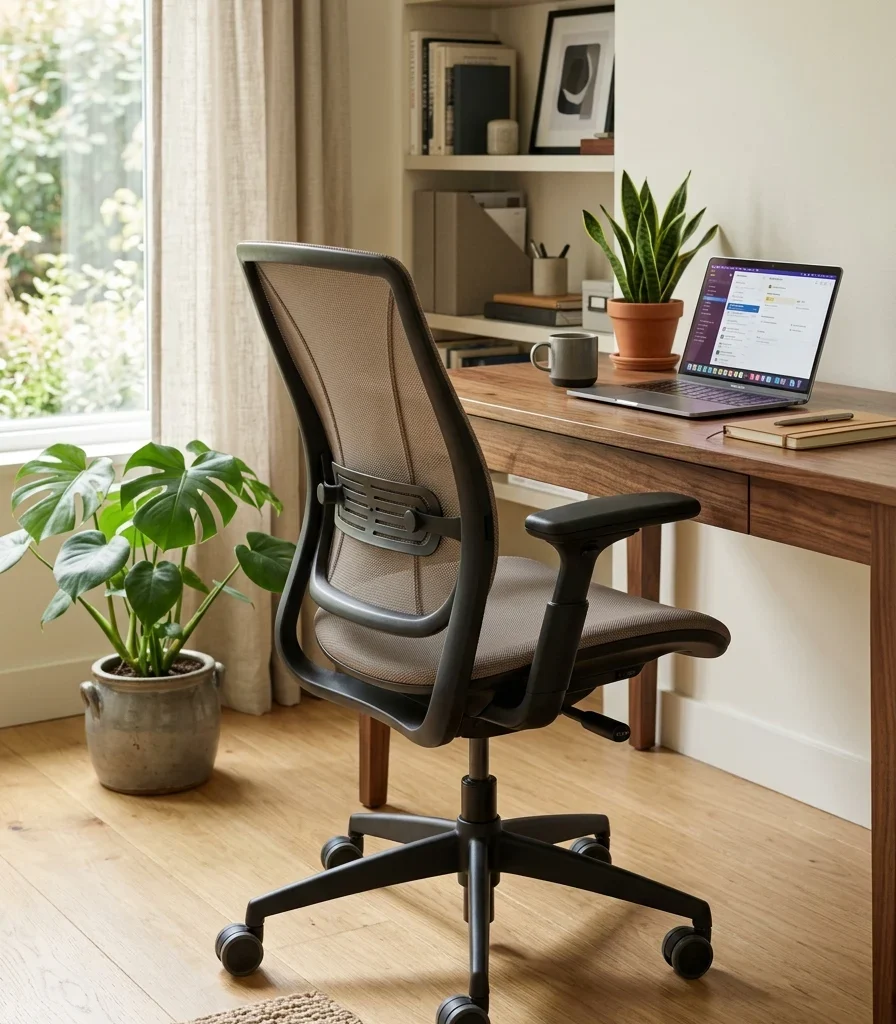
Vibe: Functional a chair built around actual spine support rather than appearance alone.
Why it works: Ergonomic chair design applies proportion at the body scale: seat height, lumbar curve position, and armrest height all need to correspond to the specific desk height and the individual’s own measurements, which is why a chair that looks identical to another can perform completely differently depending on whether its adjustment range actually matches the person using it.
How to get it: Adjust seat height so feet rest flat with knees at roughly 90 degrees, set lumbar support to sit in the natural curve of the lower back rather than higher on the spine, and set armrest height so shoulders stay relaxed rather than shrugged while typing.
💡 Quick Win: A separate lumbar cushion under $30 adds proper lower-back support to an existing chair without a full replacement.
Shop the Look
| Product |
| Mesh ergonomic office chair |
| Adjustable lumbar support cushion |
| Chair caster floor protector |
| Small floor plant pot |
| Seat cushion memory foam |
9. Combine Layered Task and Ambient Lighting
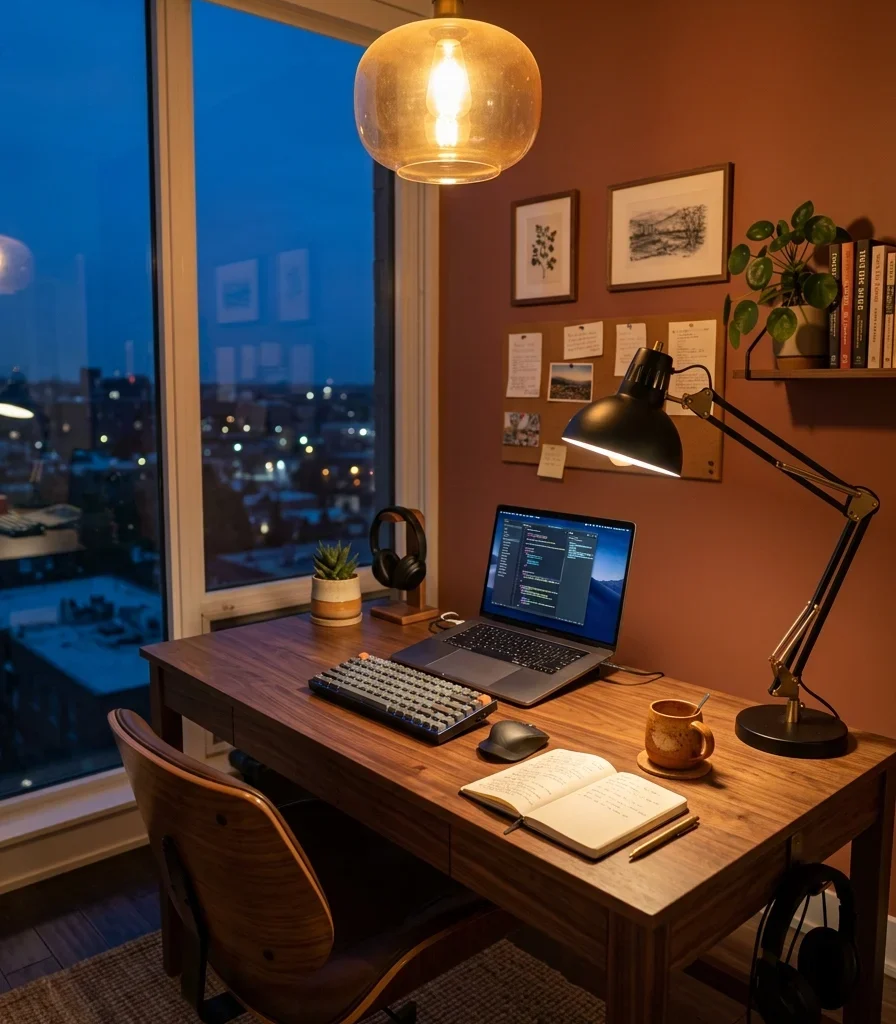
Vibe: Warm two light sources working together so the desk never depends on one flat overhead glow.
Why it works: Light layering combines at least two sources at different intensities; an ambient ceiling or pendant light sets the room’s overall brightness, while a directional task lamp adds focused light on the keyboard and notes area, which prevents the eye strain that comes from working under a single bright overhead fixture that creates uneven brightness across the desk surface.
How to get it: Position the task lamp so light falls on the keyboard from the side opposite your dominant hand to avoid shadow interference, using a warm 3000K bulb, and set the ambient ceiling light on a dimmer so the ratio between the two sources can shift from bright morning work to a softer evening session.
Shop the Look
| Product |
| Articulated LED task lamp |
| Warm 3000K LED bulb |
| Dimmable ceiling pendant light |
| In-line dimmer switch |
| Small ceramic desk mug |
10. Add a Cork Wall Panel for Sound and Pin-Board Function
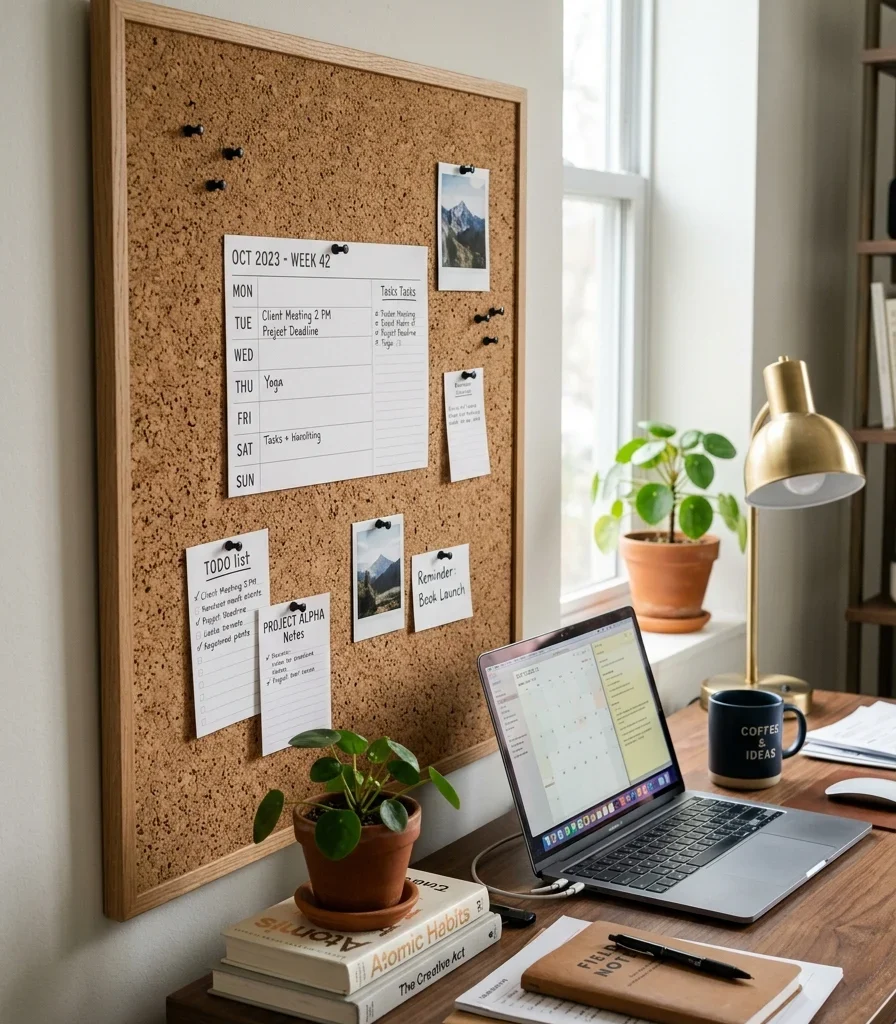
Vibe: Layered a soft, textured surface that absorbs both sound and the day’s loose notes.
Why it works: Cork applies material honesty and a functional acoustic principle simultaneously; its porous structure absorbs sound reflections better than a flat painted wall, mildly reducing echo and room noise in a small home office, while also serving as a pin-board for notes that would otherwise clutter the desk surface itself.
How to get it: Mount a 24×36 inch natural cork panel in a thin oak frame on the wall beside (not behind) the monitor, so it doesn’t interfere with the focus-wall color directly behind the screen, and limit pinned items to weekly essentials rather than letting it accumulate indefinitely.
Shop the Look
| Product |
| Natural cork wall panel oak frame |
| Matte black push pin set |
| Small printed weekly planner card |
| Cork panel mounting hardware |
| Oak wood frame trim |
11. Paint Surrounding Walls Warm White for Monitor Clarity
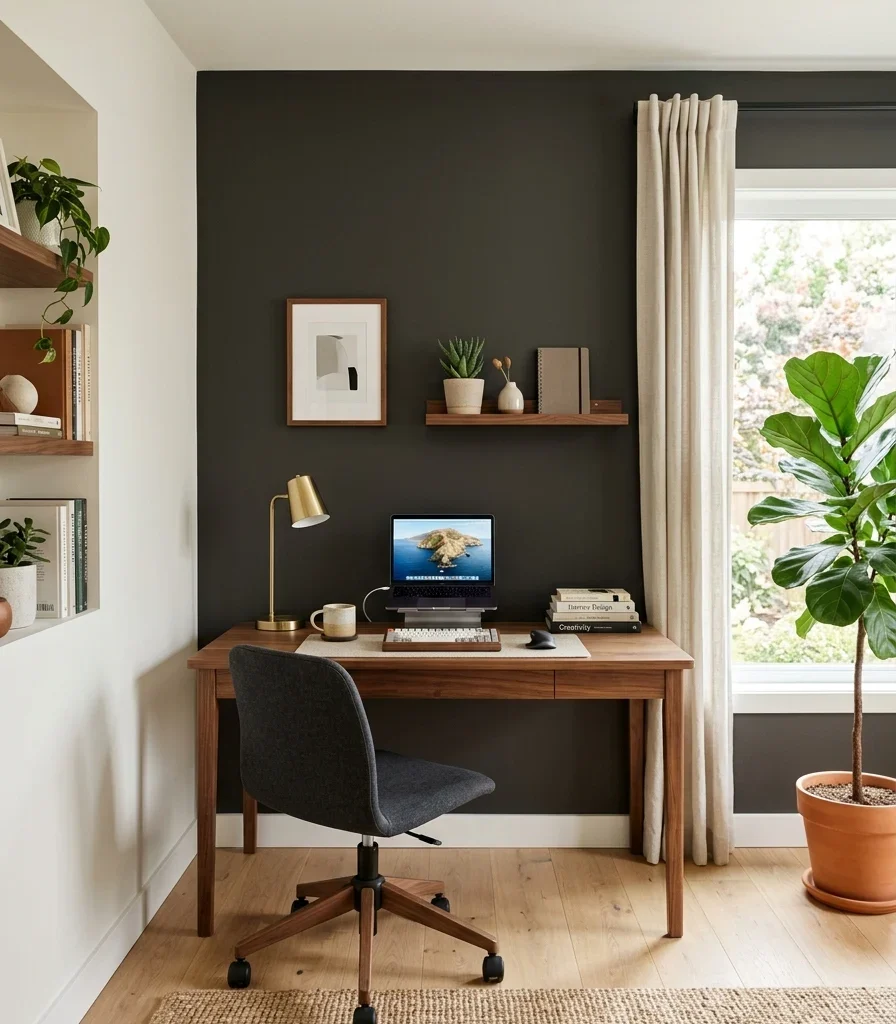
Vibe: Fresh, a room bright enough to work in comfortably during the day without straining to see the screen.
Why it works: Keeping the walls surrounding the desk in warm white (while the wall directly behind the monitor stays darker) applies contrast strategically rather than uniformly . Theroom needs enough ambient brightness for general visibility and video calls, while only the specific wall in the monitor’s direct sightline needs to be darker to reduce screen contrast strain.
How to get it: Paint the room’s remaining walls in a warm white with a slight yellow undertone (avoid a stark, blue-based white, which can look clinical under monitor light), reserving the darker charcoal or sage tone strictly for the wall behind the screen as covered in earlier ideas.
Shop the Look
| Product |
| Warm white matte wall paint |
| Small framed abstract print |
| Walnut wood picture frame |
| Warm white LED ceiling bulb |
| Painter’s tape edge trim |
12. Add a Desk Organizer Trio for a Clutter-Free Surface
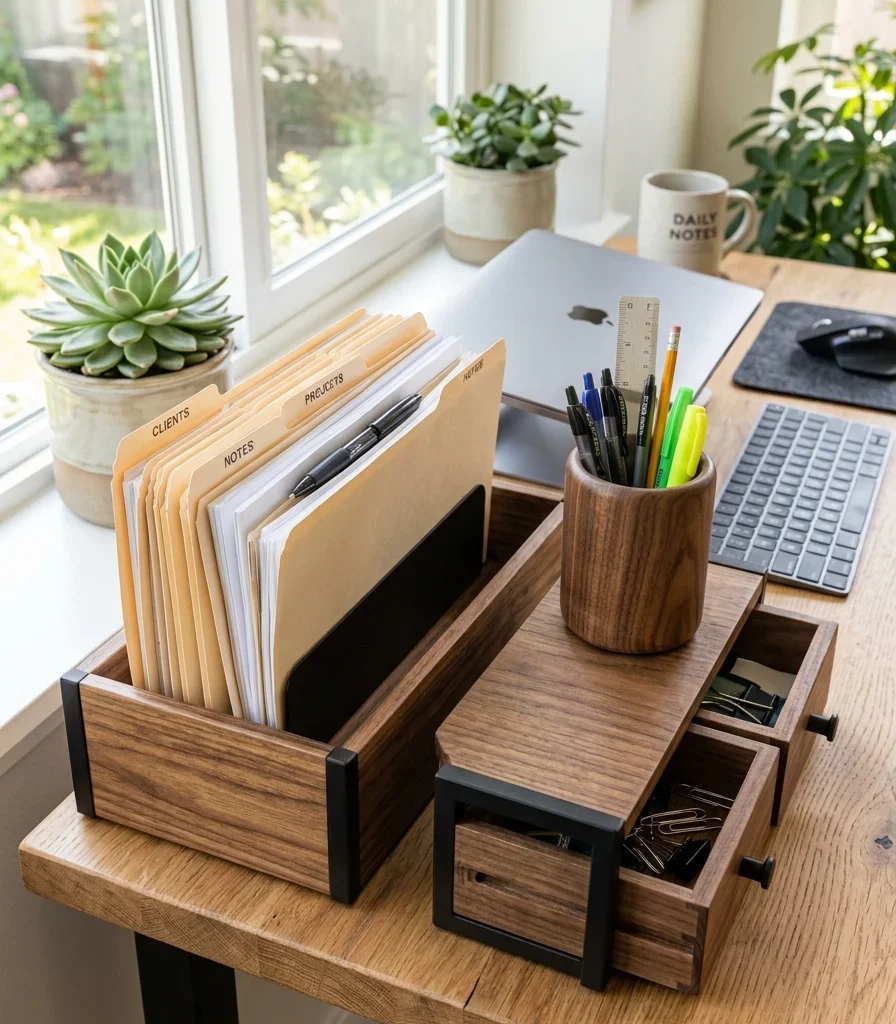
Vibe: Tidy a fixed home for the handful of physical objects a computer setup still requires.
Why it works: A matched organizer set applies visual coherence to desk clutter; three coordinated pieces in the same wood tone read as one intentional system rather than a scattered mix of mismatched trays and cups, which keeps small necessary items contained without adding visual noise to the desk’s peripheral field.
How to get it: Choose three pieces in matching walnut with matte black metal accents a document tray, a pen cup, and a small lidded box for miscellaneous items and position them along the desk’s non-dominant side so they stay out of the direct workspace between keyboard and monitor.
Shop the Look
| Product |
| Walnut document tray |
| Walnut pen cup matte black trim |
| Small lidded walnut storage box |
| Folder organizer set |
| Walnut coaster set |
13. Add a Standing Desk Converter for Movement Breaks
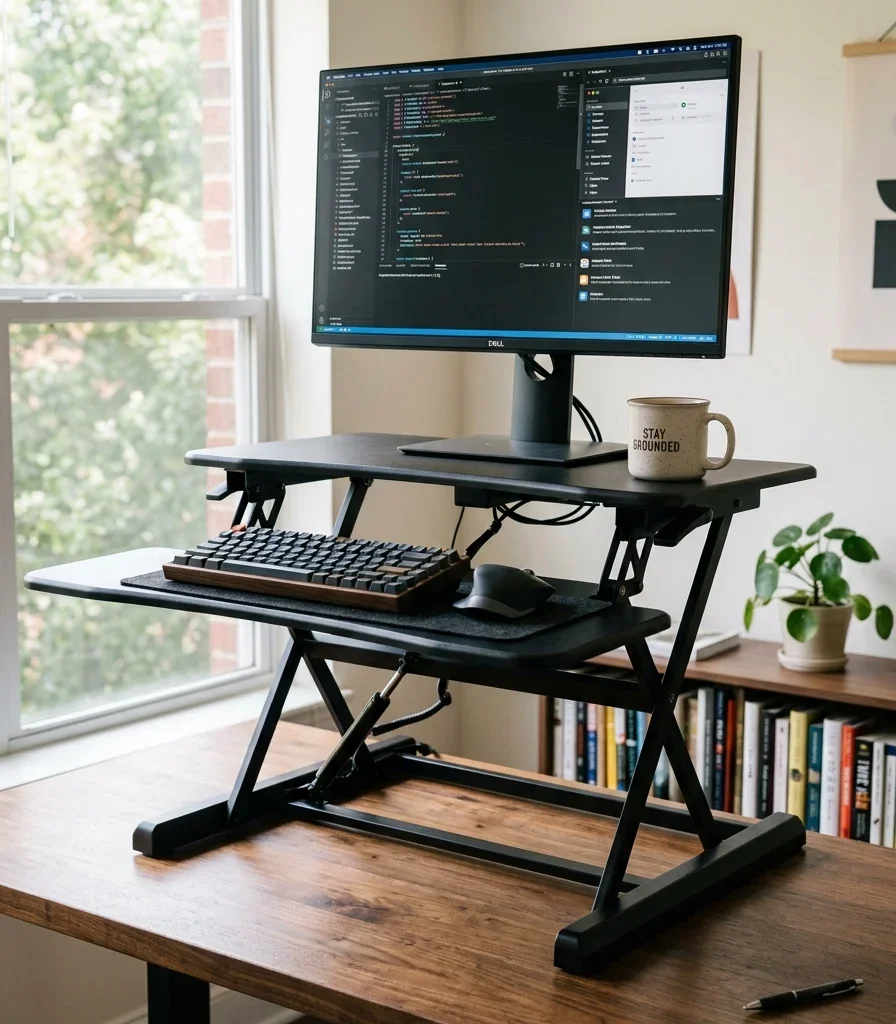
Vibe: Functional desk that adapts to the body instead of asking the body to sit still for eight hours straight.
Why it works: A standing desk converter applies a furniture-arrangement principle around movement rather than static positioning; research on sustained sitting consistently links regular position changes to better sustained attention over a workday, and a converter that sits on top of an existing desk achieves that flexibility without requiring a full electric standing desk replacement.
How to get it: Choose a dual-tier converter with a gas-spring or crank lift mechanism rated for your specific monitor and keyboard weight, and set a rough goal of alternating between sitting and standing every 45 to 60 minutes rather than standing continuously, which is easier to sustain and matches most ergonomic research recommendations.
💡 Quick Win: A single-tier converter under $80 handles just the keyboard and mouse for a lower-cost entry into the same movement benefit.
Shop the Look
| Product |
| Dual-tier standing desk converter |
| Gas spring lift mechanism model |
| Anti-fatigue standing mat |
| Small ceramic mug lower tier |
| Cable management clip for converter |
14. Position the Desk Perpendicular to the Window
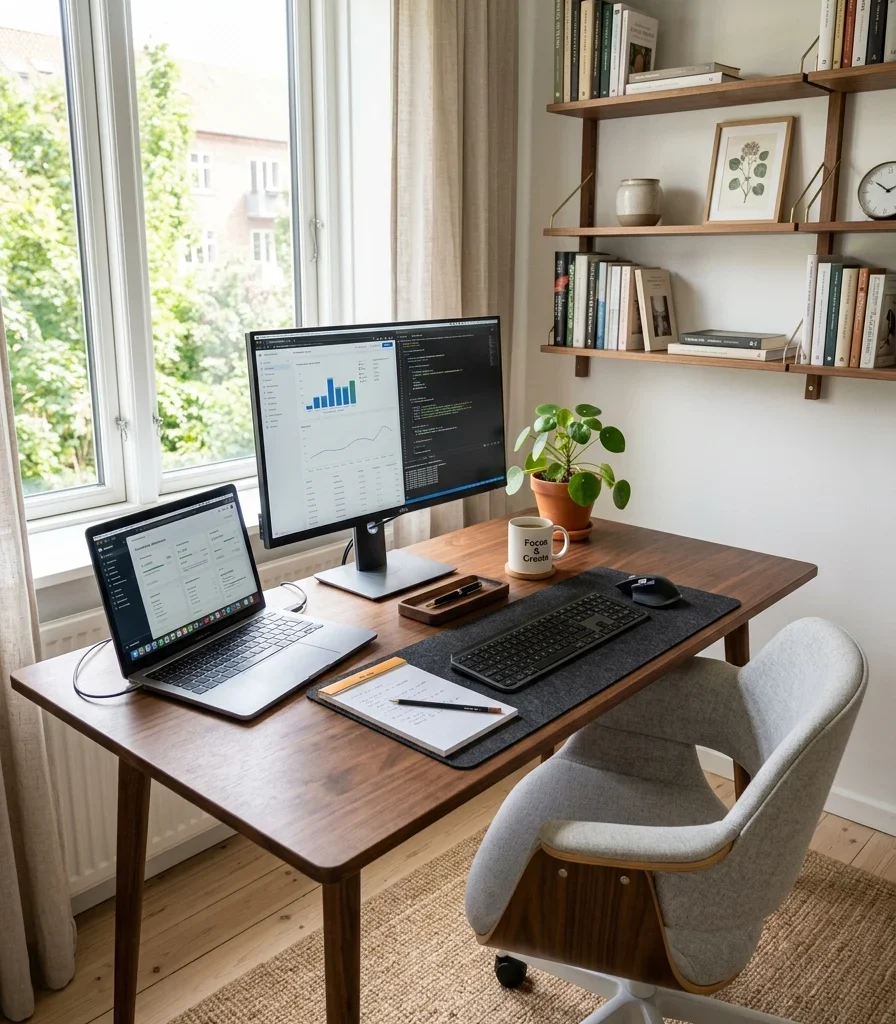
Vibe: Airy, a desk lit by genuine daylight without a single glare streak crossing the monitor.
Why it works: Desk orientation relative to windows is a layout and light-behavior principle that most home offices get wrong by default facing the desk directly toward a window causes glare that forces squinting, while facing away puts the window directly behind the monitor, creating harsh backlighting that makes the screen hard to read; positioning the desk perpendicular to the window avoids both problems by letting daylight fall from the side.
How to get it: Rotate the desk so the window sits to the left or right of the monitor rather than in front of or behind it, and add a light, adjustable curtain to soften direct midday sun without blocking the window’s general daylight contribution to the room.
Shop the Look
| Product |
| Sheer linen curtain panel |
| Curtain rod adjustable |
| Small desk plant ceramic pot |
| Anti-glare monitor screen filter |
| Curtain ring clips |
15. Build a Compact L-Shaped Desk for a Multi-Monitor Small Room
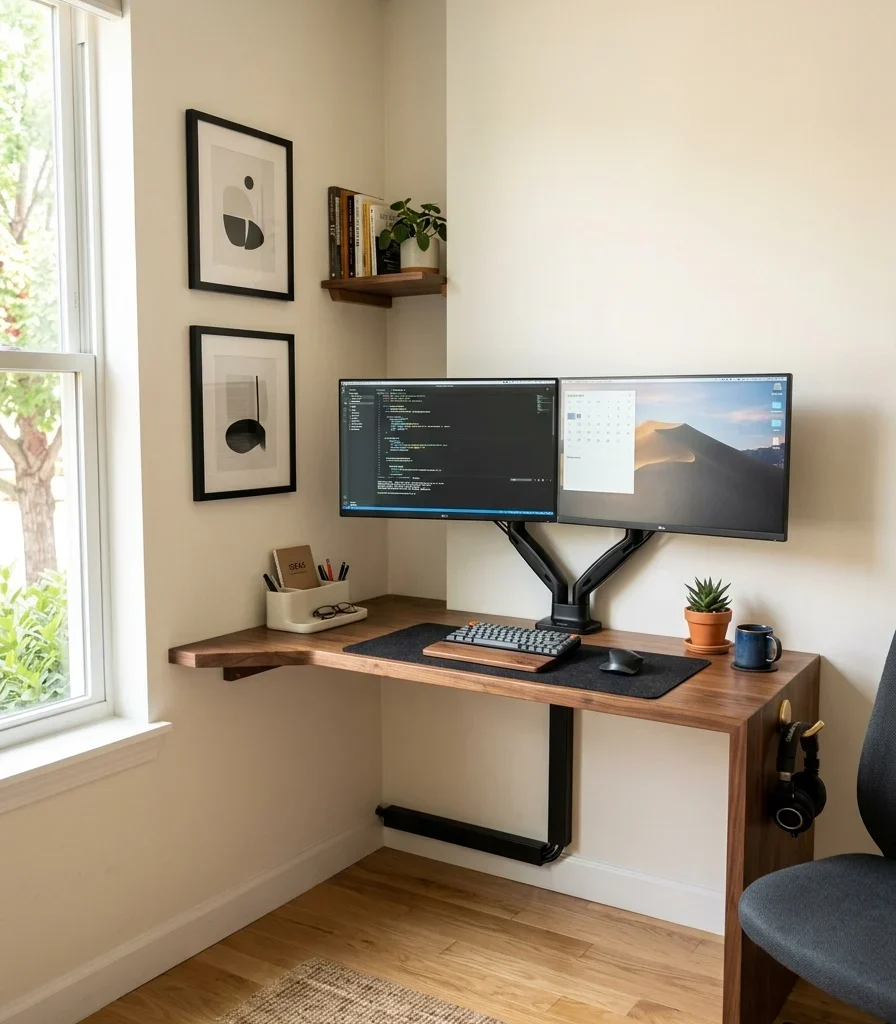
Vibe: Still full multi-monitor setup fitted into a corner most rooms would otherwise leave copty.
Why it works: In a genuinely small room, an L-shaped desk is the small-space adaptation that provides the same total work surface as a large rectangular desk while occupying a footprint that fits into an actual corner rather than requiring a full wall the two perpendicular surfaces let a monitor arm, keyboard zone, and reference materials each have dedicated space without the desk extending into the room’s walking path.
How to get it: Choose an L-shaped desk with each leg no longer than 48 inches, position the monitor arm at the corner junction so both desk surfaces remain usable, and mount a small shelf above one leg for reference materials rather than adding a second physical desk surface that would eat into the room’s remaining floor space.
💡 Quick Win: A corner desk riser shelf under $40 adds a second work tier to an existing small desk without a full furniture swap.
Shop the Look
| Product |
| Compact L-shaped walnut desk |
| Corner monitor arm mount |
| Small corner shelf riser |
| Walnut desk organizer set |
| Cable management corner tray |
How to Start Your Productive Home Office Computer Setup Transformation
Your oirst move is adjusting monitor height before any furniture purchase, specifically, raising the monitor so the top of the screen sits at or just below eye level. This single adjustment, whether achieved with a monitor arm or a simple riser, corrects the most common ergonomic mistake in home offices and affects neck strain more directly than any desk or chair upgrade that follows it.
The most common mistake is buying an oversized desk that doesn’t match the room’s actual walking clearance, which forces awkward furniture placement and leaves cables and clutter with nowhere organized to go. The fix is measuring the room’s clear floor space first and choosing a desk depth and width that leaves at least 24 inches of clearance behind the chair.
Three items under $50 that create immediate impact: a USB-powered warm LED bias light strip for behind the monitor, a felt desk pad in warm grey, and a matte black cable clip set to route cords along the desk edge.
A weekend setup monitor height, lighting, and cable management osts $50–200. A full ergonomic overhaul with a proper chair, monitor arm, and standing desk converter typically runs $600–1,800 and can be completed in a single weekend once everything arrives.
Frequently Asked Questions About Productive Home Office Computer Setup
What is the difference between a productive setup and a standard desk setup?
A standard desk setup prioritizes appearance and basic function : desk, chair, and monitor arranged with little attention to ergonomic measurements. A productive home office computer setup specifically adjusts monitor height, lighting position, and wall color behind the screen based on ergonomics and eye-strain research, treating every decision as a tool for sustained focus rather than decoration alone.
What color works best behind a computer monitor?
A matte warm charcoal or deep sage green works best directly behind the monitor, since darker matte tones reduce the reflected ambient light that increases screen contrast strain. Bright white or glossy paint directly behind a monitor increases glare and eye adjustment strain over a full workday, even though it may look clean in photos.
How much does a productive home office computer setup cost?
A budget refresh using a felt desk pad, bias lighting, and cable management costs $50–200. A mid-range upgrade with a monitor arm, ergonomic chair, and proper task lighting runs $500–1,200, and a full setup including a standing desk converter and custom cable routing typically costs $1,200–2,500 depending on monitor and chair quality.
Can a productive computer setup work in a small bedroom or shared room?
Yes, and in some ways it’s easier: an L-shaped desk sized to a corner, a monitor arm to reclaim surface space, and a felt desk pad to dampen sound all work particularly well in a small or shared room, where fewer surfaces mean fewer places for visual and auditory distraction to accumulate compared to a larger, more sprawling office.
What is the single most important element in a productive computer setup?
Monitor height and eye level positioning are the most important single factor, since incorrect monitor height is the most common cause of neck and upper back strain in home offices, and adjusting it costs nothing more than a monitor arm or a simple riser, unlike a full chair or desk replacement.
Ready to Create Your Dream Productive Home Office Computer Setup?
These 15 ideas move across furniture, lighting, color, material, and true small-space adaptation from a walnut desk with hidden cable routing to an L-shaped corner setup that fits a full dual-monitor workflow into a genuinely tight room. None of this needs to happen all at once, and adjusting monitor height and adding one lighting fix this week is genuinely the smartest place to start, not a smaller version of the goal. Today’s specific action: measure your current monitor’s top edge against your eye level while seated, and raise it with a stand or arm if it sits below where your eyes naturally rest. Once the ergonomics are actually correct, sitting down to work will feel less like bracing for a long day and more like settling into a space built specifically to hold your attention. Save the ideas that fit your room’s real dimensions and your actual workflow; that warm charcoal focus wall and quiet felt desk pad will still be doing their job a year from now.