
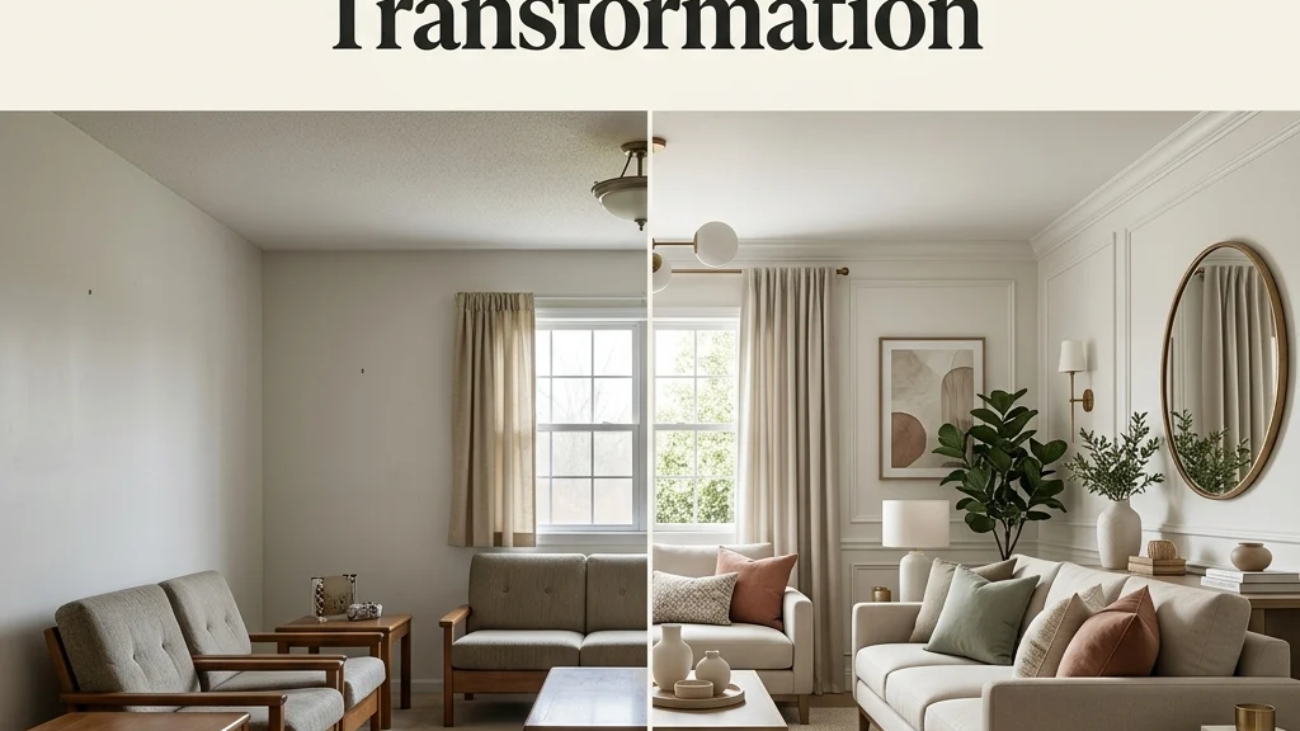
A home makeover is a defined transformation project combining cosmetic updates like paint and lighting with functional changes like furniture and layout that turns a tired or mismatched room into a genuinely different space, usually completed within a set timeframe rather than an ongoing decorating process. This article gives you 15 real home makeover ideas spanning color, material, lighting, furniture, and layout, each one a strategy actual renovation projects rely on to deliver a visible before-and-after impact.
The feel is unmistakable: a room you walk into and genuinely don’t recognize, the satisfaction of a space that finally works the way you always wanted it to. A good makeover doesn’t require gutting anything it requires knowing exactly which handful of changes will read as a transformation rather than just tweaking. Here are 15 ideas worth saving and stealing.
Why Home Makeover Projects Work So Well
A home makeover, as distinct from ongoing decorating, is a structured project with a defined start and end point built around visible transformation, a format popularized by renovation television in the late 1990s and 2000s, when shows built entirely around the “reveal” moment trained audiences to think of home improvement in before-and-after terms rather than gradual accumulation. This is what separates a makeover from styling or budget decorating: a makeover has a finish line, a specific room or space getting a defined, time-boxed transformation.
The materials that deliver the most visible makeover impact tend to be the ones already in the room rather than replacements, refinished flooring, repainted cabinetry, swapped hardware, since transforming an existing surface reads as dramatically different at a fraction of full-replacement cost. Color plays an outsized role in makeover impact specifically because a single wall or cabinetry repaint in a confident tone like warm charcoal or deep terracotta changes a room’s entire character faster than almost any other single intervention.
Home makeovers have surged again as renovation costs and home equity considerations push more households toward “refresh, don’t replace” strategies, cosmetic makeovers using paint, lighting, and furniture swaps rather than structural renovation, while social media’s before-and-after reveal culture has kept the transformation format as culturally relevant now as it was during television’s original renovation boom.
Style at a Glance
| Element | Cosmetic Makeover | Structural Makeover |
| Philosophy | Refresh existing surfaces and furniture | Replace or reconfigure permanently |
| Materials | Paint, hardware, refinished surfaces | New flooring, countertops, and built-ins |
| Color Palette | Warm white base, one bold anchor color | Whatever the structural update dictates |
15 Home Makeover Ideas
1. A Whole-Home Color Story for a Cohesive Makeover
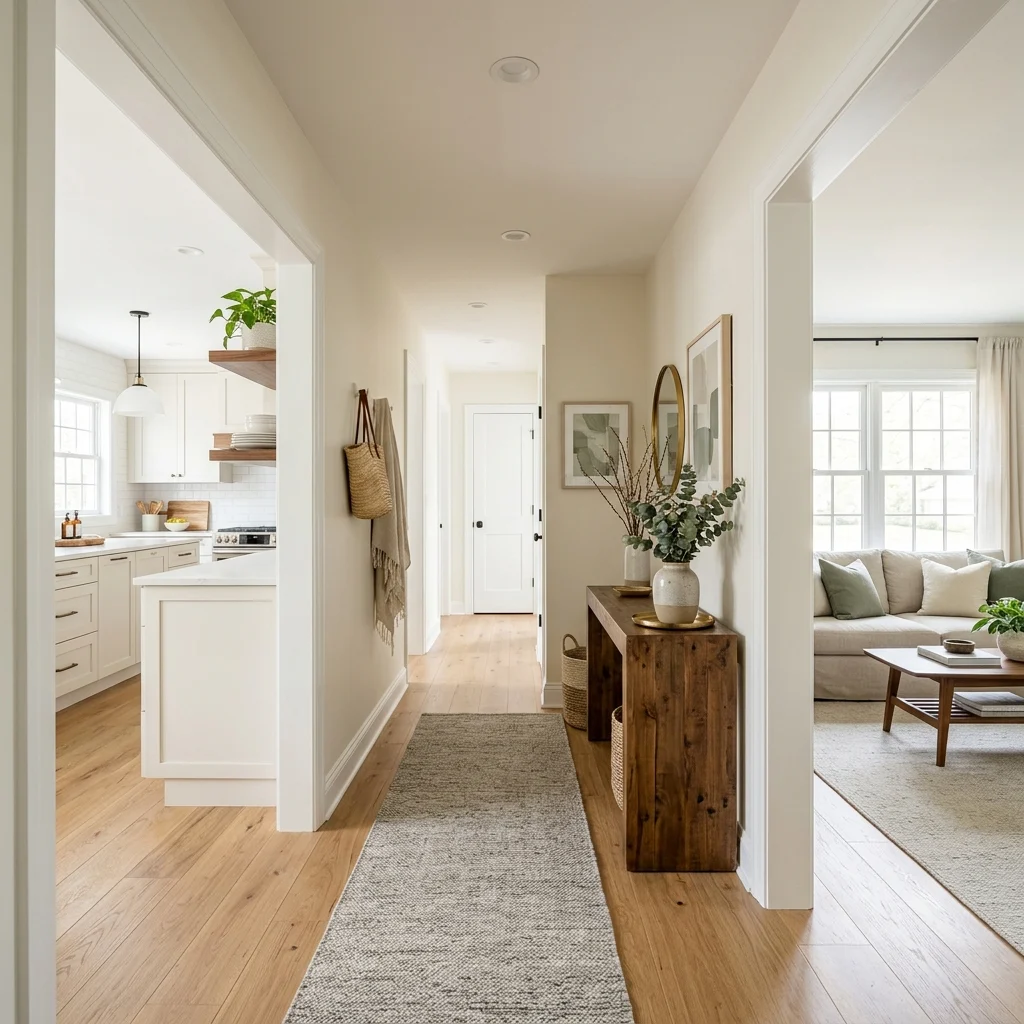
Vibe: The home feels cohesive, one color decision carrying through every doorway.
Why it works: Homes that evolve room by room over the years frequently end up with a patchwork of unrelated wall colors, which is one of the most common reasons a fully furnished home still feels unfinished. Establishing one consistent base color across connected spaces is the single highest-leverage makeover move because it affects every room at once rather than one at a time. This is a proportion and rhythm principle: repetition of one color across multiple rooms reads as intentional design rather than accumulated decisions.
How to get it: Choose one warm white or greige as your whole-home base color, and repaint connected spaces, hallways, open-concept living and kitchen areas in that same color first, saving bolder colors for single, contained rooms like a bedroom or powder room.
💡 Quick Win: Repainting just the hallway connecting two already-similar rooms can visually unify a home faster than repainting either room individually.
Shop the Look
| Product |
| Warm white interior paint, multi-gallon set |
| Semi-gloss trim paint, matching undertone |
| Walnut console table |
| Ceramic decorative vase |
| Painter’s tape, sharp-edge |
2. Refinishing Flooring Instead of Replacing It
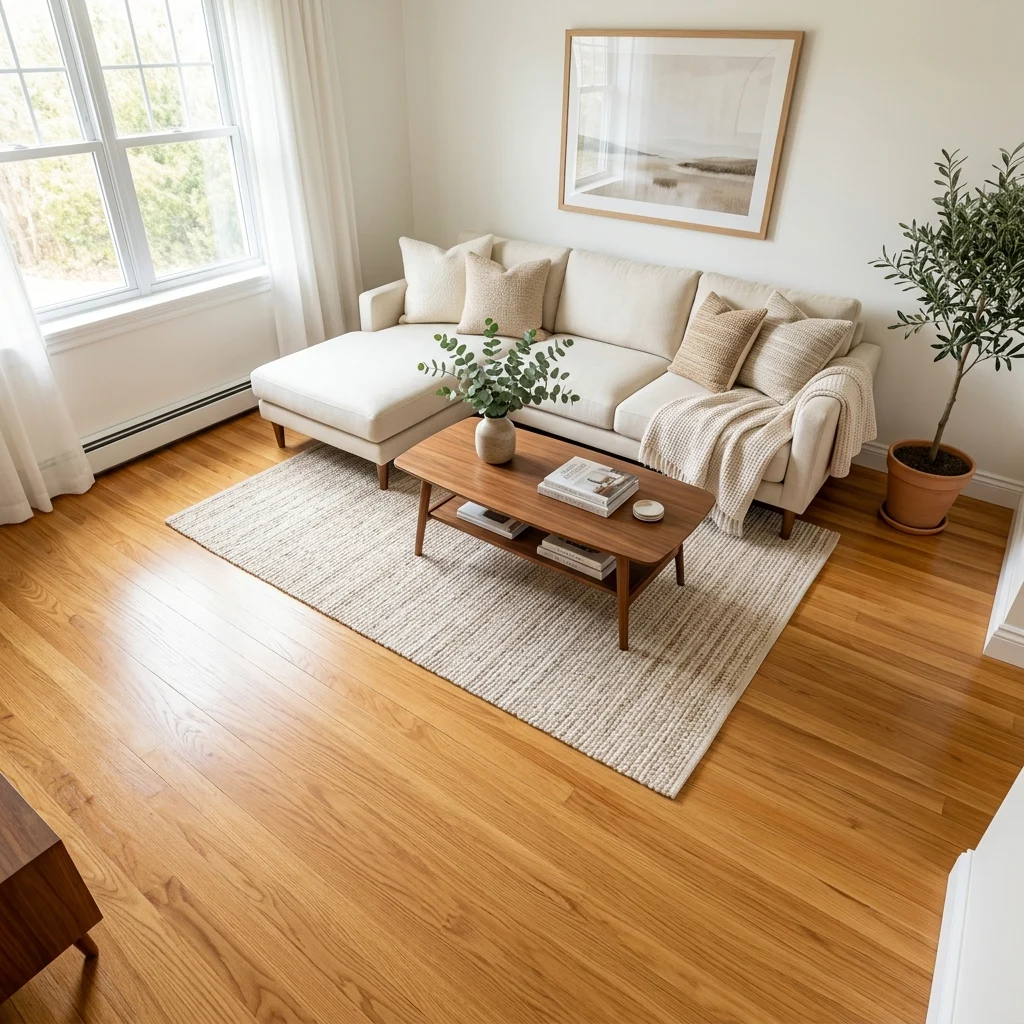
Vibe: The floor feels renewed, the same boards wearing an entirely fresh finish.
Why it works: Existing hardwood floors can typically be sanded down and refinished several times over their lifespan before the wood is too thin to sand again, which means a scratched or dated floor often doesn’t need replacing at all just resurfacing, at roughly a third to half the cost of new flooring installation. This matters in a makeover specifically because flooring covers more total visible surface area than almost any other element in a room, making its condition disproportionately influential on the space’s overall feel.
How to get it: Have flooring professionally assessed for remaining sandable depth before committing to refinishing, since floors sanded too many times previously may no longer have enough wood left to safely refinish again.
Shop the Look
| Product |
| Hardwood floor refinishing kit |
| Polyurethane floor sealant, satin |
| Wool blend area rug |
| Rug pad, non-slip |
| Walnut coffee table |
3. A Full Lighting Overhaul as the Makeover’s Backbone
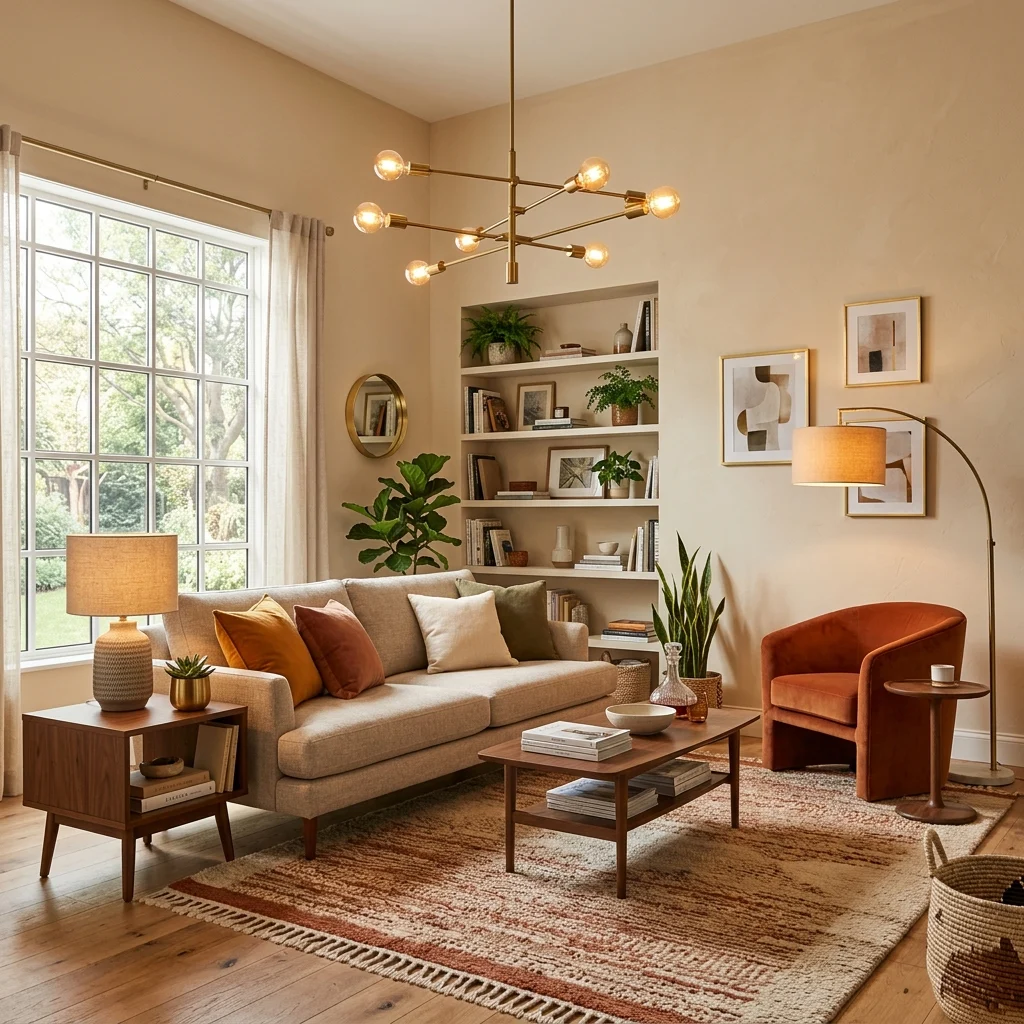
Vibe: The room feels elevated, entirely new light doing what paint alone couldn’t.
Why it works: Lighting is frequently the most under-invested element in an otherwise decorated room, since original builder-grade fixtures often go untouched for years while furniture and paint get updated repeatedly replacing every fixture in a single room at once, rather than one at a time, is what makes a lighting-focused makeover read as a dramatic transformation rather than a minor tweak. This works because light quality and color temperature affect how every other material and color in the room actually reads.
How to get it: Replace your main ceiling fixture, add at least one new table or floor lamp, and standardize every bulb in the room to warm white 2700K, since mismatched color temperatures between fixtures is one of the most common reasons a newly lit room still feels off.
Shop the Look
| Product |
| Statement pendant light fixture |
| Brushed brass floor lamp |
| Ceramic table lamp, warm glaze |
| Warm white 2700K bulb set |
| Dimmer switch kit |
4. The One Hero Furniture Piece Strategy
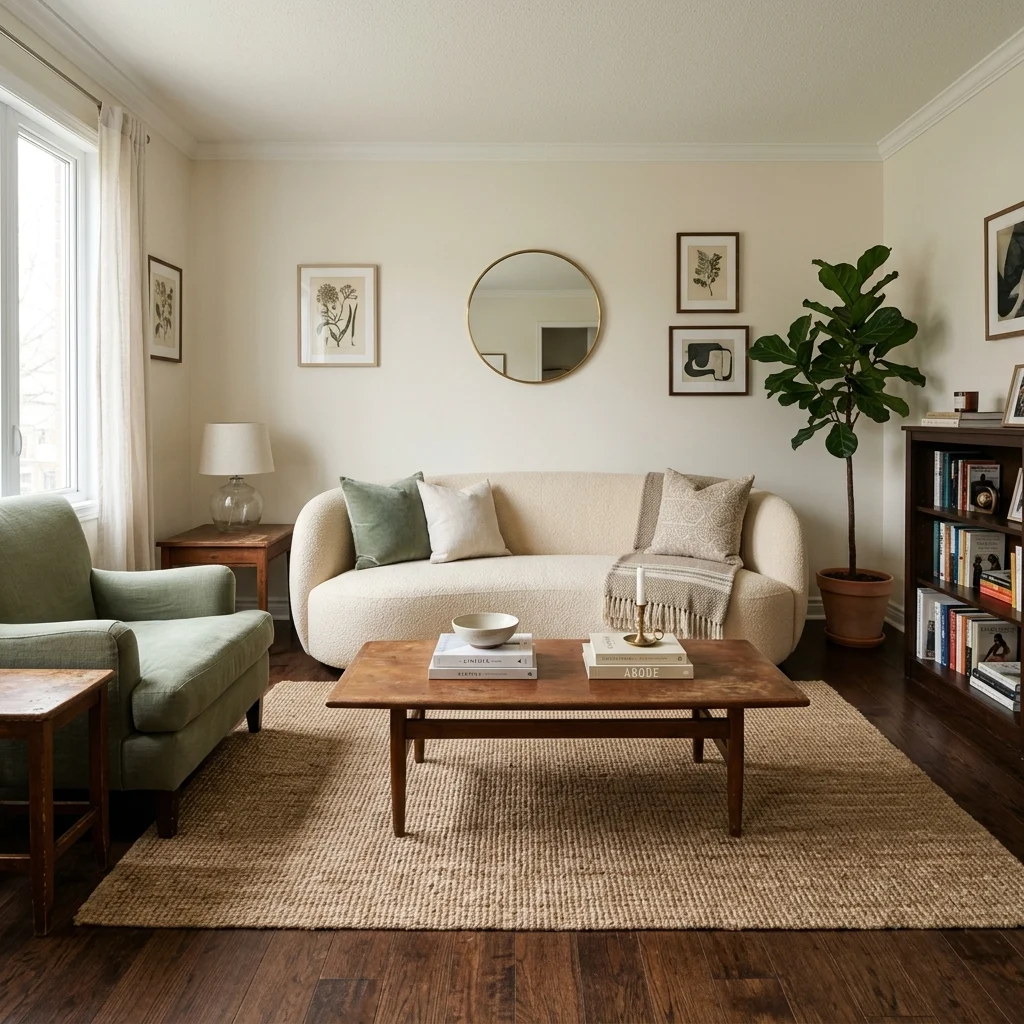
Vibe: The room feels anchored, one new piece carrying the whole makeover’s weight.
Why it works: Replacing every piece of furniture in a room is rarely necessary for a room to feel transformed identifying the single largest or most visually dominant piece, usually a sofa or bed, and replacing only that hero item delivers a disproportionate share of the makeover’s visual impact, since that piece occupies the most square footage and draws the most attention. This strategy also concentrates budget where it matters most rather than spreading it thin across many smaller purchases.
How to get it: Identify which single furniture piece in the room occupies the largest visual footprint, and budget the majority of your makeover spend there, keeping smaller furniture and accessories as secondary, lower-cost updates.
💡 Quick Win: If a full hero piece replacement isn’t in budget yet, reupholstering the existing piece delivers a similar visual reset at a fraction of the cost.
Shop the Look
| Product |
| Curved statement sofa |
| Neutral throw pillow covers |
| Woven throw blanket |
| Existing coffee table, restyled |
| Small ceramic accent vase |
5. Editing and Decluttering Before Restyling
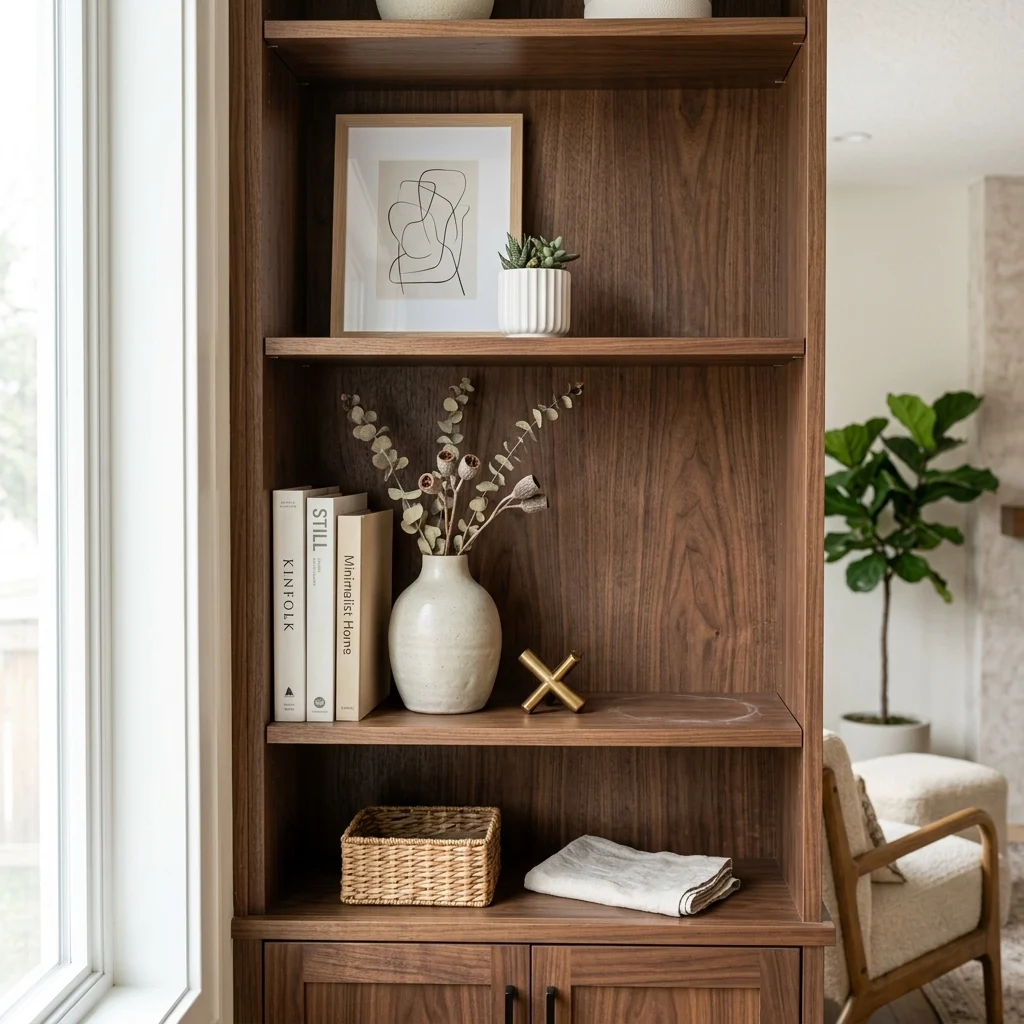
Vibe: The shelf feels clear, less doing noticeably more.
Why it works: A makeover that adds new items to an already-cluttered room often fails to read as transformed, because the accumulated clutter absorbs and dilutes the impact of anything new. Decluttering first, removing roughly a third of what’s currently on display before restyling with new or existing pieces, is the step most DIY makeovers skip and professional stagers never do. This is the negative-space principle applied at the project scale rather than the single-shelf scale.
How to get it: Before any new purchases, remove every object from your main surfaces and shelves, then reintroduce only what you’d genuinely miss, restyling the remainder with proper height variation and grouping rather than replacing everything at once.
Shop the Look
| Product |
| Storage bins for decluttering sort |
| Ceramic decorative vase |
| Neutral hardcover book set |
| Floating wall shelf |
| Small ceramic tray |
6. Repainting Cabinetry for a Kitchen Makeover
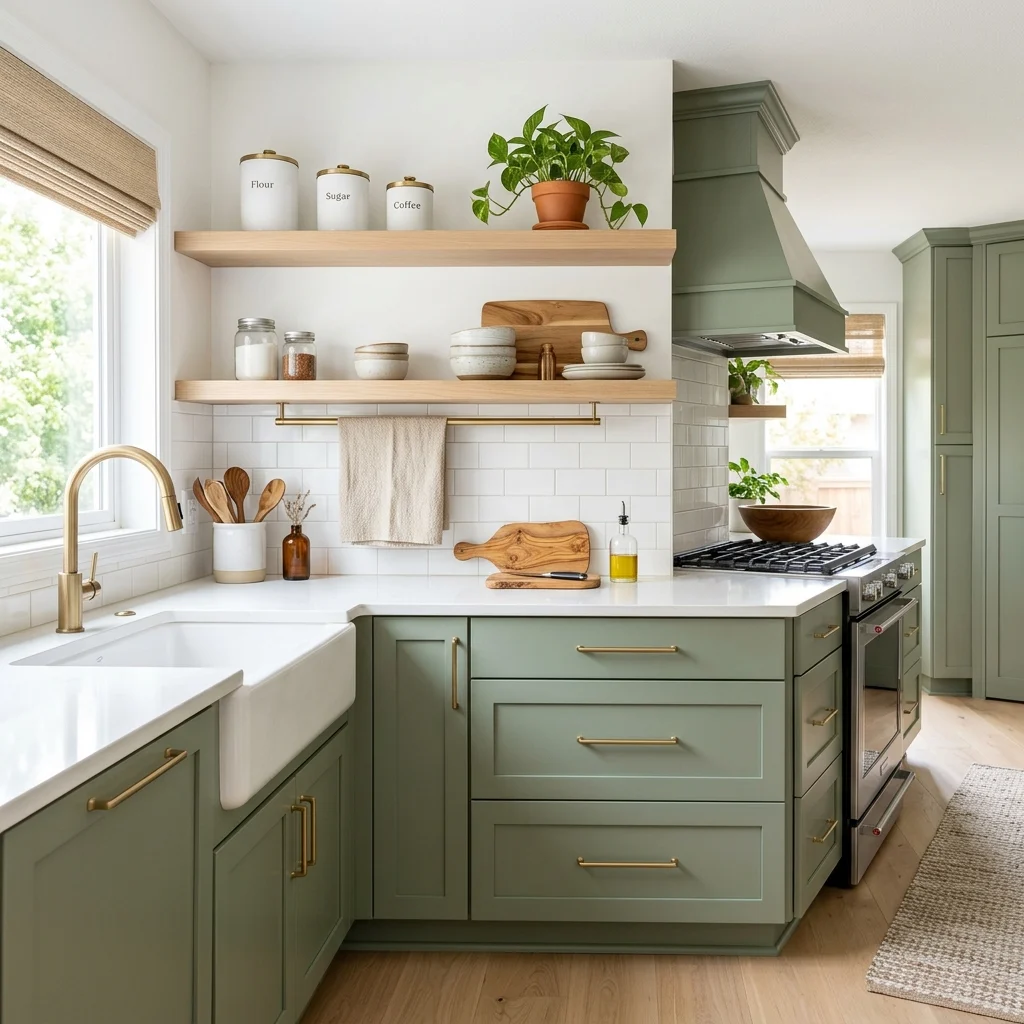
Vibe: The kitchen feels transformed, cabinetry wearing an entirely different character.
Why it works: Cabinetry typically occupies more visual surface area in a kitchen than countertops, backsplash, and appliances combined, which is why repainting cabinets rather than replacing them consistently ranks among the highest-return kitchen makeover moves, delivering a full color-scheme change at a small fraction of new cabinetry’s cost. This works because it addresses the room’s single largest surface directly rather than working around it with smaller updates.
How to get it: Use a cabinet-grade paint or primer system specifically formulated for high-touch surfaces (standard wall paint chips quickly on cabinet doors), and remove all doors and drawer fronts to paint them flat rather than painting in place, which produces a noticeably smoother finish.
Shop the Look
| Product |
| Cabinet-grade paint, sage green |
| Cabinet primer, adhesion-bonding |
| Brushed brass cabinet hardware set |
| Ceramic kitchen canister set |
| Linen kitchen towel, neutral |
7. Swapping Hardware Across the Whole Home
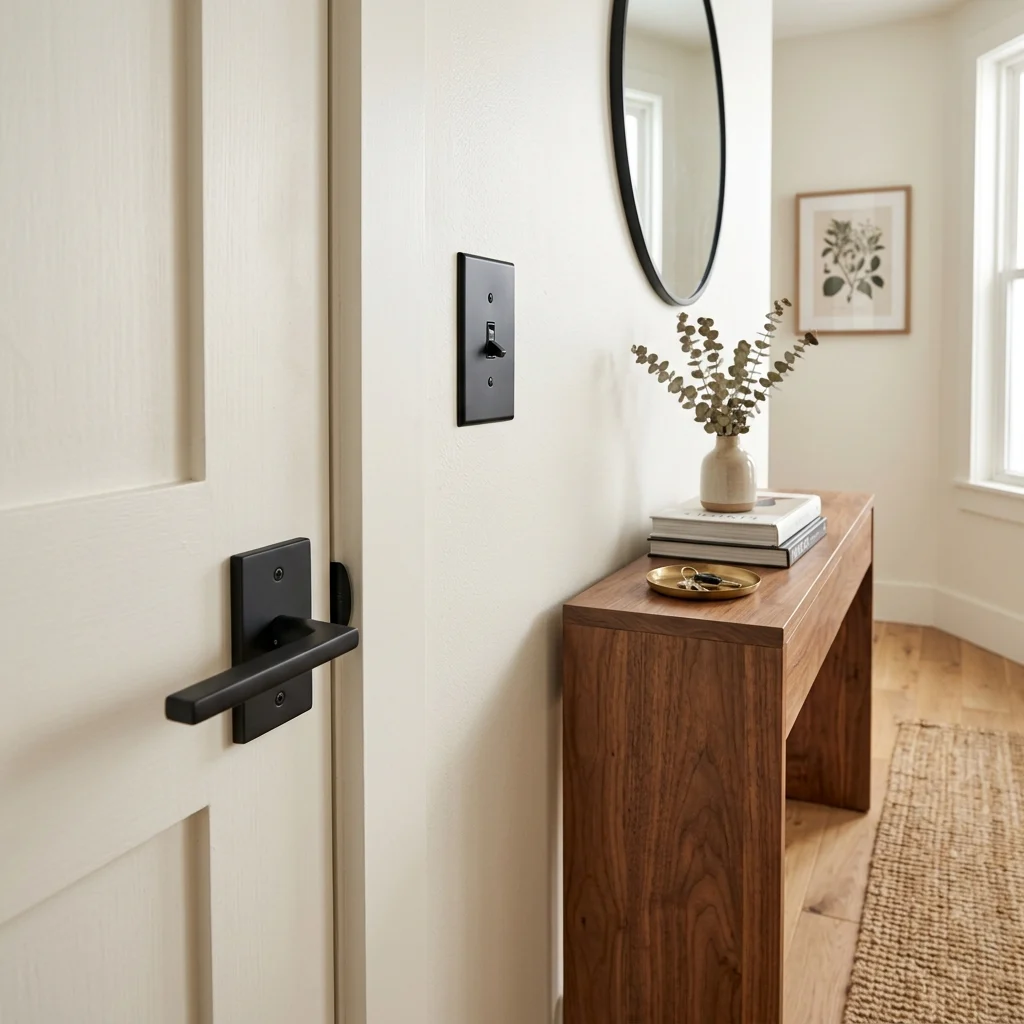
Vibe: The hallway feels updated, small, consistent details signaling a home-wide refresh.
Why it works: Door hardware, switch plates, and outlet covers are touched daily but rarely noticed individually, which is exactly why an outdated or mismatched brass finish from a previous decade reads as generally “dated” without anyone identifying the specific cause replacing these small fixtures consistently across an entire home is a low-cost, high-frequency-touchpoint update that reinforces the whole-home color story established in the first idea on this list. This is a rhythm principle again: repetition of one consistent finish throughout a home creates cohesion.
How to get it: Choose one hardware finish, typically matte black or brushed brass and replace every door lever, switch plate, and outlet cover in main living areas to match, since partial updates (a few rooms done, others not) undercut the whole-home cohesion this move is meant to create.
Shop the Look
| Product |
| Matte black door lever set |
| Matte black switch plate covers |
| Matte black outlet cover set |
| Screwdriver set for hardware install |
| Walnut console table |
8. Reupholstering Instead of Replacing Furniture
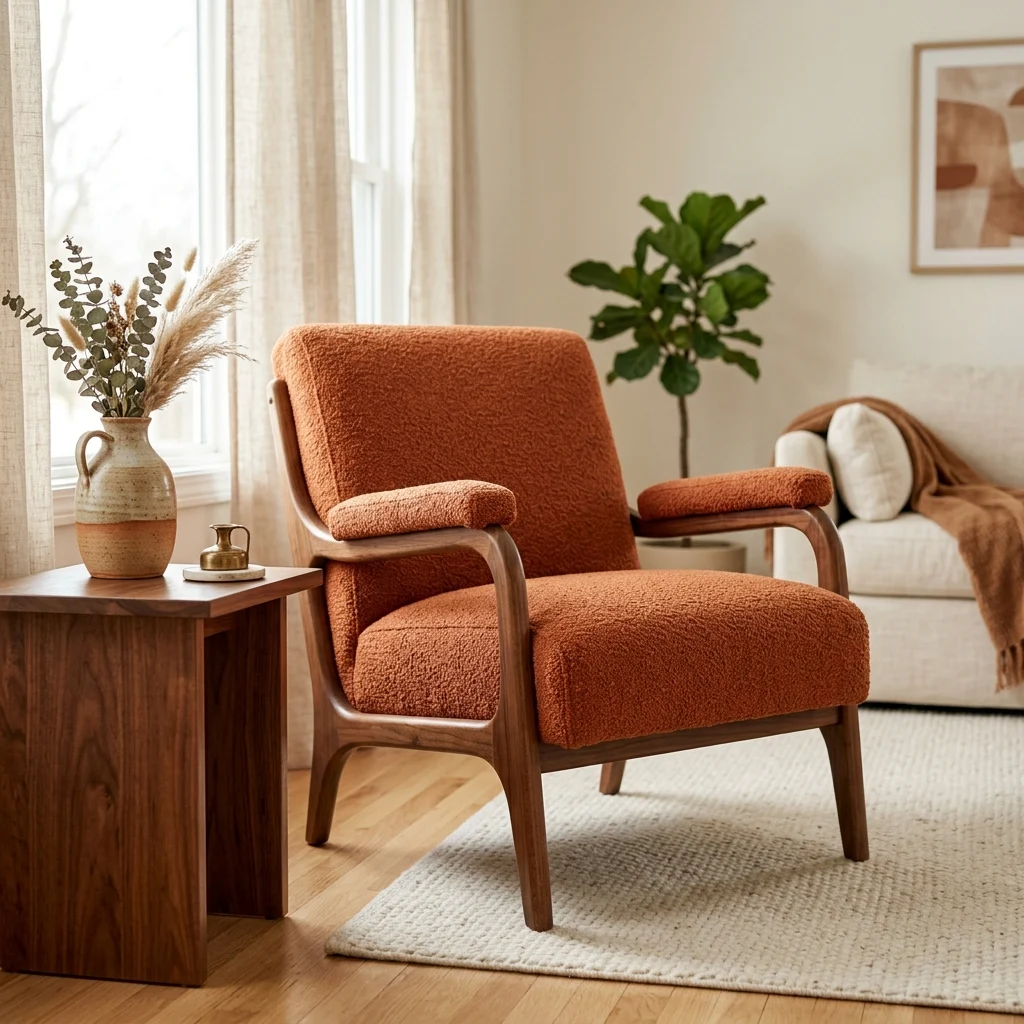
Vibe: The chair feels transformed, an old frame wearing an entirely new surface.
Why it works: A well-built furniture frame with sound joinery is often worth far more than its outdated fabric suggests, and reupholstering keeps that structural quality intact while completely changing the piece’s visible character, a technique makeover shows have relied on for decades, specifically because it delivers dramatic before-and-after contrast without the cost or waste of full replacement. This especially applies to older, solid-wood-frame furniture, which frequently outperforms comparably priced new furniture in construction quality.
How to get it: Have any furniture piece assessed for frame soundness before committing to reupholstery, since a wobbly or cracked frame isn’t worth the fabric investment, but a solid frame with simply dated fabric is an ideal reupholstery candidate.
💡 Quick Win: A drop-in seat cushion, common on dining chairs, can be reupholstered in under 30 minutes as a lower-commitment way to test the technique before a full chair or sofa.
Shop the Look
| Product |
| Terracotta boucle upholstery fabric |
| Heavy-duty staple gun |
| Upholstery foam padding |
| Walnut side table |
| Ceramic decorative vase |
9. Repurposing an Unused Nook Into Functional Space
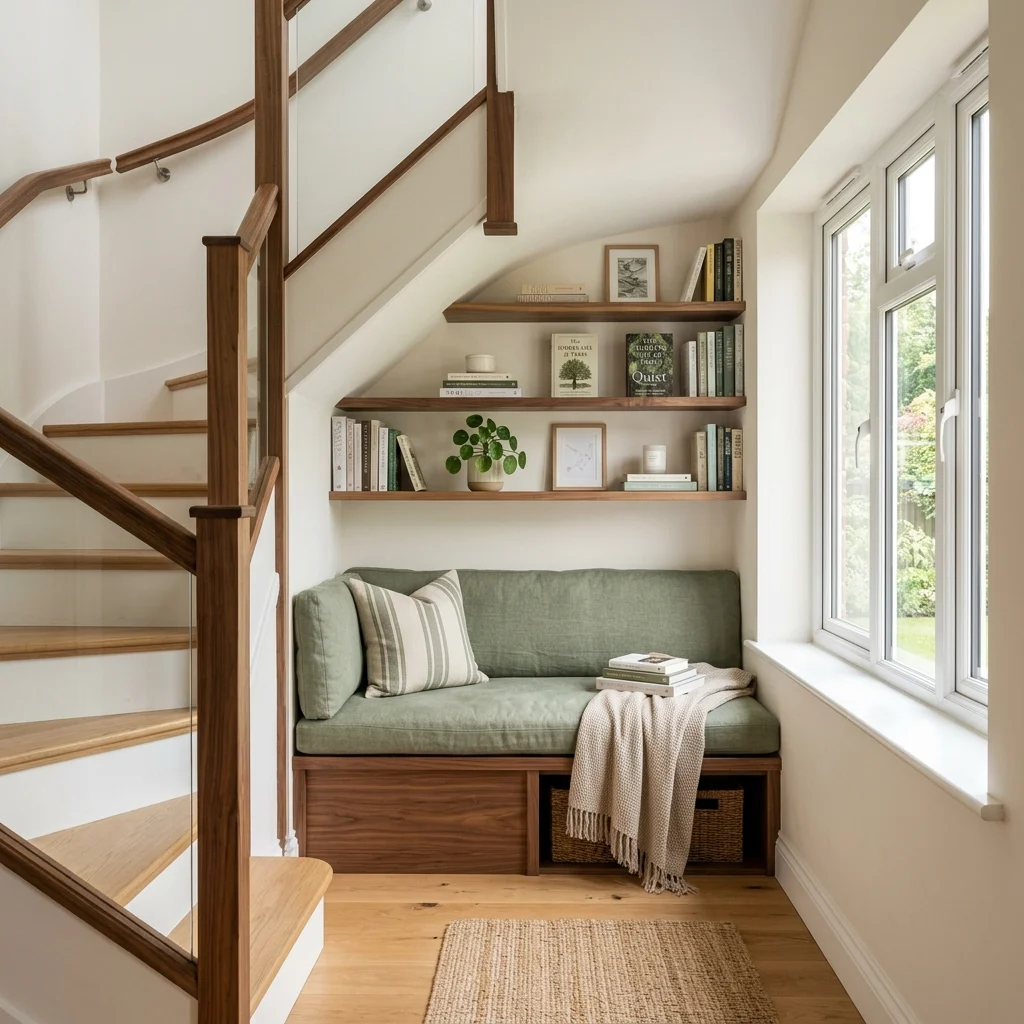
Vibe: The nook feels efficient, unused square footage finally earning its keep.
Why it works: Nearly every home has at least one genuinely dead zone an awkward stairwell landing, a deep closet, an oversized hallway that goes completely unused, and converting even one of these into functional space (a reading nook, a small desk, a mudroom bench) delivers a makeover impact disproportionate to its size, since the transformation is from zero function to real function rather than an incremental improvement. This is the small-space adaptation of the hero-piece strategy, applied to overlooked square footage instead of furniture.
How to get it: Identify the single most underused space in your home, measure it precisely, and choose one clear function for it: seating, storage, or workspace, rather than trying to make it serve multiple purposes at once, which usually results in it serving none well.
Shop the Look
| Product |
| Built-in-style bench cushion, custom size |
| Wall-mounted floating shelf set |
| Neutral throw pillow cover |
| Small potted plant |
| Wall hook set for storage |
10. Room-by-Room Furniture Swap Strategy
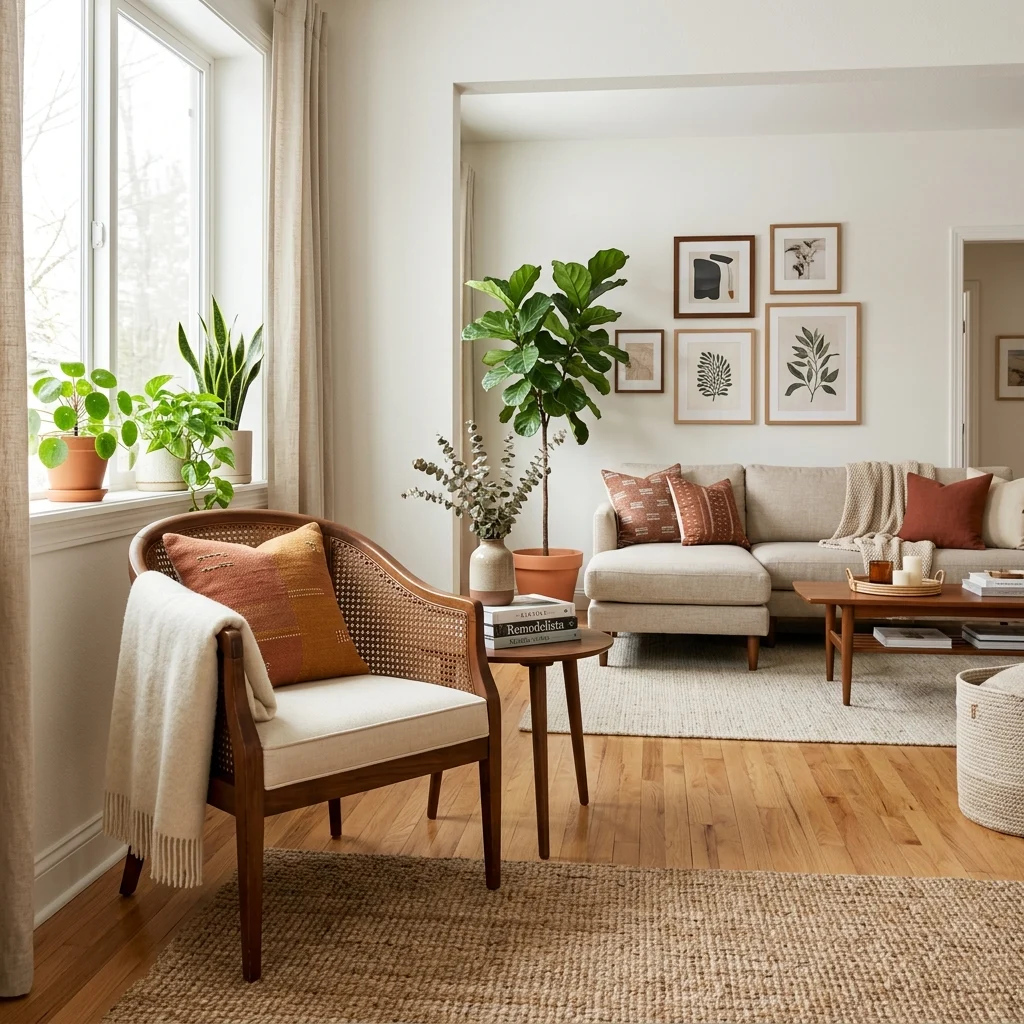
Vibe: The room feels fresh, borrowed furniture finding a genuinely better home.
Why it works: A full-home makeover doesn’t require every room to receive new furniture; moving underused pieces between rooms, a chair from a rarely-used guest room into the main living space, for instance, redistributes what already exists rather than requiring new purchases everywhere. This works because furniture that’s gone visually stale in one context often reads as entirely new once relocated and restyled elsewhere in the home.
How to get it: Walk through every room in your home and identify furniture pieces that are underused or overlooked in their current location, testing whether any would serve a stronger visual or functional role somewhere else before buying anything new.
Shop the Look
| Product |
| Furniture sliders for repositioning |
| Neutral throw pillow cover, new |
| Furniture leg caps for stability |
| Small area rug for new placement |
| Ceramic accent object |
11. Layering New Light Fixtures Room by Room
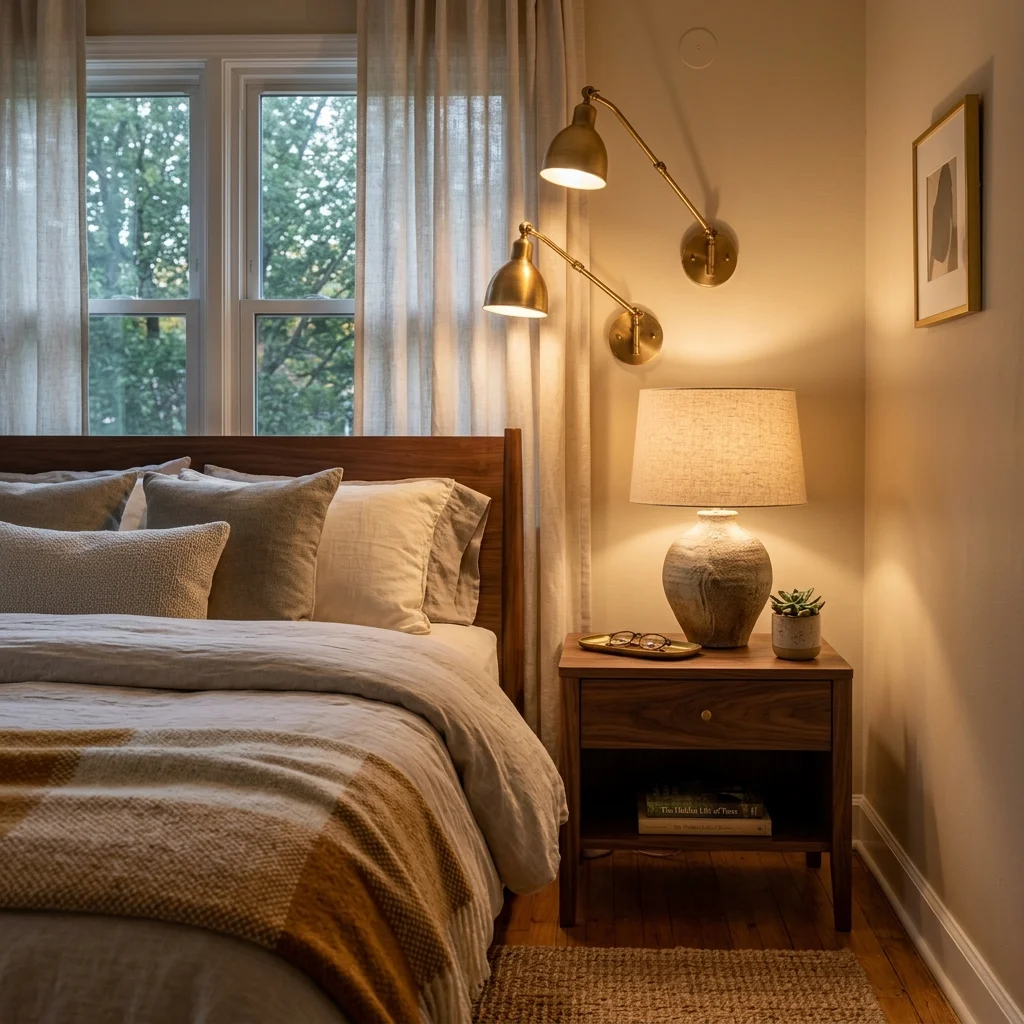
Vibe: The bedroom feels layered, with new light sources changing the room’s entire mood.
Why it works: A room lit only by a single overhead fixture is one of the clearest signals of an unfinished makeover, since flat single-source light flattens texture and depth regardless of how well everything else has been updated adding at least two additional light sources at different heights per room is what carries the lighting overhaul principle from the living room into every other space in the home. This sequencing (living areas first, bedrooms and secondary rooms next) lets a whole-home makeover proceed room by room without requiring every fixture to be purchased at once.
How to get it: Prioritize bedrooms and home offices as the next rooms for lighting layering after main living areas, adding one wall-mounted or table light source per room at a minimum, since these are the spaces most likely to still be running on a single builder-grade fixture.
Shop the Look
| Product |
| Brass wall sconce pair |
| Ceramic table lamp, warm glaze |
| Warm white 2700K bulb set |
| Walnut nightstand |
| Neutral bedding set |
12. Updating Countertops Without a Full Renovation
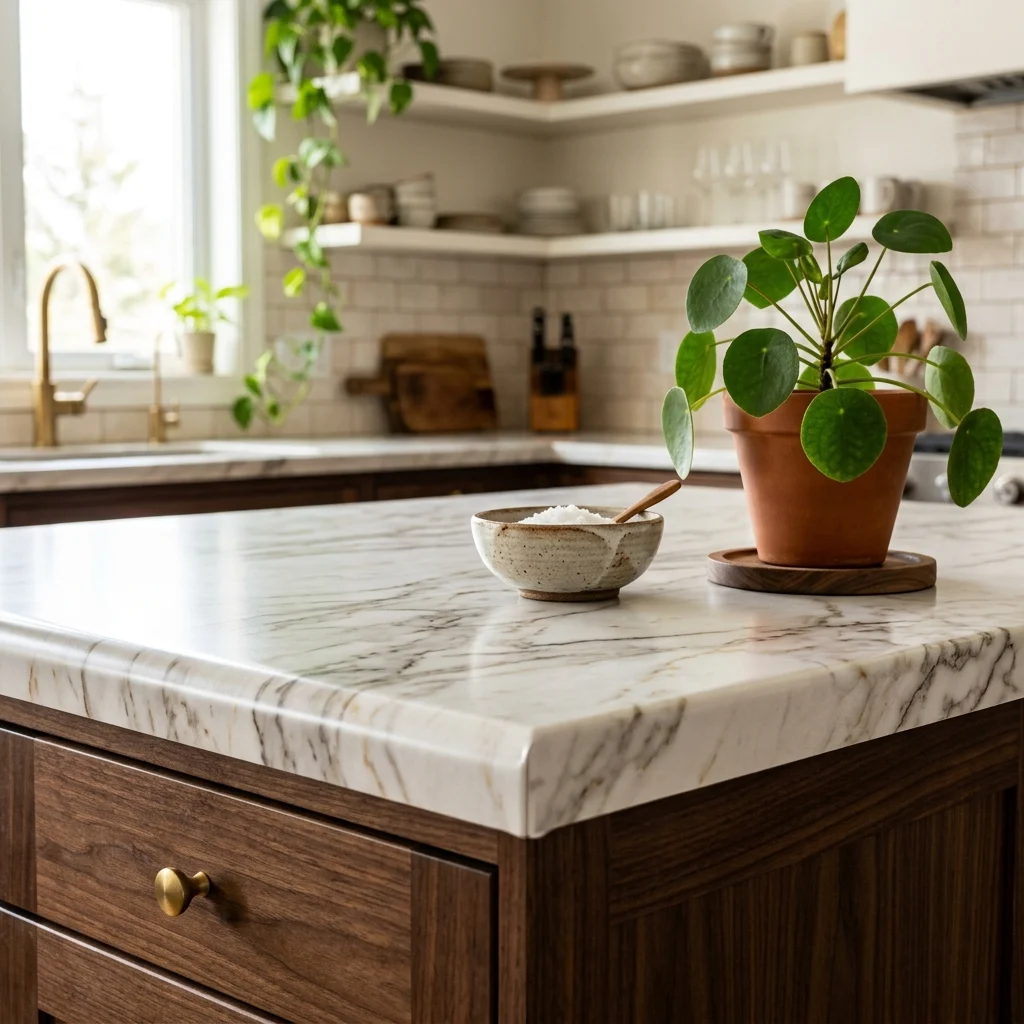
Vibe: The island feels upgraded, an old surface reading as convincingly new stone.
Why it works: Full countertop replacement is one of the most expensive line items in any kitchen renovation, which is why a temporary or semi-permanent surface upgrade, such as a high-quality countertop contact paper or a poured epoxy resurfacing kit delivers a visible transformation at a small fraction of stone or quartz replacement cost, particularly valuable for renters or homeowners not ready for a full renovation. This works specifically because countertops sit at eye level and direct sightline in a kitchen, giving even a temporary material upgrade an outsized visual influence.
How to get it: Clean and thoroughly degrease the existing countertop before applying any resurfacing product, and choose a marble or stone-look finish with a satin rather than high-gloss sheen, which reads as more convincingly natural under kitchen lighting.
Shop the Look
| Product |
| Marble-look countertop contact paper |
| Degreasing surface cleaner |
| Countertop edge trim, matching finish |
| Ceramic decorative bowl |
| Small potted herb plant |
13. A Fresh Textile Layer as the Final Makeover Touch
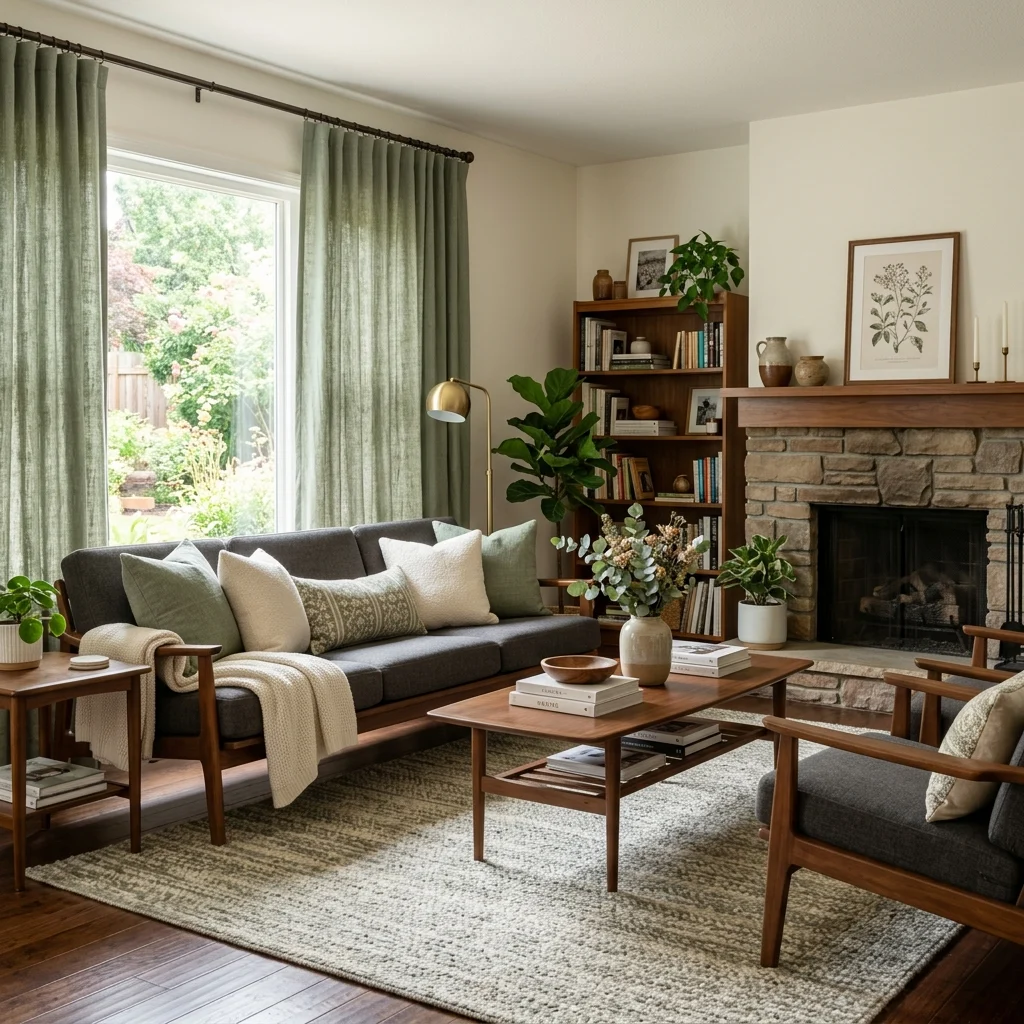
Vibe: The room feels finished, soft new layers completing what structural changes started.
Why it works: Textile curtains, pillow covers, and a rug are typically the last makeover layer added because they’re the fastest to change and the easiest to get wrong if chosen before the room’s larger color and material decisions are settled, which is why professional makeovers save textile shopping for the final step rather than the first. A coordinated textile refresh also visually stitches together all the previous makeover changes into one cohesive final look.
How to get it: Wait until paint, lighting, and any furniture changes are fully complete before purchasing textiles, then choose curtains, pillows, and a rug that reference your room’s established color story rather than introducing a new, unrelated palette at the last step.
💡 Quick Win: New curtain panels alone, even with everything else unchanged, are often enough to make a freshly painted and lit room feel completely finished.
Shop the Look
| Product |
| Linen curtain panels, grommet top |
| Wool blend area rug |
| Sage green throw pillow covers |
| Rug pad, non-slip |
| Curtain rod, brass finish |
14. Choosing One Accent Wall to Anchor the Whole Makeover
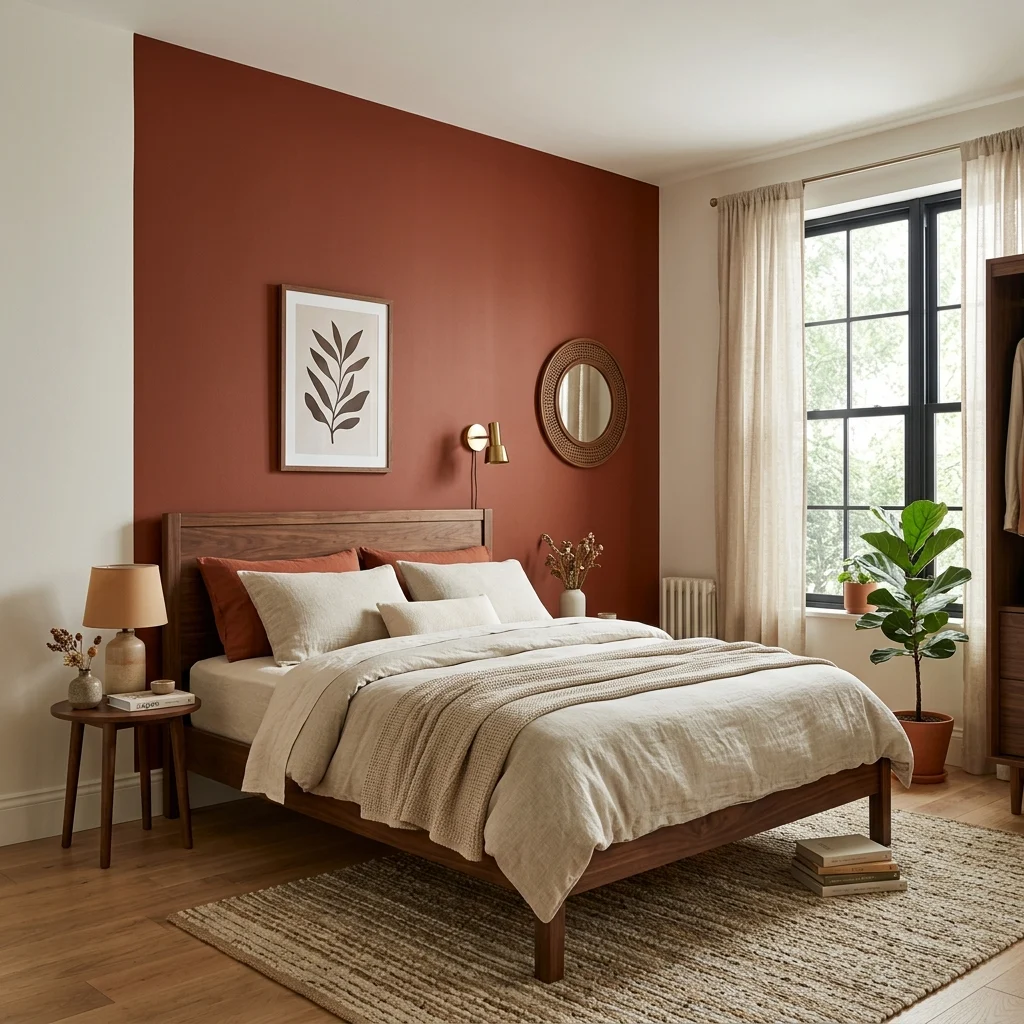
Vibe: The bedroom feels anchored, one bold wall carrying the whole room’s transformation.
Why it works: A single accent wall, typically the wall behind a bed or sofa, delivers the visual drama of a bold color choice while containing the risk and cost to one surface rather than an entire room. This is the makeover-scale version of the 10% accent principle in color theory, concentrated into architecture rather than accessories. It also gives future makeovers an easy reset point, since repainting one wall is a far smaller undertaking than repainting four.
How to get it: Choose the wall with the most architectural presence, usually the one behind the bed or the main seating, rather than an awkward side wall, and select a color at least two to three shades bolder than you’d choose for a full room, since a single wall can carry more saturation than four walls could.
Shop the Look
| Product |
| Terracotta accent wall paint |
| Walnut bed frame |
| Neutral linen bedding set |
| Painter’s tape, sharp-edge |
| Brass wall sconce pair |
15. Reworking Furniture Zones After a Room Makeover
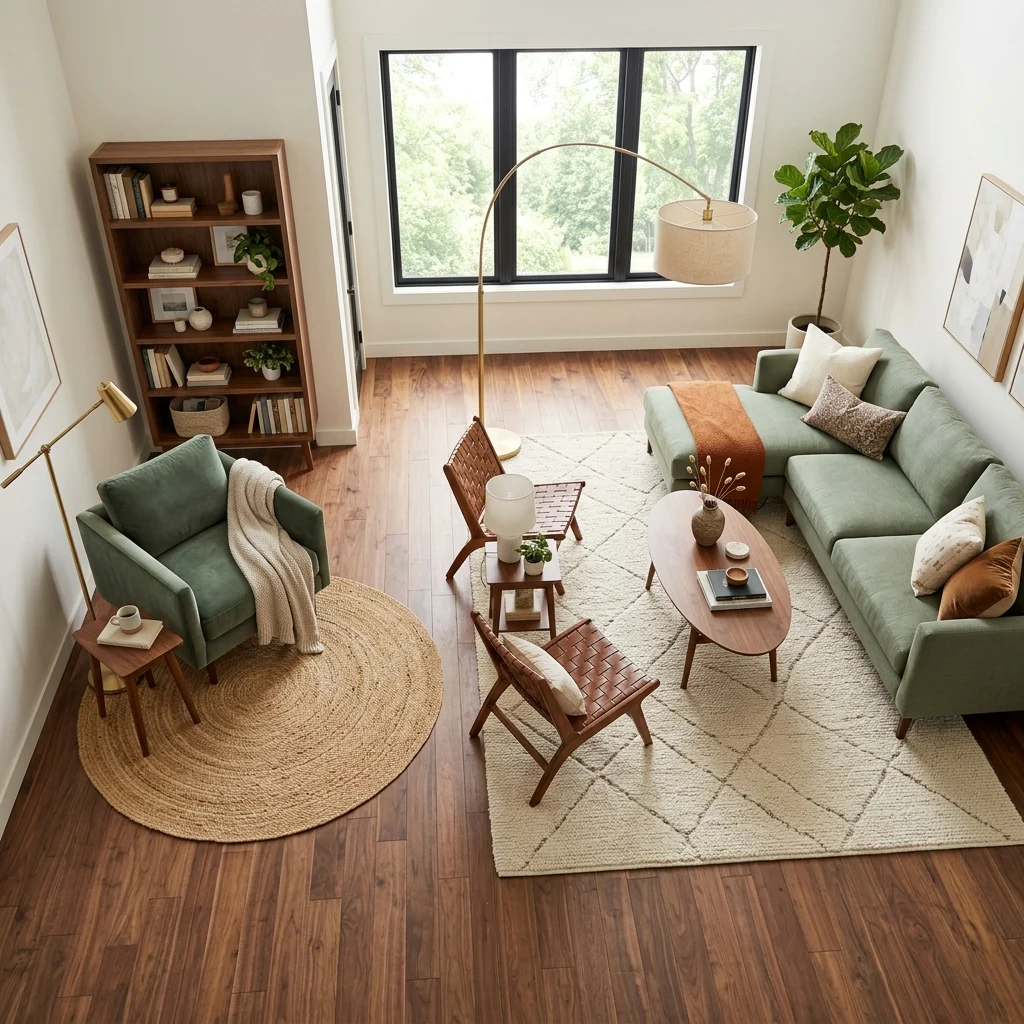
Vibe: The space feels complete, every previous change finally settling into defined zones.
Why it works: A room makeover that updates color, lighting, and furniture individually but never revisits the overall layout often leaves the space functioning exactly as it did before the transformation, which is why the final step in a thorough makeover is reassessing traffic flow and zone definition with fresh eyes rather than assuming the original layout still makes sense. This closing step applies the soft-zoning principle across the whole room, using rugs and furniture groupings to define distinct functional areas now that every other element has changed.
How to get it: Once all other makeover changes are complete, walk the room as if seeing it for the first time and identify whether the current furniture arrangement still makes sense for how the room is actually used, adjusting zones with rugs and furniture regrouping rather than assuming the pre-makeover layout is still correct.
Shop the Look
| Product |
| Layered area rug set, two zones |
| Floor lamp, adjustable |
| Console table for zone division |
| Neutral throw pillow set |
| Small accent chair for secondary zone |
How to Start Your Home Makeover
Your first single move should be a full lighting and paint pass on your main living space, because these two changes touch every square foot of the room and establish the color and light foundation every other makeover decision, furniture, textiles, and accessories get measured against afterward.
The most common mistake is buying new furniture and decor before finishing paint and lighting, which frequently means beautiful new purchases end up sitting in a room whose underlying color and light still feel dated. Fix this by sequencing strictly: paint and lighting first, structural or hero furniture second, textiles and accessories last, resisting the temptation to shop out of order even when a great deal appears early.
Three specific items under $50 that create immediate impact: a set of matte black door lever hardware for one main hallway, a warm white 2700K bulb set to standardize your existing fixtures, and a single new linen curtain panel pair for your most-used room’s largest window.
A cosmetic single-room makeover, paint, lighting, hardware, and textiles typically takes one to two weekends and costs $300–$800. A fuller room transformation, including a hero furniture piece, runs $1,500–$4,000 and takes four to six weeks, while a whole-home cosmetic makeover across several rooms realistically spans two to four months and $3,000–$10,000, depending on how much furniture needs replacing versus refreshing.
Frequently Asked Questions About Home Makeover Projects
What is the difference between a home makeover and a full renovation?
A home makeover typically refers to cosmetic and functional updates, such as paint, lighting, furniture, and hardware completed without altering a room’s structure, plumbing, or electrical layout, while a full renovation involves structural changes like moving walls, reconfiguring plumbing, or replacing built-in elements like cabinetry and flooring entirely. A makeover generally costs a fraction of a renovation and can be completed in weeks rather than months, which is why most homeowners start with a makeover before considering structural renovation.
What colors work best for a home makeover?
Warm white and greige remain the most reliable whole-home base colors for a makeover, since they create the cohesive color story that ties multiple rooms together while still allowing individual rooms to carry a bolder accent wall or cabinetry color like terracotta or sage green. Choosing one consistent trim color alongside the wall base, typically a crisp semi-gloss white, is what makes a room-by-room makeover eventually read as one cohesive whole-home transformation rather than several disconnected updates.
How much does a typical home makeover cost?
A single-room cosmetic makeover using paint, lighting, and hardware updates typically costs $300–$800, while adding one hero furniture piece brings a fuller room transformation to $1,500–$4,000. A whole-home cosmetic makeover spanning several rooms, completed gradually over two to four months, generally falls between $3,000 and $10,000, substantially less than a comparable structural renovation, which can run $15,000–$50,000 or more depending on scope.
Can a home makeover work in a rental apartment?
Yes, though with some limits, hardware swaps, lighting layering with plug-in fixtures, reupholstery, and textile refreshes all work fully in rentals, while cabinet repainting and accent walls require landlord approval in most lease agreements. Peel-and-stick countertop and backsplash products specifically exist to give renters a renovation-style visual update that removes cleanly, making them one of the few “structural-feeling” makeover moves available without ownership.
What is the single most impactful element to update first in a home makeover?
Lighting consistently delivers the most disproportionate impact relative to its cost, since replacing a single dated overhead fixture and adding one or two additional warm-toned light sources changes how every other material and color in the room actually reads, often more dramatically than a full furniture replacement would. This is why most professional makeovers, whether for a home renovation show or a real estate staging project, address lighting before furniture rather than after.
Ready to Start Your Dream Home Makeover?
These 15 home makeover ideas span color, material, lighting, furniture, and layout, from a whole-home paint story and a full lighting overhaul to reupholstering a well-built old chair and finally reworking furniture zones once everything else is in place, so there’s a genuinely strategic starting point here, whether you’re tackling one room or your entire home. You don’t need to do everything at once, and sequencing the work properly paint and lighting first, hero furniture second, textiles last, is not a slower path to transformation; it’s the actual order that keeps every dollar spent from being undercut by what comes after it. Today’s specific action: walk through your main living space and identify the single most outdated light fixture in it, then plan its replacement as your makeover’s true starting point. Once the paint and light are right, everything layered on top of them will finally read the way it was always meant to, and the room will feel like the one you’d been picturing rather than a collection of good intentions. Save the ideas that match your own home’s biggest opportunity today, that hero sofa, that accent wall, because in a real home makeover, the reveal only feels earned when the sequence was right from the start.
You Might Also Like
- Eco Friendly Bamboo Home Decor: 9 Stunning Ways to Style Every Room
- 10 Stylish Shelf Decor Ideas for Every Room
- Modern Home Decor: 15 Ideas Worth Saving and Stealing
- 13 Minimalist Home Decor Ideas for a Calm, Clutter-Free Space
- 12 Small Space Decor Ideas for a Modern Minimalist Home
- 15 Scandinavian Decor Ideas for Simple, Hygge-Inspired Living
[…] 15 Home Makeover Ideas for a Real Before-and-After Transformation […]